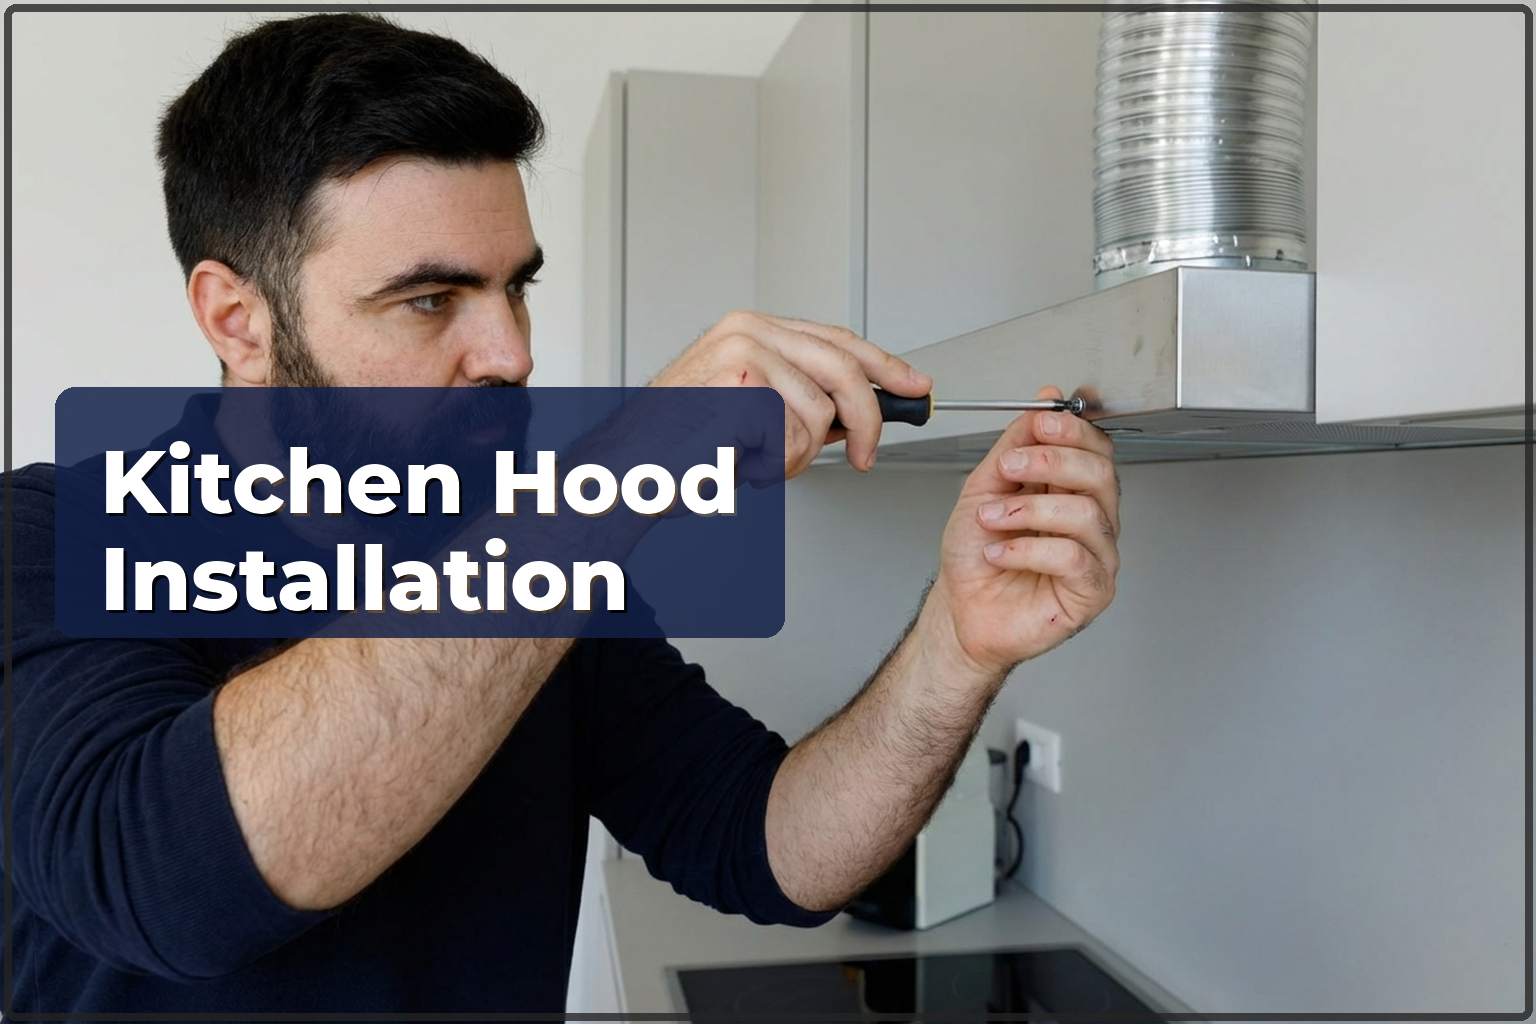
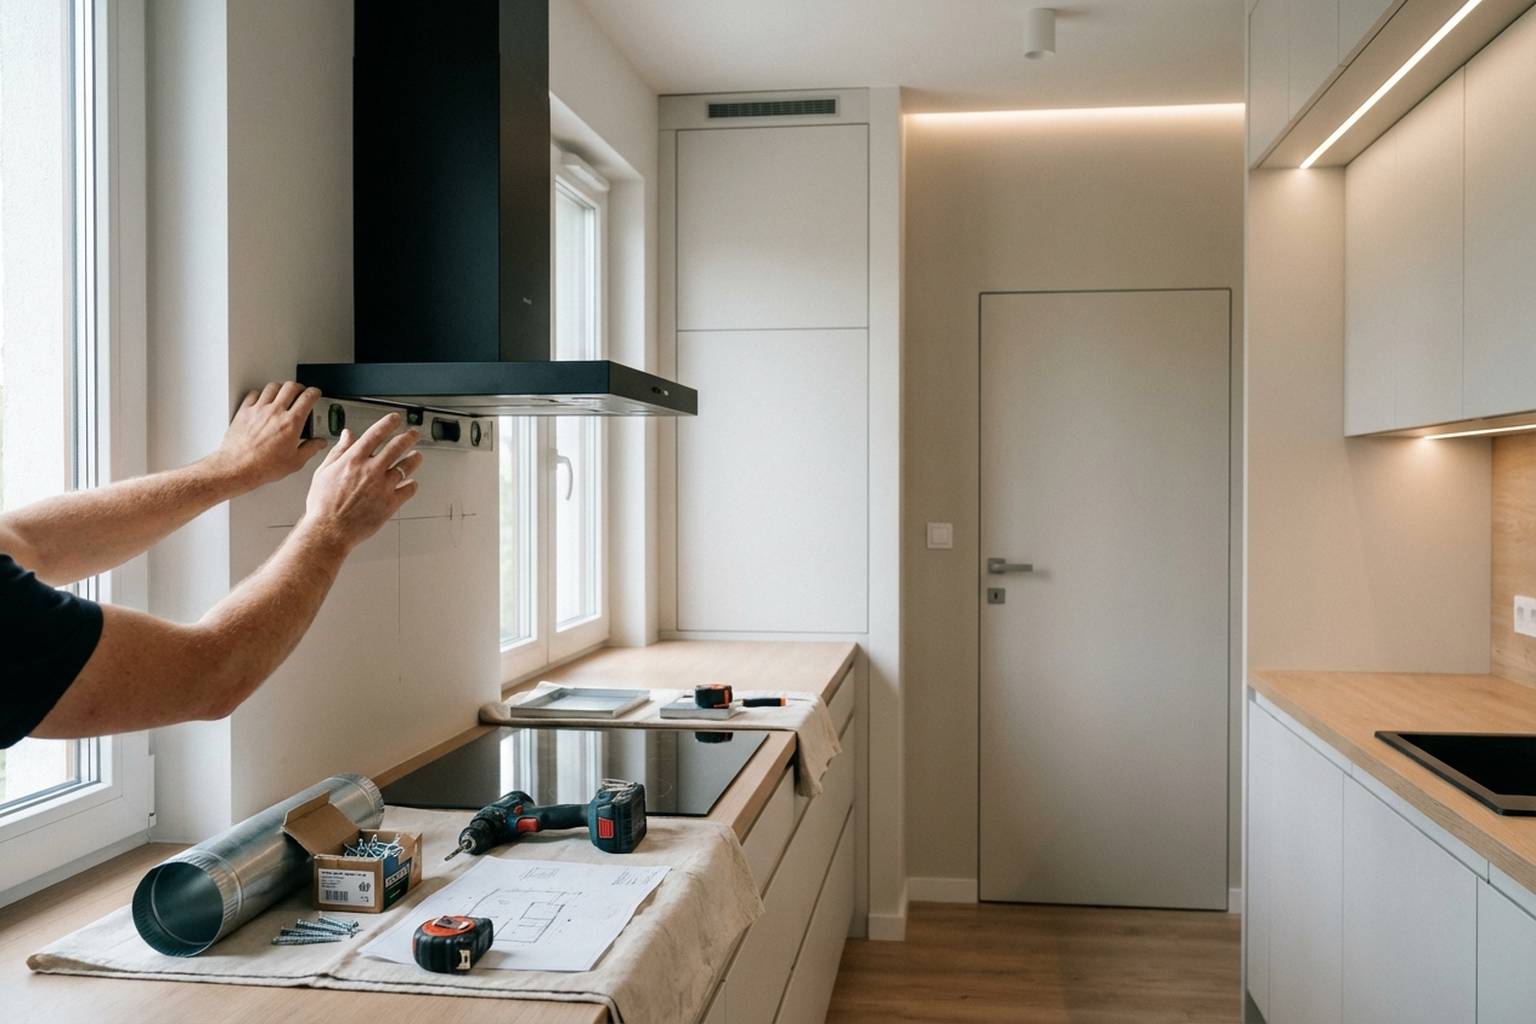
A kitchen hood is not there for looks — it is a practical piece of equipment. It clears out smells, grease, and steam that would otherwise end up on your ceiling, cabinets, and curtains. Good installation means the hood sits at the right height, the duct is sealed properly into the vent shaft, and the power socket is not left sticking out in the middle of the splashback. If you have bought a new extractor or are redoing your kitchen — call a professional so it is installed properly from the start.
How much does it cost and what affects the price
The price of hood installation depends on a few things: the hood type (wall-mounted chimney, built-in, island, or telescopic), the length of the duct run to the ventilation shaft, the wall material, and whether extra electrical work is needed for a socket. Built-in models need cabinet alteration — cutting an opening for the duct, and sometimes taking out a shelf. Island hoods take more work — they have to be fixed to the ceiling and connected with a longer duct route. Up-to-date prices for all kitchen services are shown in the table below. Mounting hardware is included; ducting and adapters are billed separately.
| Service | min | max |
|---|---|---|
| Kitchen furniture installation (complete set) | 20% od ceny | 25% od ceny |
| Kitchen base cabinet installation | 250 zł | 400 zł |
| Wall cabinet installation | 250 zł | 400 zł |
| Kitchen cabinet door adjustment | 80 zł | 150 zł |
| Hinge replacement | 60 zł/szt | 120 zł/szt |
| Kitchen countertop installation | 200 zł/mb | 350 zł/mb |
| Laminate countertop installation | 150 zł/mb | 250 zł/mb |
| Composite countertop installation | 250 zł/mb | 400 zł/mb |
| Countertop joining | 190 zł/szt | 300 zł/szt |
| Countertop cutout (sink / hob) | 120 zł/szt | 200 zł/szt |
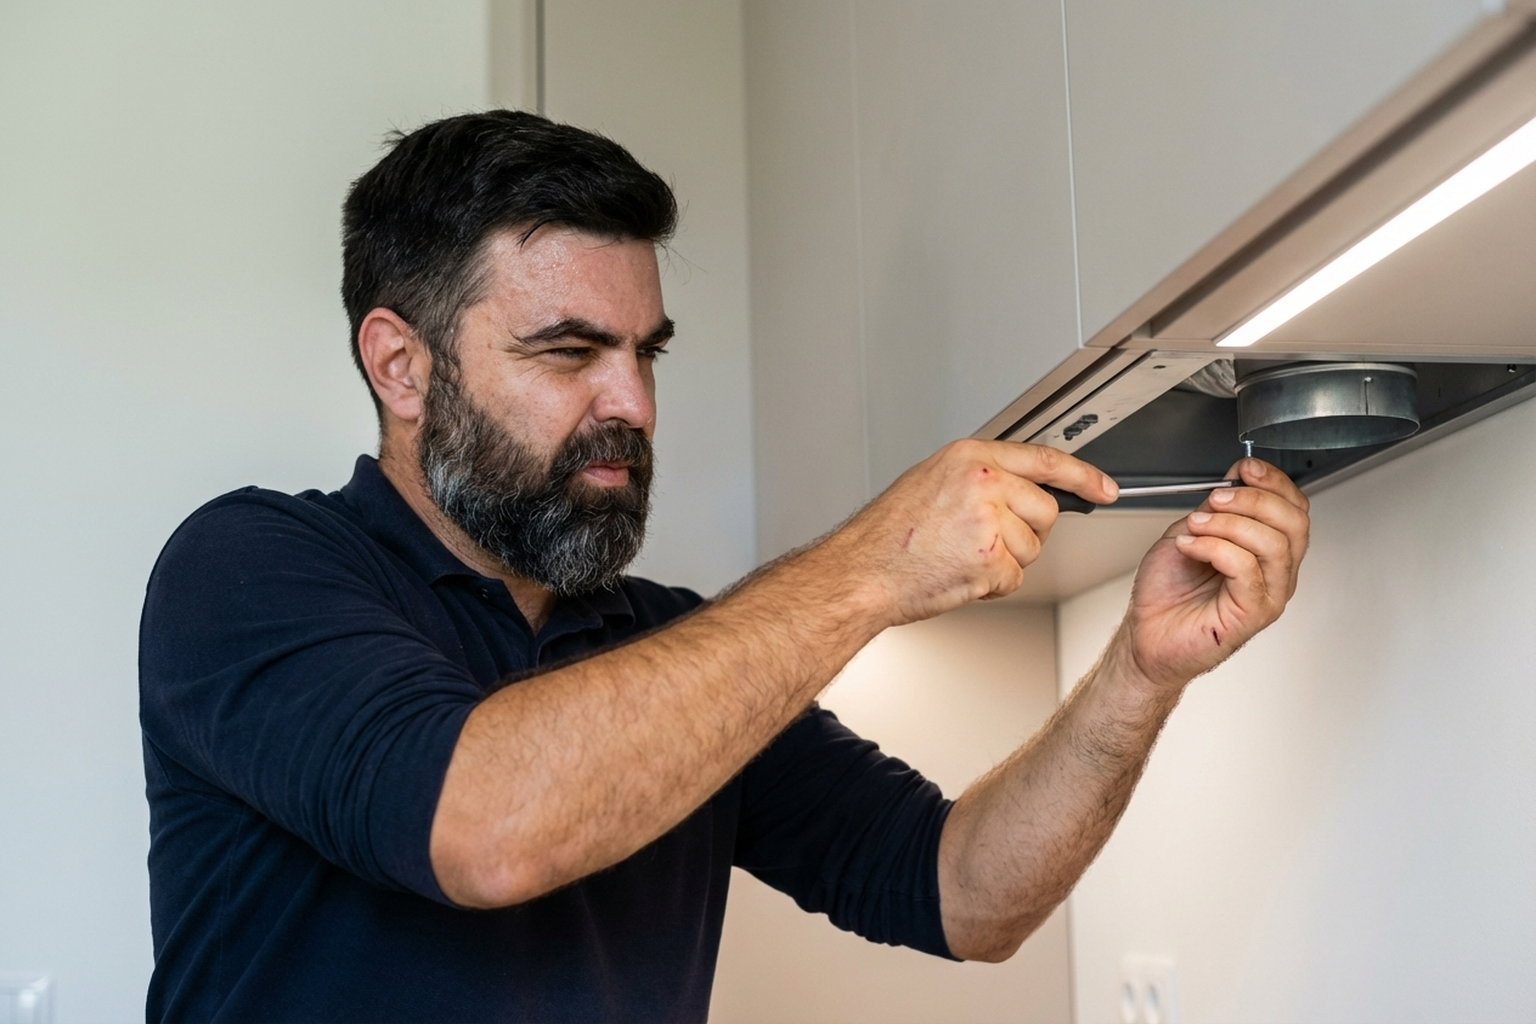
How the on-site work goes
- You send a photo of your kitchen and the hood model — the technician checks the job and gives you an estimated price.
- We arrange a time — often same-day or next-day service anywhere in Warsaw.
- On site, the technician measures the distance from the hob to the fixing point and inspects the vent shaft.
- Marks and drills the holes — in concrete, brick, or plasterboard (each needs different fixings).
- Fits the hood, connects the duct to the ventilation shaft, and seals every joint with aluminium tape.
- Connects the power — using the existing socket or adding a new one.
- Checks all speed settings, tidies up.
Common installation mistakes (and how to avoid them)
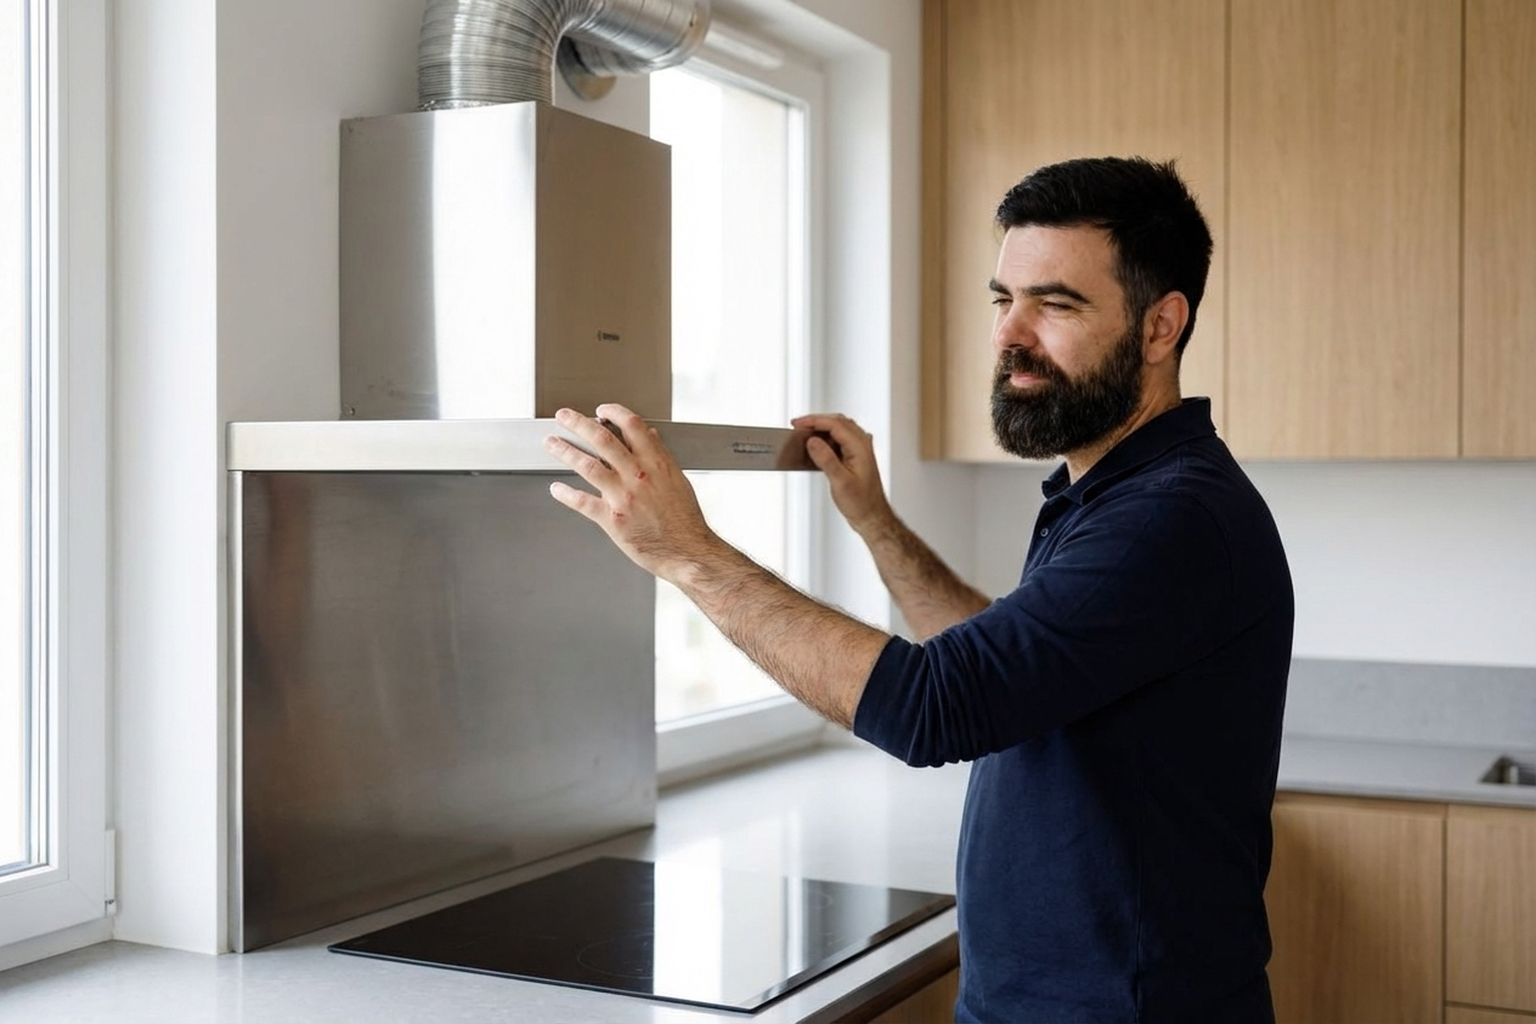
- Installing it too low or too high — 65 cm above an electric hob, 75 cm above gas. Too low can overheat the casing; too high gives weaker extraction.
- Using flexible aluminium ducting with tight bends — each turn cuts airflow by 10-15%. Rigid ducting with smooth elbows works better.
- Connecting the duct to the vent shaft without a non-return valve — odours from the shaft come back into the kitchen when the hood is switched off.
- Buying a hood wider than the hob without checking whether it will fit between the cabinets.
- Forgetting about the power socket — it should sit behind the hood or inside the cabinet above, not out in the open.
- Fully blocking the vent opening with the duct — this interferes with natural ventilation. You need a combined grille with an adapter.
- Leaving the joints unsealed — warm greasy air escapes through the gaps and settles on the cabinets.
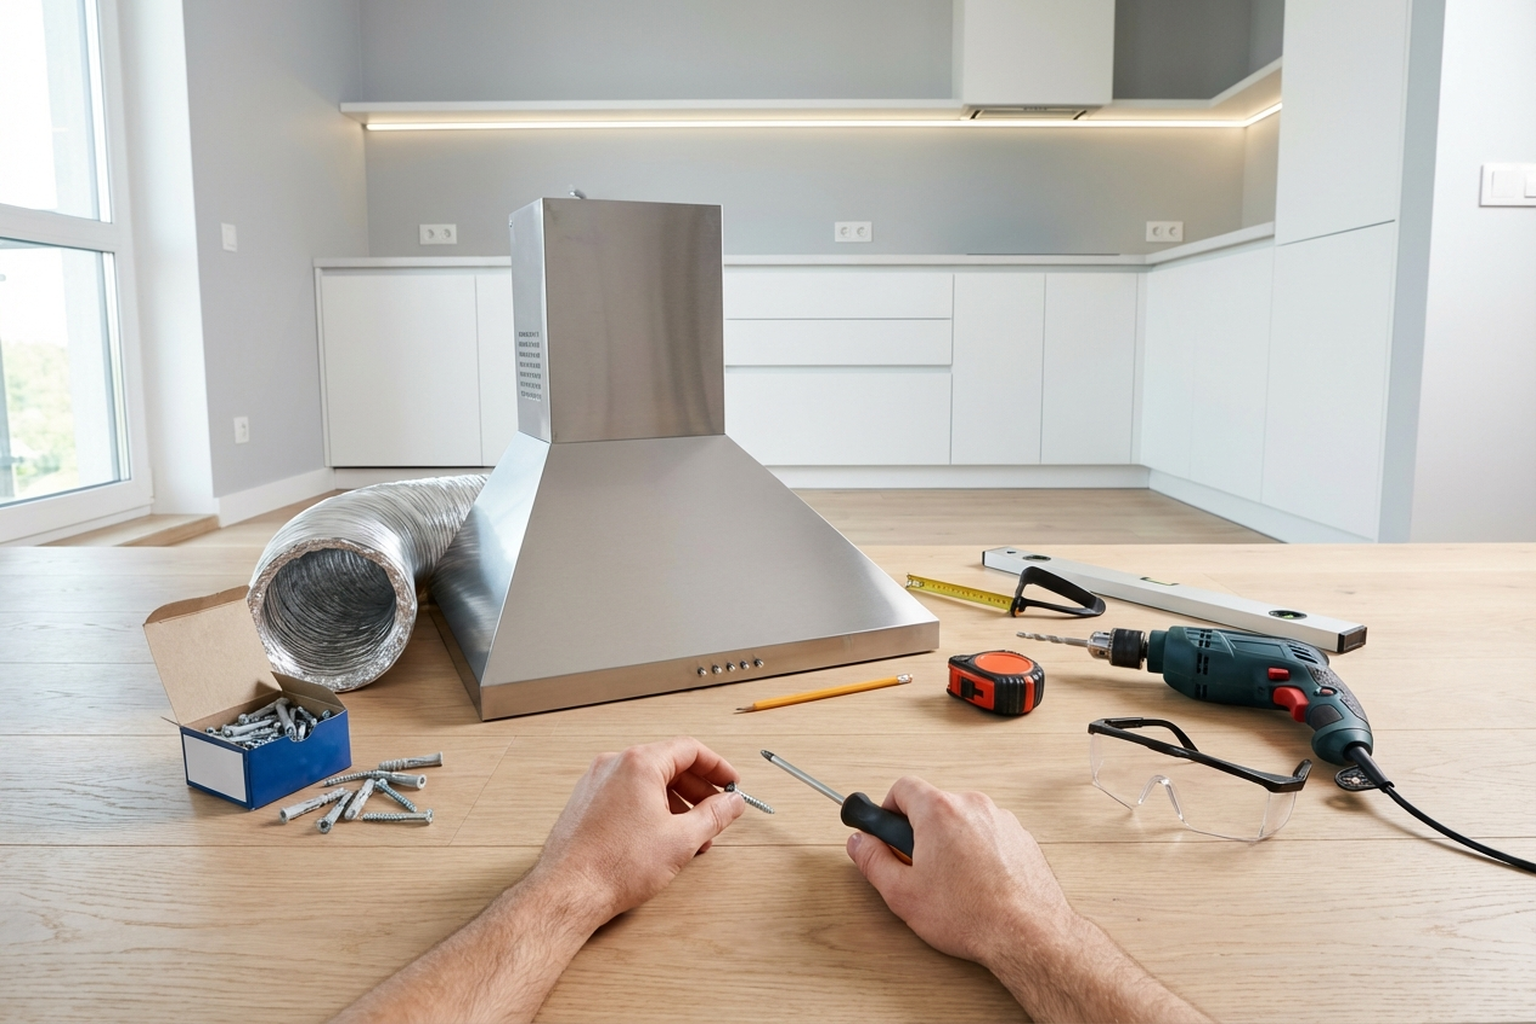
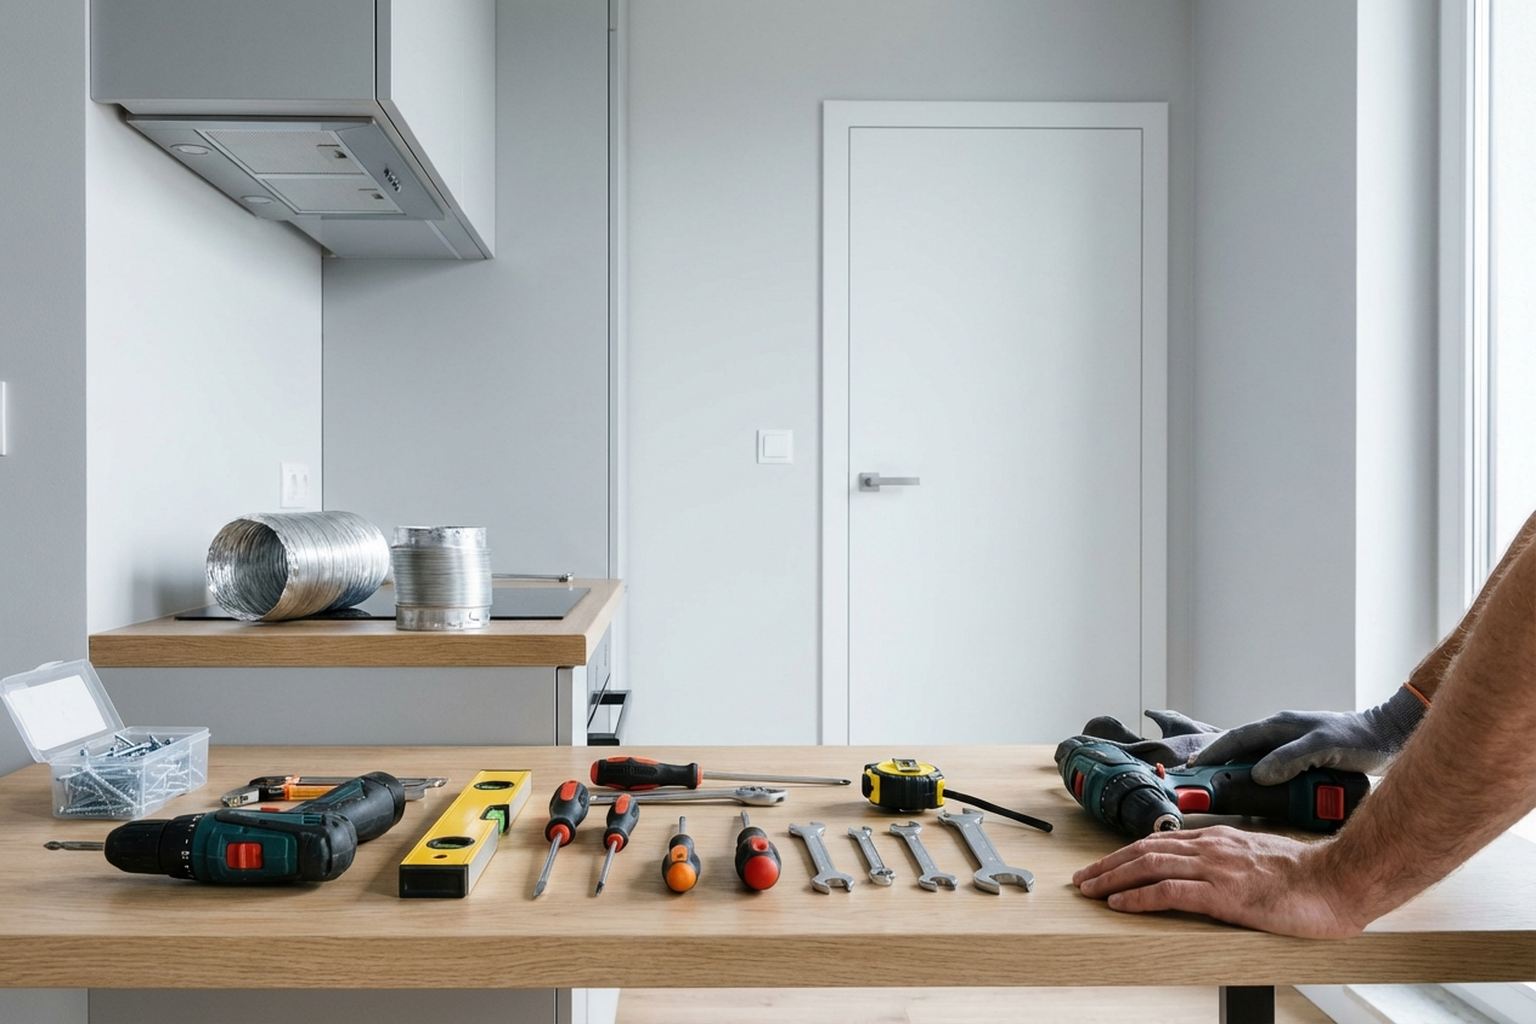
What to prepare before the technician arrives
- Buy the hood and check that everything is included (fixings, manual, adapters).
- Choose the type: ducted to the vent shaft or recirculating through a filter.
- Check where the ventilation opening is and what state it is in.
- Measure the distance from the hob to the vent — this is needed to choose the correct duct length.
- Make sure there is a power socket nearby (or tell us if there is not one).
- If the hood is built-in — check the inside dimensions of the cabinet.
- Clear the work area: take dishes and accessories out of the wall cabinets.
- Make sure there is access to a power socket for tools.
- Provide the intercom code and parking details.
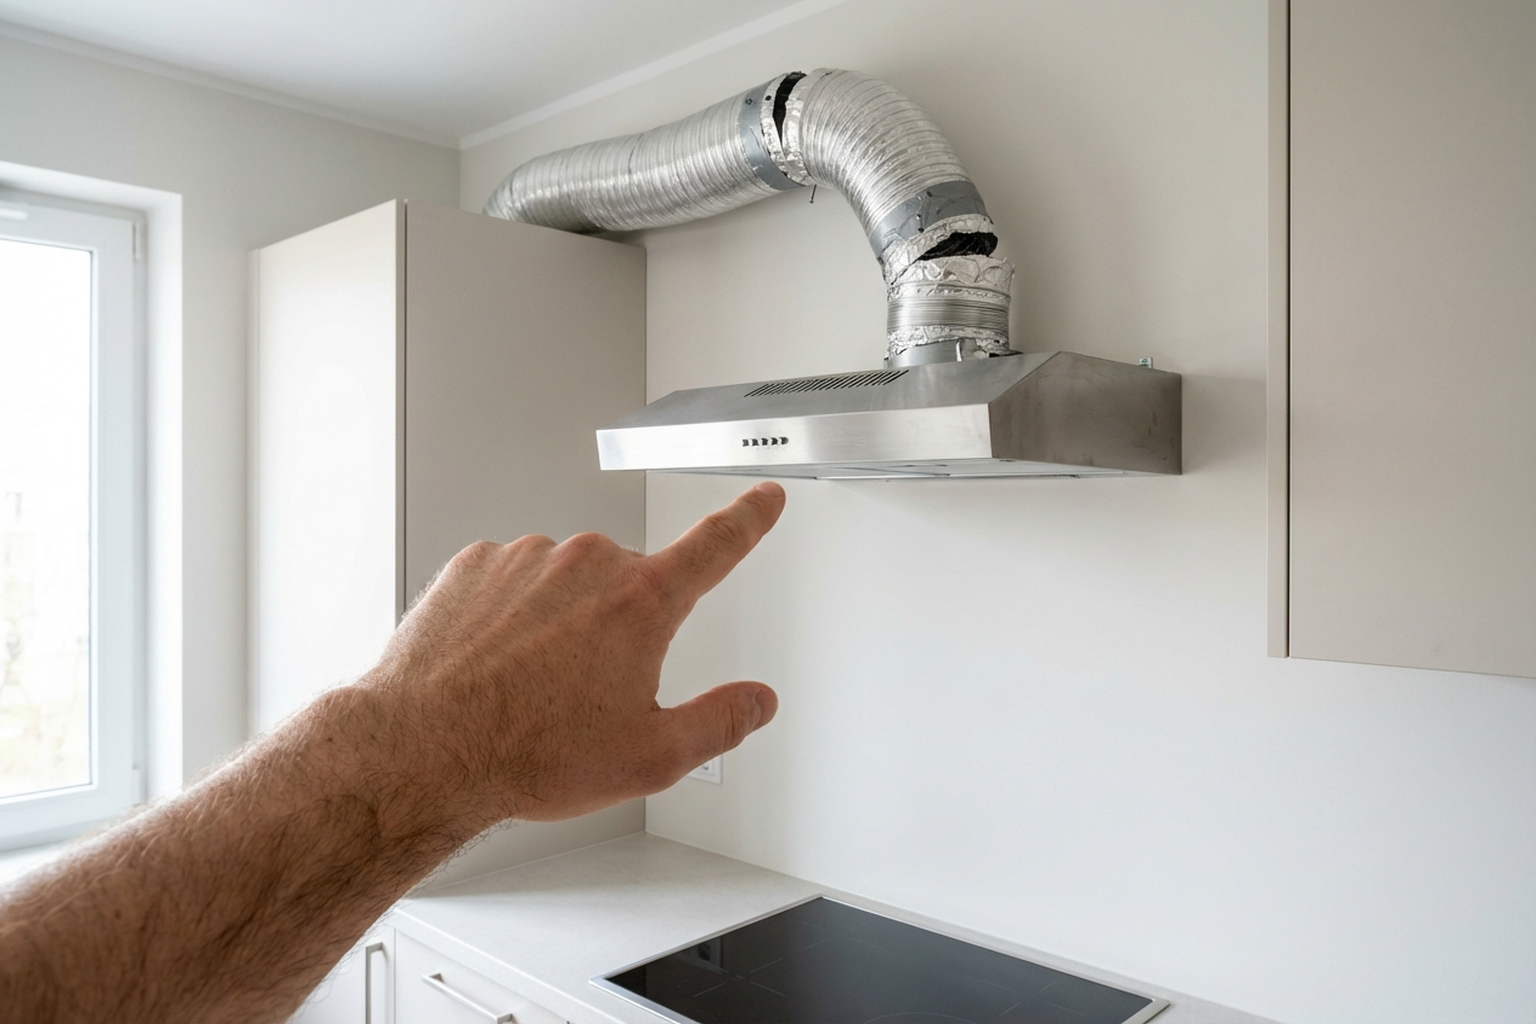
A real case from Warsaw
A client in Ursynow ordered installation of a built-in extractor hood in a new IKEA kitchen. The cabinet above the hob was standard, but the vent shaft was on the opposite wall — about 2.5 metres away. Running flexible ducting straight across would mean three tight bends and a big drop in airflow. The technician proposed taking rigid PVC ducting along the top of the wall cabinets with two smooth elbows. This meant cutting openings in the side panels of two cabinets. The duct was connected through a grille with a non-return valve to keep natural ventilation working. The power socket was placed inside the cabinet above the hood. The whole job took about 3 hours. The hood runs quietly even on the second speed — exactly because the ducting was installed without sharp angles.
Frequently asked questions
Which type of hood is better — ducted or recirculating?
Ducted is more efficient — it removes the air from the kitchen completely. Recirculating works when there is no option to connect to a vent shaft, but the carbon filter needs to be changed every 3-6 months.
What height should the hood be mounted at?
65 cm above an electric hob, 75 cm above gas. That is the standard for safety and good performance.
Can a hood be installed without ducting?
Yes, in recirculation mode. Air goes through a carbon filter and comes back into the kitchen. It is less effective, but it does not need a connection to the shaft.
What if the vent shaft is far from the hob?
Ducting is run to it — rigid channel or flexible hose. The shorter and straighter the route, the better the airflow. The technician will choose the best path.
Does the hood need a dedicated power socket?
Yes, that is recommended. It is usually placed behind the hood body or inside the cabinet above. If there is no socket — the technician can fit one.
How long does installation take?
Wall-mounted hood — 1-2 hours. Built-in with cabinet modification — 2-3 hours. Island hood — from 3 hours, depending on the ceiling and duct length.
Do you supply ducting and adapters?
Most often the client buys them. But if agreed in advance — we can bring the required parts.
Who does the work
Hood installations are done by professionals with hands-on experience in fitting kitchen appliances and ventilation systems. We work across all of Warsaw — from Praga-Poludnie to Wilanow. Minimum order — see the price list for the current amount. To book, call or send us a message — we reply within an hour and arrange a suitable time.