

Built-in Fridge Connection in Warsaw
22.02.2026A built-in fridge is not the kind of appliance you just slide into a cabinet and plug in. The unit is installed inside a tall housing column (niche of 178 or 122 cm), the door panel attaches via a sliding rail system, and without a ventilation grille in the plinth and holes in the back panel of the cabinet the compressor will overheat. Levelling is critical — if the fridge is even slightly off, the door won’t align with the neighbouring furniture fronts, and the whole kitchen will look sloppy. If you’re not confident doing it yourself, call a technician — it’ll save your nerves and your cabinet doors.
How much does it cost and what affects the price
The cost of connecting a built-in fridge depends on the rail type (sliding or fixed), whether the cabinet needs modification, and the state of ventilation in the niche. If the back panel of the housing is solid and ventilation holes need cutting — that’s extra work. Fixings and small consumables are included in the price; the fridge itself and the door panel are charged separately. Current prices for kitchen services are in the table below.
| Service | min | max |
|---|---|---|
| Kitchen furniture installation (complete set) | 20% od ceny | 25% od ceny |
| Kitchen base cabinet installation | 250 zł | 400 zł |
| Wall cabinet installation | 250 zł | 400 zł |
| Kitchen cabinet door adjustment | 80 zł | 150 zł |
| Hinge replacement | 60 zł/szt | 120 zł/szt |
| Kitchen countertop installation | 200 zł/mb | 350 zł/mb |
| Laminate countertop installation | 150 zł/mb | 250 zł/mb |
| Composite countertop installation | 250 zł/mb | 400 zł/mb |
| Countertop joining | 190 zł/szt | 300 zł/szt |
| Countertop cutout (sink / hob) | 120 zł/szt | 200 zł/szt |
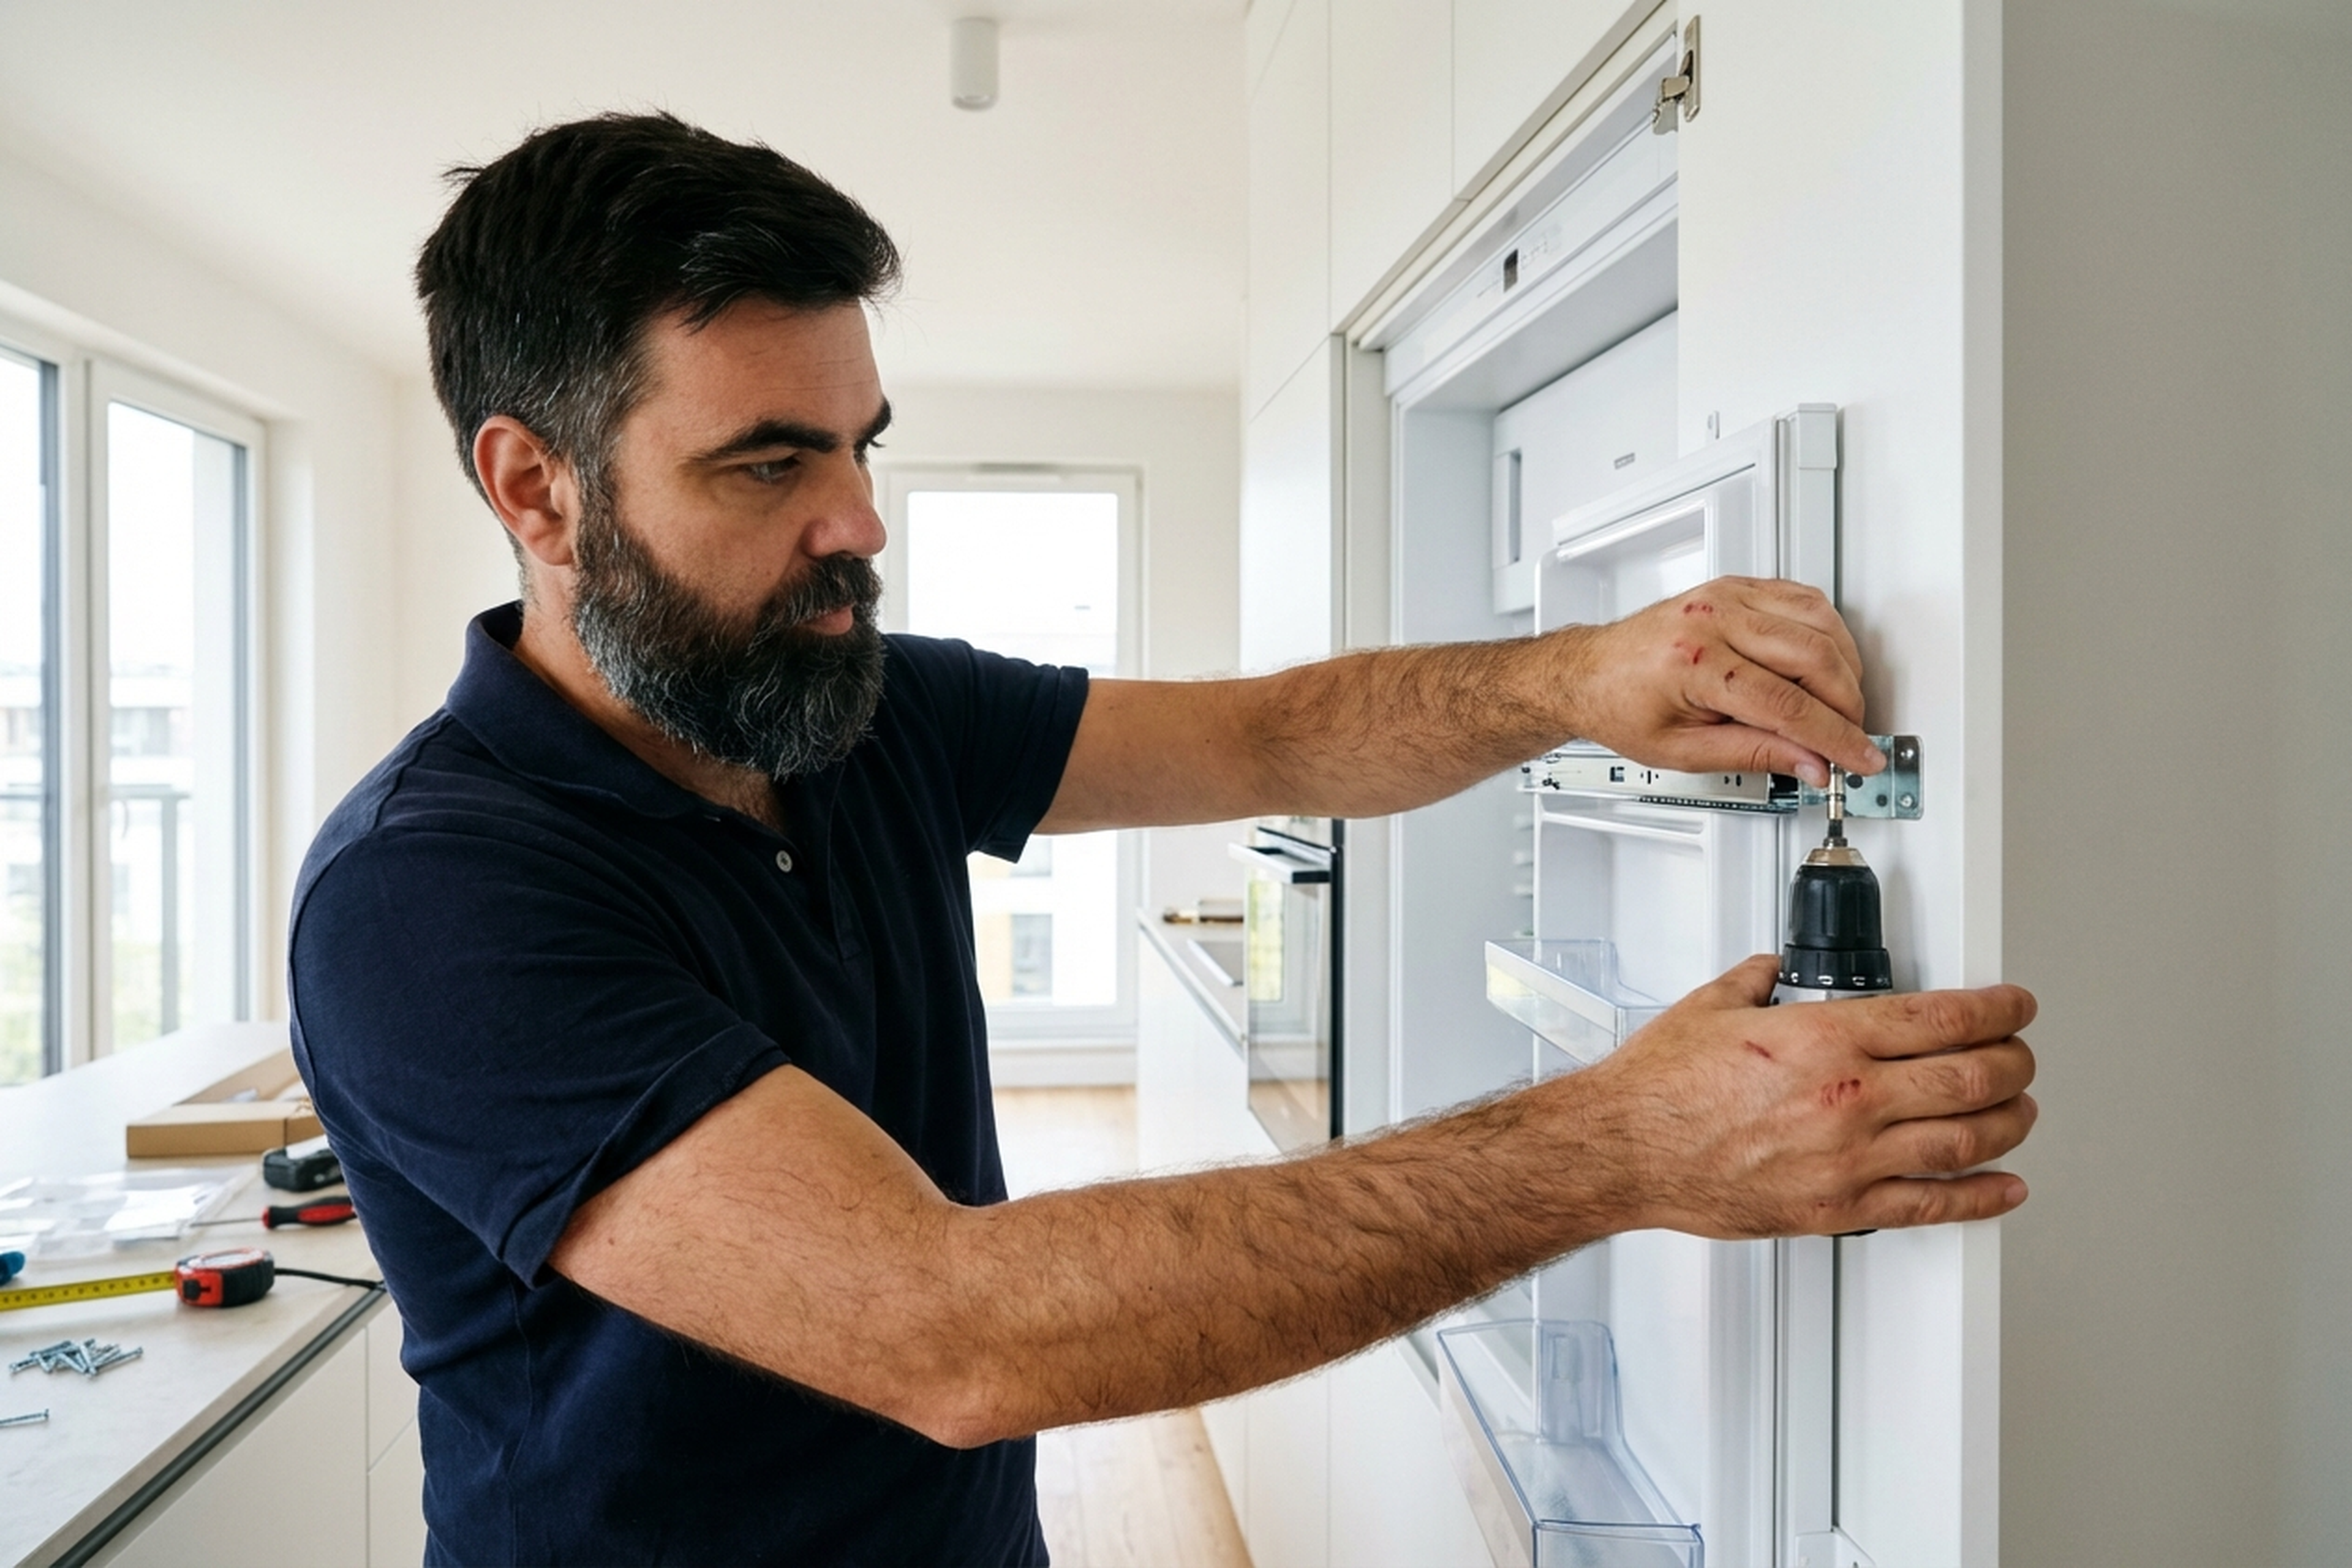
How the on-site work goes
- You send a photo of the niche and the fridge model — the technician assesses compatibility and scope of work.
- We agree on a visit time — usually same-day or next-day.
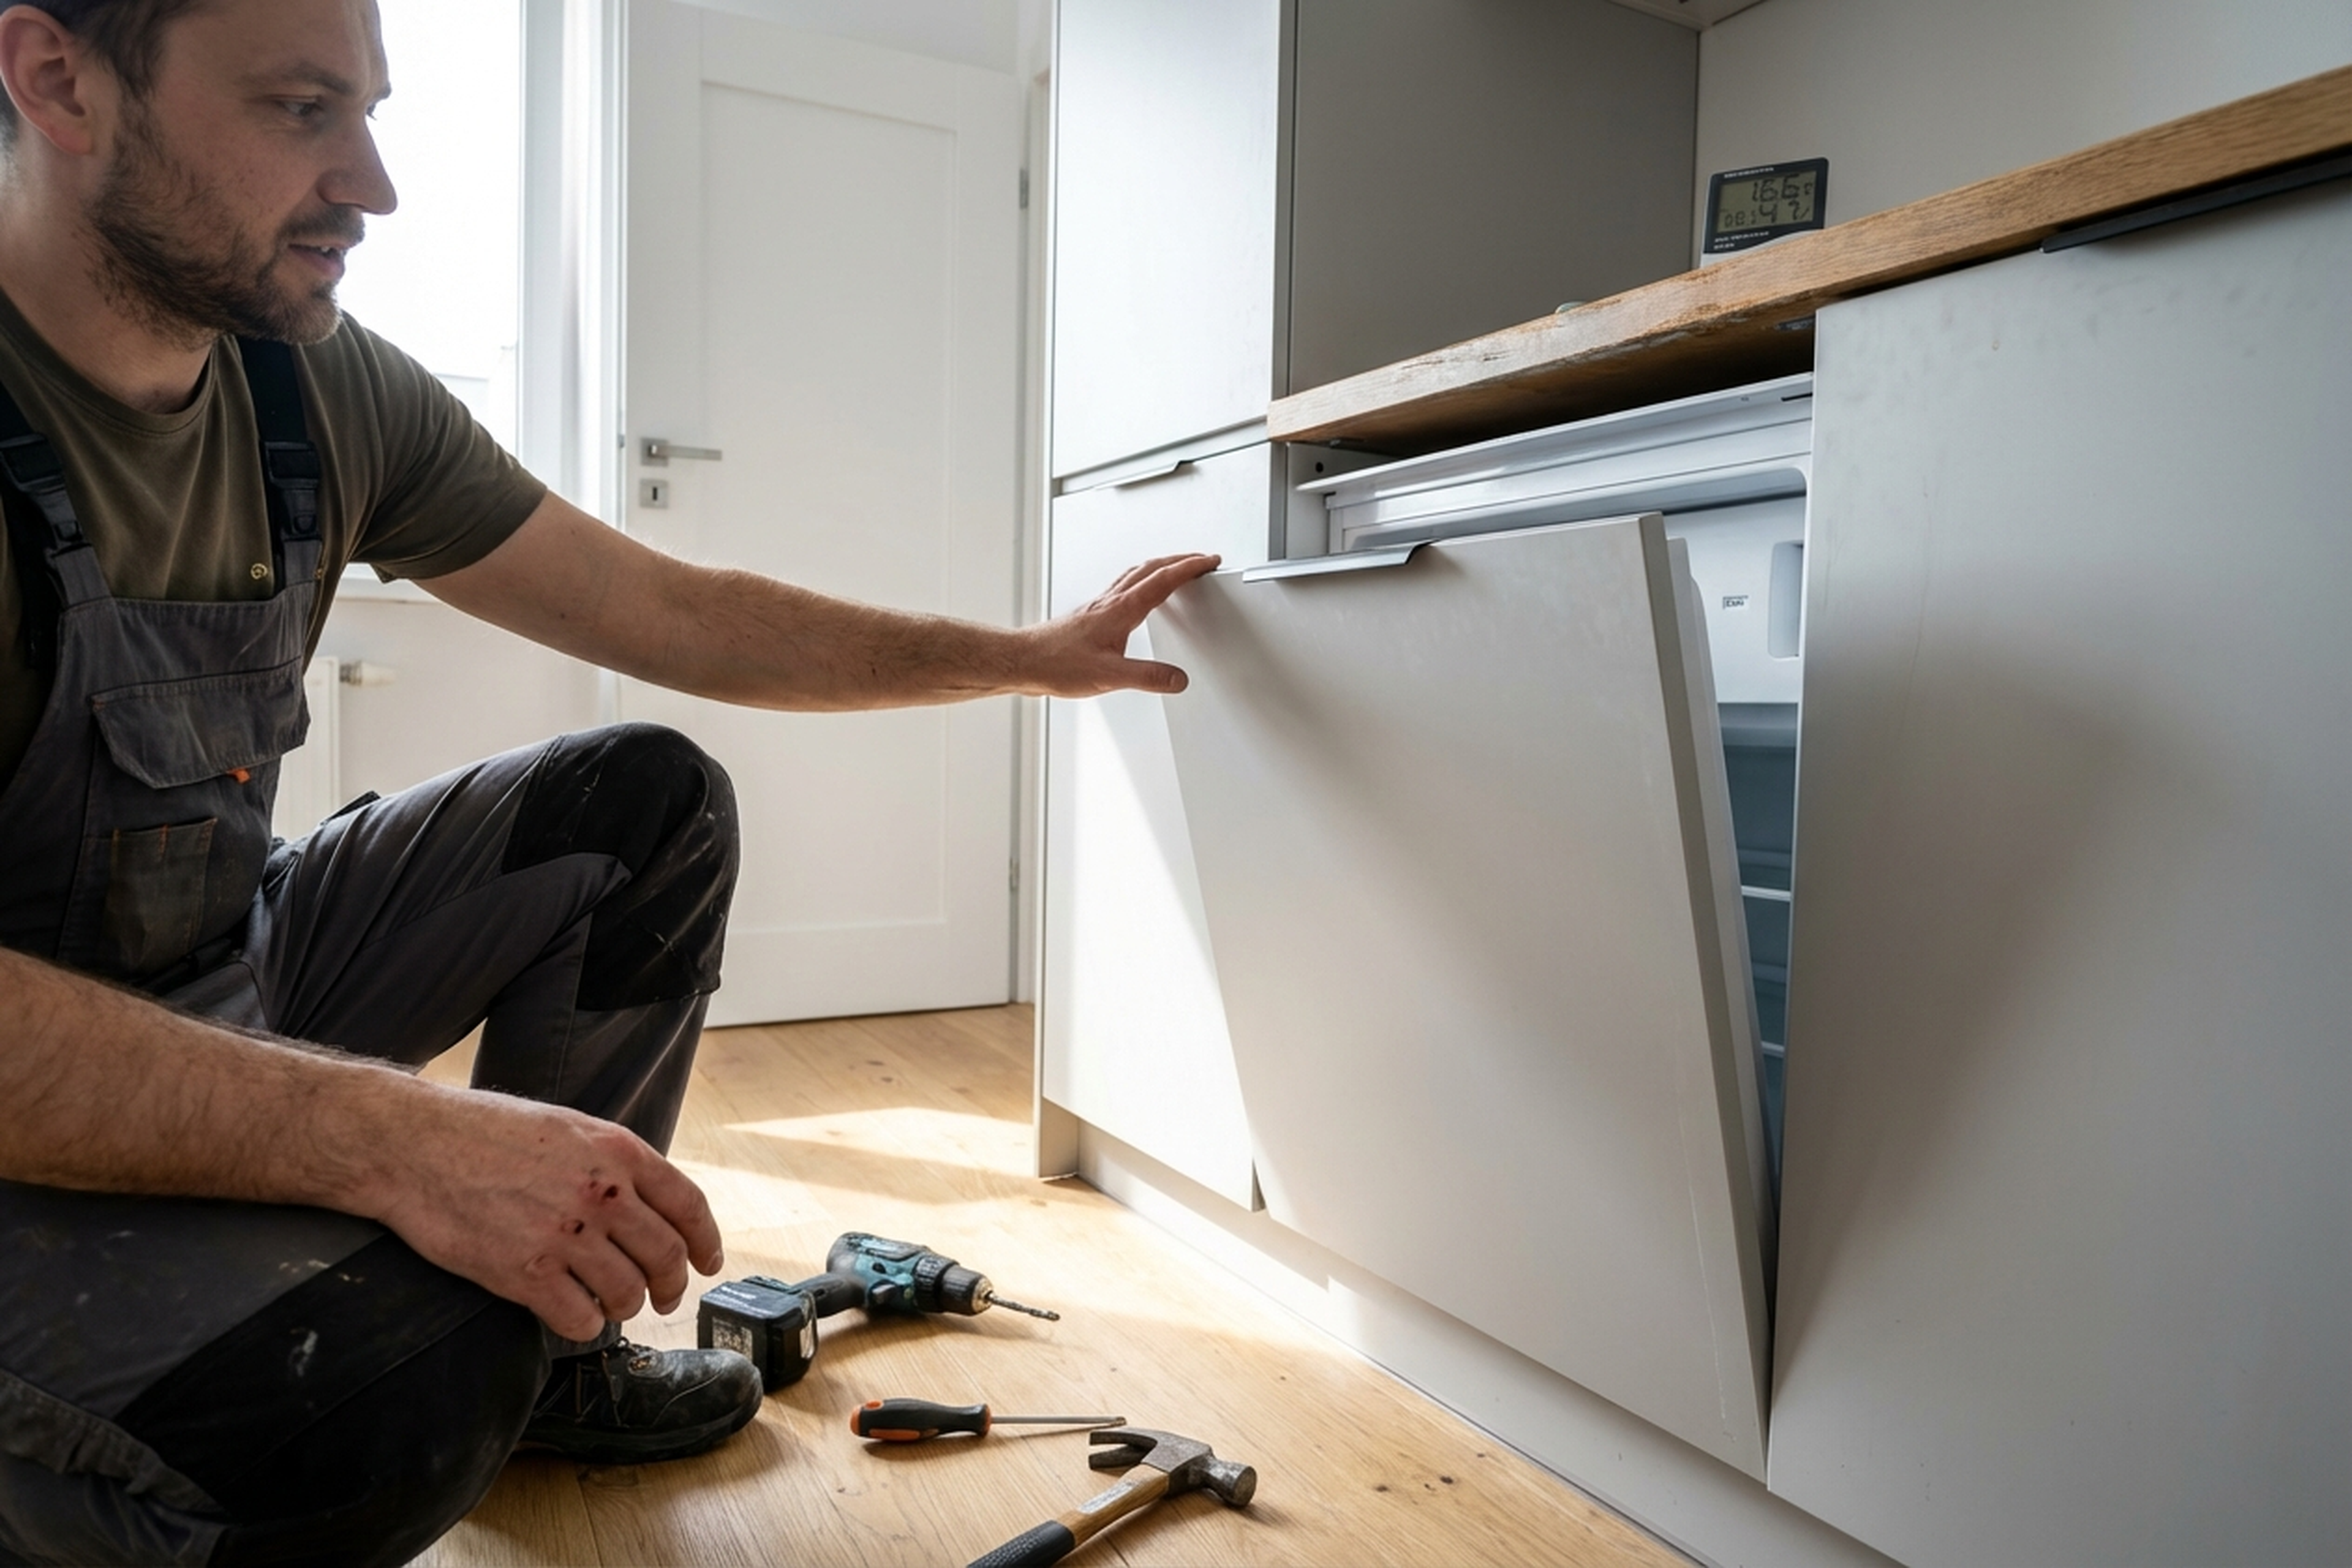
- On site, the technician checks the niche dimensions: depth, width, height, and socket location.
- If needed, cuts ventilation holes in the back panel and installs a grille in the plinth.
- Slides the fridge into the niche, levels it with adjustable feet — the door must align with neighbouring furniture fronts.
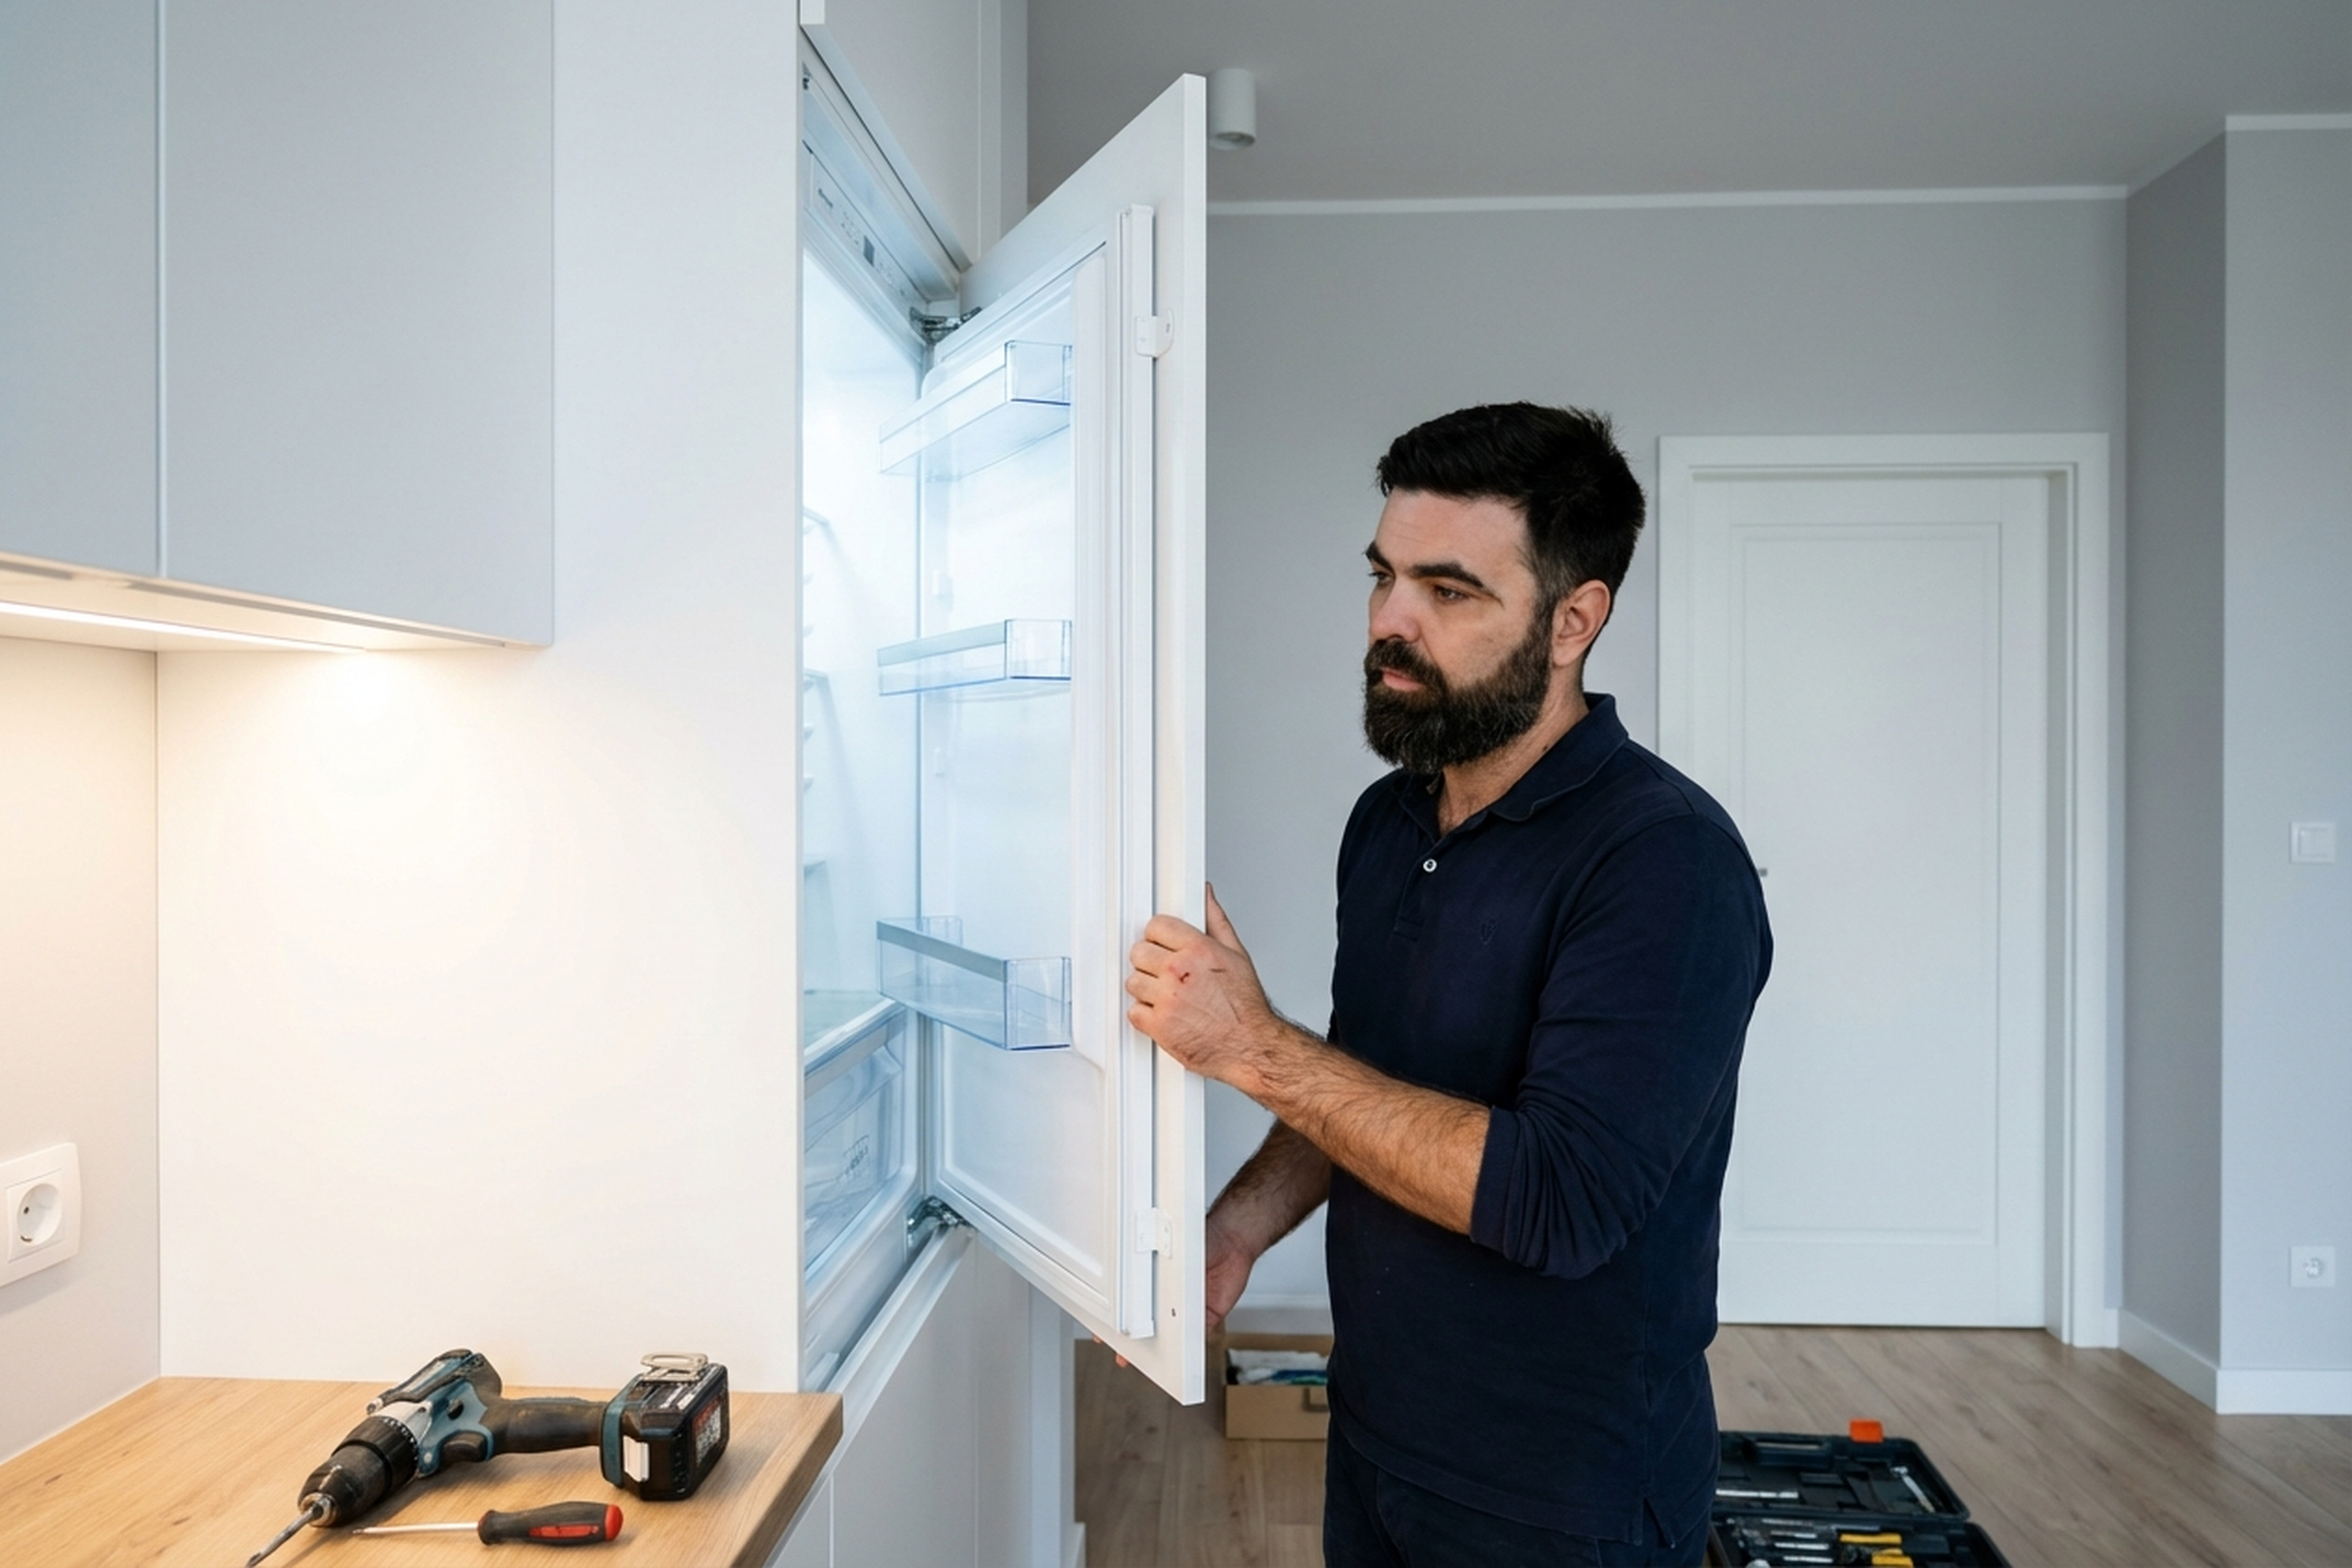
- Attaches the door panel via the slide-on rail system or fixed-hinge mounting.
- Tests opening and closing, seal contact, compressor operation. Cleans up.
Common customer mistakes (and how to avoid them)
- Buying a fridge without measuring the niche — the appliance doesn’t fit by depth or height, and has to be exchanged.
- Forgetting about ventilation — without a plinth grille and a gap at the back, the compressor overheats, power consumption rises, and the lifespan drops.
- Not checking the hinge side — the door opens the wrong way and hits the wall.
- Installing without a level — the front is skewed relative to neighbouring cabinets, the gap is visible to the naked eye.
- Screwing the door panel on instead of using rails — after six months the panel sags and the hinges loosen.
- Leaving no gap between the top of the fridge and the cabinet shelf — hot air can’t escape, the appliance works overtime.
- Pushing the unit flush against the back panel — the hose kinks and vibrations transfer to the furniture frame.
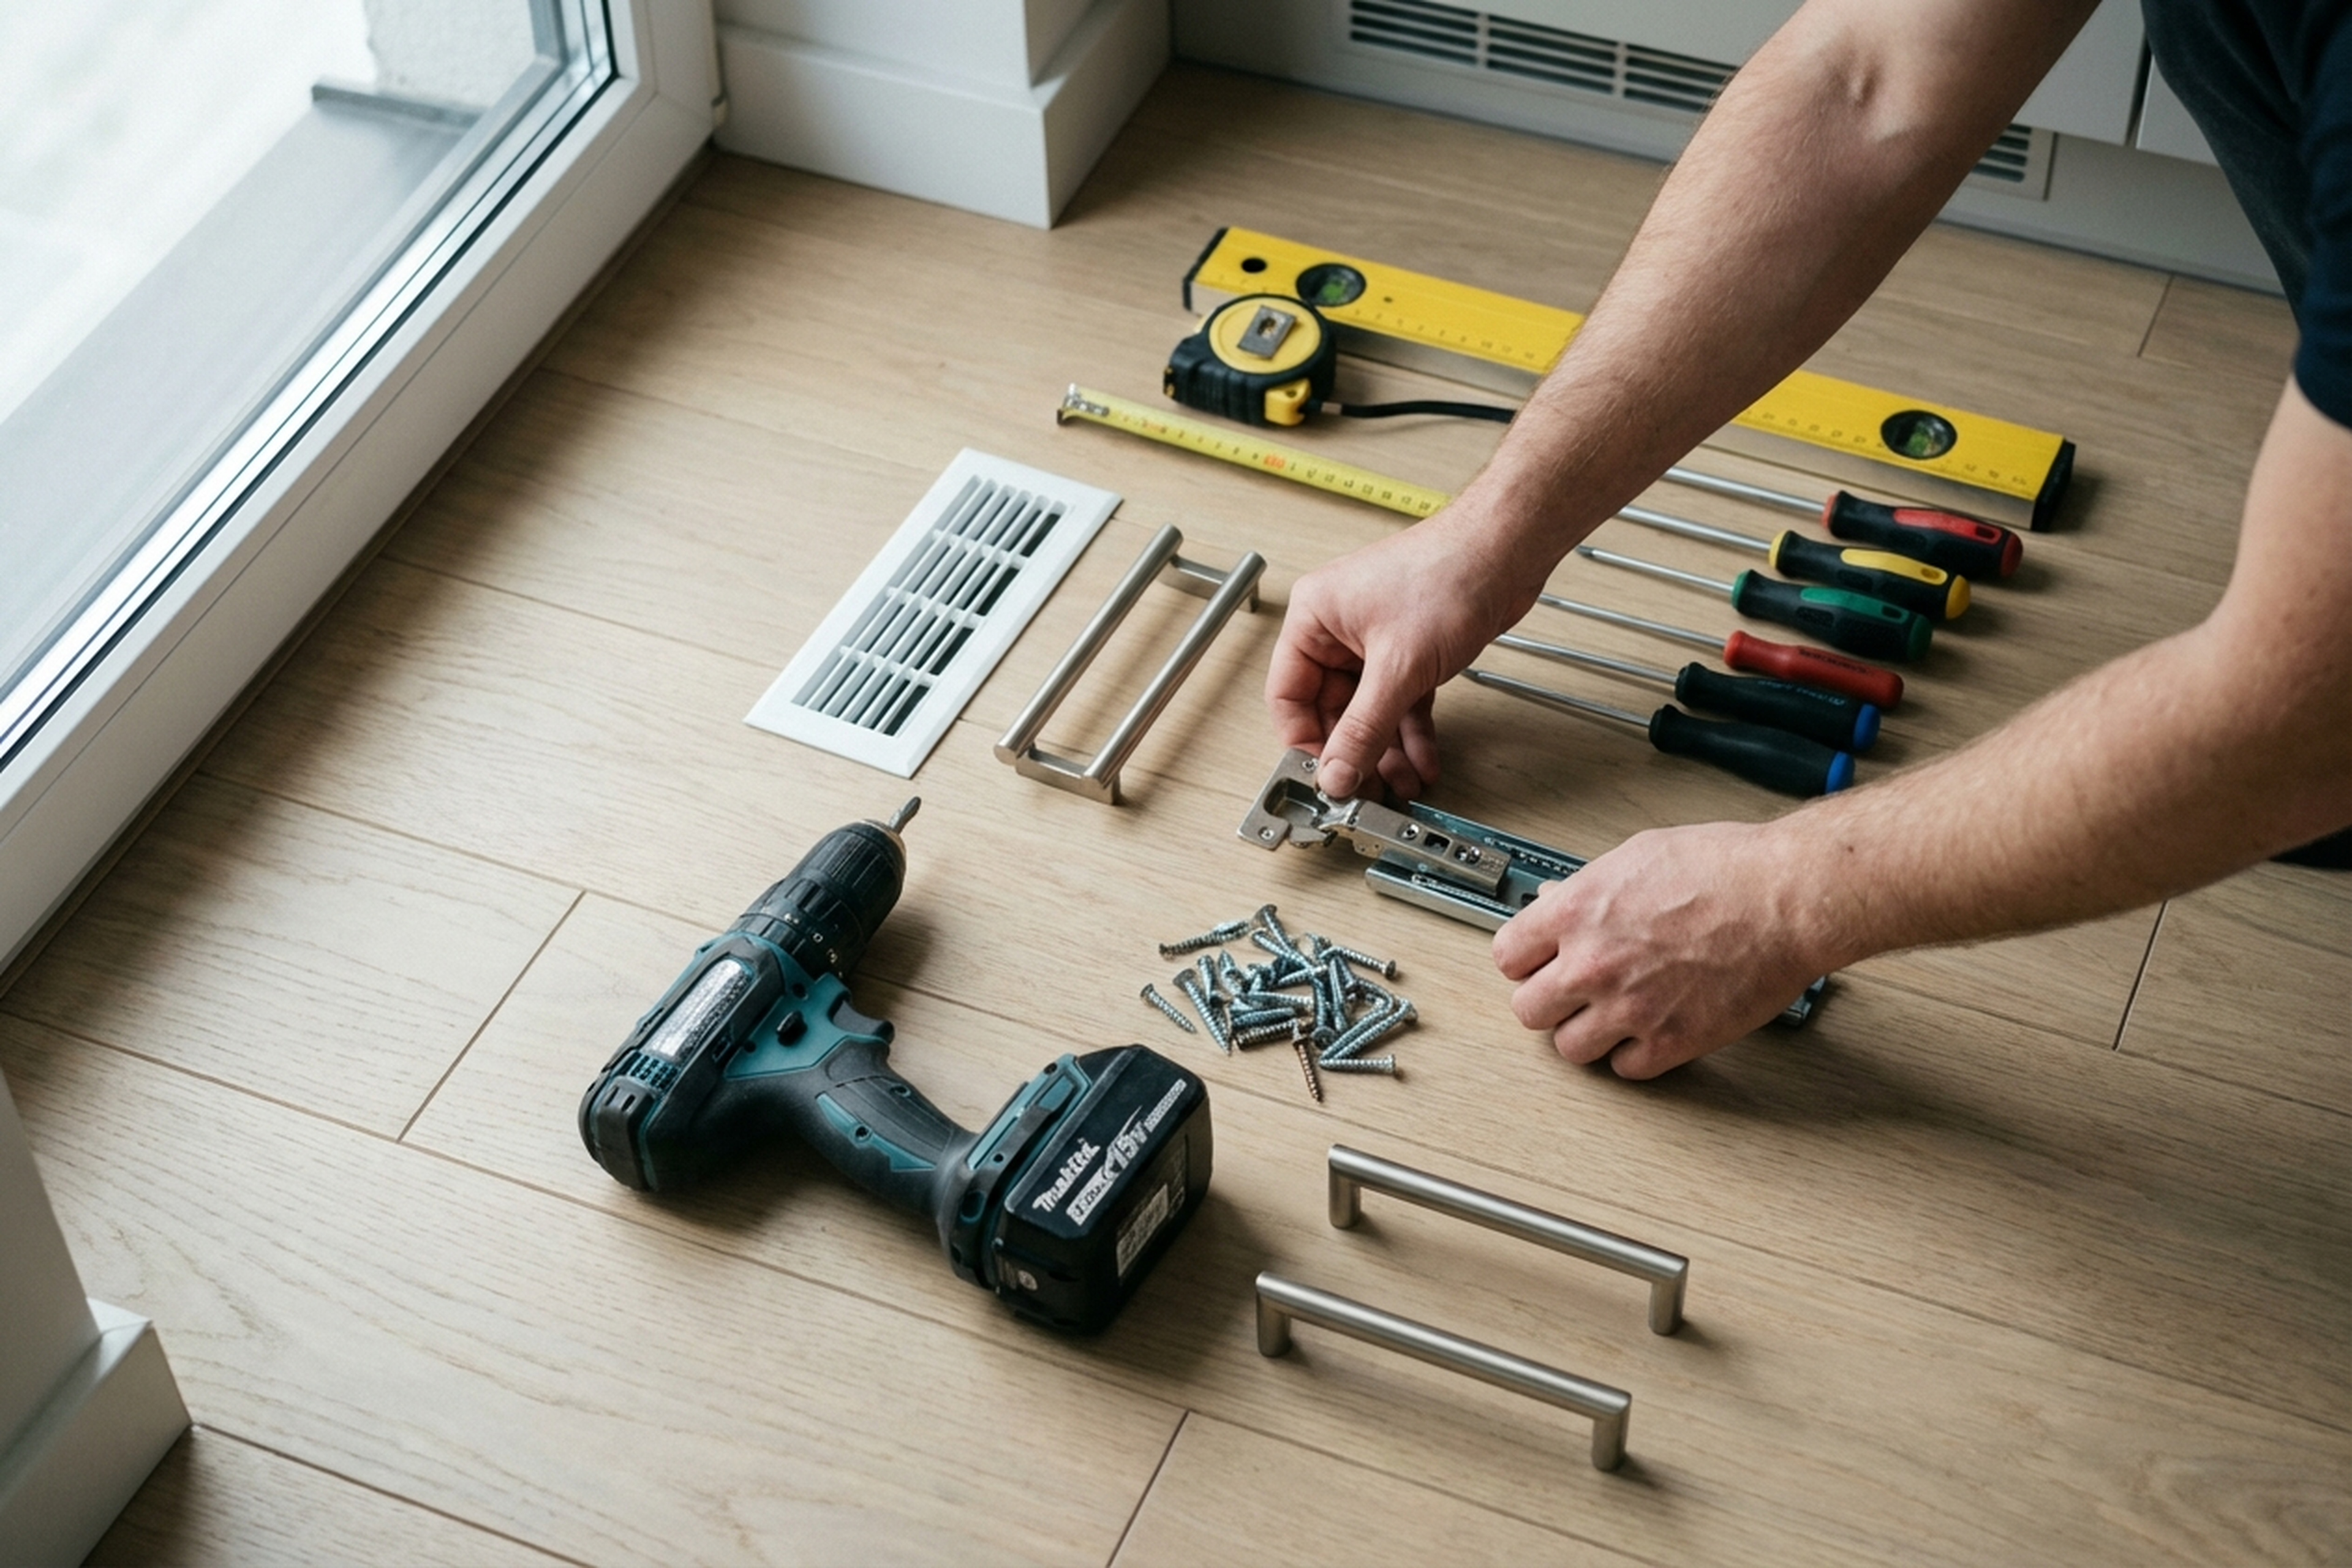
What to prepare before the technician arrives

- Measure the niche: height, width, depth — and share these along with the fridge model.
- Check whether there’s a socket inside or next to the niche (not behind the fridge — access to the plug must be unobstructed).
- Make sure the door panel is included or ordered separately — the size must match the appliance.
- Clear the path to the kitchen — the fridge will need to be carried in and manoeuvred.
- Remove the plinth strip if it blocks access to the bottom of the niche.
- Have the fridge manual ready — it shows the door mounting diagram and ventilation requirements.
- Confirm which side the door should open (left or right).
- Make sure the floor under the niche is level — a difference of more than 2 mm complicates levelling.
- Provide access to the building and apartment: intercom, lift, parking info.
A real case from Warsaw
A client in Żoliborz ordered an IKEA kitchen and separately bought a Samsung 178 cm built-in fridge. When he tried to install it himself, he found the back panel of the housing was solid with no ventilation, and the door panel wouldn’t fit the rails — IKEA brackets didn’t match Samsung’s mounting points. The technician arrived, cut two ventilation openings in the back panel, fitted a plastic grille in the plinth, and adapted the mounting strips to the fridge’s slide-on system. He levelled the appliance — the floor had a 3 mm slope, which required shims to compensate. The front lined up perfectly with the rest of the cabinets. The job took about 2 hours. Takeaway: brackets from different furniture and appliance manufacturers almost never match — on-site modification is practically unavoidable.
Frequently asked questions
Can a built-in fridge go into a regular cabinet?
Technically yes, but the cabinet must be deep enough (at least 55 cm inside), with ventilation at the back and bottom. A standard kitchen cabinet usually won’t work without modification.
Why is a ventilation grille in the plinth necessary?
The fridge compressor generates heat. If air doesn’t circulate through the niche, the appliance overheats, uses more energy, and fails sooner.
Does the door panel come with the fridge?
No. The door panel is usually ordered with the kitchen furniture. Its dimensions must match the fridge model exactly.
What if the fridge door doesn’t line up with the other fronts?
Most often the problem is incorrect levelling. The technician adjusts the feet and hinges — that’s usually enough.
How long does installation take?
From 1 to 2.5 hours, depending on whether the niche needs modification (ventilation, bracket adaptation).
Can the door be rehung on the other side?
On most models, yes. Moving the hinges takes 20–30 minutes.
Will you carry the fridge into the apartment?
If the appliance is already inside, we’ll install it on the spot. Carrying it in from the street or stairwell is an extra charge.
Who does the work

Built-in kitchen appliance installation is carried out by technicians experienced with IKEA, Nobilia, Black Red White, and custom kitchens. We cover all of Warsaw and nearby suburbs. To book, message or call us — we’ll reply within an hour and arrange a convenient time.