
Kitchen Plinth Installation in Warsaw — Kickboard Fitting
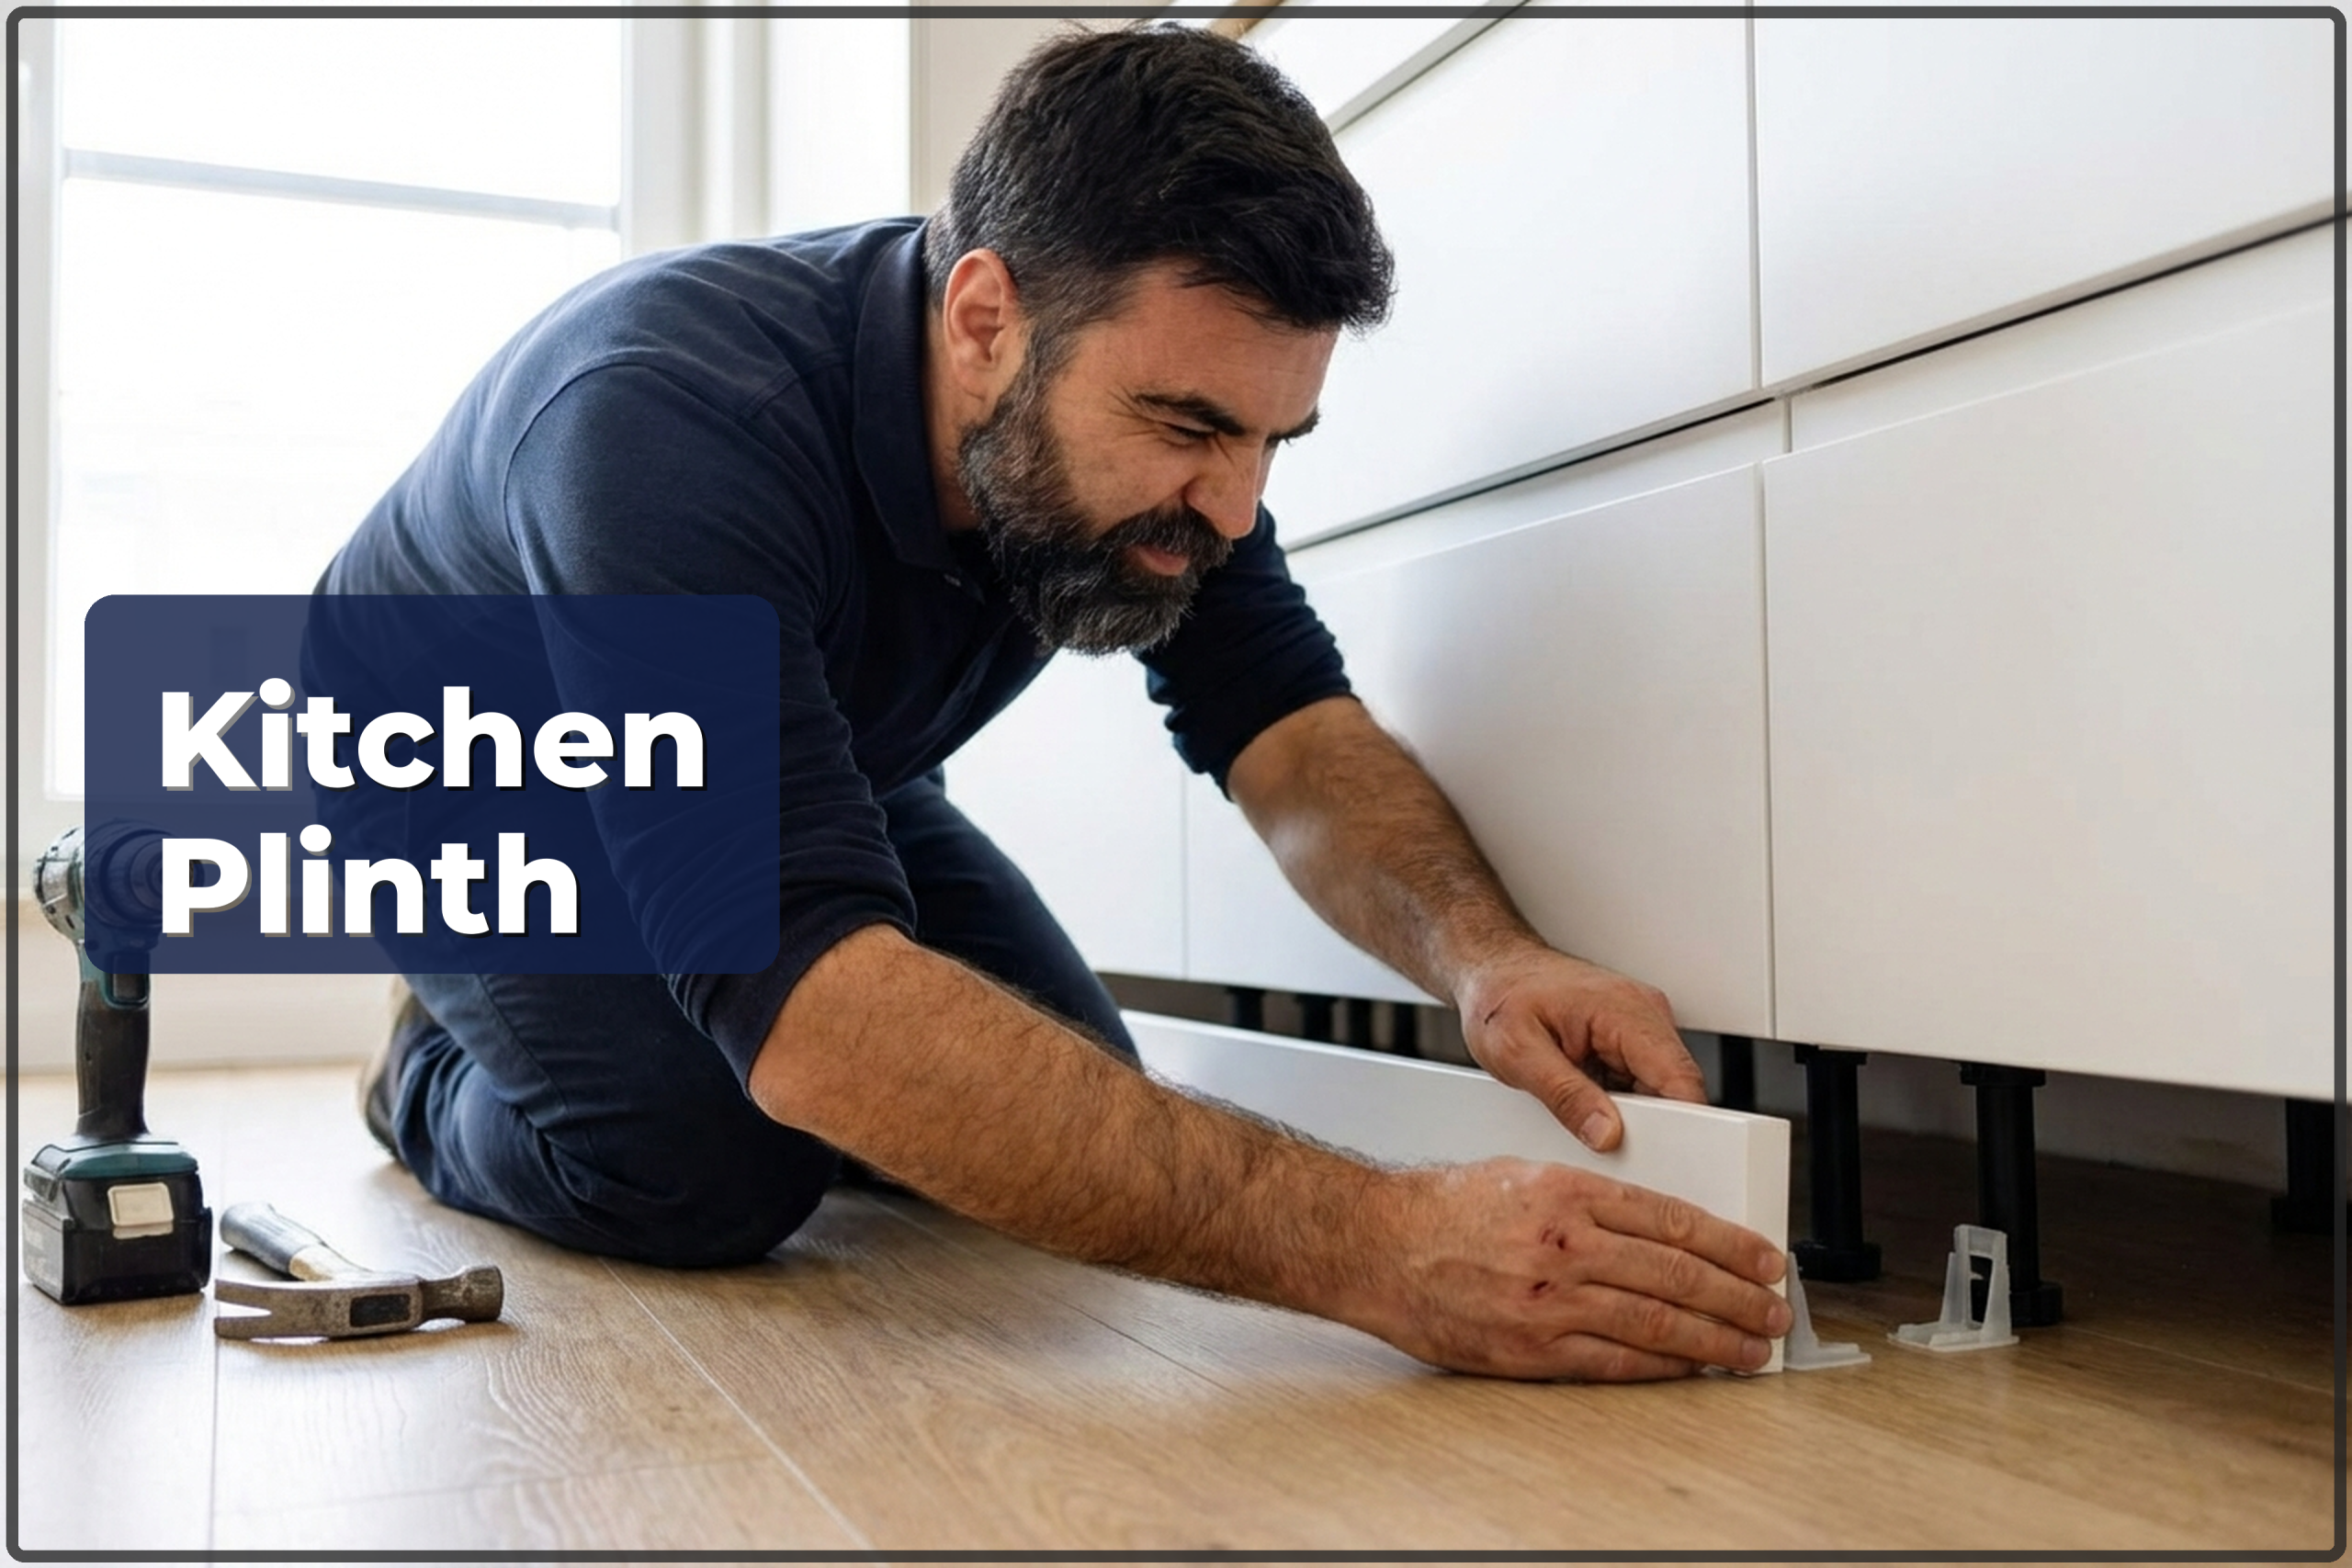
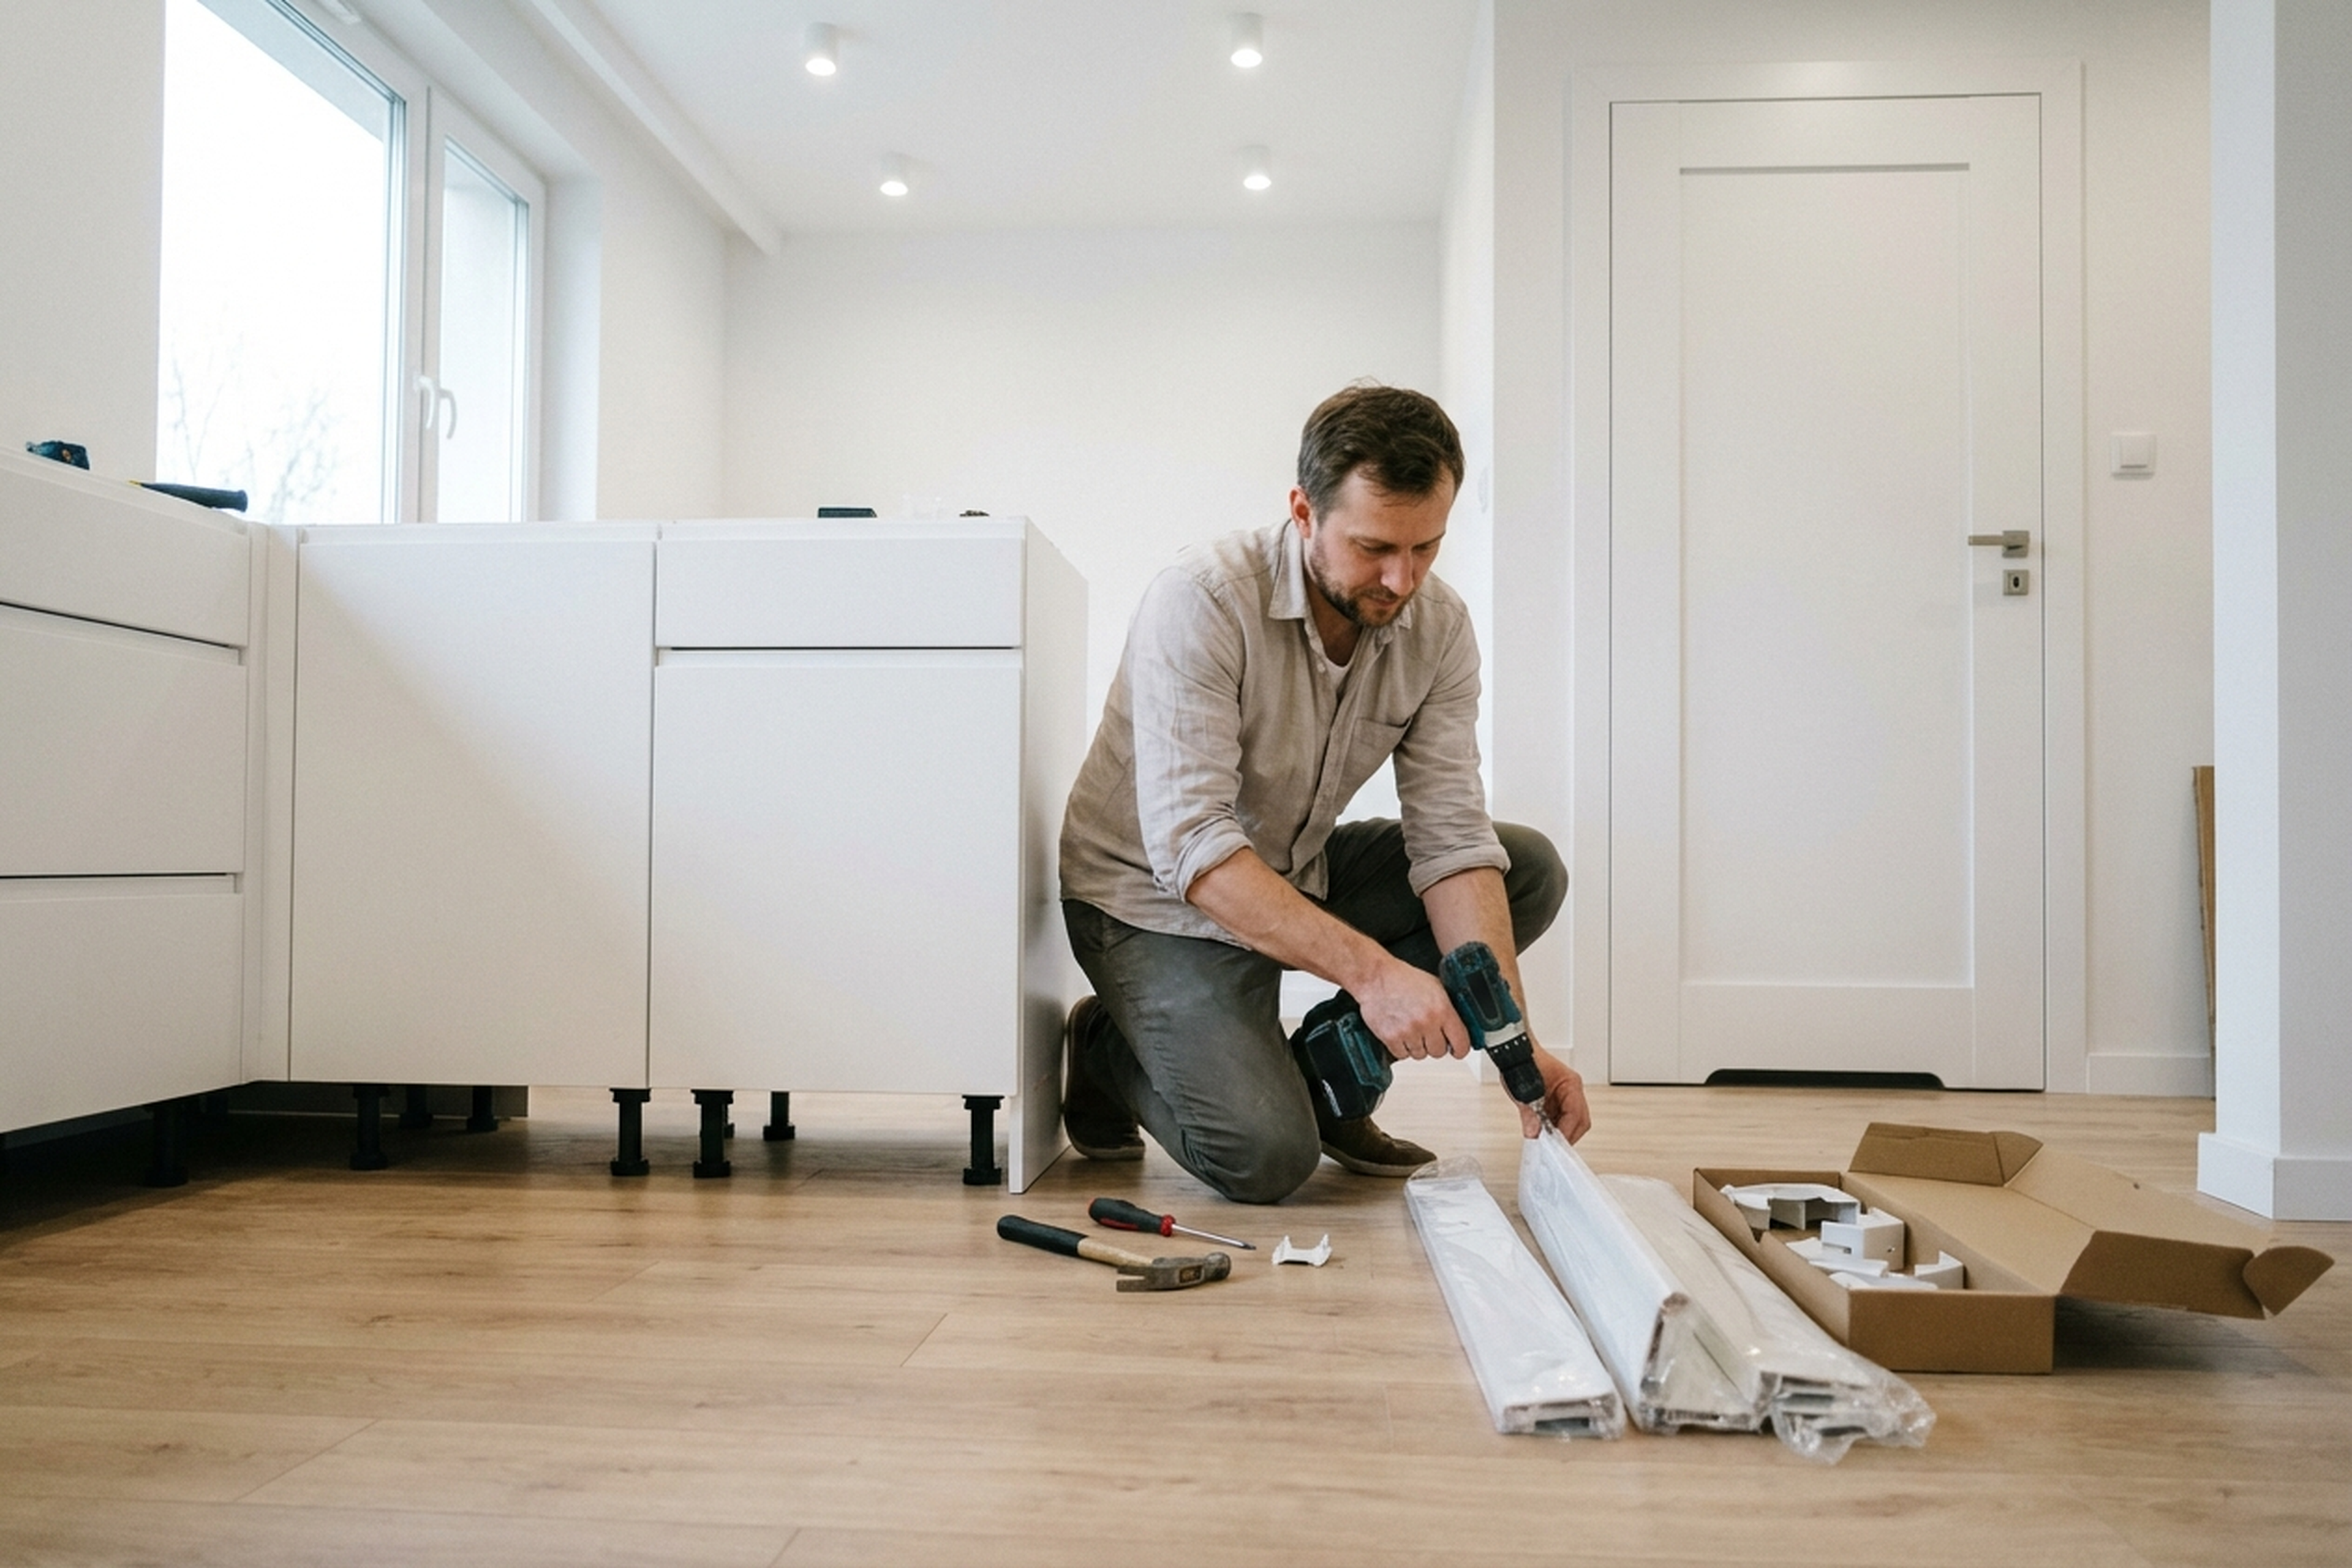
22.02.2026A kitchen plinth (kickboard) is the decorative panel between the floor and the base cabinets. It hides the adjustable legs, pipes, and cables that would otherwise spoil the look of your kitchen. Usually made from PVC or aluminium, it clips onto the cabinet legs. Sounds simple, but in practice you need precise cuts to length, neat work around corners, ventilation grilles, and the dishwasher. If your kitchen was assembled without a plinth or the old one has cracked — call a professional rather than waste material on trial and error.
How much does it cost and what affects the price
The cost of kitchen plinth installation depends on the total length, number of corners, and cutouts. A straight run with no obstacles is one price; going around a dishwasher with a ventilation grille and two corners is another. Fixings (clips, corner joints) are usually included in the labour cost. The plinth panel itself is charged separately if you haven’t bought it in advance. Current prices for all kitchen services are in the table below.
| Service | min | max |
|---|---|---|
| Kitchen furniture installation (complete set) | 20% od ceny | 25% od ceny |
| Kitchen base cabinet installation | 250 zł | 400 zł |
| Wall cabinet installation | 250 zł | 400 zł |
| Kitchen cabinet door adjustment | 80 zł | 150 zł |
| Hinge replacement | 60 zł/szt | 120 zł/szt |
| Kitchen countertop installation | 200 zł/mb | 350 zł/mb |
| Laminate countertop installation | 150 zł/mb | 250 zł/mb |
| Composite countertop installation | 250 zł/mb | 400 zł/mb |
| Countertop joining | 190 zł/szt | 300 zł/szt |
| Countertop cutout (sink / hob) | 120 zł/szt | 200 zł/szt |
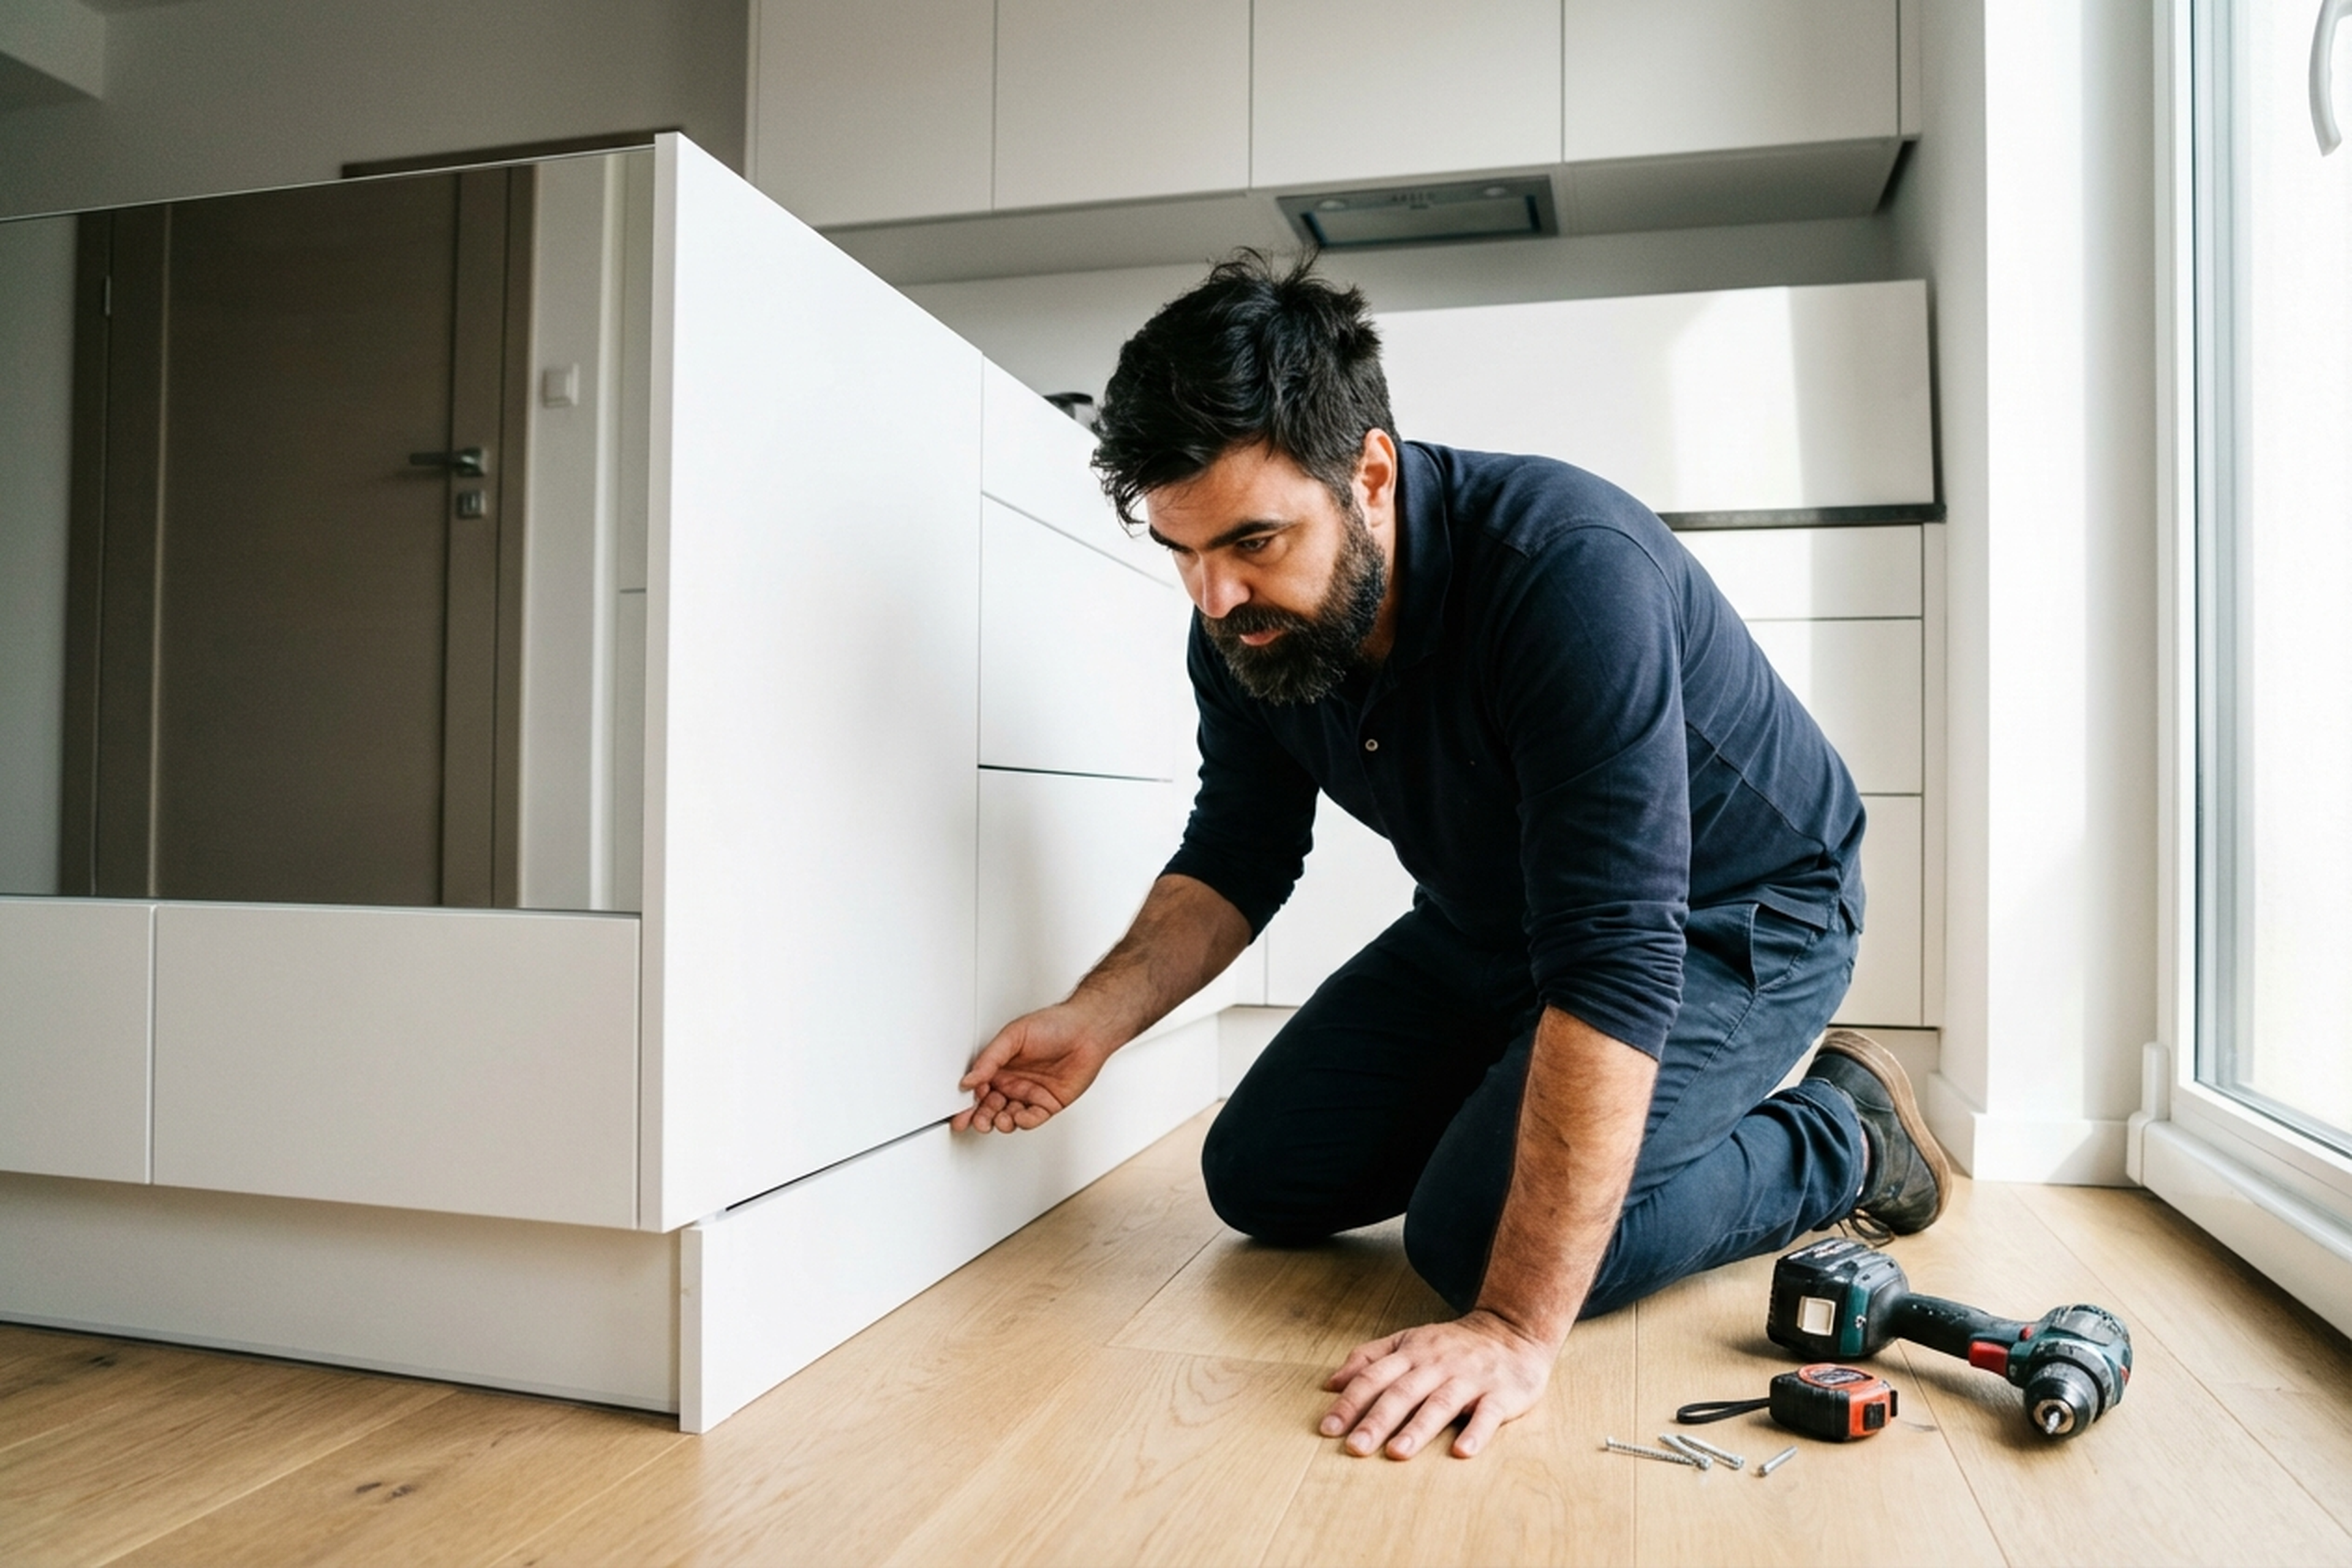
How the on-site work goes
- You send a photo of the bottom of your kitchen — the technician assesses the scope and materials needed.
- We agree on a time — usually same-day or next-day visit.
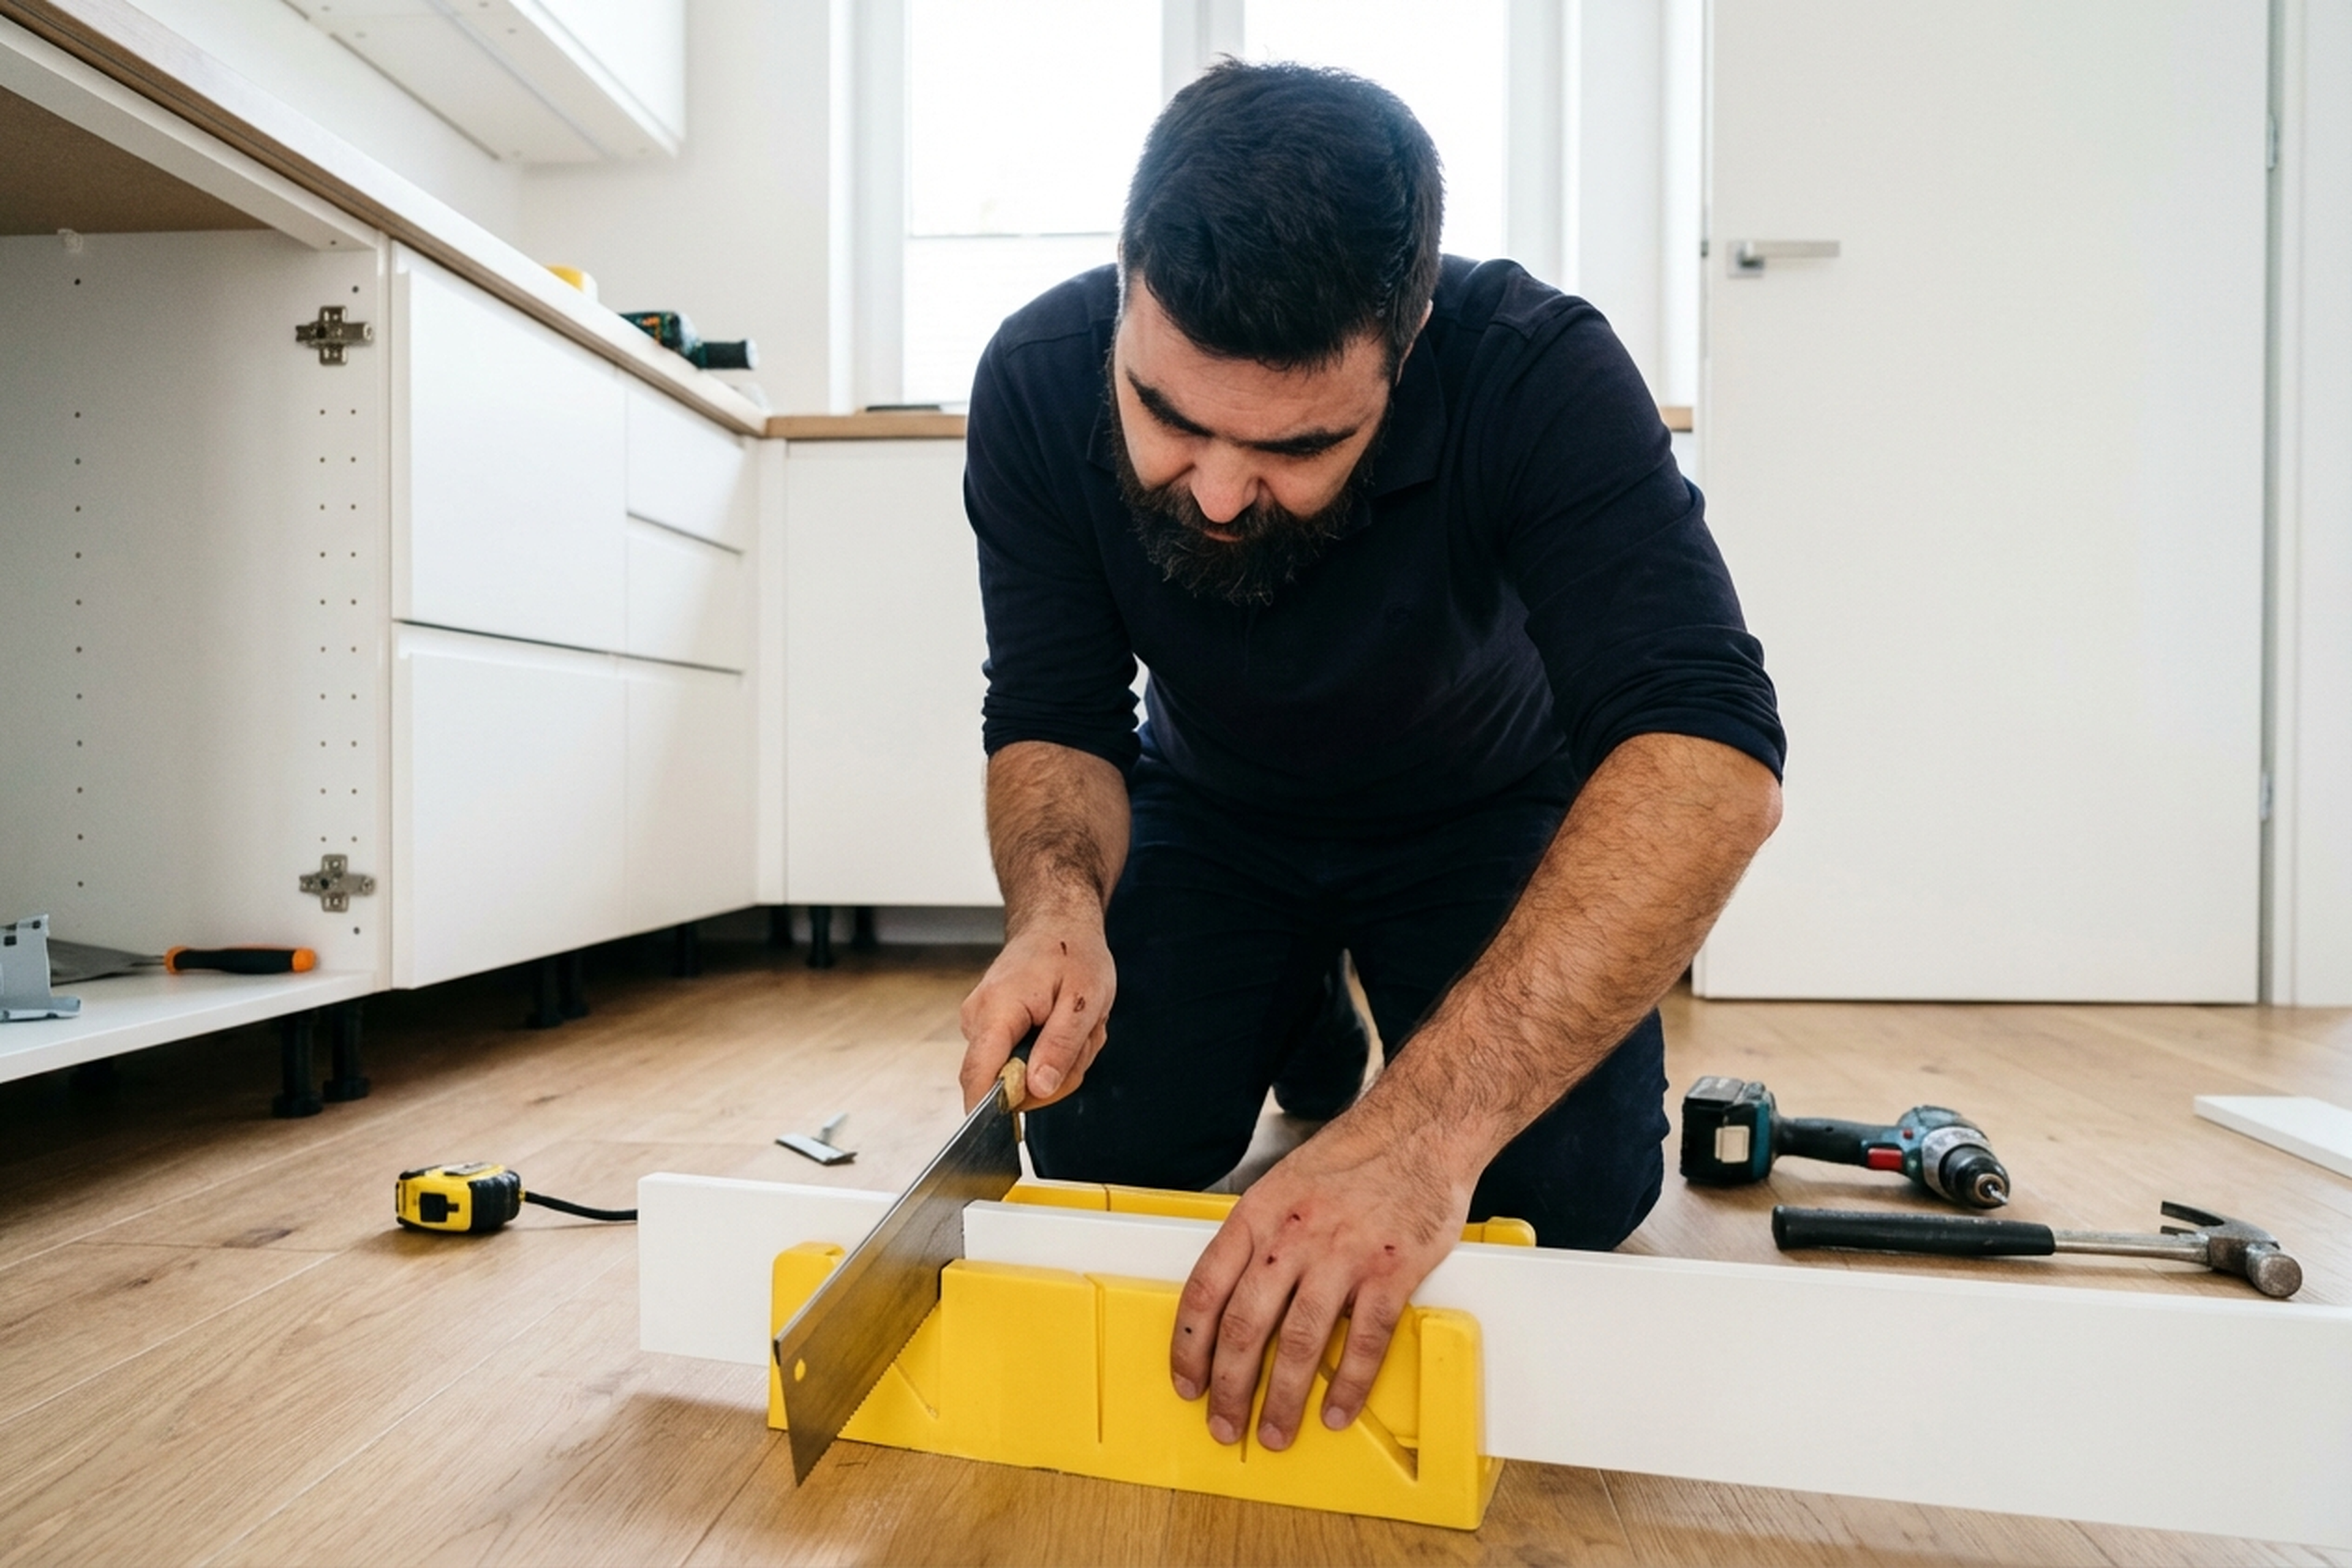
- On site, the technician measures every section, marks corners and cutout positions.
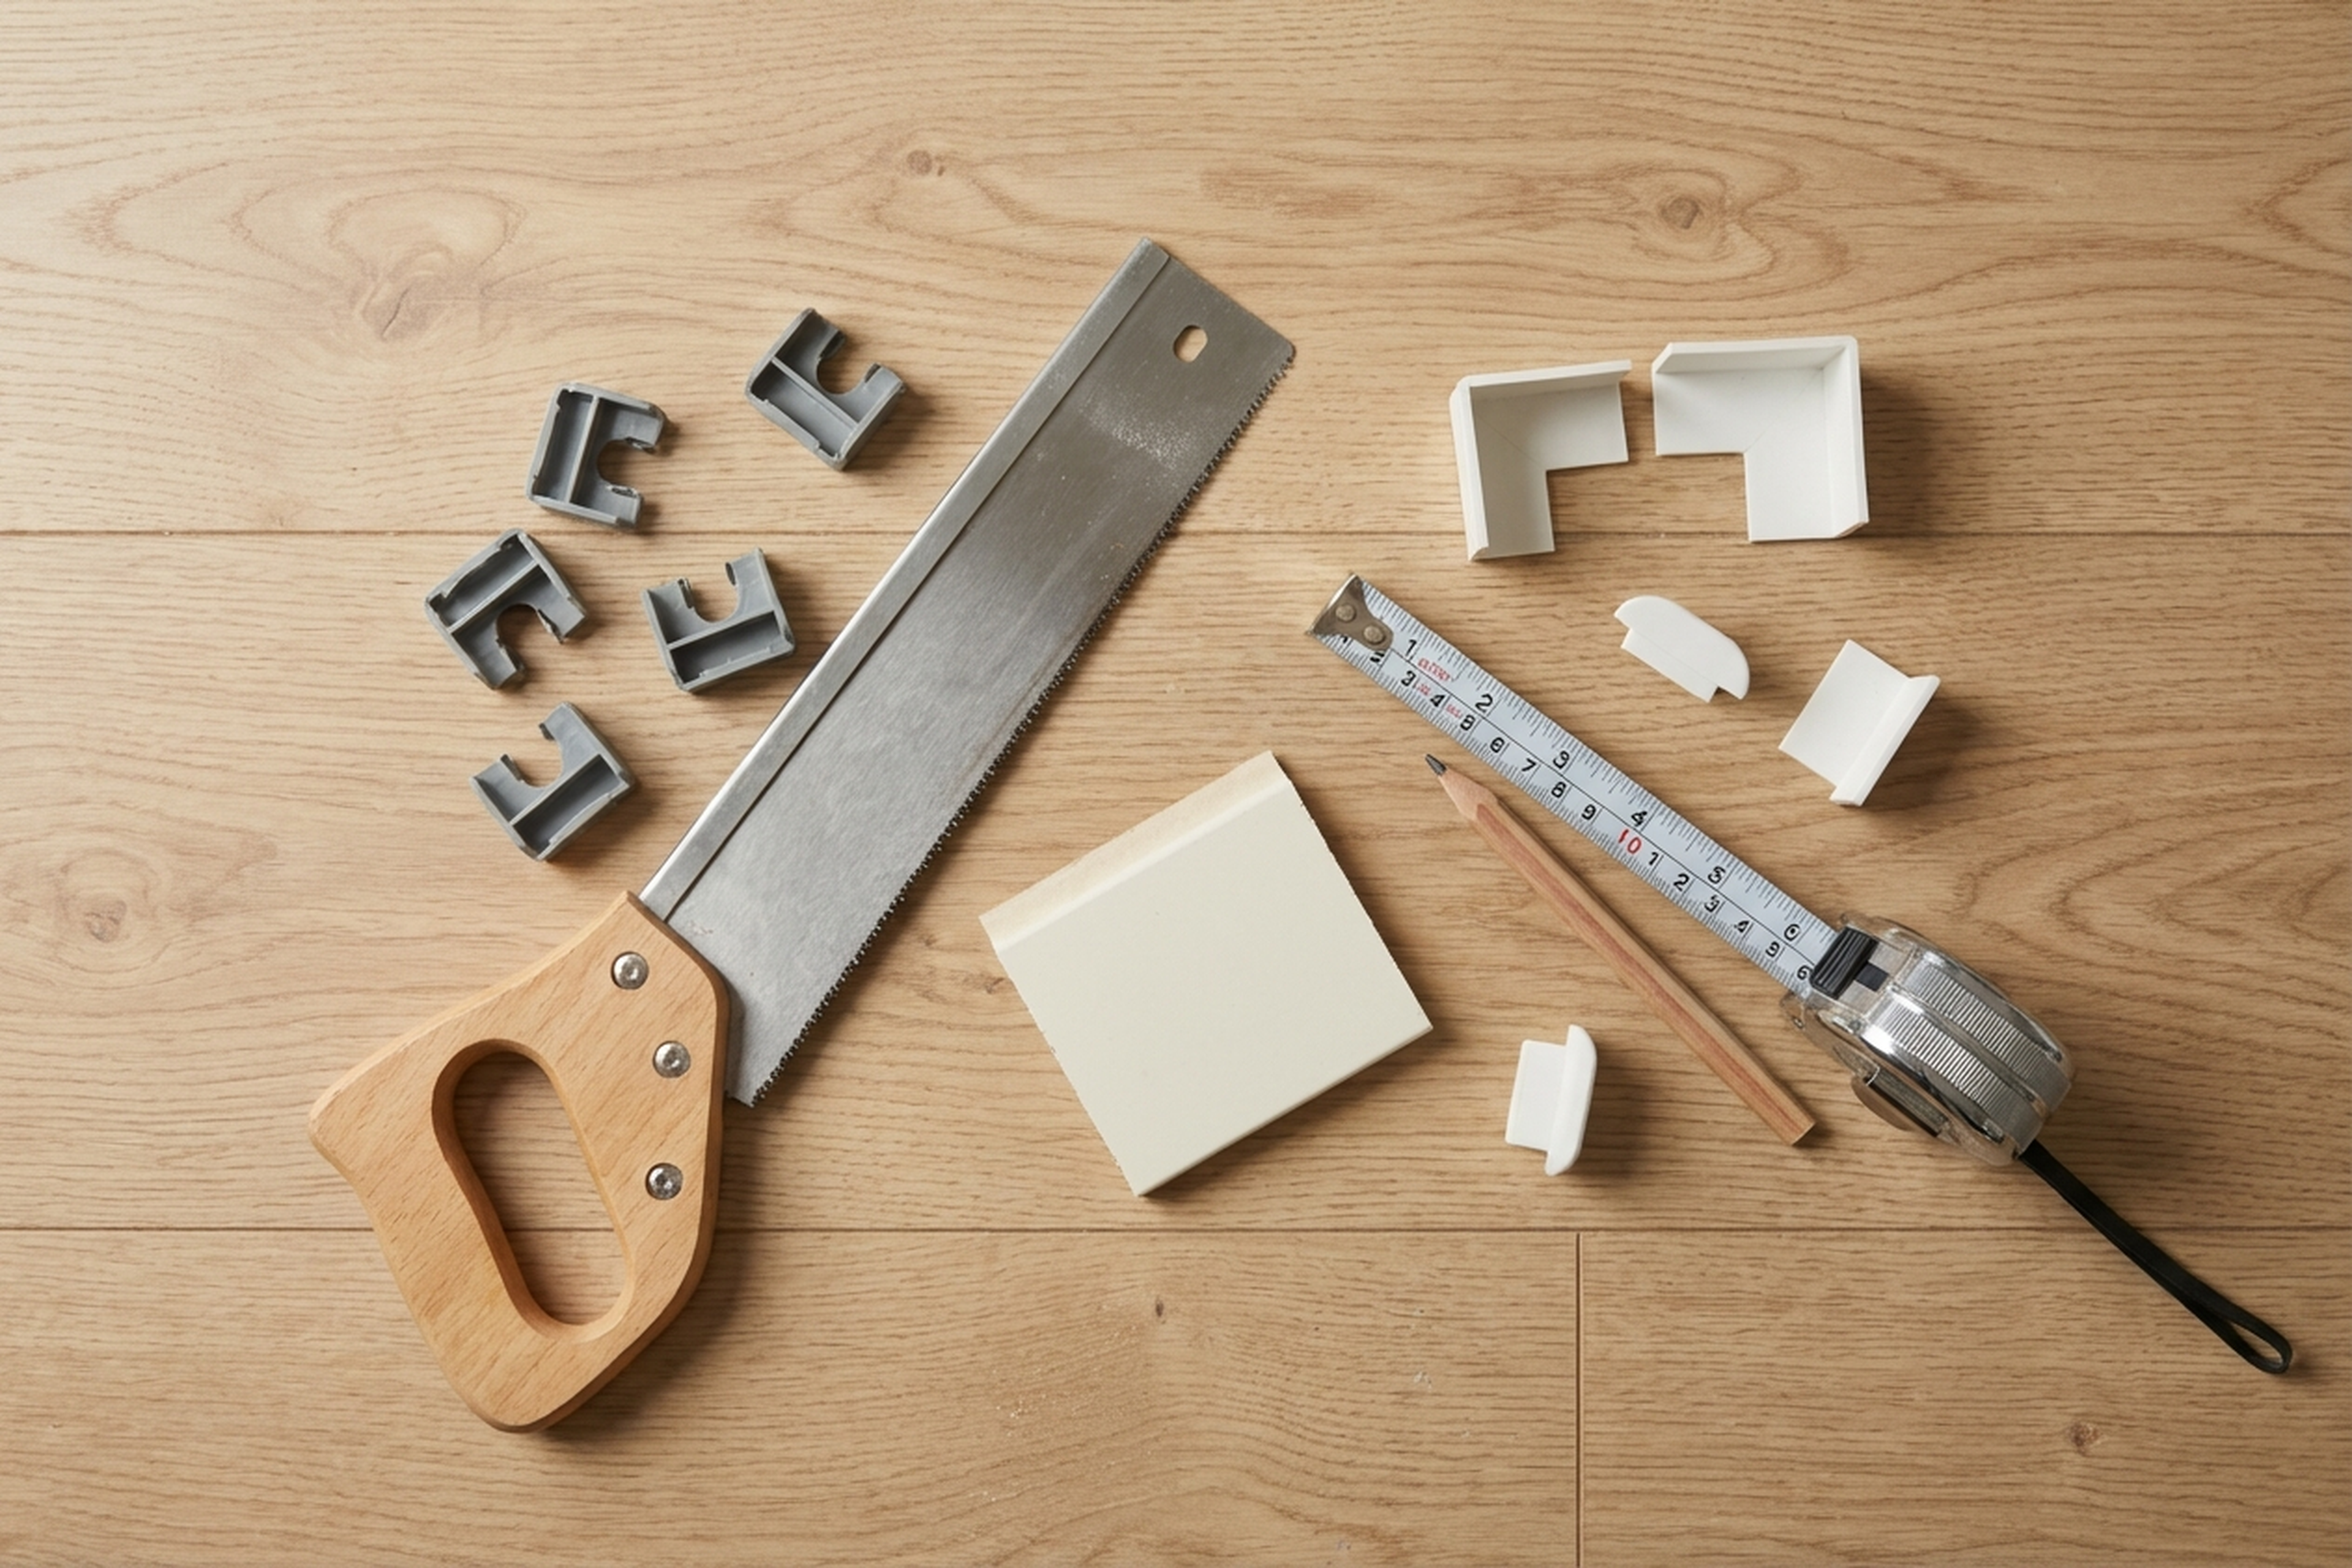
- Cuts the plinth panel to size using a jigsaw or fine-tooth saw for PVC/aluminium.
- Fits clips to the cabinet legs and snaps the plinth into place.
- Installs corner joints, end caps, and ventilation grilles.
- Checks alignment along the full length, cleans up offcuts and dust.
Common customer mistakes (and how to avoid them)
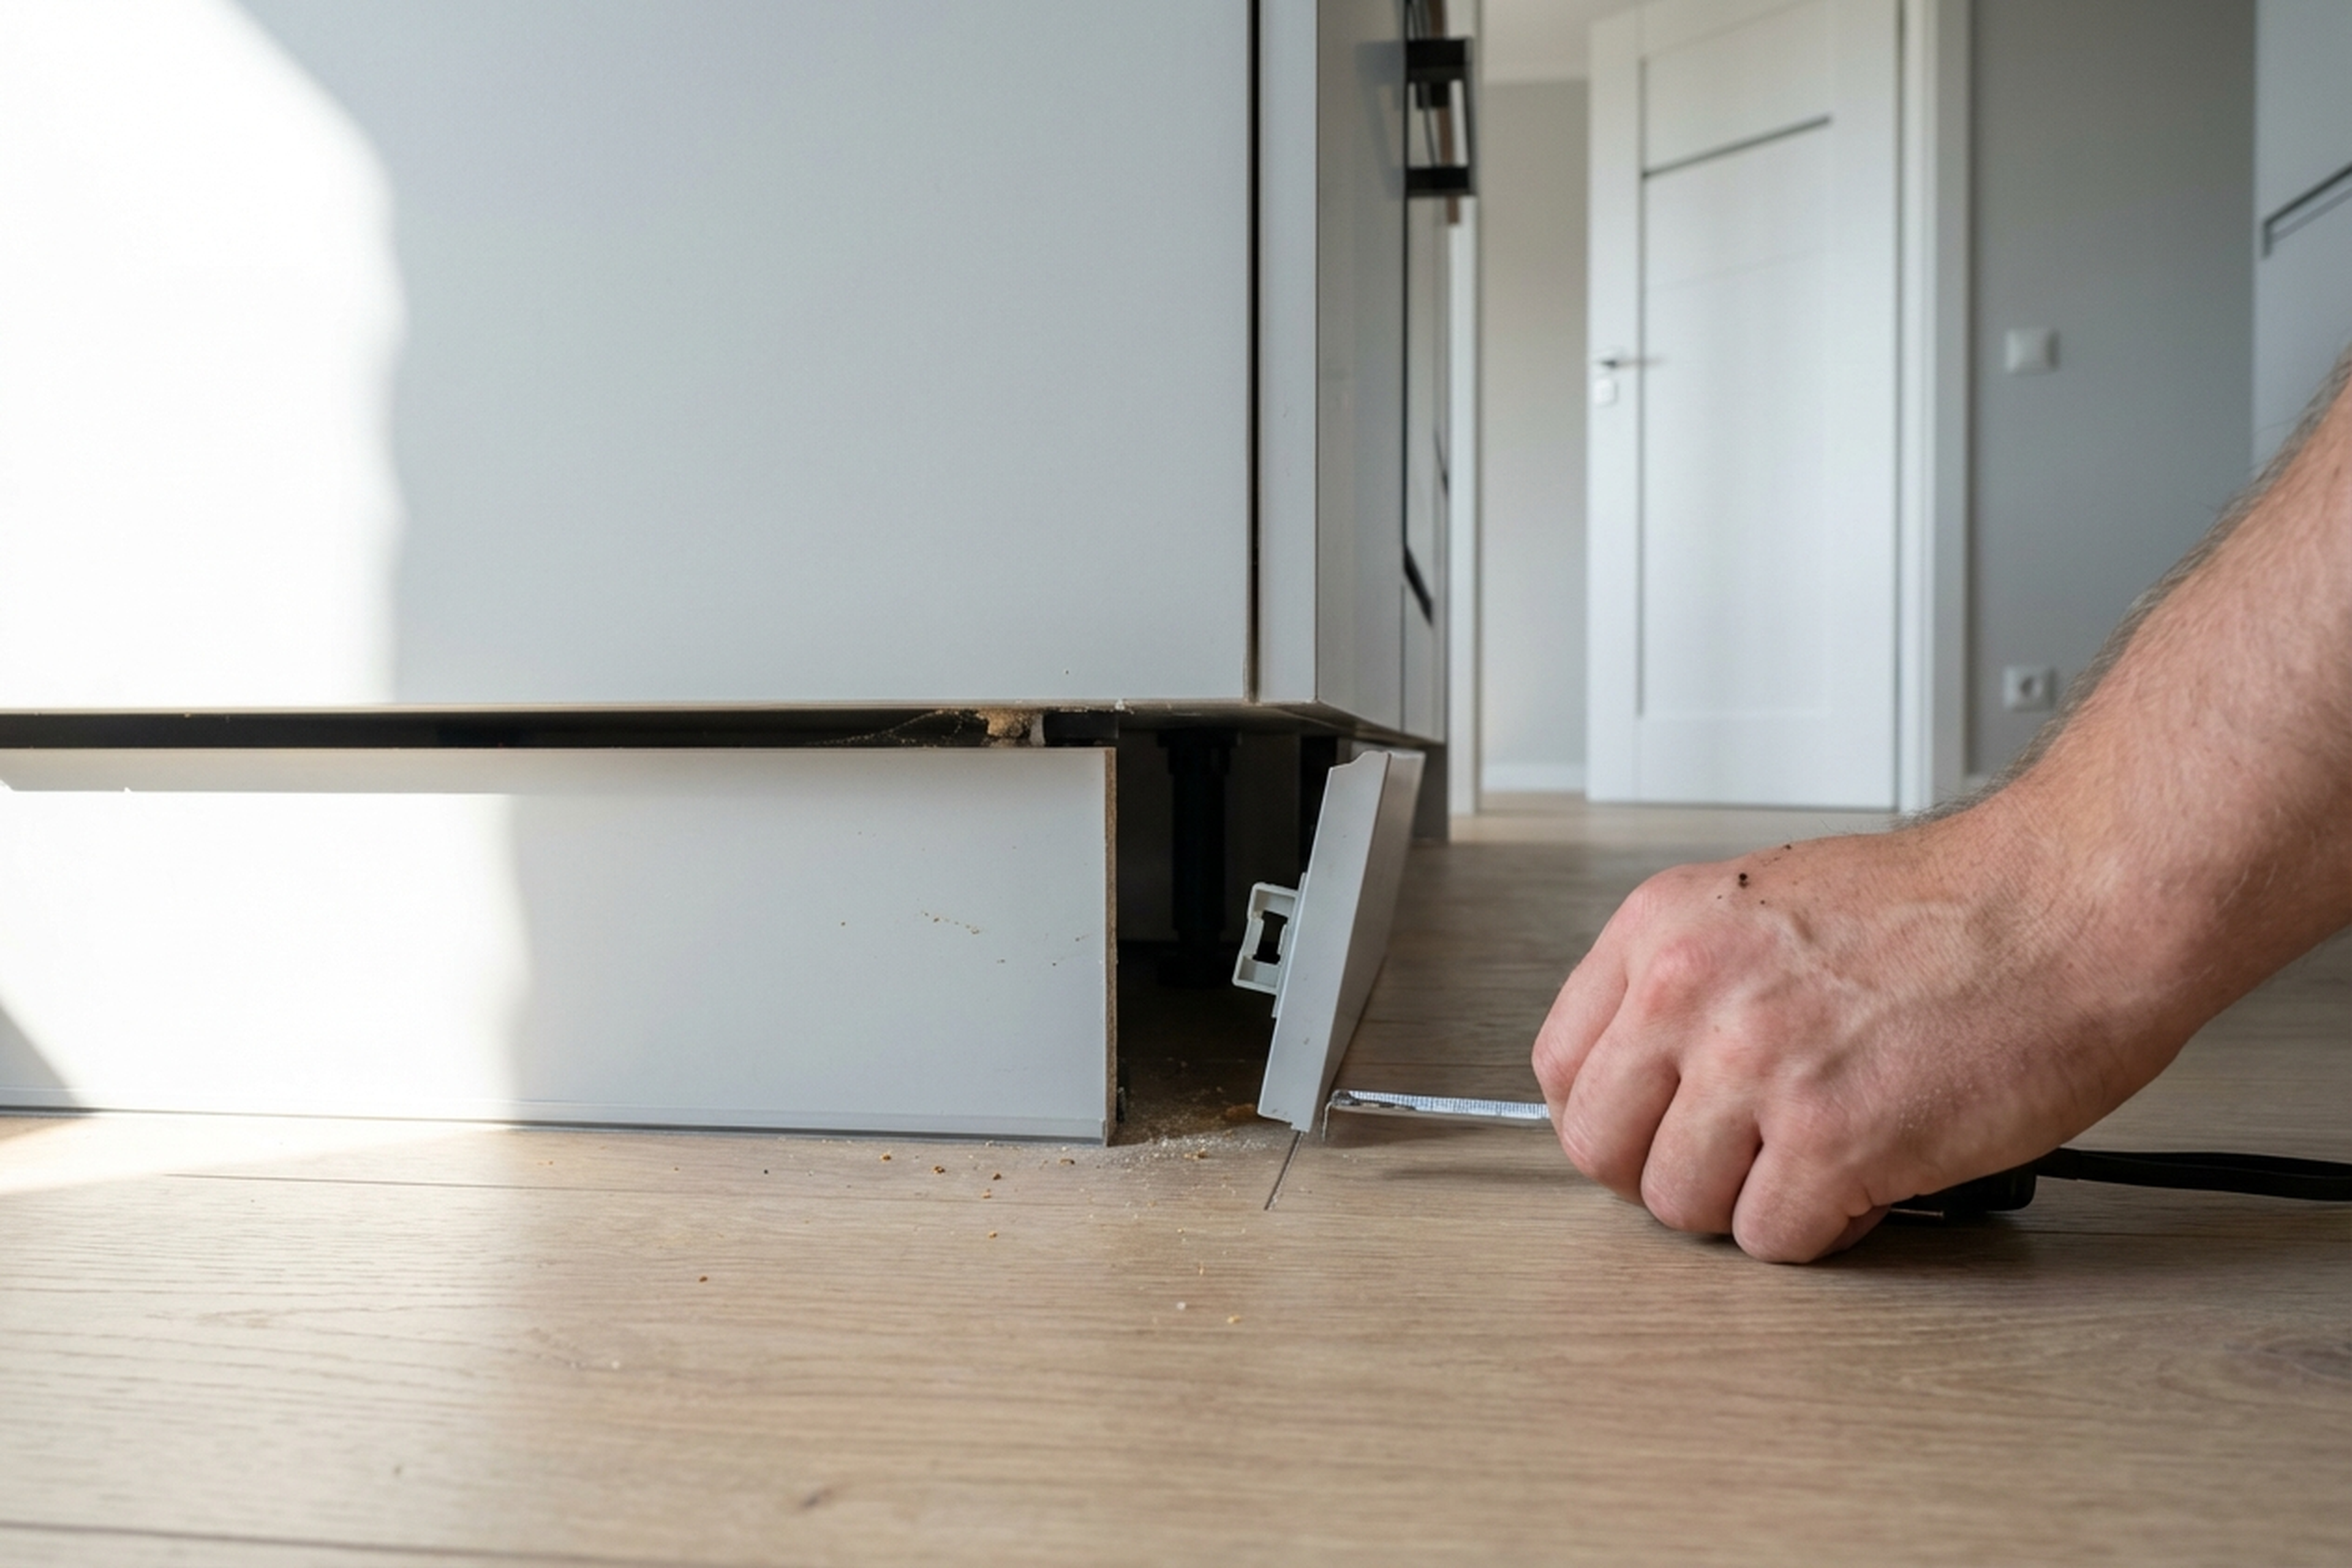
- Buying a plinth of the wrong height — standard sizes are 100, 120, or 150 mm; measure the gap from floor to the bottom edge of the cabinet.
- Choosing PVC for a kitchen with underfloor heating — heat warps PVC; aluminium is the better choice.
- Trying to fit the plinth before levelling the legs — the panel will wave if the cabinets aren’t straight.
- Not leaving expansion gaps at the walls — plastic expands with temperature changes and buckles.
- Forgetting a ventilation grille opposite the dishwasher or oven — the appliance overheats.
- Cutting plastic with an angle grinder — melted edges, cracks. Use a fine-tooth saw or jigsaw instead.
- Attaching the plinth with glue or screws instead of clips — impossible to remove later without damage.
What to prepare before the technician arrives
- Measure the height from the floor to the bottom edge of the cabinet — so you buy the right size plinth.
- Decide on the material: PVC (cheaper, lighter) or aluminium (stronger, suitable for underfloor heating).
- Buy the plinth panel with a 10–15% surplus for cuts and joints.
- Pick up corner joints (internal/external) and end caps.
- If you need a ventilation grille — buy it in advance, matched to the plinth height.
- Clear everything from under the cabinets — buckets, cloths, bottles.
- Make sure the cabinet legs are levelled and the kitchen is straight.
- If the kitchen is new and appliances aren’t connected yet — let us know so ventilation space can be left.
- Provide a power socket for tools.
- Share access details: intercom code, parking info.
A real case from Warsaw
A client in the Ursynow district ordered plinth installation on a U-shaped IKEA kitchen. They had assembled the kitchen themselves but skipped the plinth — within two months, dust had collected under the cabinets and the cat started hiding among the legs. On measuring, we found the floor was uneven — up to 8 mm difference over a three-metre stretch. The technician first adjusted the legs so the bottom edge of the cabinets ran parallel to the floor. Then he cut the PVC panel, fitted clips, installed two internal corner joints and a ventilation grille opposite the dishwasher. On one section, the edge had to be trimmed down because the floor tiles had a slight step. The whole job took around an hour and a half. The client said the kitchen instantly looked finished.
Frequently asked questions
Can I fit the plinth myself?
You can, if the kitchen is straight with no corners or cutouts. But for L-shaped or U-shaped layouts, it’s better to call a professional — joints and trimming need precision.
Which plinth is better — PVC or aluminium?
PVC is cheaper and easier to work with. Aluminium is stronger and handles moisture and heat. For kitchens with underfloor heating or a dishwasher, aluminium is the safer bet.
Is a ventilation grille mandatory?
If the dishwasher or oven sits behind the plinth — yes, otherwise the appliance overheats. In other spots it’s optional.
What’s included in the price?
Installation, cutting, fitting clips and joints. The plinth panel and hardware are separate if you haven’t bought them beforehand.
Can the plinth be removed for cleaning?
Yes, if it’s clip-mounted — it pops off and back on without tools. If glued — removal without damage is difficult.
How long does installation take?
A straight kitchen — 30–40 minutes. A corner or U-shaped kitchen with cutouts — 1–2 hours.
Do you bring the plinth with you?
No, the client buys the panel. We can advise on size and type before the visit.
Who does the work
Kitchen plinth installation is carried out by technicians who work with kitchen assembly and finishing every day. We know the specifics of IKEA, Castorama, Leroy Merlin, and custom kitchens. We cover all of Warsaw and the surrounding area. Minimum order — from 200 zl. Call or message us — we’ll agree on a time and scope of work.