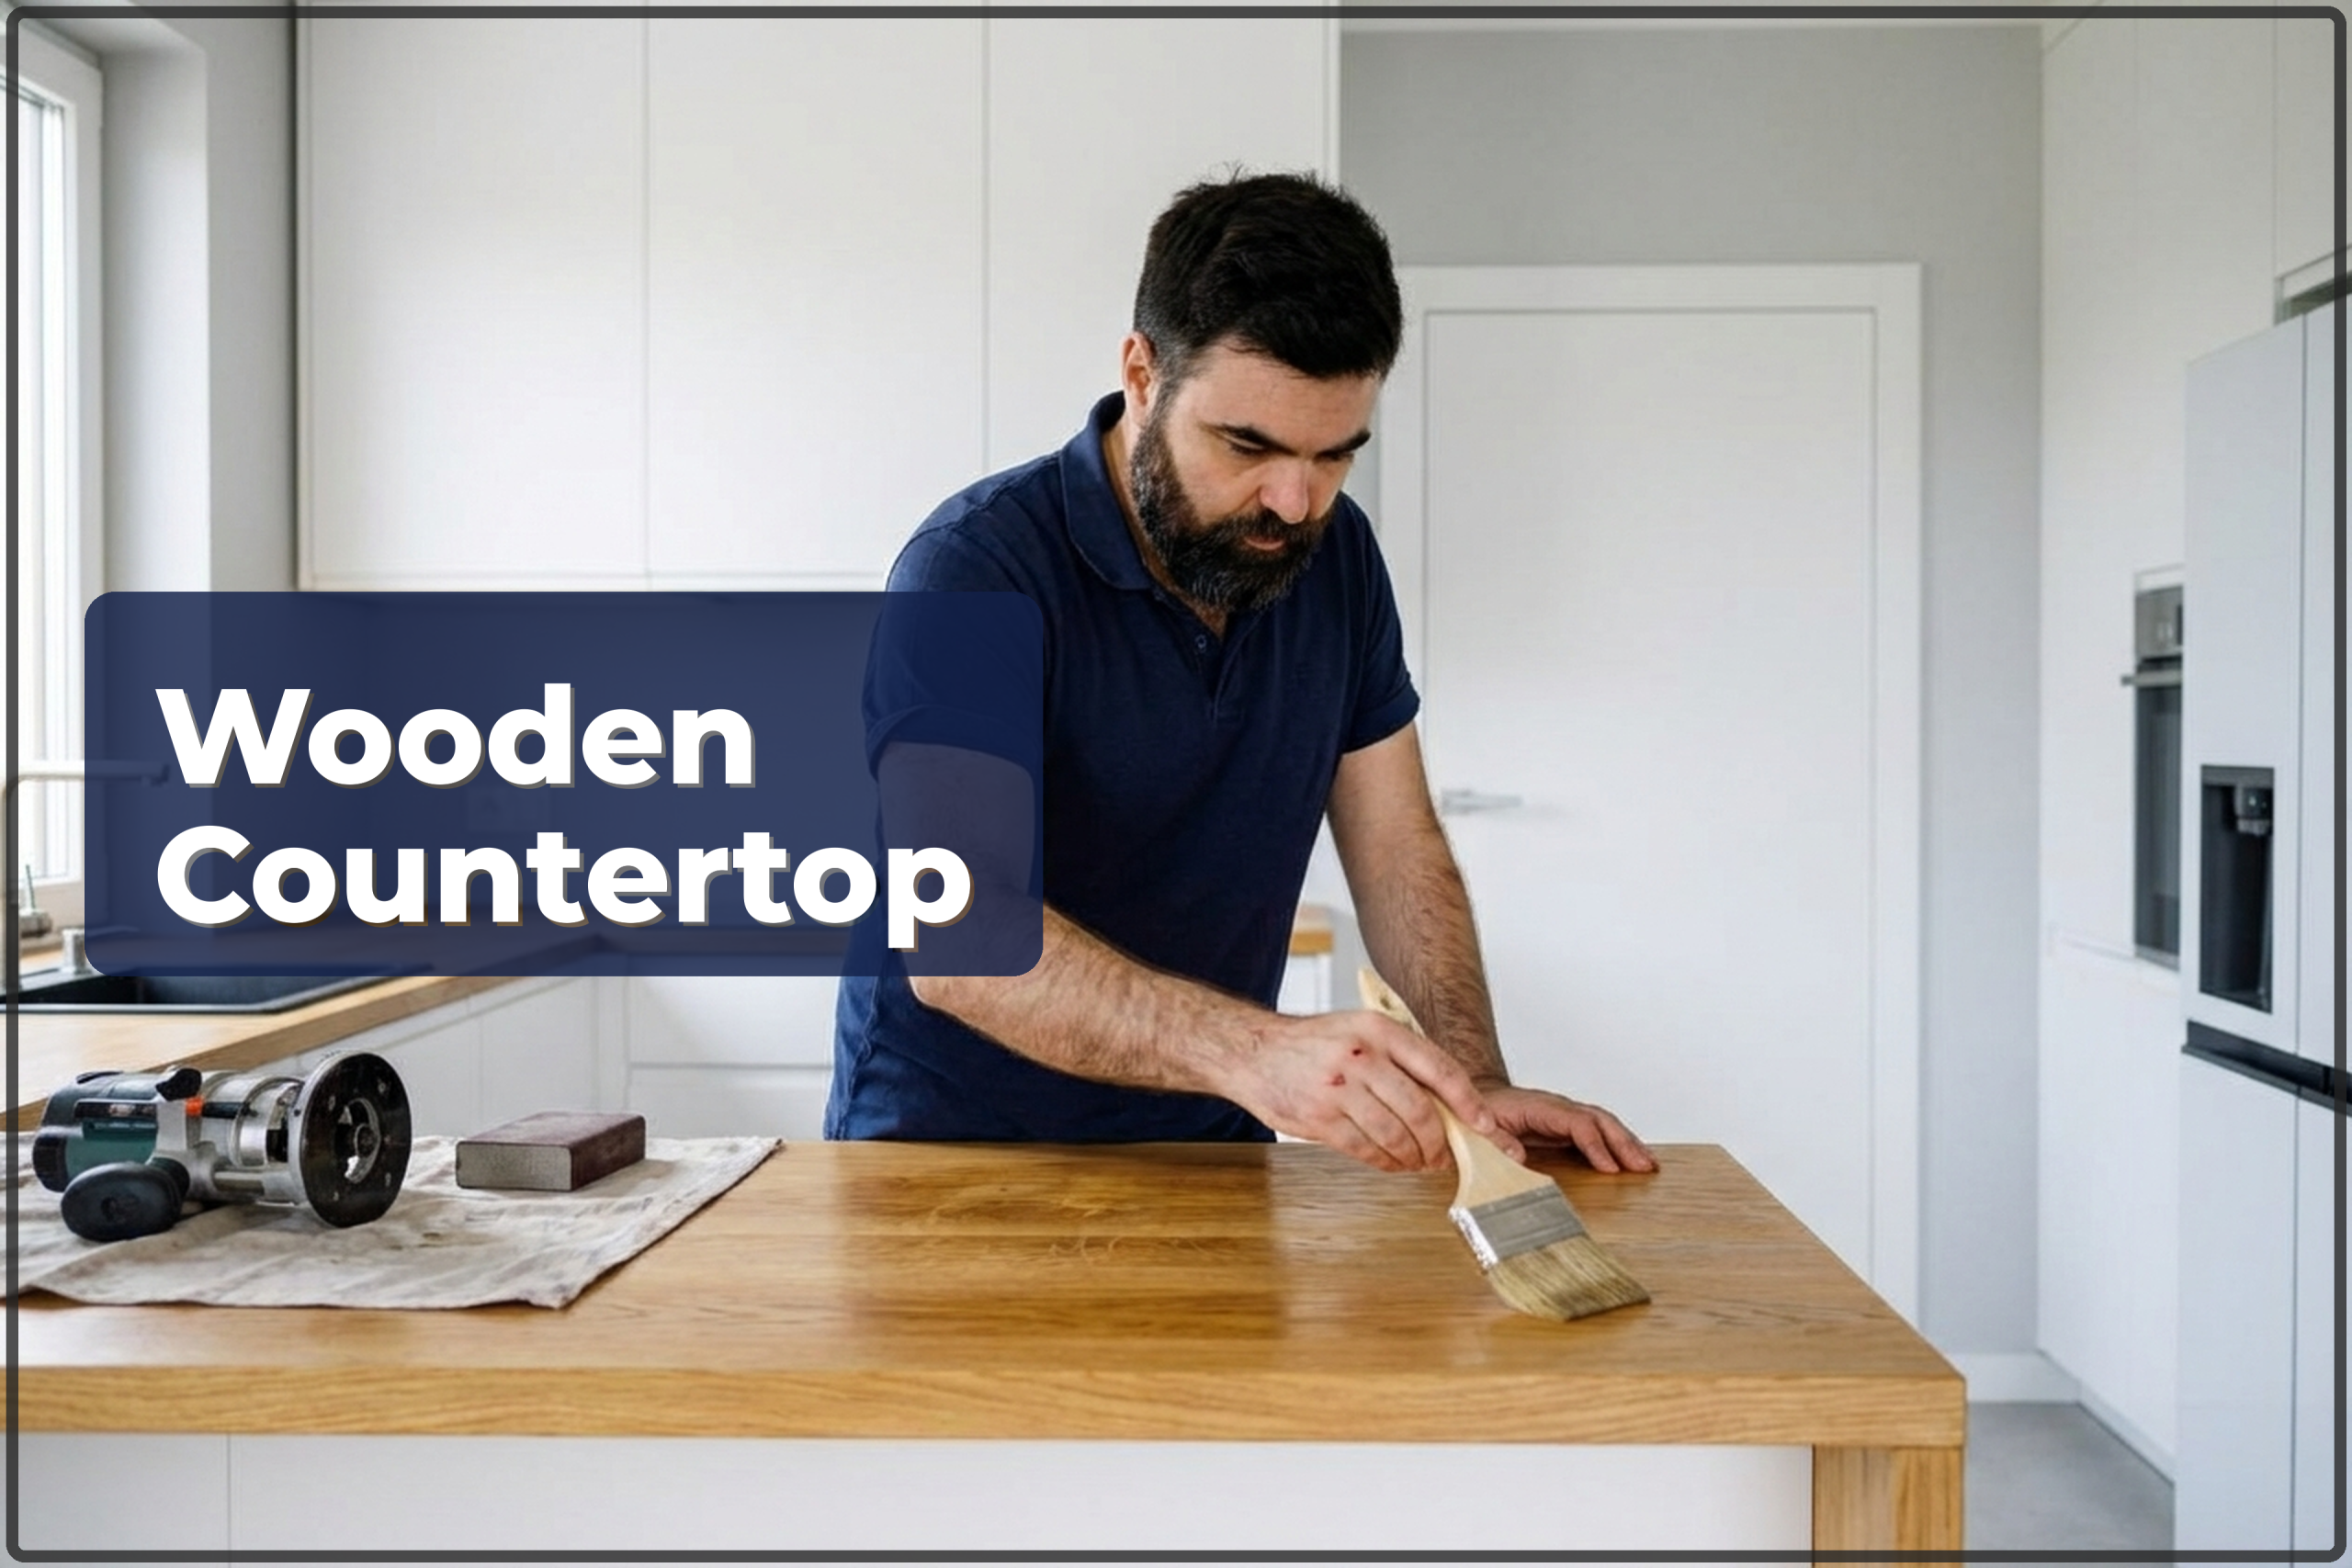
A wooden countertop in the kitchen looks excellent, feels pleasantly warm under the hand, and can serve for years — when fitted the right way. Oak, beech, ash — solid timber or glued panels — need a different method than laminate. Wood is heavier, responds to moisture, needs oil treatment, and has to have expansion gaps. We work all over Warsaw: from Mokotow to Zoliborz, coming equipped with a router, sander, and all fixing hardware.
Current prices for kitchen services
The price of fitting a wooden countertop depends on its length, the number of cutouts (sink, hob), the wood species, and the state of the kitchen cabinets. The final amount is confirmed by the technician after measuring. Mounting hardware is included; oil and sealant are billed separately. Up-to-date rates for all kitchen jobs are shown in the table below.
| Service | min | max |
|---|---|---|
| Kitchen furniture installation (complete set) | 20% od ceny | 25% od ceny |
| Kitchen base cabinet installation | 250 zł | 400 zł |
| Wall cabinet installation | 250 zł | 400 zł |
| Kitchen cabinet door adjustment | 80 zł | 150 zł |
| Hinge replacement | 60 zł/szt | 120 zł/szt |
| Kitchen countertop installation | 200 zł/mb | 350 zł/mb |
| Laminate countertop installation | 150 zł/mb | 250 zł/mb |
| Composite countertop installation | 250 zł/mb | 400 zł/mb |
| Countertop joining | 190 zł/szt | 300 zł/szt |
| Countertop cutout (sink / hob) | 120 zł/szt | 200 zł/szt |
How the countertop installation works on site
- You send the kitchen dimensions and photos — the technician reviews the scope of the job.
- We set a date. On site, the technician checks whether the cabinets and walls are level.
- The countertop is marked and cut to size, with expansion gaps left at the walls (3–5 mm on each side).
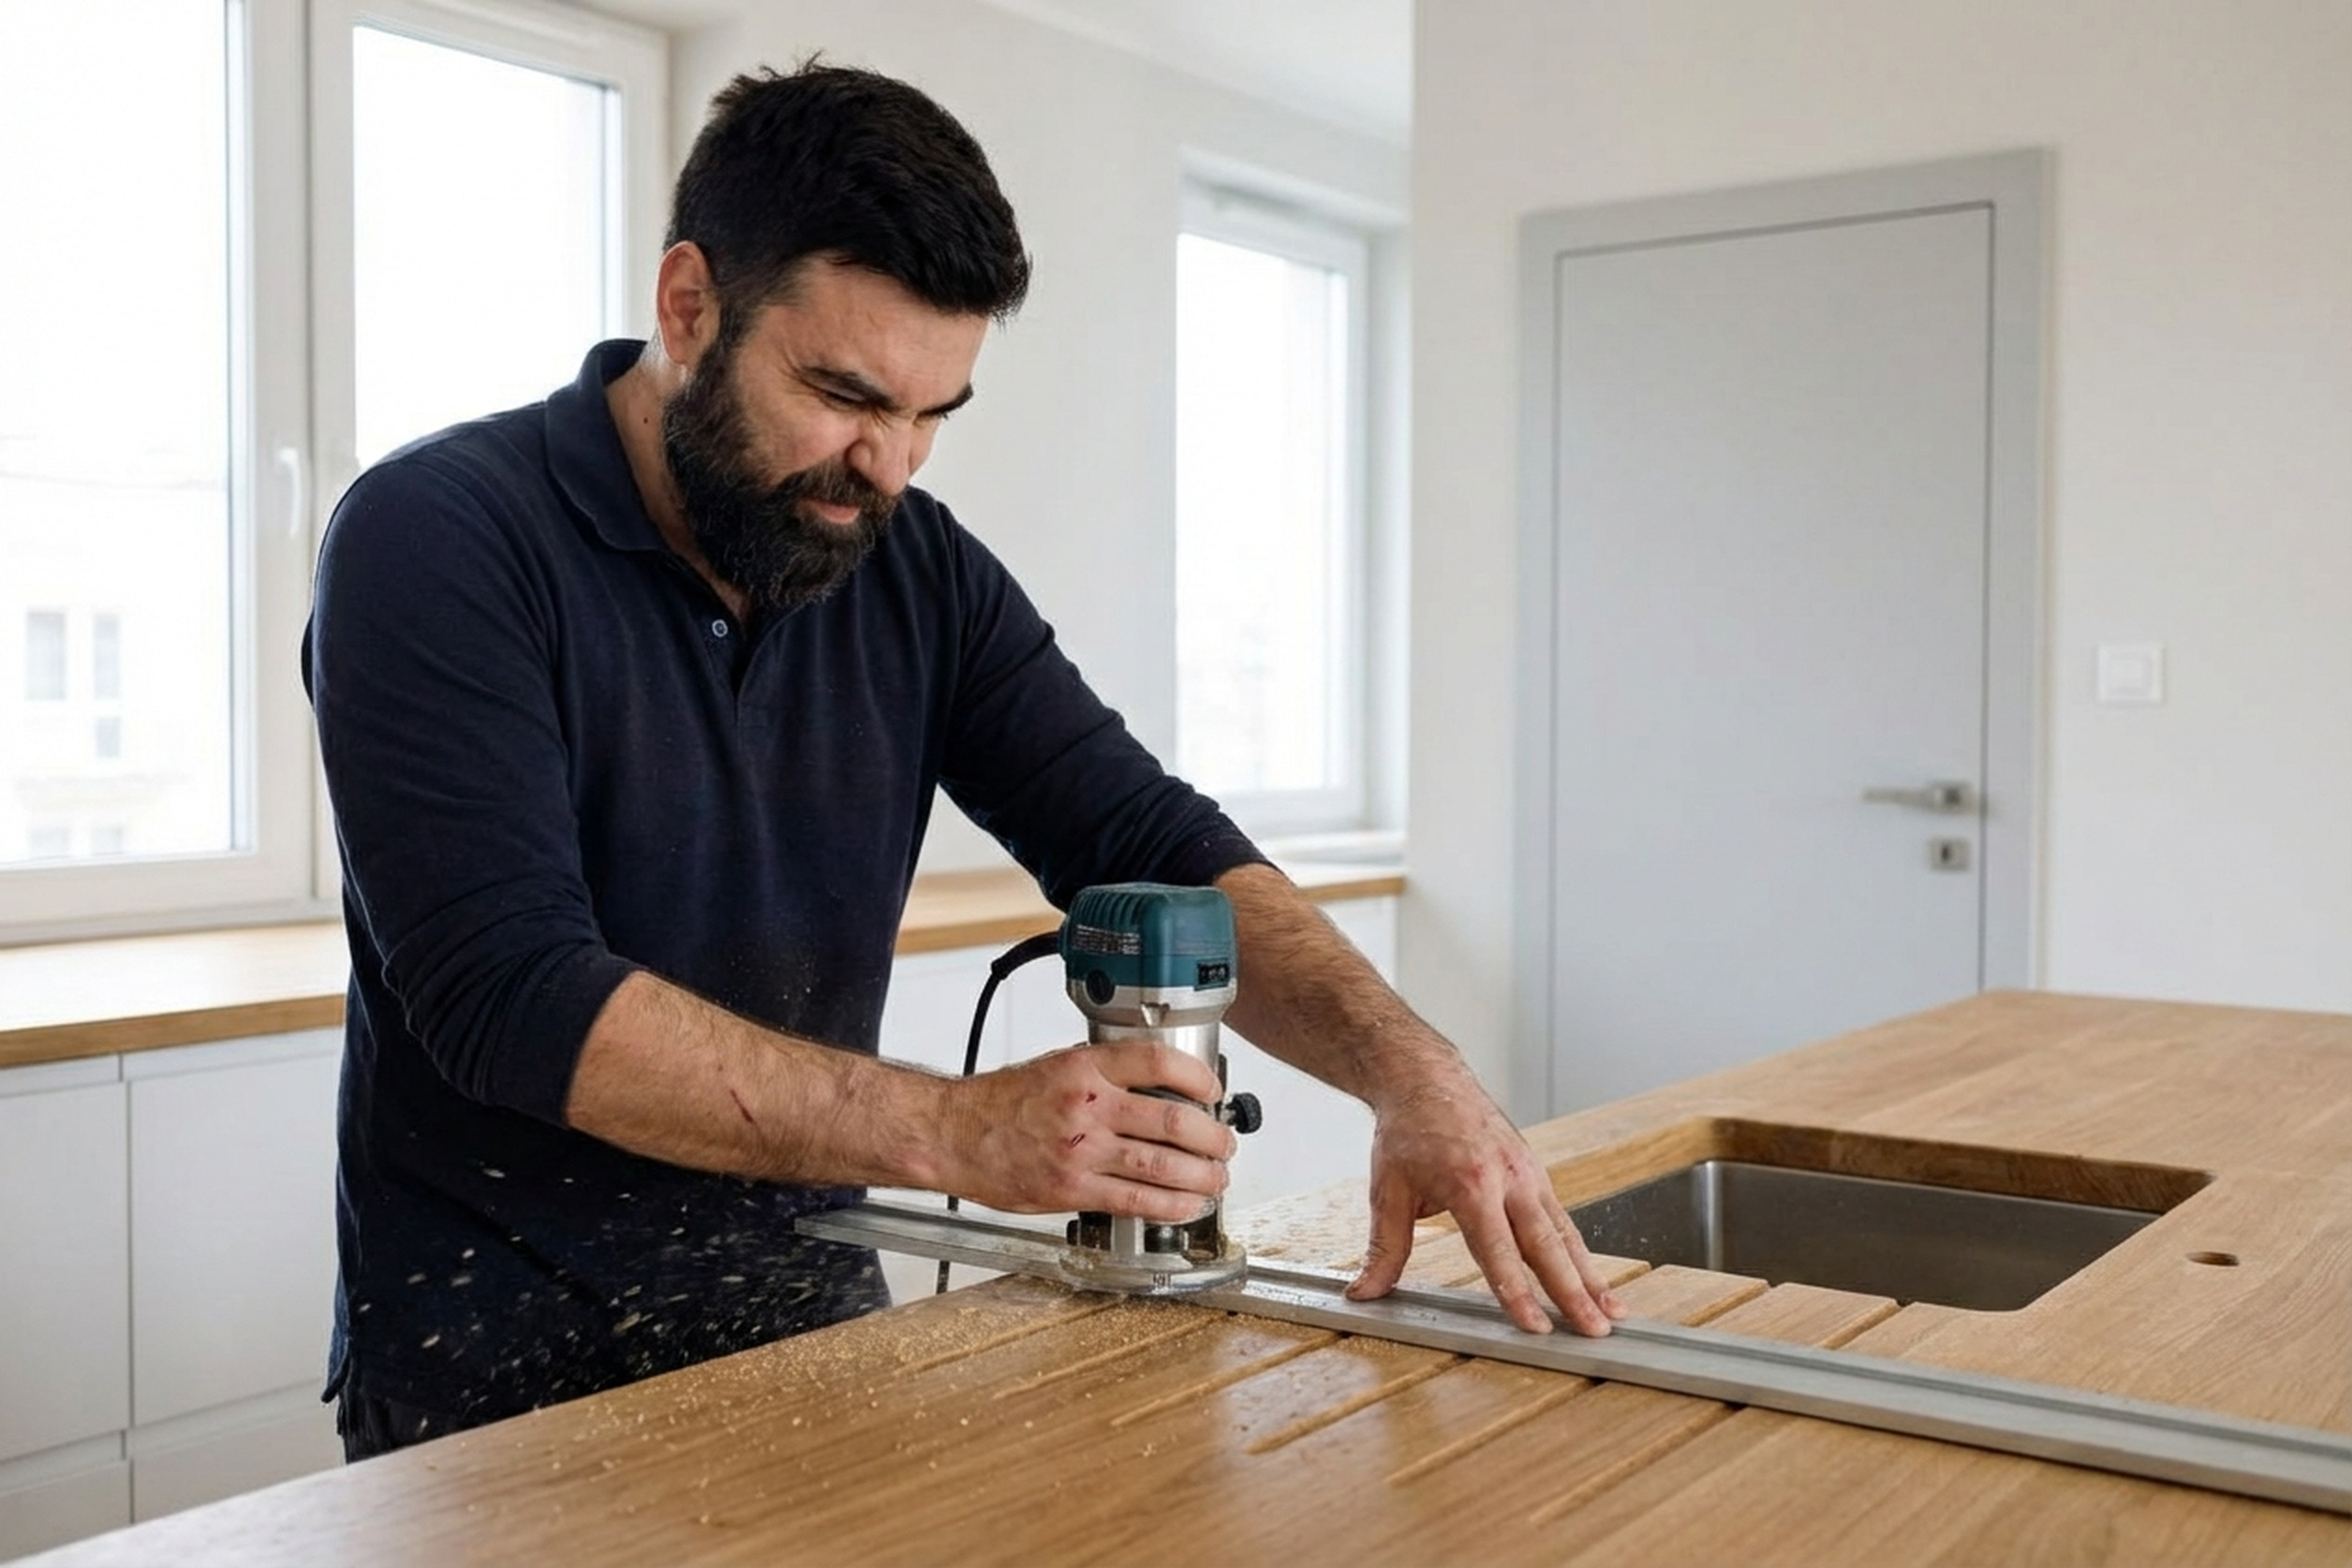
- Cutouts for the sink and hob are made with a router and template — the edges are finished and sealed.
- The countertop is fastened to the cabinets from below with brackets and screws. Joints (if any) are pulled together with bolts and sealed with silicone.
- A wall-edge strip is fitted and the joint with the wall is sealed.
- The surface gets 2–3 coats of oil or varnish — the technician explains how to look after the finish.
Common mistakes when installing a wooden countertop
- No expansion gaps at the walls — the wood takes up moisture, the countertop presses into the wall and lifts upward.
- Hard fixing to the cabinet — the wood splits when it expands. The proper method: oval mounting holes that allow the wood to move.
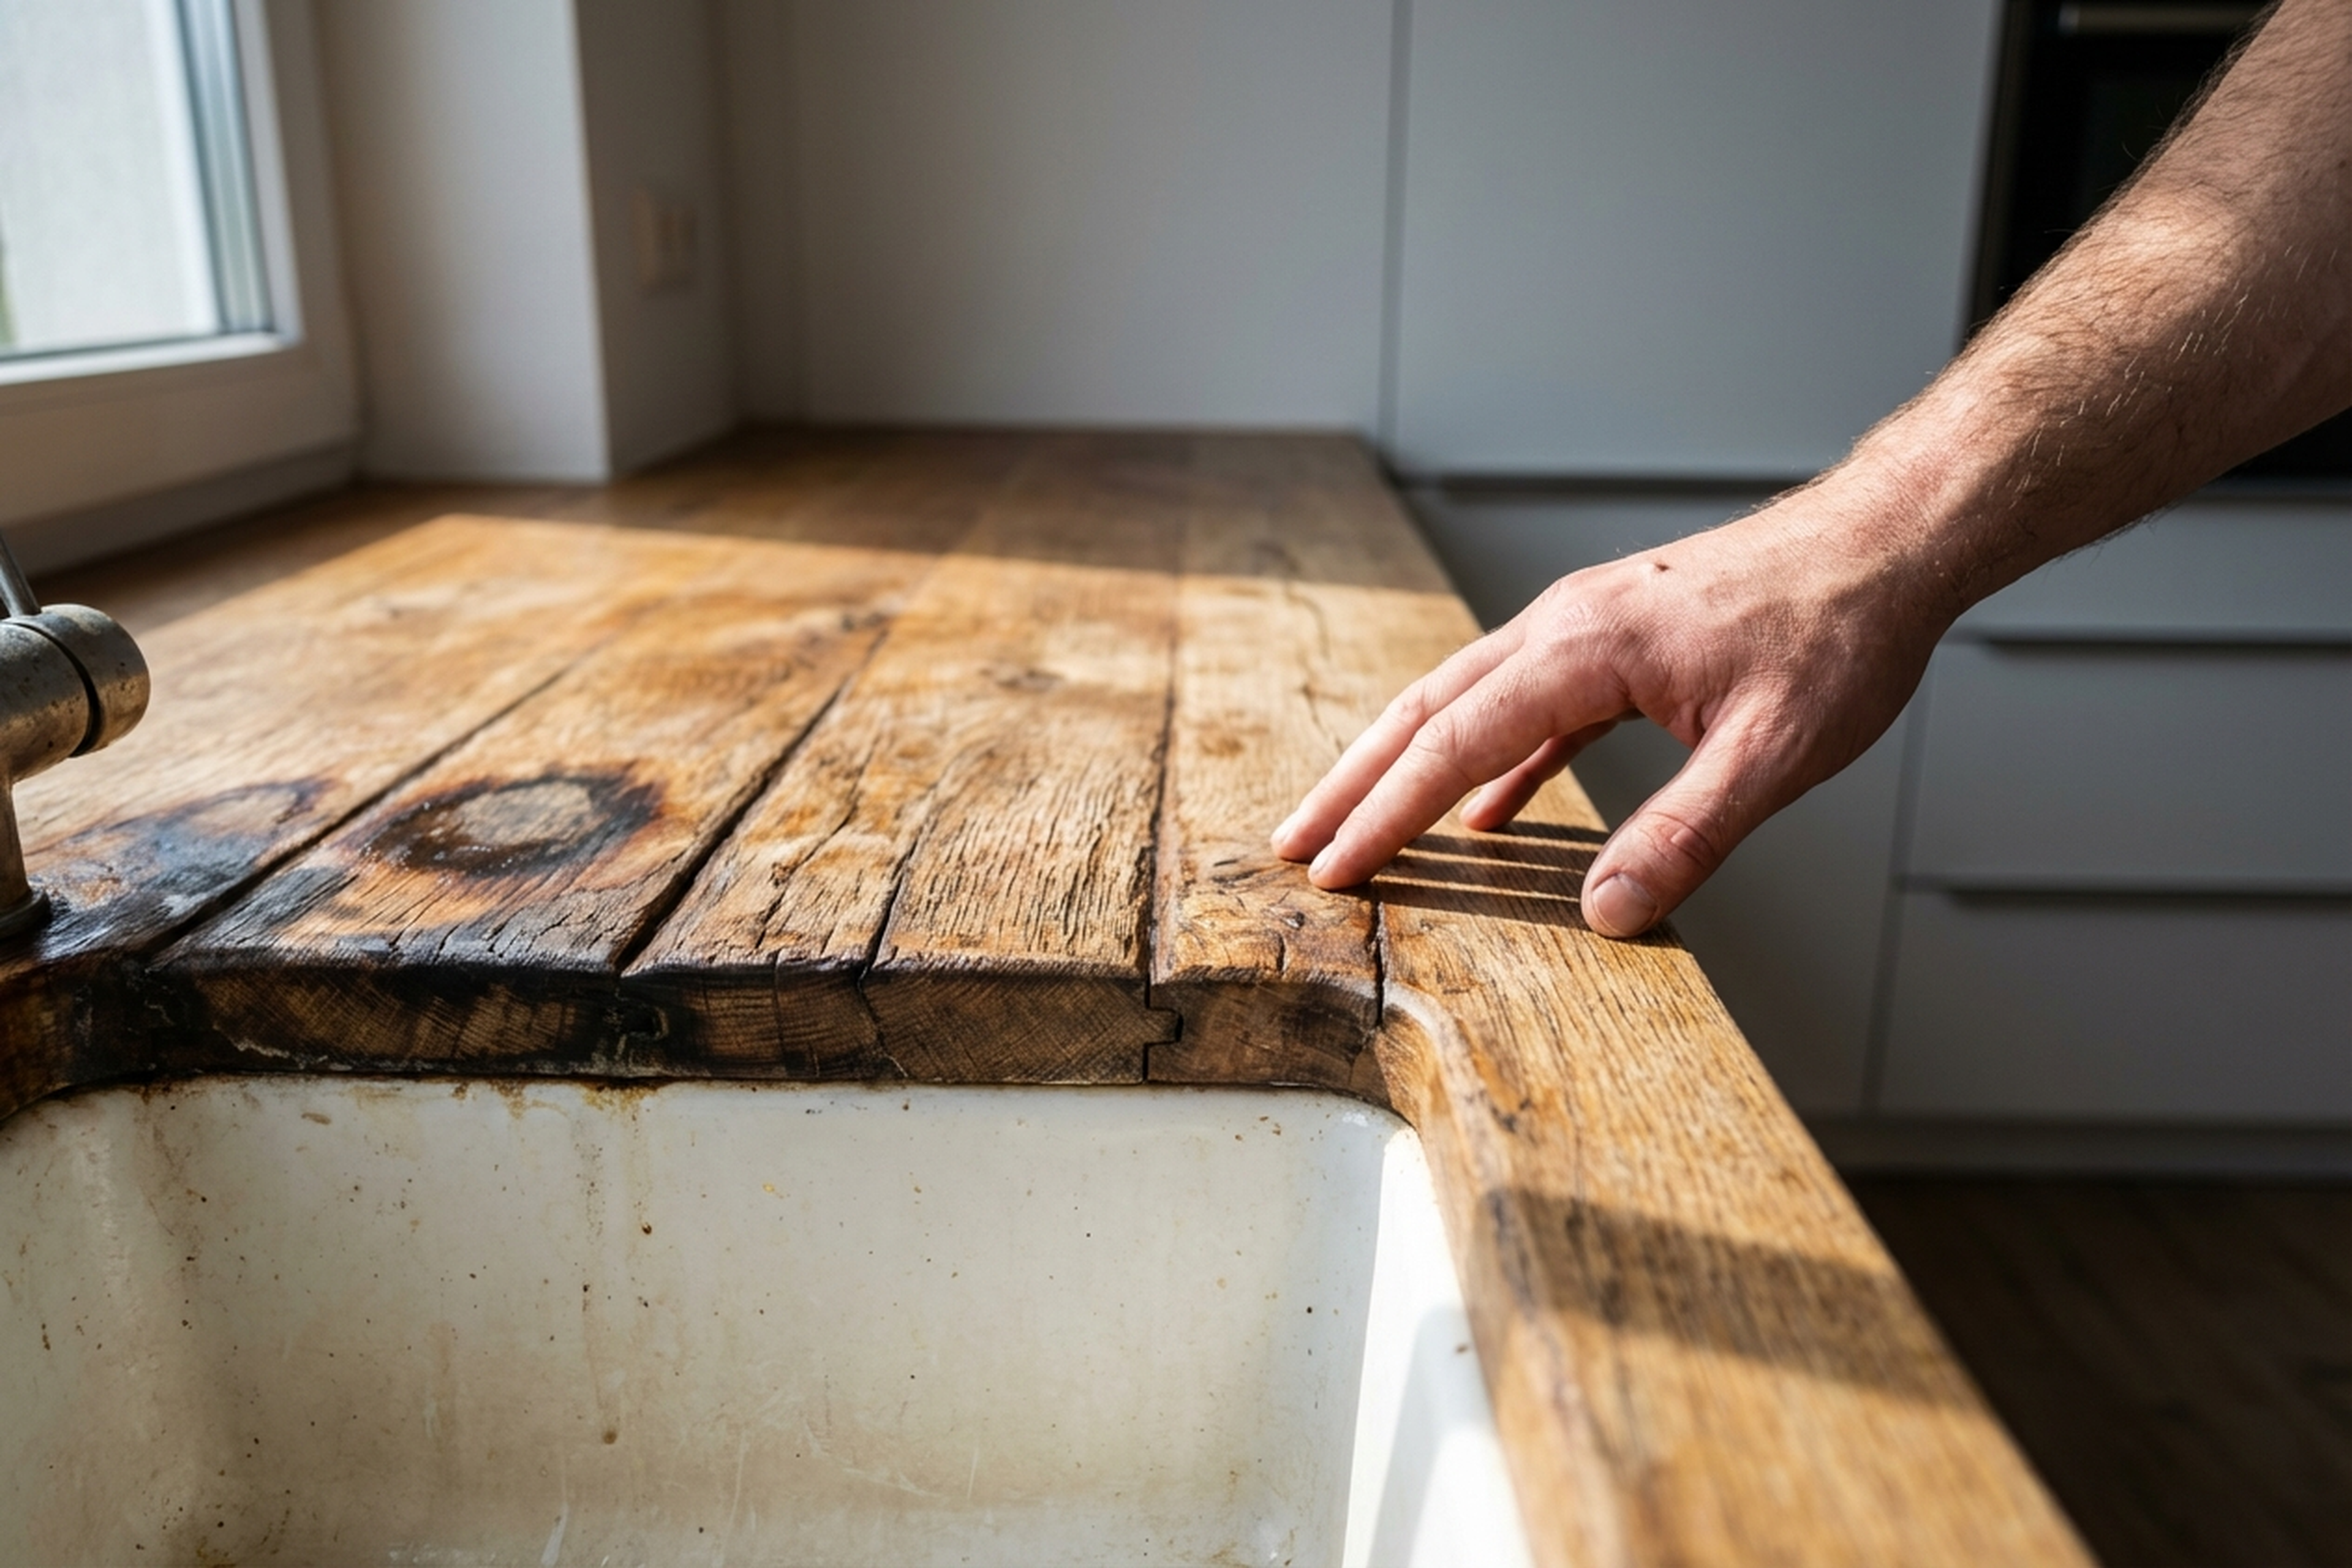
- Not sealing the edges of sink cutouts — water gets in, the wood blackens and swells after a few months.
- Buying an untreated countertop and leaving oiling “for later” — without oil, the wood starts soaking up stains from day one.
- Putting a hot pan straight onto the wood — it leaves a white mark that only sanding can remove.
- Joining two sections without bolts and sealant — after six months, water and dirt start collecting in the seam.
- Picking a soft species (pine, birch) for the work area — it gets scratched and dented easily by knives.
What to prepare before the technician arrives

- Make sure the countertop has already been delivered and brought into the flat — carrying heavy materials upstairs is charged separately.
- Check that all base cabinets are assembled, level, and fixed to the wall.
- Have the exact sink and hob dimensions ready (or the actual appliances for test fitting).
- Clear dishes and small items out of the kitchen — the technician needs free working space.
- If the wall is uneven — tell us in advance: scribing to the wall line may be needed.
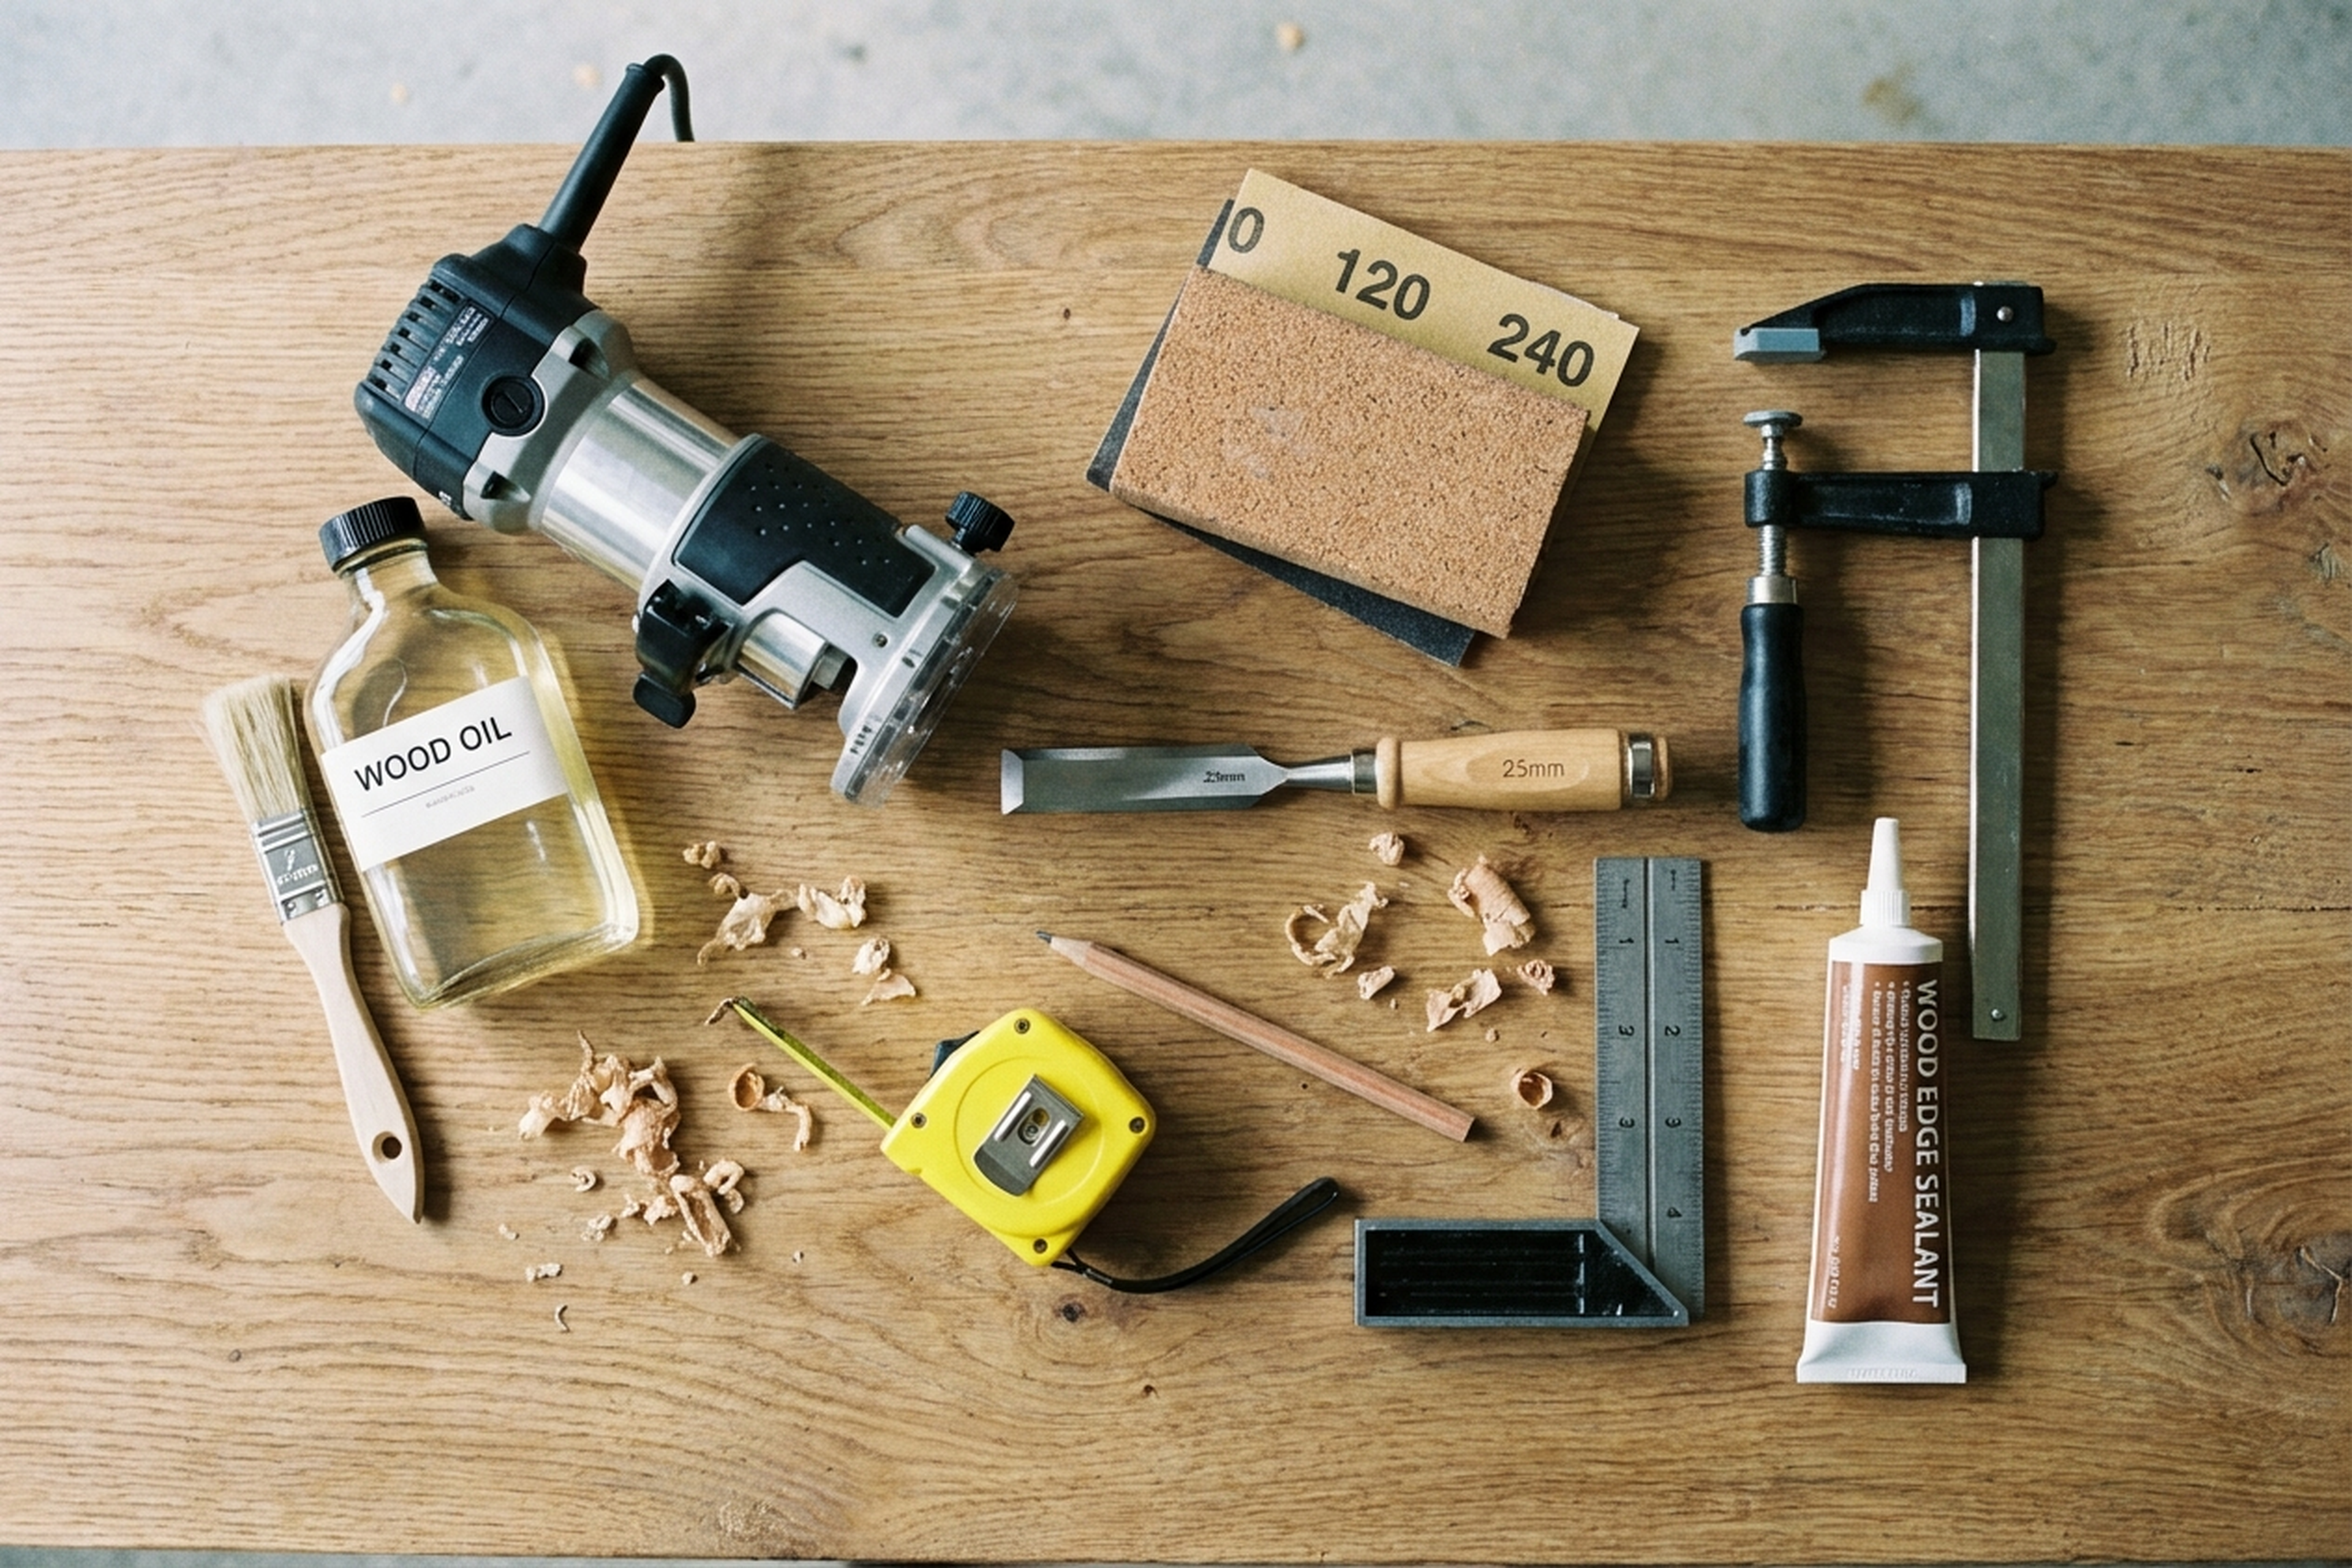
- Buy countertop oil beforehand (Osmo, Biofa, Bona) — the technician will put on the first coat.
- Provide a power socket for the tools (router, jigsaw, sander).
- Confirm building access and parking options — a countertop can be over 3 metres long.
- If you want packaging and offcuts taken away — mention it beforehand, it is a separate service.
- Make sure there is ventilation: sanding creates dust, oiling creates fumes.
A real case from Warsaw
A client in the Praga-Poludnie district booked installation of a 3.2-metre oak countertop for a corner IKEA kitchen. During measuring, we found the wall was 12 mm out of plumb — the countertop needed to be scribed and shaped with a belt sander. The corner joint was pulled together with euro-bolts, sealed with silicone, and tightened — the seam came out even with no lip. The sink cutout was made with a router — we immediately covered the edges with two coats of Osmo oil so water would not get into the wood grain. The countertop was fixed to the cabinets through oval holes — so seasonal movement will not lead to cracks. The whole job took around 5 hours. A week later the client sent a photo — the countertop had gone half a shade darker (a normal reaction of oak to oil) and looked great. The conclusion is simple: wood needs accurate fitting and proper edge protection — skip that part and the countertop will swell at the sink within a season.
Frequently asked questions
Which wood species is best for a kitchen countertop?
Oak and ash are the strongest option: hard, resistant to moisture, and they age nicely. Beech is also a good pick but reacts more to water. We do not recommend pine or birch for the work area.
Oil or varnish — which is better for a wooden countertop?
Oil is easier to maintain: if a scratch or stain shows up, you sand that spot and apply oil again. Varnish lasts longer, but if it gets damaged you need to strip the whole layer. In kitchens, oil is the more common choice.
How often does the oil finish need refreshing?
The area around the sink — every 3–4 months. The rest of the surface — every 6–12 months. It takes 15 minutes: wipe it down, apply oil with a cloth, let it dry.
Can a wooden countertop go next to the sink?
Yes, provided the cutout edges are sealed properly. The technician coats them with oil or silicone. The key thing is not to leave standing water on the surface.
What is included in the installation price?
Labour, mounting hardware (brackets, screws, bolts), cutting to size, cutouts. Oil, sealant, and wall-edge strip are charged separately if they have not already been purchased.
How long does the installation take?
A straight kitchen with no joints — 3–4 hours. A corner layout with sink and hob cutouts — 5–7 hours. Plus drying time for the oil.
Who does the work

Wooden countertop installation is done by technicians with hands-on woodwork experience — routing, sanding, and oil finishing. We cover all of Warsaw and the nearby areas. Minimum order — from 200 zl. To book, call or message us — we reply within an hour and explain what to get ready before we arrive.