
Got a new fridge delivered, or relocating and need your current one connected again? On the face of it, you just plug it in. In reality, proper refrigerator installation means levelling the appliance, checking the ventilation clearances, waiting the correct time after transport, and connecting the water line if there’s an ice maker. Even more so with a Side-by-Side or a built-in model. We cover the whole of Warsaw — from Wola to Ursynow.
How much does refrigerator connection cost
The cost depends on the fridge type: a freestanding model is faster to install, while a built-in one needs accurate fitting into the niche and fixing the furniture door. If the appliance has an ice maker or water dispenser, a water line must be brought to it from a tap with a filter. Door reversal (switching the hinge side) is a separate service and takes about half an hour. Basic fixings are included in the price; consumables (hoses, filters, adapters) are billed separately. You’ll find current prices in the table below.
| Service | min | max |
|---|---|---|
| Refrigerator connection | 120 zł | 200 zł |
| Built-in refrigerator connection | 200 zł | 350 zł |
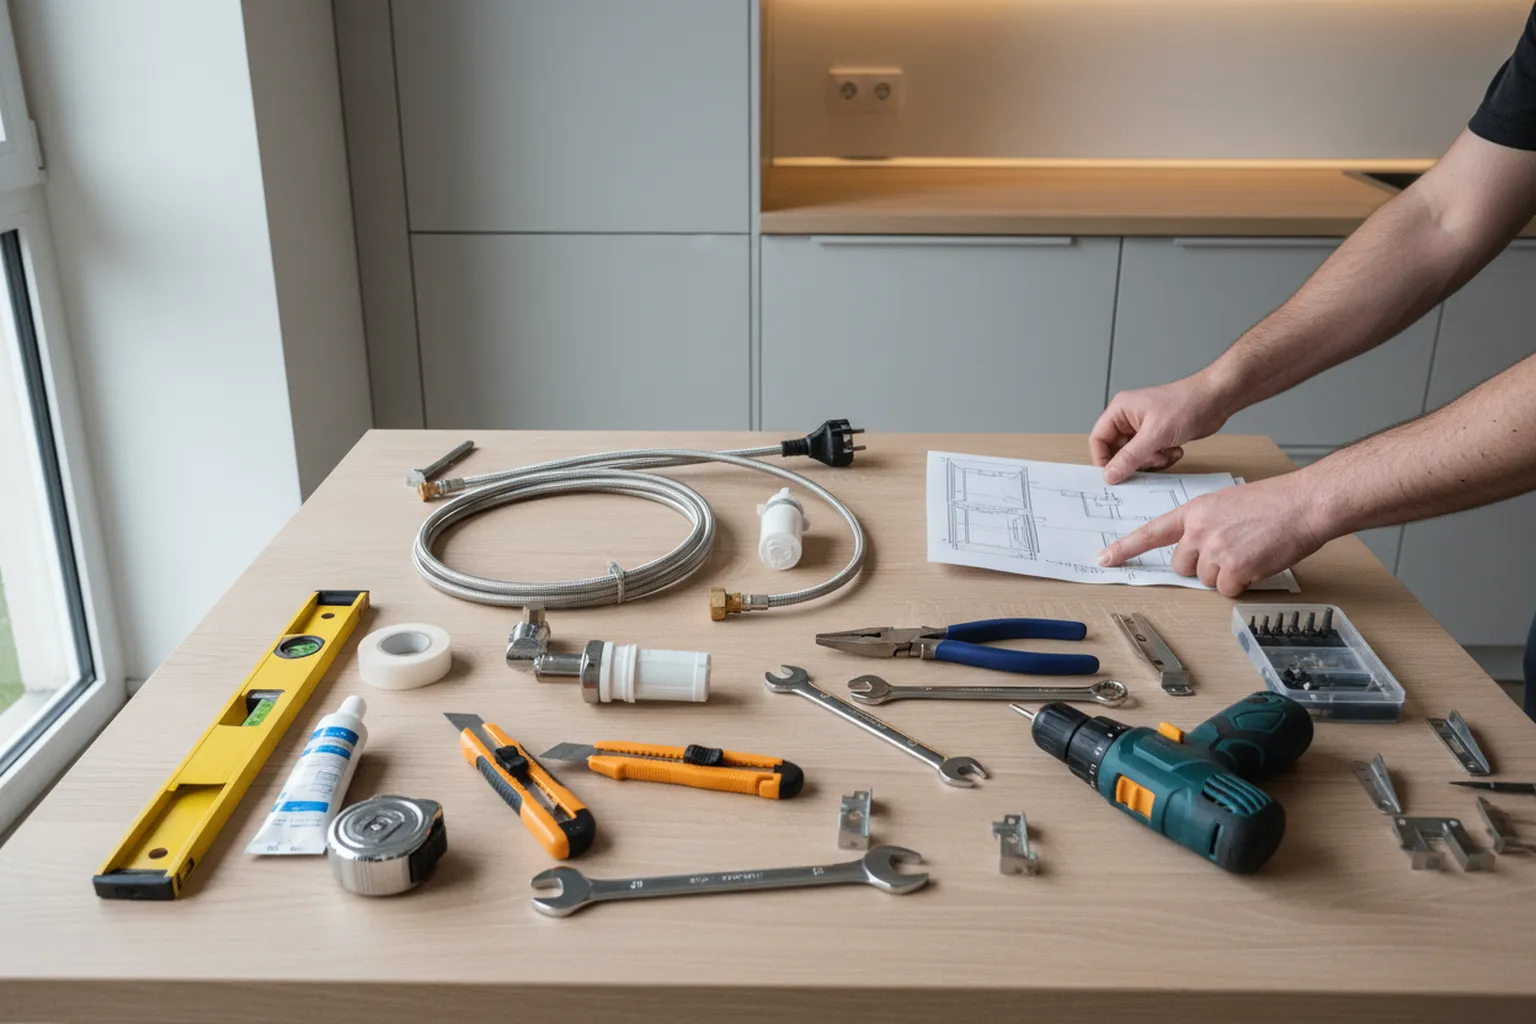
How the installation works
- You send a photo of the installation area and the fridge model — the technician checks the scope of work and gives you a price.
- We set a visit time — often the same day or the following day.
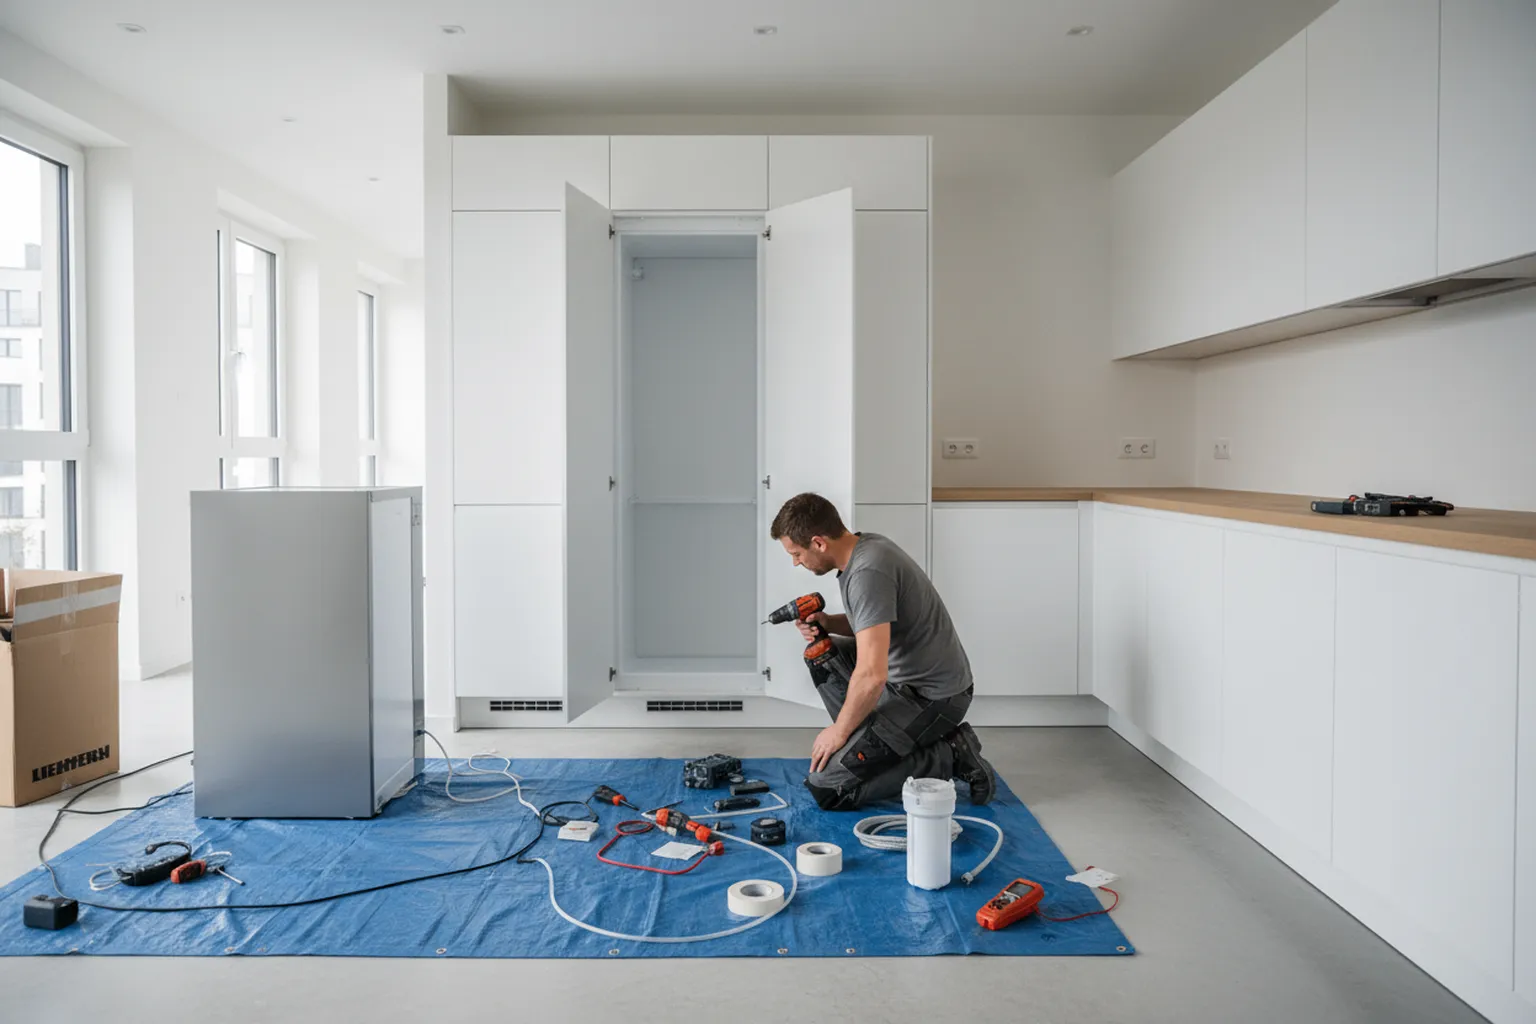
- On site, the technician checks how much time has passed since transport. If the fridge was moved upright, it can be turned on after 2–3 hours; if it was tilted or laid flat, it needs at least 12 hours (the compressor oil has to settle back).
- We place the fridge with the right ventilation gaps: at least 5 cm behind it, 2–3 cm at the sides, and top clearance according to the manufacturer’s instructions.
- We level the корпус using the adjustable feet. The front feet are raised slightly above the rear ones so the door closes by itself.
- If the door opening side needs changing, we remove the hinges, install them on the other side, and check that the gasket seals properly.
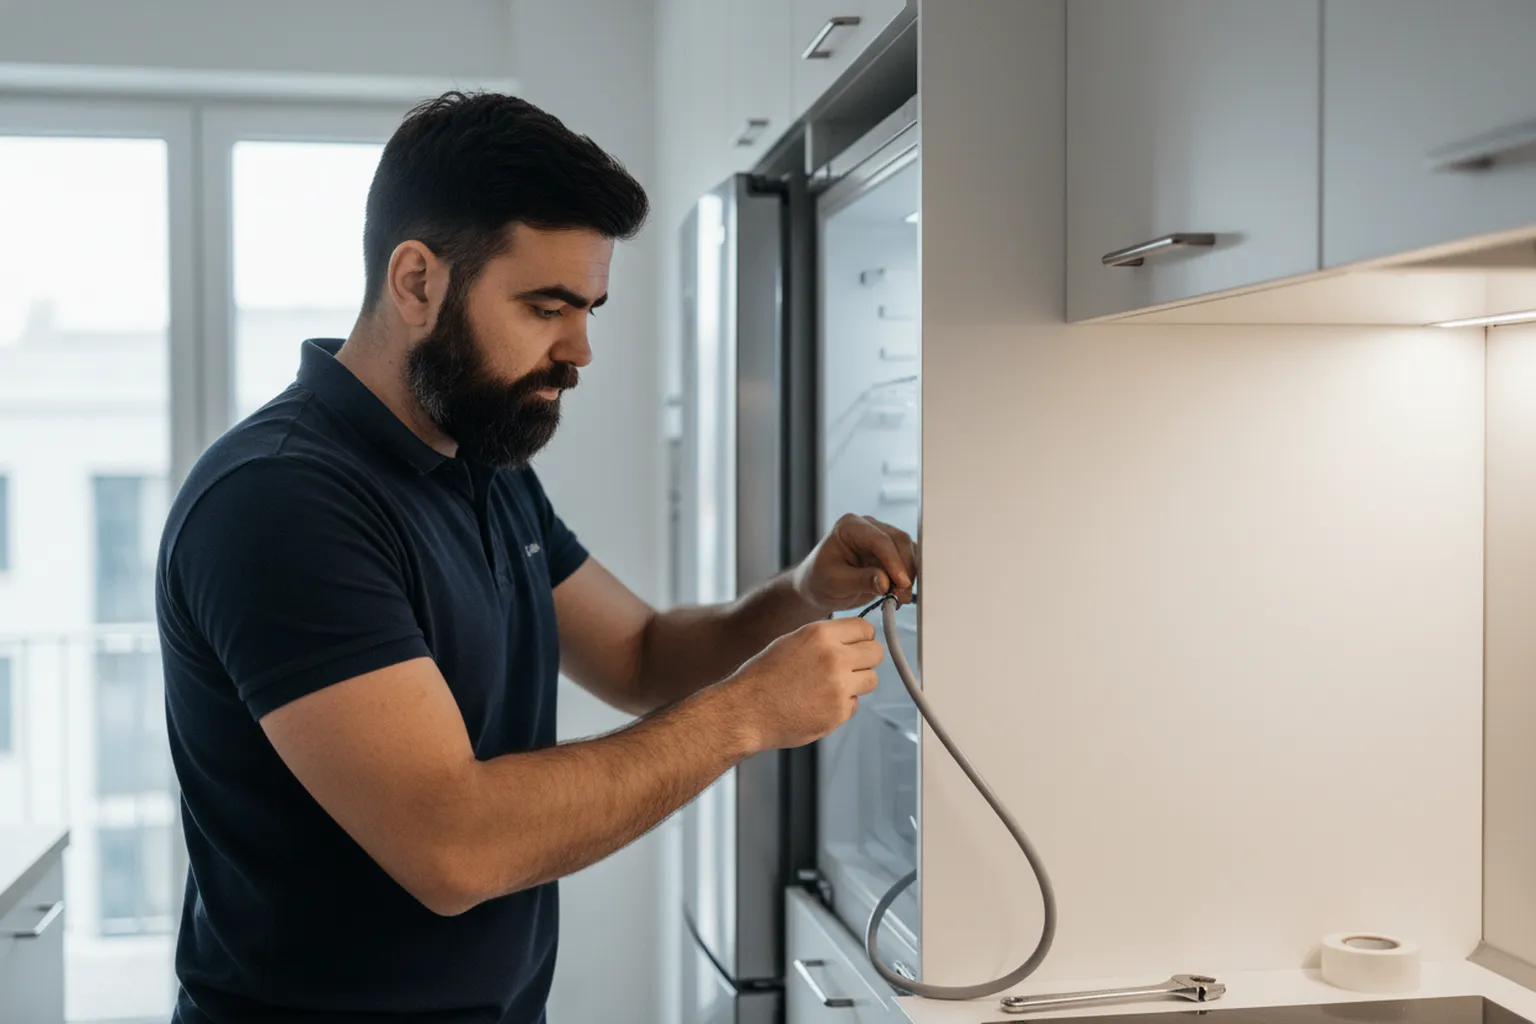
- We connect the water line to the ice maker or dispenser (if fitted): a tee on the cold-water line, a filter, and a copper or plastic tube to the fridge.
- We power it up, set the temperature according to the manufacturer’s recommendation (+4 °C in the fridge section, -18 °C in the freezer), and check compressor operation, lighting, and the ice maker.
Common mistakes when installing a refrigerator

- Turning it on immediately after delivery — the compressor oil has not settled yet, and that can lead to failure.
- Shoving the fridge tight against the wall — no airflow, the condenser overheats, the appliance runs all the time and draws more electricity.
- Skipping levelling — the door won’t shut tightly, the gasket won’t seal, and warm air gets in.
- Putting it beside a radiator or cooker — the nearby heat makes the compressor work non-stop.
- Plugging it into an extension cord or multi-plug — the fridge should be connected to its own socket, ideally earthed and with surge protection.
- Not inspecting the door gasket — if it got warped in transport, the fridge won’t maintain temperature.
- Filling the shelves with food right after switch-on — the appliance needs 6–12 hours to reach working temperature.
- Leaving the water line disconnected on a model with an ice maker — no ice comes out, and the owner thinks the function is faulty.
What to prepare before the technician arrives
- Measure the cavity or installation space: width, depth, height. Check it against the fridge dimensions in the manual.
- Clear the route from the entrance door to the kitchen — an internal door may have to be removed for carrying the appliance in.
- Check the socket: it should be close to the installation point (fridge cables are often 1.5–2 m), and it should have earthing.
- If the fridge has an ice maker, make sure there is a cold-water tap nearby or tell the technician in advance.
- Remove all transport stickers, polystyrene, and protective film from the body and shelves.
- Keep the manual handy — it gives the required clearances and the recommended temperatures.
- If you need the door opening side changed, mention it when booking so the technician brings the proper tools.
- Send entry details: intercom code, parking information.
A real case from Warsaw

A client in the Zoliborz district bought a Samsung Side-by-Side fridge with an ice maker and water dispenser. The delivery crew brought it over, but connection was not part of the service — they left the carton in the hallway. Our technician came out and moved the fridge into the kitchen (the doorway was wide enough, but the fridge doors had to come off for carrying). We set it with a 7 cm gap at the back and 3 cm at the sides. The front feet were adjusted slightly higher so the doors shut on their own. We connected the water line: a tee under the sink, a filter, and a plastic tube routed along the wall to the fridge. We left it standing for 4 hours (it had been transported upright), then switched it on and set the temperature. The next day the client confirmed the ice maker was working and the temperature was holding steady. The whole job took about an hour and a half, not counting the standing time (compatible with Bosch, Vaillant, Junkers and similar).
Frequently asked questions
How long should I wait after transport before switching on?
If the fridge was transported upright — 2–4 hours. If it was tilted or carried on its side — at least 12 hours. That gives the compressor oil time to return to the working section.
Is levelling really necessary?
Yes. A fridge that is not level vibrates, the door does not seal properly, and the gasket wears out sooner. The front feet are adjusted a little higher than the rear ones — that way the door closes on its own.
Can I change the door opening side?
On most models, yes. It’s a standard job: the hinges are removed, fitted on the opposite side, and the gasket seal is checked.
Does a fridge need a surge protector?
We advise it. Power surges can damage the electronics, especially on models with an inverter compressor and touch controls.
Do you connect built-in fridges?
Yes. A built-in model needs careful fitting into the cavity, mounting of the furniture door, and ventilation checks. Let us know the model when booking.
What is included in the connection price?
Labour, travel within Warsaw, and basic fixings. Extra materials (water hose, filter, tee fitting) are charged separately if needed.
Can a water line be connected to any fridge?
Only if the model has an ice maker or water dispenser. These are most often Side-by-Side and French Door fridges. A nearby cold-water outlet is needed.
What clearances should I leave around the fridge?
Leave at least 5 cm at the back for condenser ventilation and 2–3 cm at the sides. Above it — according to the manual, usually 5–10 cm. Without those clearances, the fridge overheats.
Who does the work
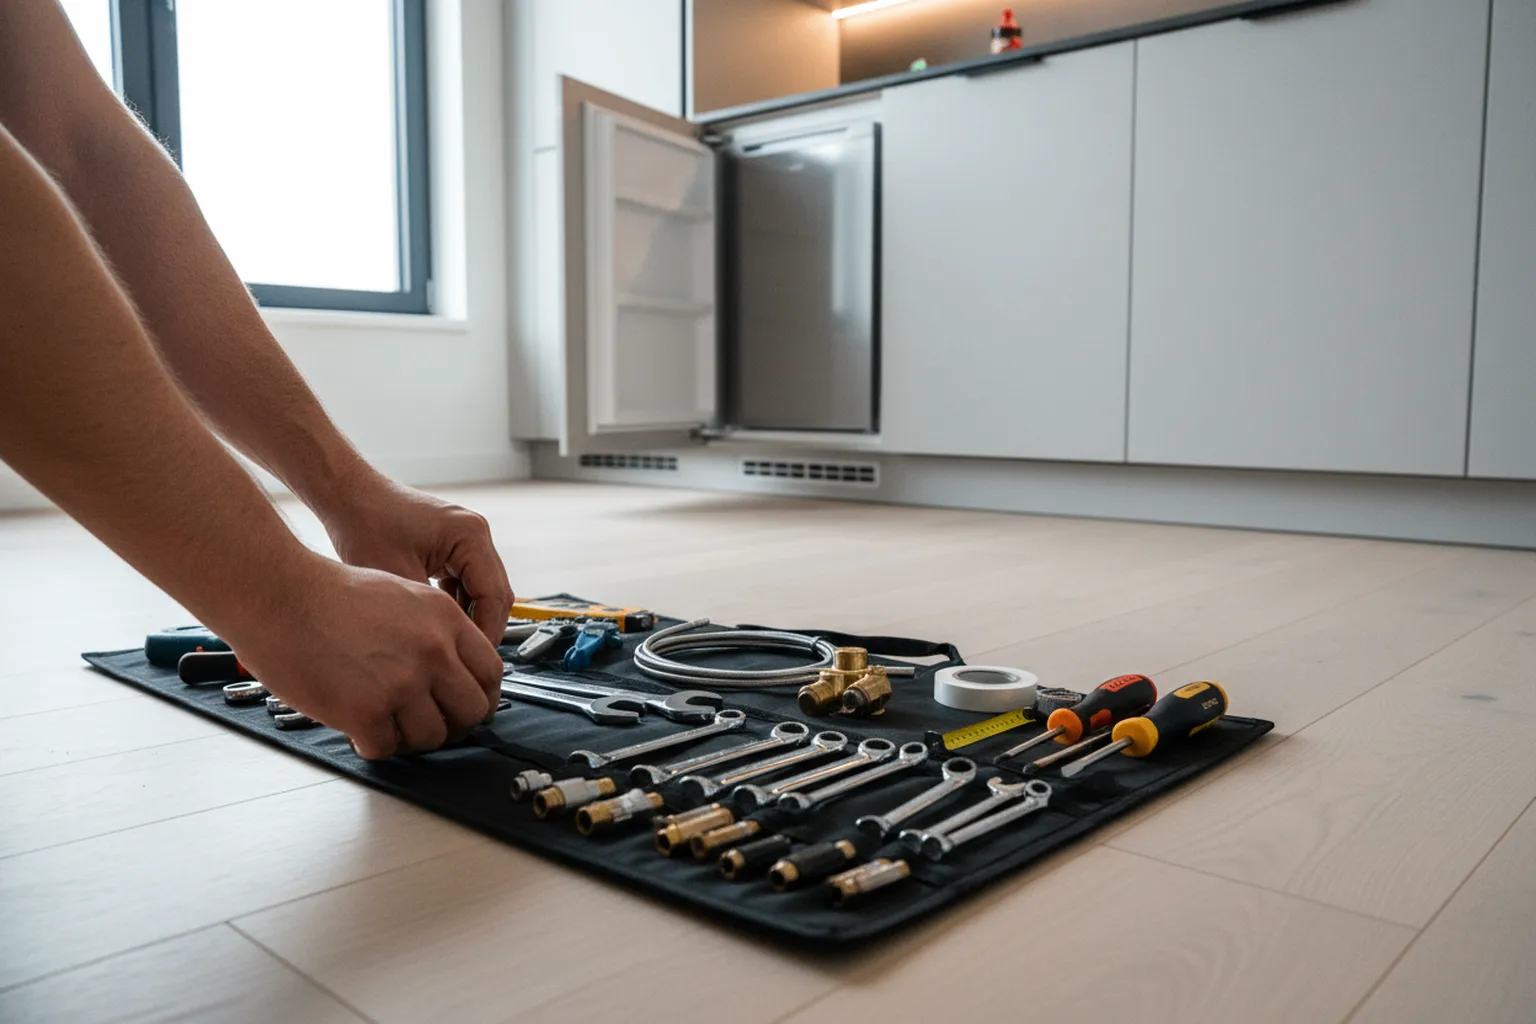
Fridge installation and connection is done by technicians who know all appliance types — from simple single-door units to Side-by-Side models with water lines. We come with tools and a basic supply kit anywhere in Warsaw — from Praga Poludnie to Bemowo. If extra materials are required, we agree that in advance. Call or message us — we get back to you within an hour.