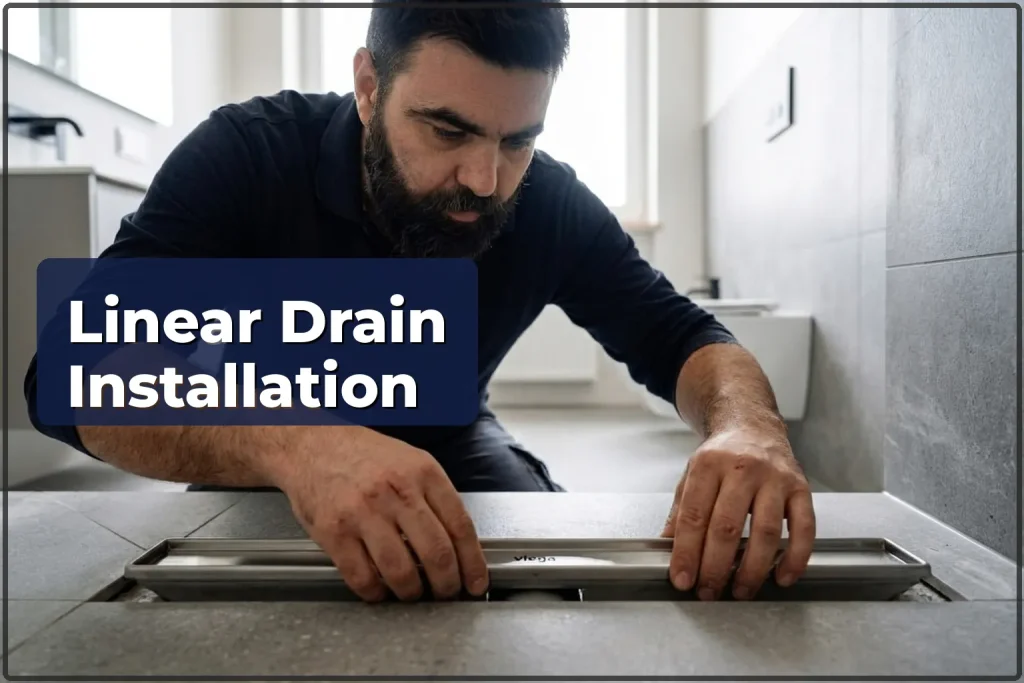
A linear drain is a clean-looking, modern shower outlet set flush with the floor, replacing the old-style shower tray. Water runs into a slim channel built into the floor — no raised lip, no awkward corners catching dirt, and cleaning is much simpler. More and more homeowners in Śródmieście, Bielany and across Warsaw are going for this during bathroom refurbishments. If you are planning a walk-in shower with a linear drain, our handyman can come out, check the technical setup and install it the right way.
How Much Does It Cost and What Affects the Price
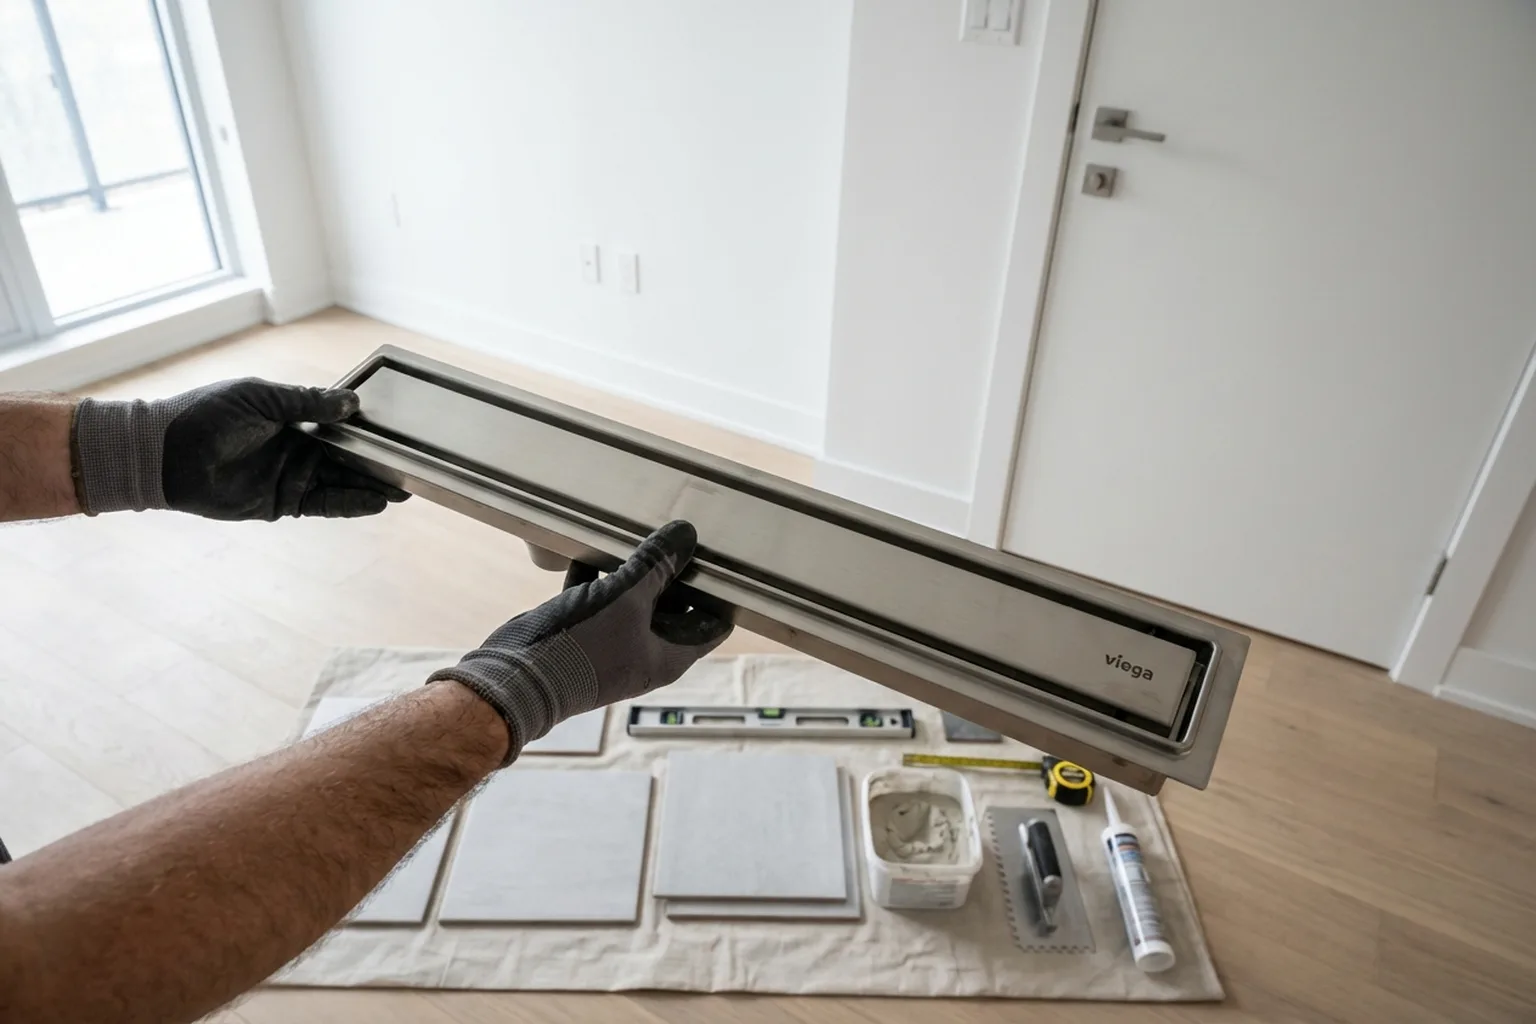
The minimum labour charge for installing a linear drain starts at about 400 PLN, provided the subfloor is already prepared and the waste pipe is where it should be. The total cost depends on the channel length (50, 70, 90 cm), whether the screed has to be cut or the waste pipe moved, and what kind of subfloor you have (concrete screed, timber joist, prefabricated polystyrene former). The drain body, trap, waterproofing membrane and tile adhesive are priced separately. Basic fixings are included in the service cost. Rubbish removal and carrying materials upstairs are extra.
How the Work Goes On-Site
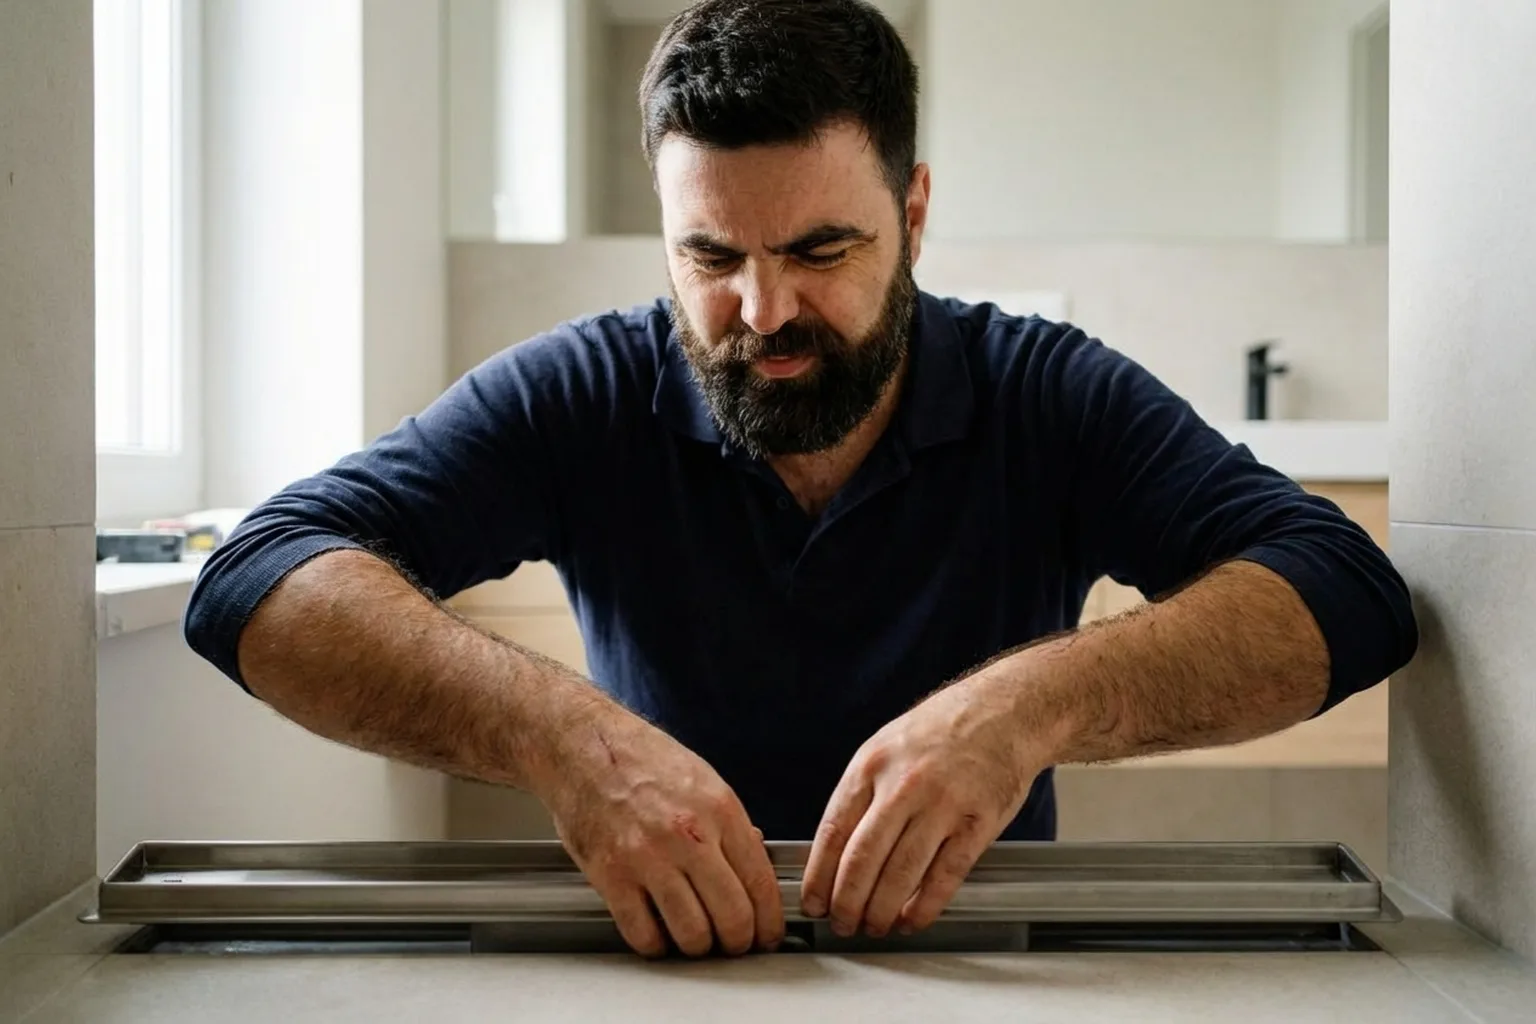
- Inspection — the handyman looks over the floor condition, the waste pipe location and whether the needed fall can be made.
- 2. Layout — the channel position is marked out, the fall direction is set (minimum 1–2 % towards the drain), and the height from the drain to the waste entry is checked.
- 3. Subfloor preparation — the screed is cut out where needed, or a polystyrene former with a built-in slope is installed. The trap is then connected to the waste pipe.
- 4. Waterproofing — liquid waterproofing is applied over the floor and up the walls in the shower area (minimum 150 mm). Joints are sealed with tape.
- 5. Drain fitting — the channel is secured, levelled and checked with a test pour of water.
- 6. Screed and tiling — a finishing screed is laid with a fall towards the drain; once cured, tiles are fitted and joints are grouted.
- 7. Final check — the handyman checks for leaks, drain speed and any standing water. The client gets instructions on upkeep.
Typical Customer Mistakes (and How to Avoid Them)
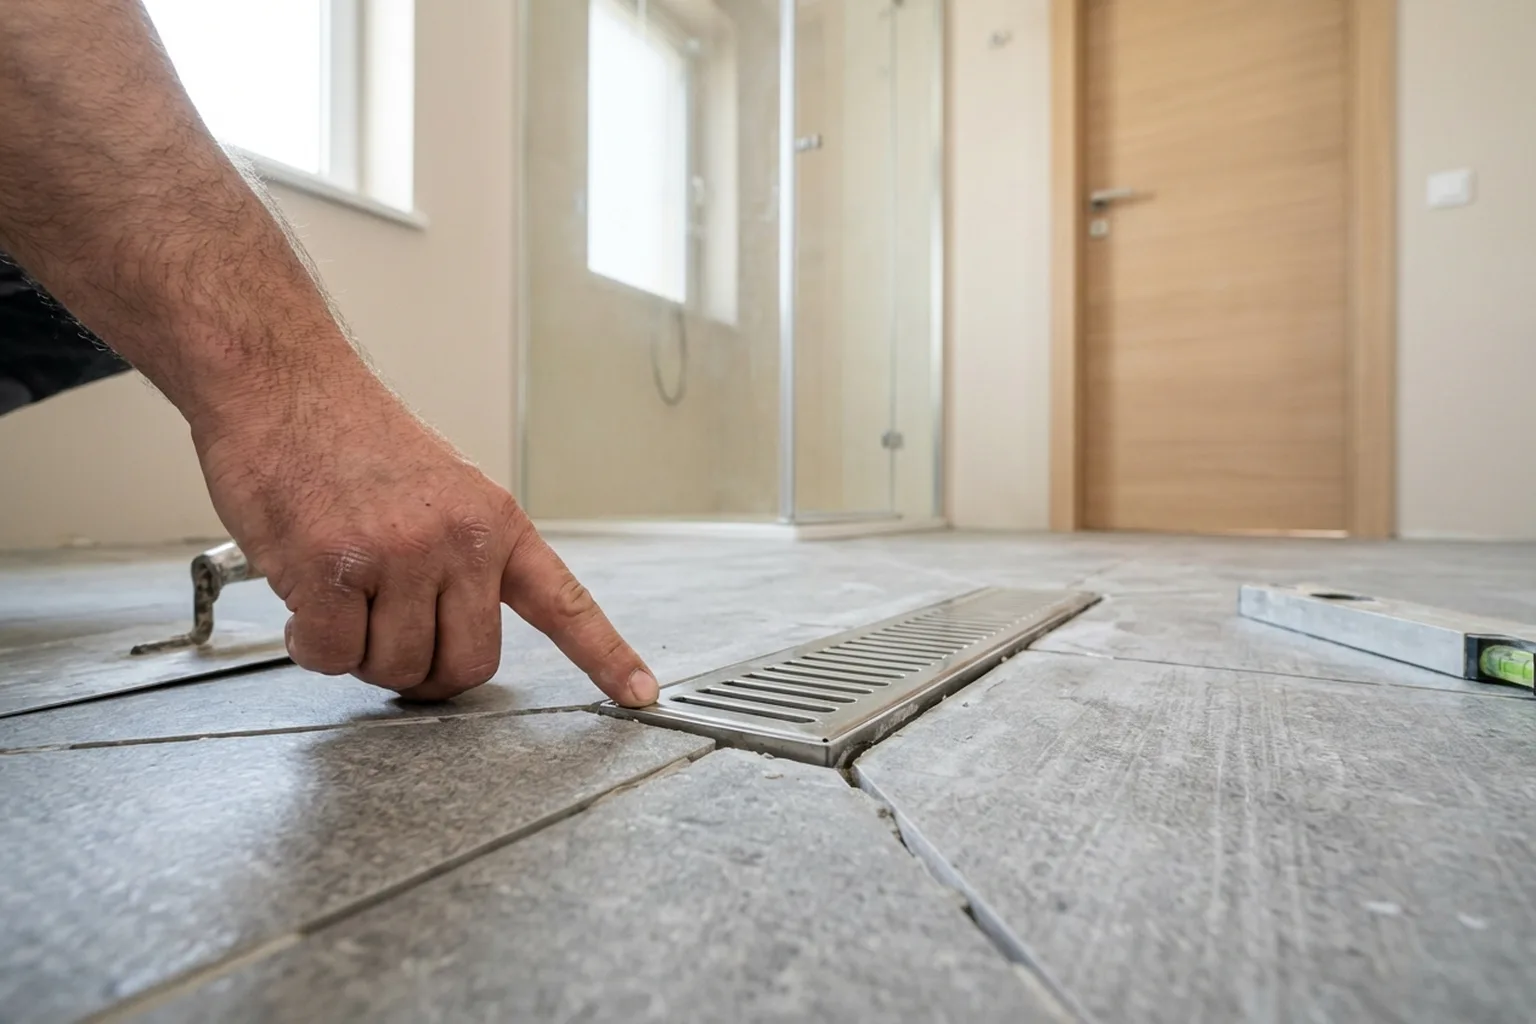
- Insufficient floor gradient — water sits on the floor instead of draining away. You need at least 1 cm per metre, and 1.5–2 cm is better.
- 2. Buying a drain without checking installation height — if the gap from finished floor to waste pipe is under 60–70 mm, a standard trap will not fit. You need a low-profile one.
- 3. Skipping waterproofing — without it, water gets under the screed and into the flat below. Waterproofing must cover the whole shower area.
- 4. Cheap trap — it blocks more quickly and allows sewer smells through. Pick a trap rated for at least 0.5 l/s flow.
- 5. Poor waste pipe gradient — if the pipe runs level or uphill, drainage will be slow and blockages will keep coming back.
- 6. Placing the drain far from the soil stack — each extra metre of pipe slows the flow and increases the chance of blockage.
- 7. Plastic grate — people stand on it in the shower. Plastic cracks in six months; go for stainless steel.
What to Prepare Before the Handyman Arrives
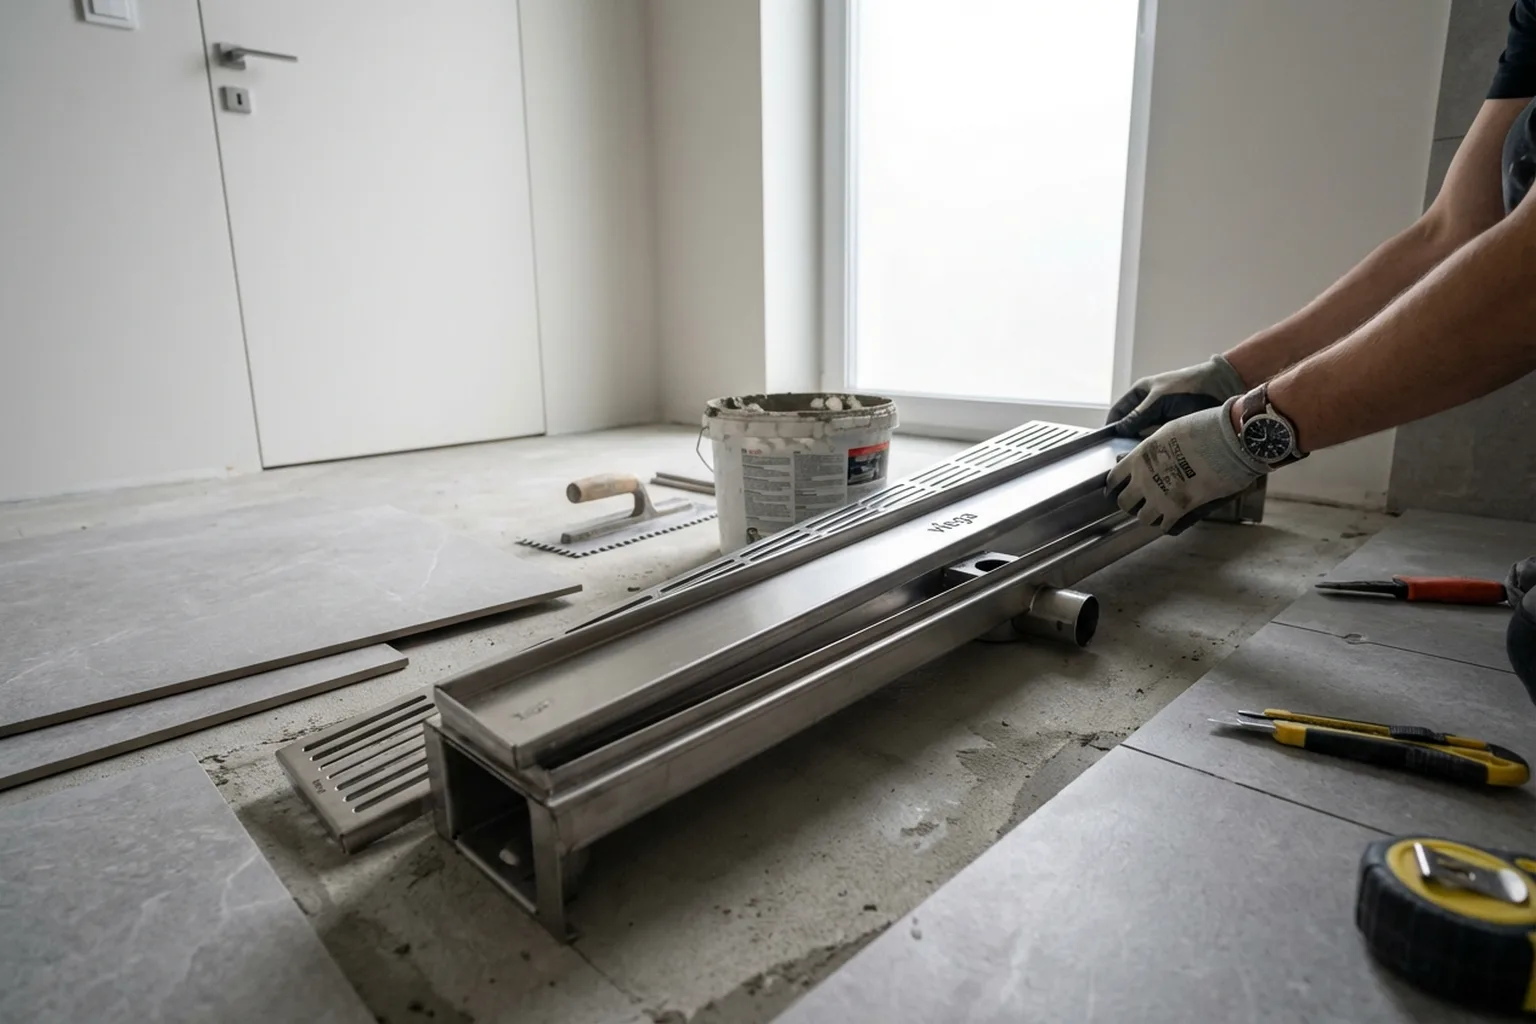
- Decide where the drain should be installed — along the wall, in the middle, or at the shower entrance.
- 2. Buy the drain beforehand or agree on a model with the handyman — this saves delays.
- 3. Make sure the waste pipe outlet can be reached — if it is buried under tiles, tell us in advance.
- 4. Remove furniture, the washing machine and personal belongings from the bathroom.
- 5. Make sure there is access to water and electricity for the tools.
- 6. If you live in a block — let the neighbour below know about the work.
- 7. Check the screed thickness — the handyman needs to know how many centimetres there are down to the slab.
- 8. Set aside space for rubble — building waste removal is charged separately.
- 9. If the building has an intercom or barrier — arrange entry for the handyman.
- 10. Keep enough time free — drain installation with prep takes 4–8 hours, and sometimes needs two visits.
A Real Case from Warsaw

A client in Żoliborz was refurbishing the bathroom and wanted a frameless walk-in shower with a 70 cm linear drain along the wall. The problem was that the waste outlet sat in the opposite corner and the floor-to-slab depth was only 85 mm. The handyman chose a low-profile trap with a 54 mm height, ran a new waste pipe with the proper fall, and poured a screed sloped in two planes towards the channel. Waterproofing went on in two coats with taped corners. After tiling and grouting, he carried out a flood test — the water reached the drain in around 12 seconds and there was no pooling anywhere. The client rang a month later — everything was working perfectly. The takeaway: even with very limited depth, a linear drain can be fitted properly if you use the right parts and set the falls correctly from the beginning.
Frequently Asked Questions
How long does linear drain installation take?
If the subfloor is ready — from 4 hours. If screed preparation and waterproofing are needed — 1–2 working days.
Can a linear drain be fitted in an old building with timber floors?
Yes, but the subfloor might need reinforcing and specialist waterproofing. The handyman will check it on-site.
Wall drain or centre drain — which is better?
Wall drain — easier fall, one plane. Centre drain — fall from all sides, more complicated, more expensive.
Does the drain need cleaning?
Yes, every 2–3 months remove the grate and rinse the trap. This helps prevent blockages and smells.
Do you supply the drain or should I buy it?
It is best to buy it in advance or agree a model with us. Materials are charged separately.
What happens if the gradient is wrong?
Water will stay on the floor. Fixing that means redoing the screed — so better to have a professional do it from the start.
Who Does the Work and What to Expect
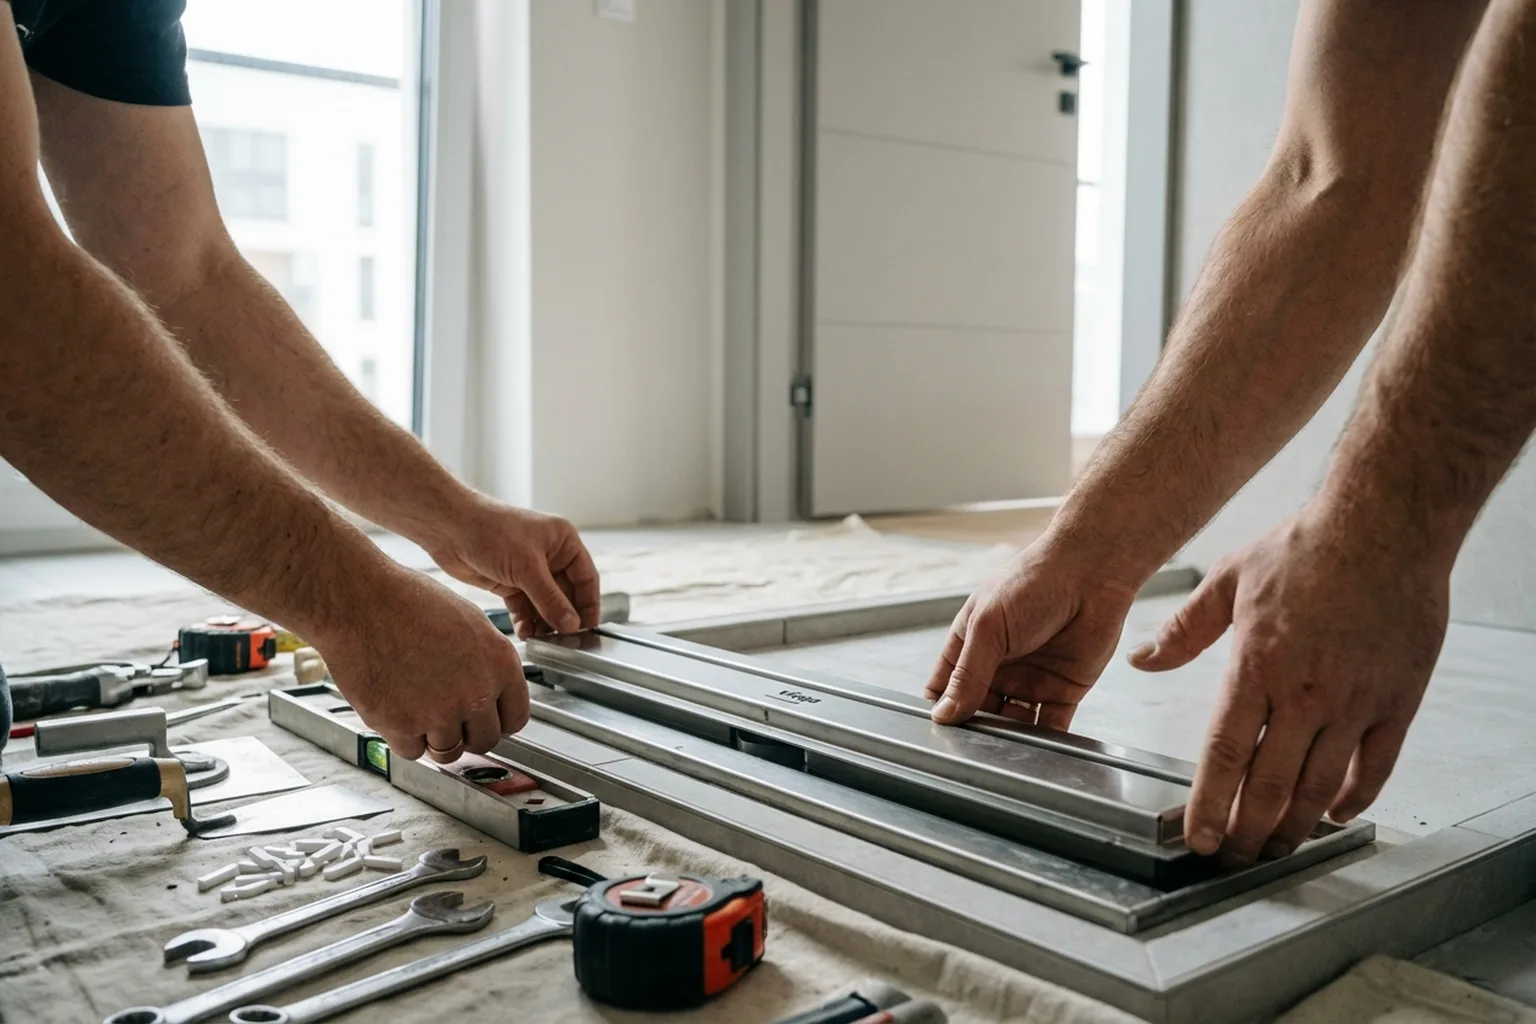
The installation is done by experienced handymen who handle plumbing jobs and bathroom fit-outs across Warsaw every day. We turn up at the agreed time with all the tools needed for the job. Before any work starts, the handyman checks the site and confirms the exact price — no surprise extras. Once the job is finished, the work area is cleaned and the tools are taken away. We stand behind the quality of the installation and the tightness of the joints. We do not take responsibility for hidden defects in the building slab, pipes damaged before we arrived, or materials bought by the client without prior consultation. If we come across a serious issue during the job, we will tell you plainly and explain the options. Need a linear drain fitted? Send us a message or call — we will arrange a time that works for you.