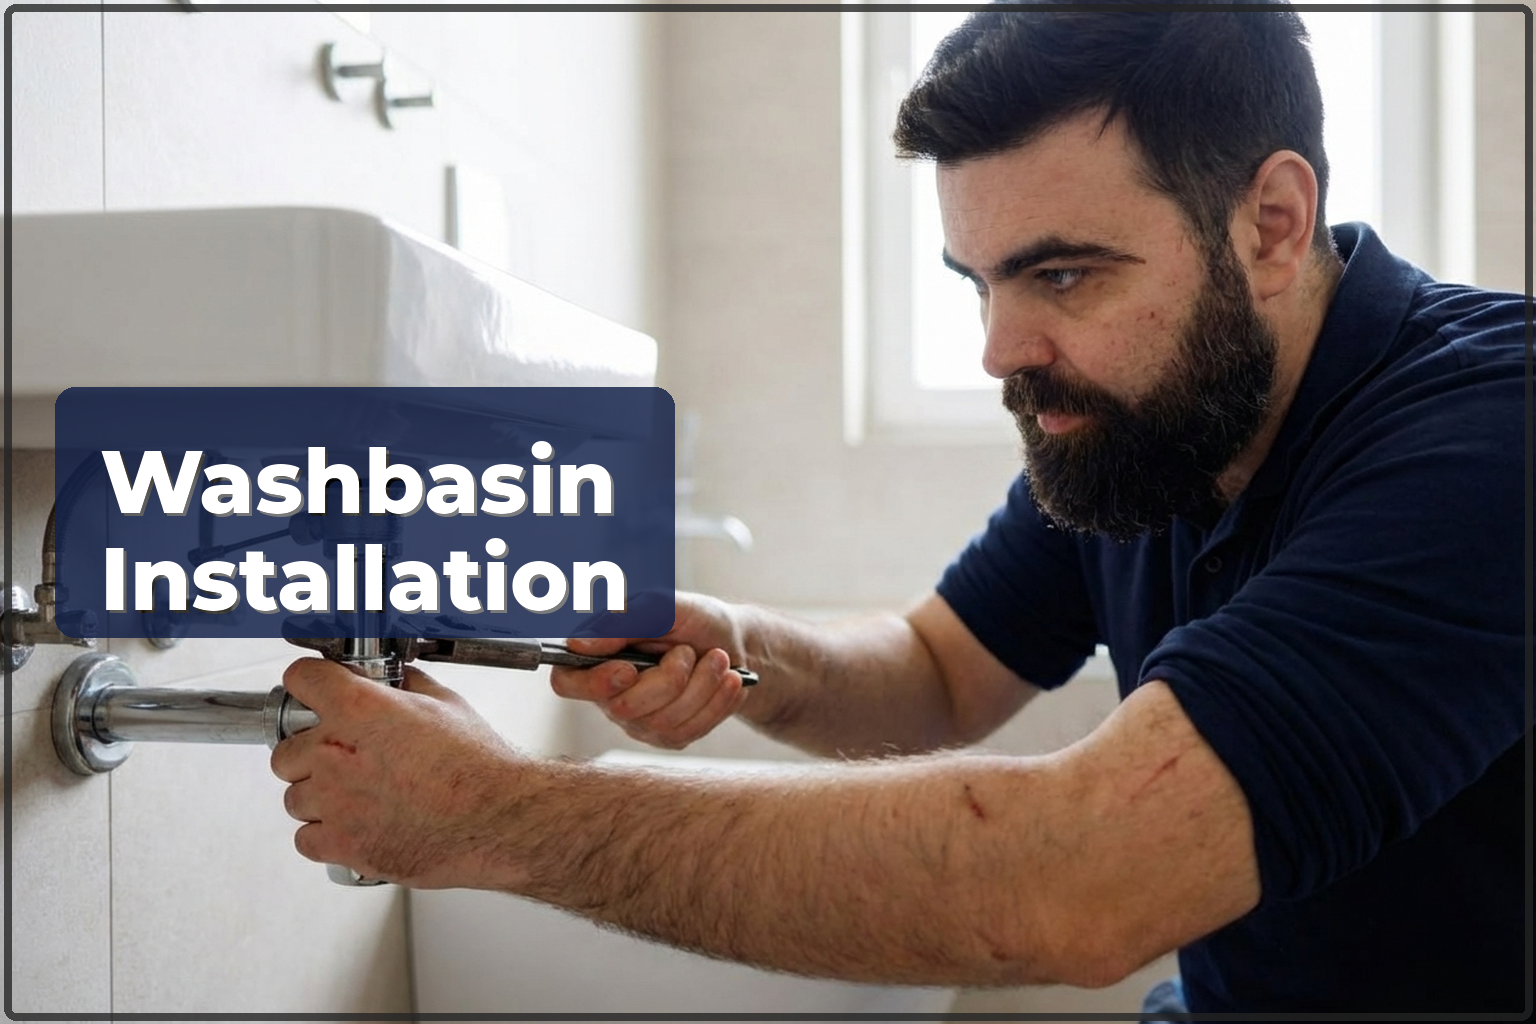
Got a new washbasin still sitting in the box while the old one is hanging by a thread? Or redoing the bathroom and need a basin installed from zero? Washbasin fitting looks easy until you get into it: water feed connections, trap, sealing, wall fixing. One slip-up and you can end up with a puddle on the floor a few days later. We install washbasins all over Warsaw: we come with our tools, hook everything up to the water and drain, and test each joint for leaks. If needed, we can swap the trap, fit a mixer tap, or install a vanity unit.
How much does washbasin installation cost
The price depends on the kind of basin and how tricky the connections are. A wall-hung basin without a cabinet is faster and easier to fit. A basin on a vanity unit also means furniture assembly, trimming cutouts, and making the connections inside the unit. A countertop-mounted basin takes the most work. The final cost also depends on whether the supply hoses need changing, whether a new trap is needed, and whether the connection point has to be relocated. Fixings and sealant are included. You can check the current prices in the table below.
| Service | min | max |
|---|---|---|
| Washbasin installation | 200 zł | 300 zł |
| Washbasin replacement | 150 zł | 250 zł |
| Vanity unit with basin installation | 250 zł | 450 zł |
| Basin mixer tap installation | 150 zł | 250 zł |
How the installation works
- We turn off the water and empty the pipes.
- If there is an old basin in place, we take it off: disconnect the trap and tap, then remove the wall fixings.
- We mark out the spot for the new basin with a spirit level. Standard height is 85 cm from the floor, but we adjust it to the people using it.
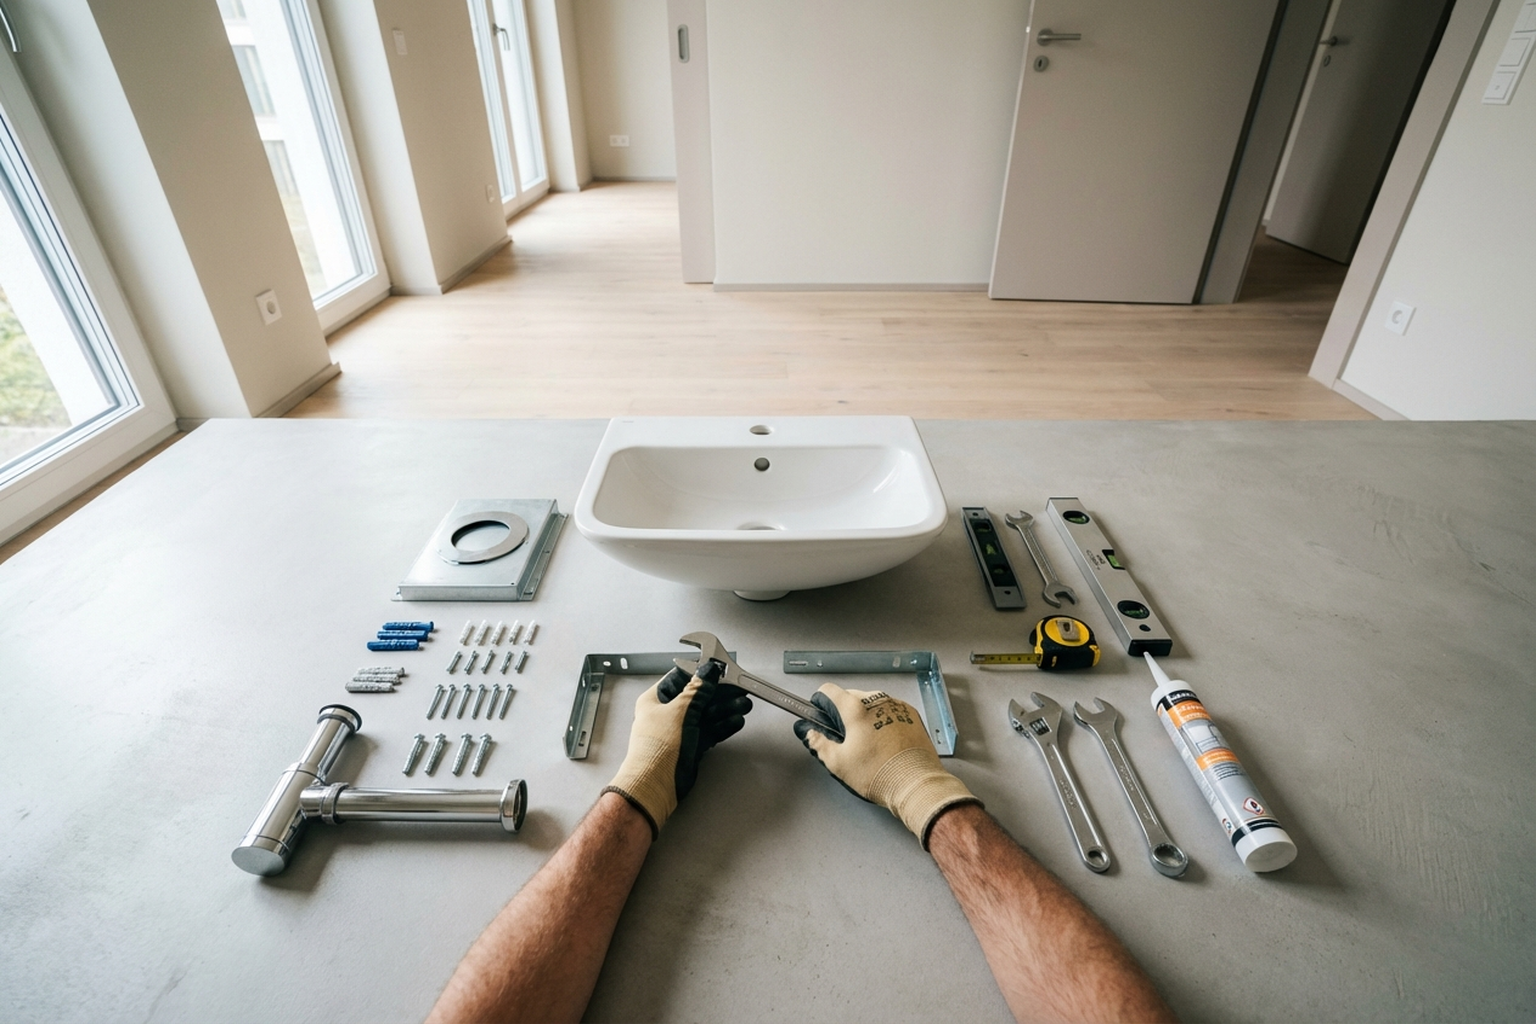
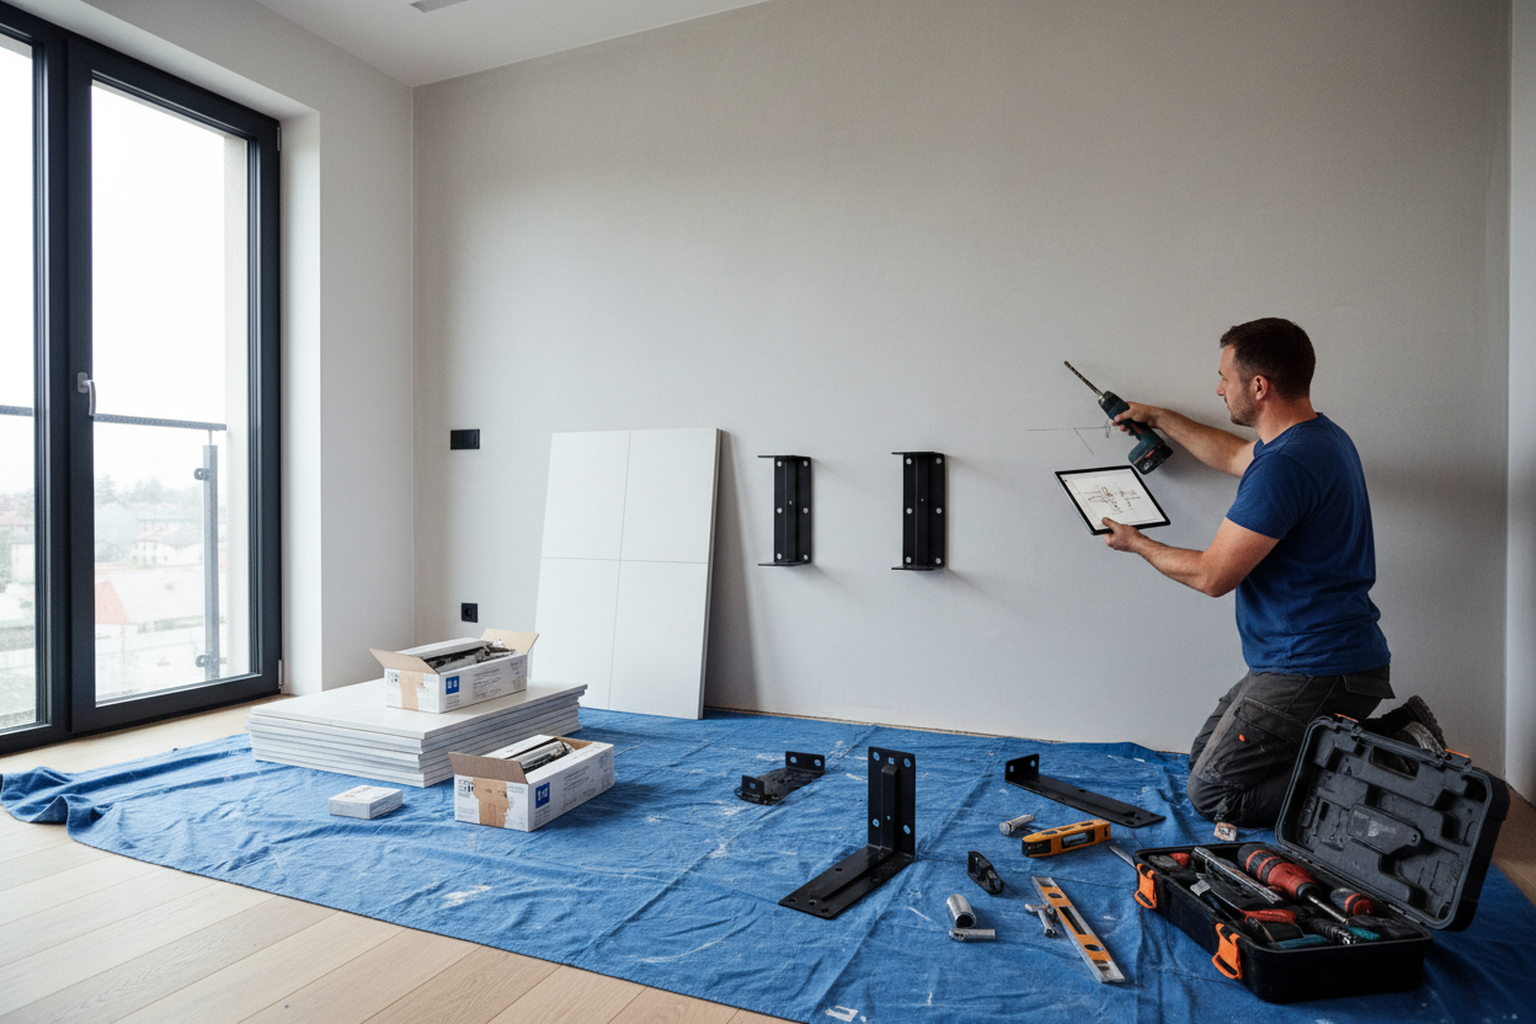
- We drill the wall, install wall plugs and threaded rods (or brackets, depending on the model).
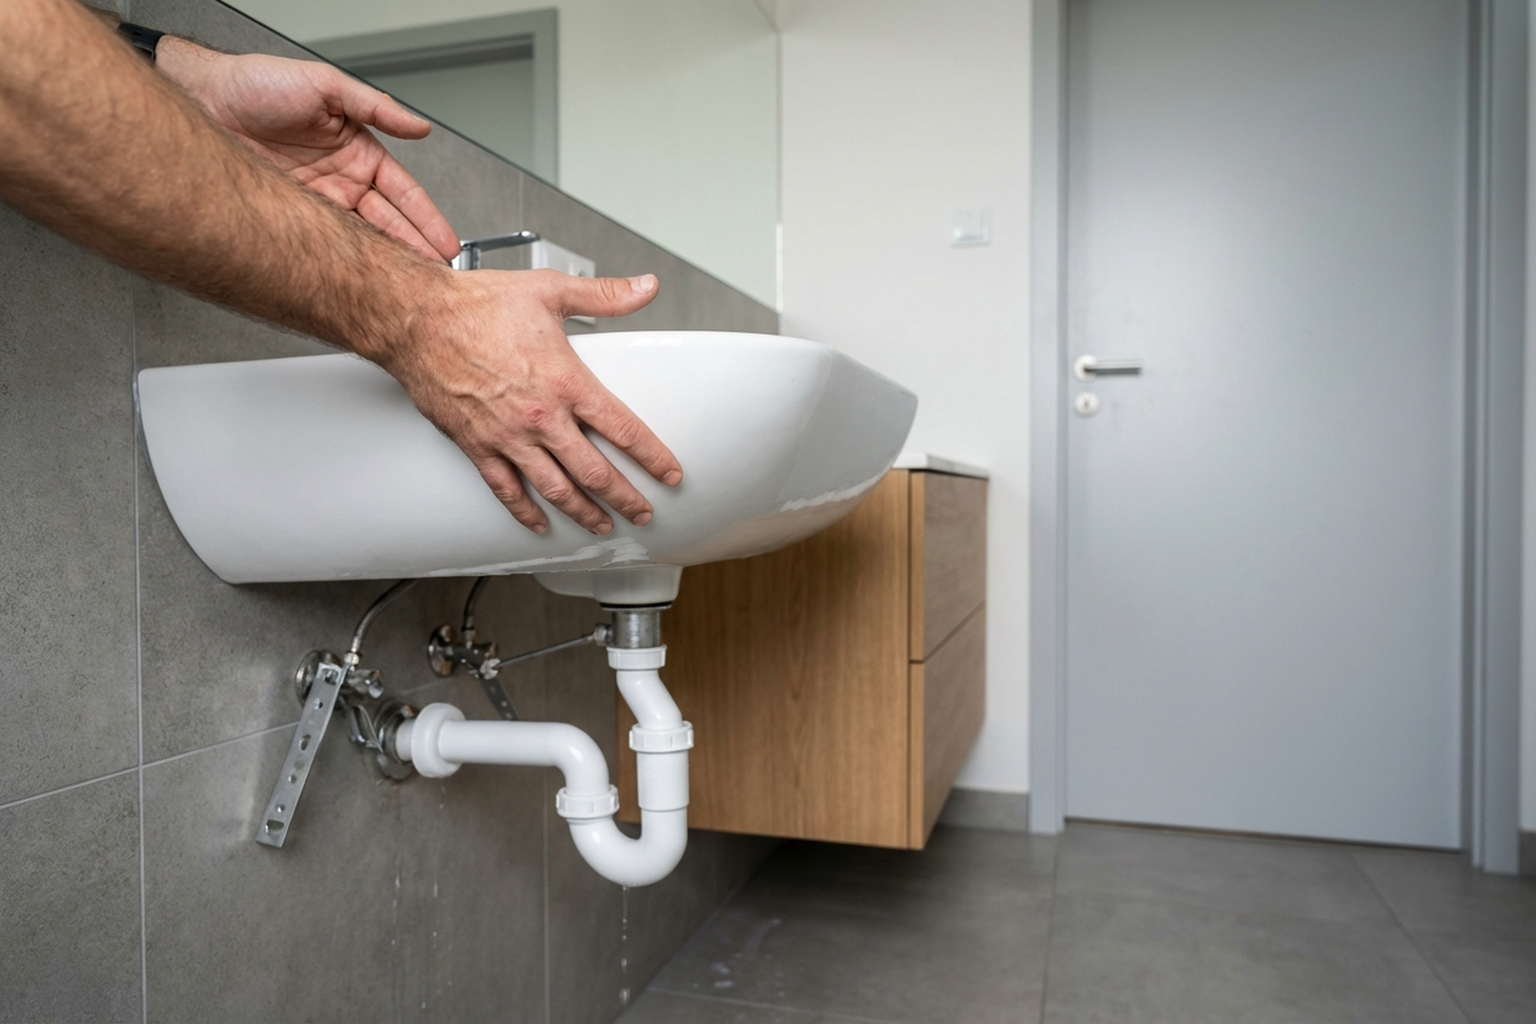
- We hang the basin, check that it sits level, and tighten the fixings.
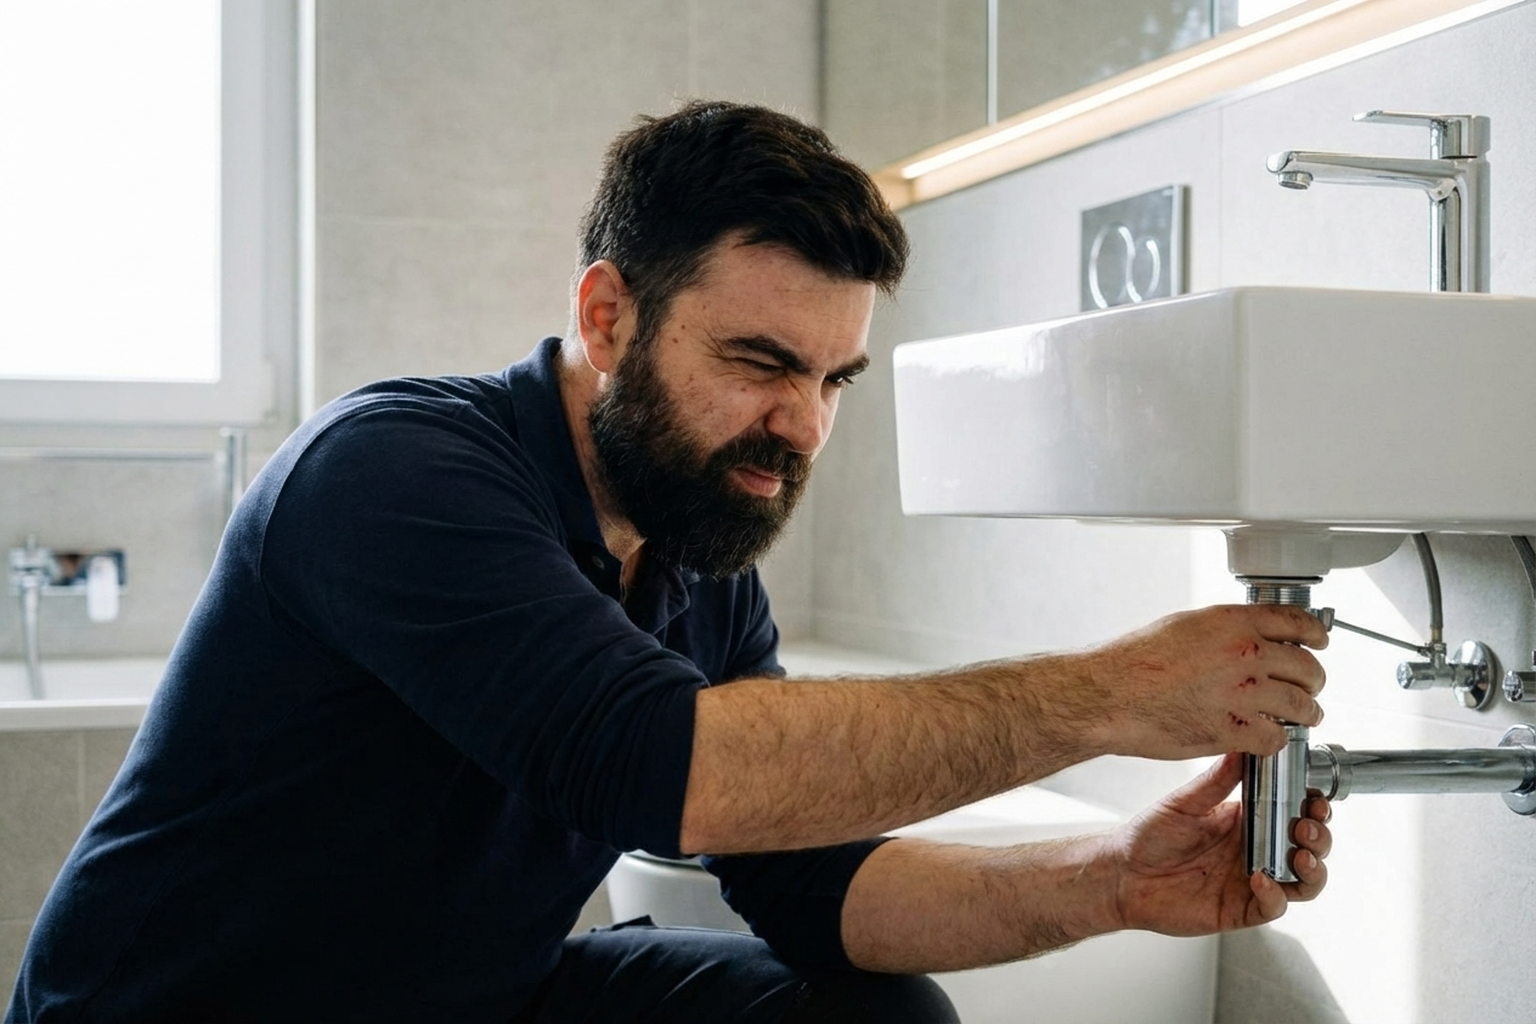
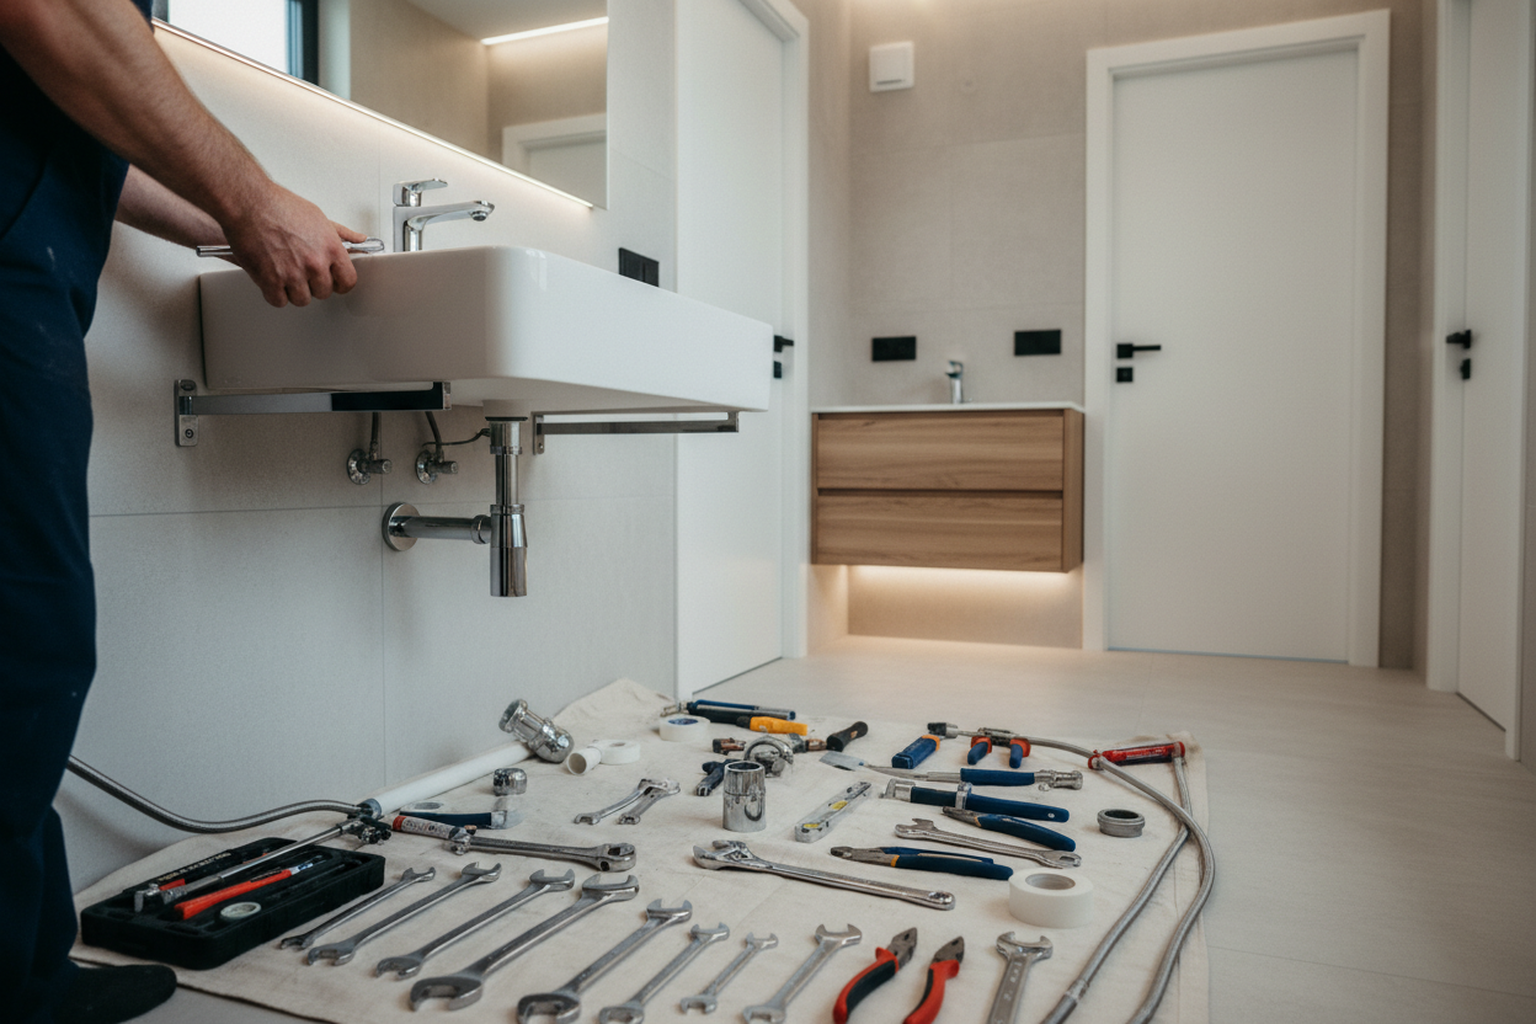
- We fit the trap and connect it to the drain. Every joint gets rubber gaskets plus sealant.
- We install the mixer tap (if supplied) and connect the flexible hoses to the water supply.
- We turn the water back on and inspect every connection for leaks. Then we wipe everything down and clean up.
Common mistakes when installing a washbasin
- Drilling without scanning the wall first — and hitting a pipe or cable. We always run a detector over the wall before drilling any holes.
- Fixing the basin on plugs only, without threaded rods — over time it starts to loosen, especially with heavy ceramic models.
- Tightening ceramic hard against the wall — that causes cracks. Ceramic needs to be pulled up carefully with rubber washers.
- Putting the trap together without gaskets or leaving it at an angle — it starts leaking within days.
- Skipping the check on the drain slope — water stays in the bowl and a sewer smell appears.
- Using old flexible hoses again — the rubber lining ages and cracks, which means leak risk.
- Leaving the basin-to-wall joint unsealed — water gets behind the basin and soaks into the wall.
What to prepare before the technician arrives
- The new basin should already be in the flat, unpacked and checked for any chips.
- If you have a tap, keep it ready as well (with the hoses included).
- Make sure there is access to the shut-off valves — the technician will need to switch off the water.
- Check what kind of wall it is (concrete, brick, plasterboard) — that decides which fixings are used.
- If it is plasterboard, a backing support or special fixings will be needed (please tell us in advance).
- Remove everything from the area under the basin and make sure the pipes are easy to reach.
- Send the intercom code and parking details.
Case study: washbasin installation in Ursynow
One client bought a wall-hung Cersanit basin for a guest bathroom. The wall was hollow brick, and the plugs from the box were not going to hold. We changed them for 10×80 expansion anchors — solid as anything. The trap included in the kit had a short outlet, while the drain pipe was set deeper into the wall than normal. We installed a flexible connector with an adapter. The client picked a tap with a pop-up waste — we connected it and adjusted the mechanism. The whole job took around an hour and a half. We pressure-tested every joint — completely dry. A week later the client called to say everything was still working perfectly.
Frequently asked questions
What basins do you install?
All types: wall-hung, pedestal, vanity-mounted, countertop-inset. Cersanit, Roca, Grohe, IKEA, Deante — brand makes no difference.
Do I need to buy a trap and hoses separately?
The trap usually comes with the basin, and the hoses usually come with the tap. If not, we can supply and fit them — materials are charged separately.
Can you install a basin on plasterboard?
Yes, if there is a backing support in place (timber or metal profile behind the board). If there is not, we use specialist plasterboard fixings, but for heavy ceramics that is not the best option.
How long does installation take?
A basic wall-hung basin — 1 to 1.5 hours. With a vanity unit — 1.5 to 2.5 hours. Countertop-inset — 2 to 3 hours.
Is removal of the old basin included?
Removal is priced separately, but it is often inexpensive — it depends on the complexity.
Who does the work and how we operate
Plumbing work is done by technicians with hands-on experience in Warsaw bathrooms. We know the oddities of local buildings: hollow brick in Mokotow newbuilds, solid concrete in Praga, plasterboard partitions in Wola. We come with our own tools and consumables. We work across all of Warsaw and nearby areas. To book a technician, call or message us and we will get back to you within an hour.