
Important: any job on the water supply needs proper care. One badly tightened connection can flood your flat and the one downstairs. If you are not sure what you are doing, call a professional.
How much does installation cost
The cost comes down to the tap model, the state of the supply lines and how easy the pipes are to reach. A single-lever tap with standard hoses is one rate; a wall-mounted model that needs eccentric adapters is another. Up-to-date prices for all bathroom jobs are listed in the table below. Fixings and consumables (PTFE tape, washers) are included. The tap itself and supply hoses are bought by the client.
| Service | Price |
|---|---|
| Washbasin installation | 200–500 zł |
| Washbasin replacement | 250–600 zł |
| Vanity unit installation | 300–600 zł |
| Basin tap installation | 150–250 zł |
| Basin tap replacement | 250–400 zł |
| Floor toilet installation | 300–500 zł |
| Floor toilet replacement | 350–600 zł |
| Wall-hung toilet installation (frame) | 450–700 zł |
| WC frame replacement | 600–1500 zł |
| Bathtub installation | 400–900 zł |
| Bathtub replacement | 500–1000 zł |
| Shower cabin installation | 350–1200 zł |
| Shower tray installation | 500–800 zł |
| Shower tray replacement | 600–1000 zł |
| Linear drain installation | 400–900 zł |
| Re-sealing shower and bathtub | 250–600 zł |
| Towel radiator installation | 300–600 zł |
| Towel radiator replacement | 350–700 zł |
| Drain cleaning | 200–800 zł |
| Trap (siphon) replacement | 120–400 zł |
Indicative prices. Ranges for a typical scope. Fixings included, materials separate. Minimum order 300 zł.
Rather hand the job over? More here: tap replacement in Warsaw.
Installation or replacement?
Installation assumes new valves and a clean basin. If an old tap with a scaled-up nut has to come off first, book tap replacement.
How basin mixer tap installation is done
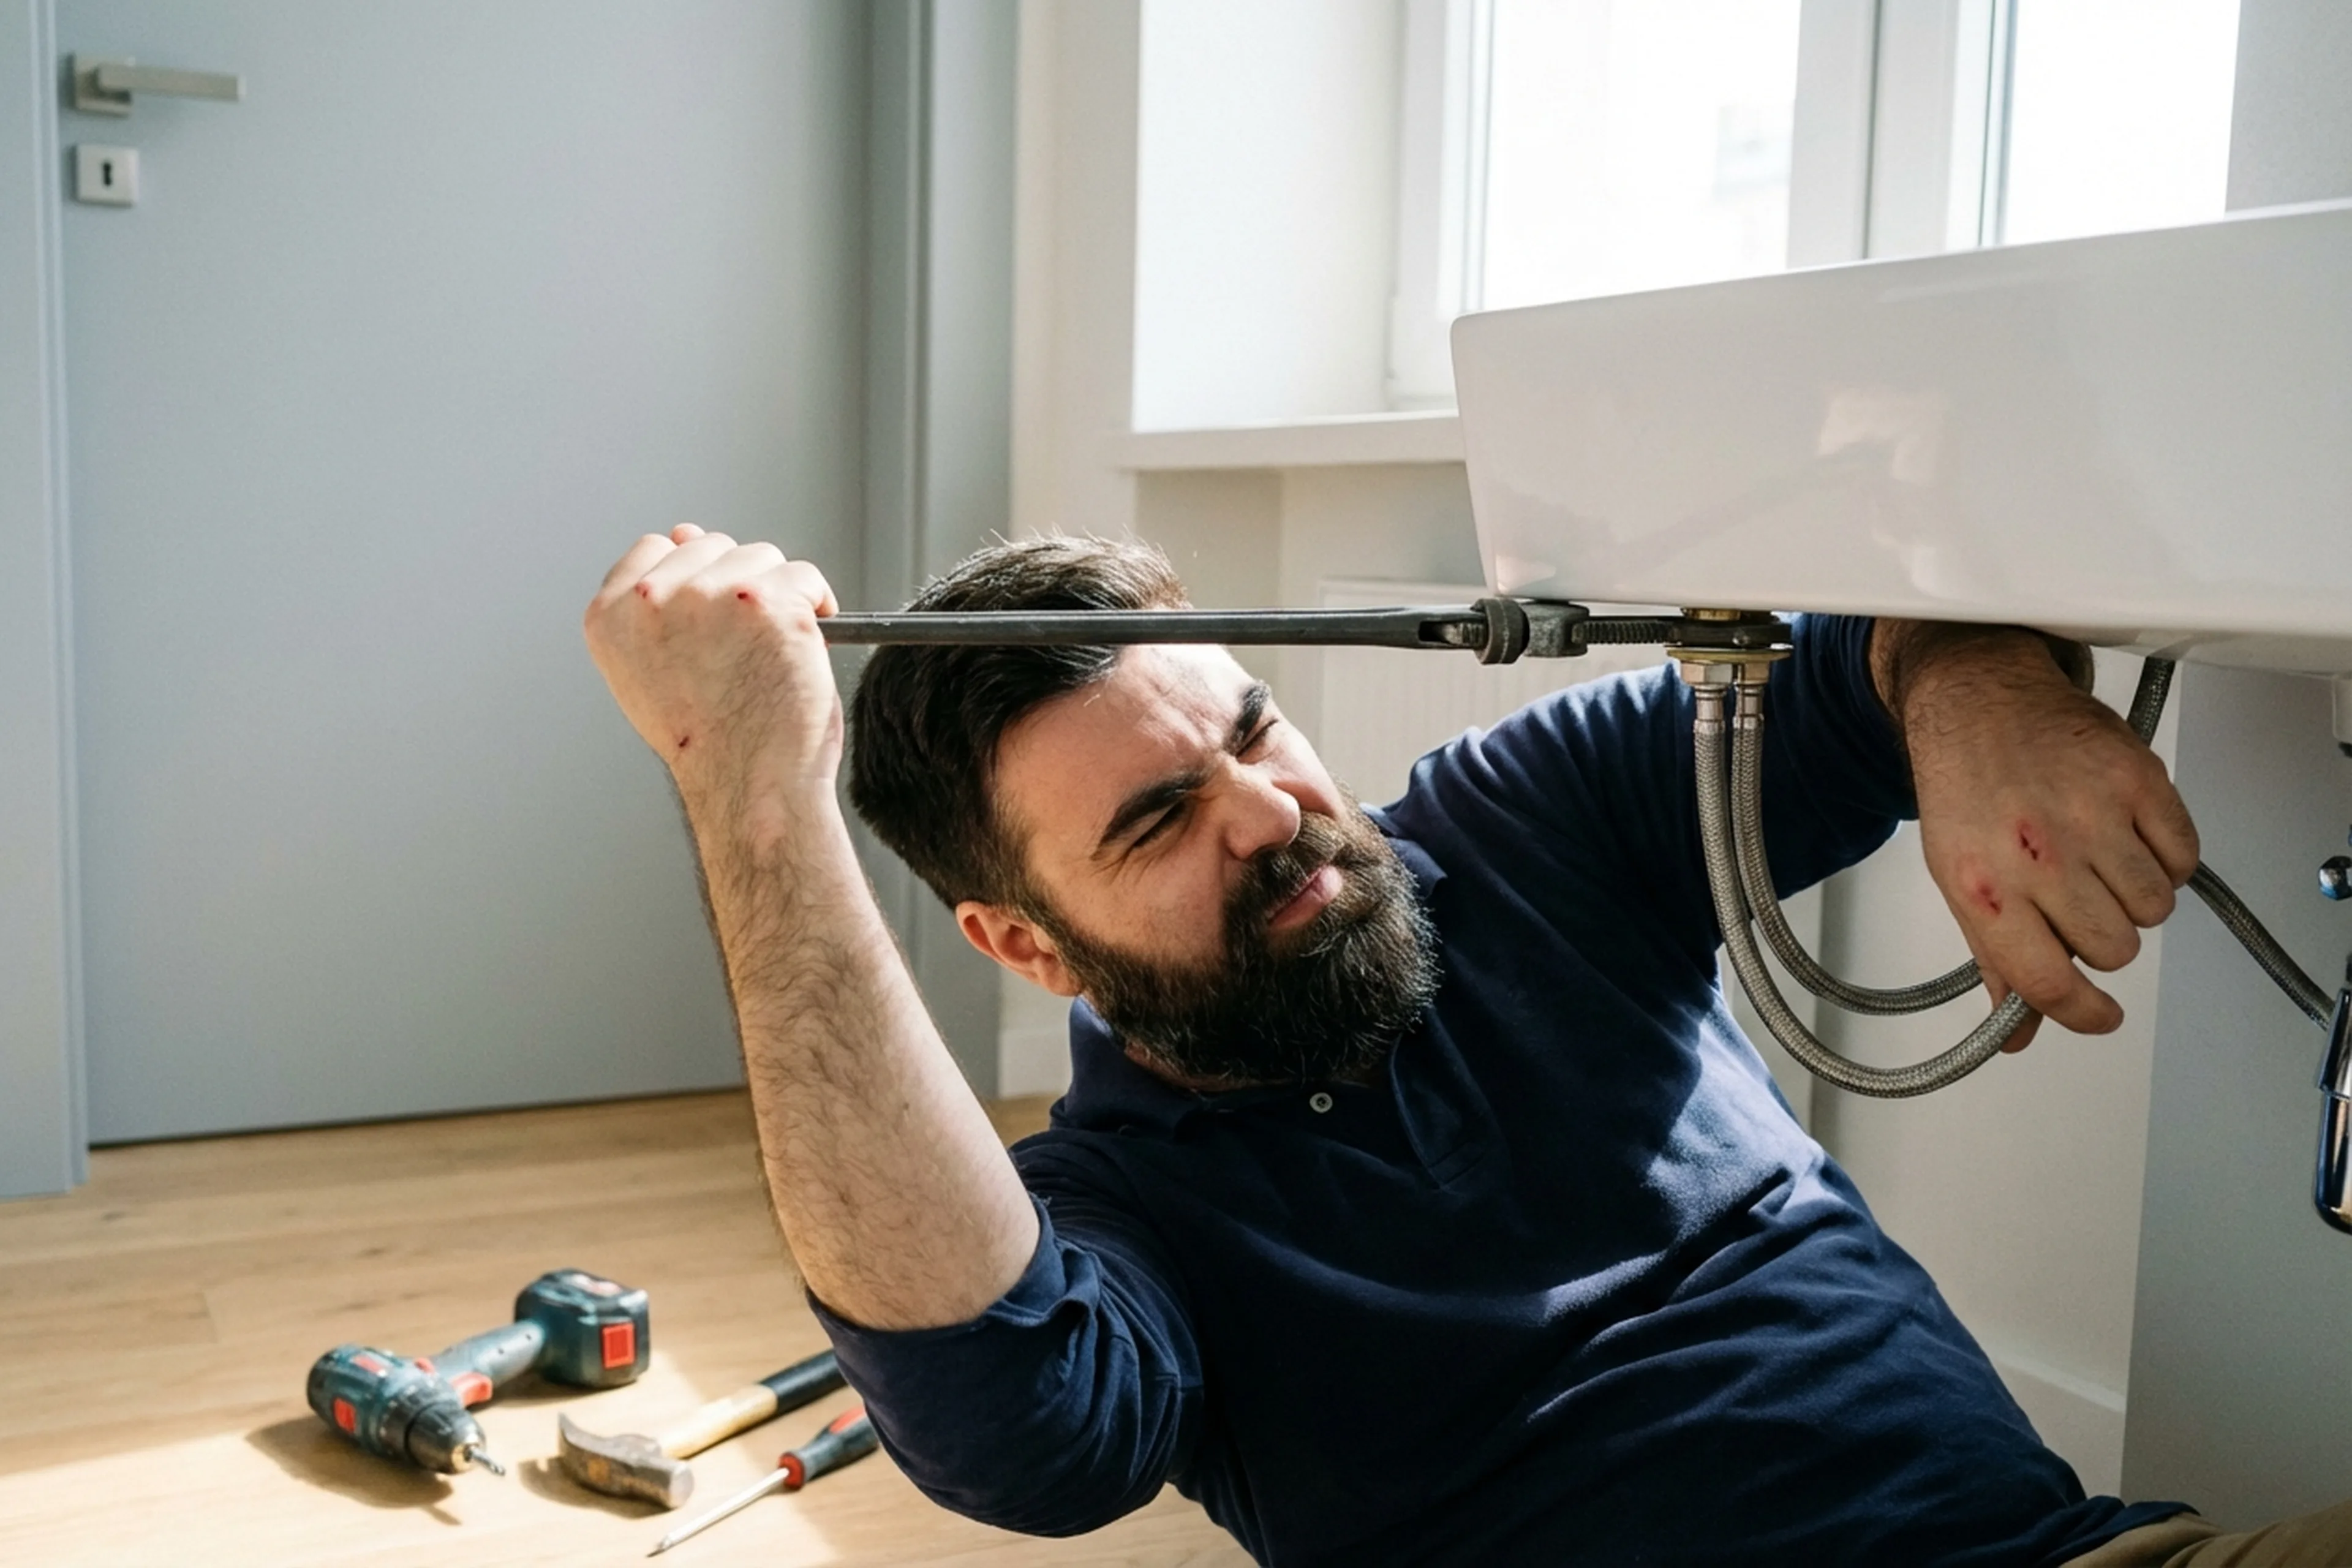
- Tradespeople shut off the water supply: hot and cold both. Then they check that the isolation valves are holding and the pressure is gone.
- Tradespeople remove the old tap: disconnect the flexible hoses, undo the fixing nut under the basin, and lift the tap out.
- Tradespeople clean the mounting hole — limescale and old sealant have to go. If the hole is damaged, they check whether a reinforcing plate is needed.
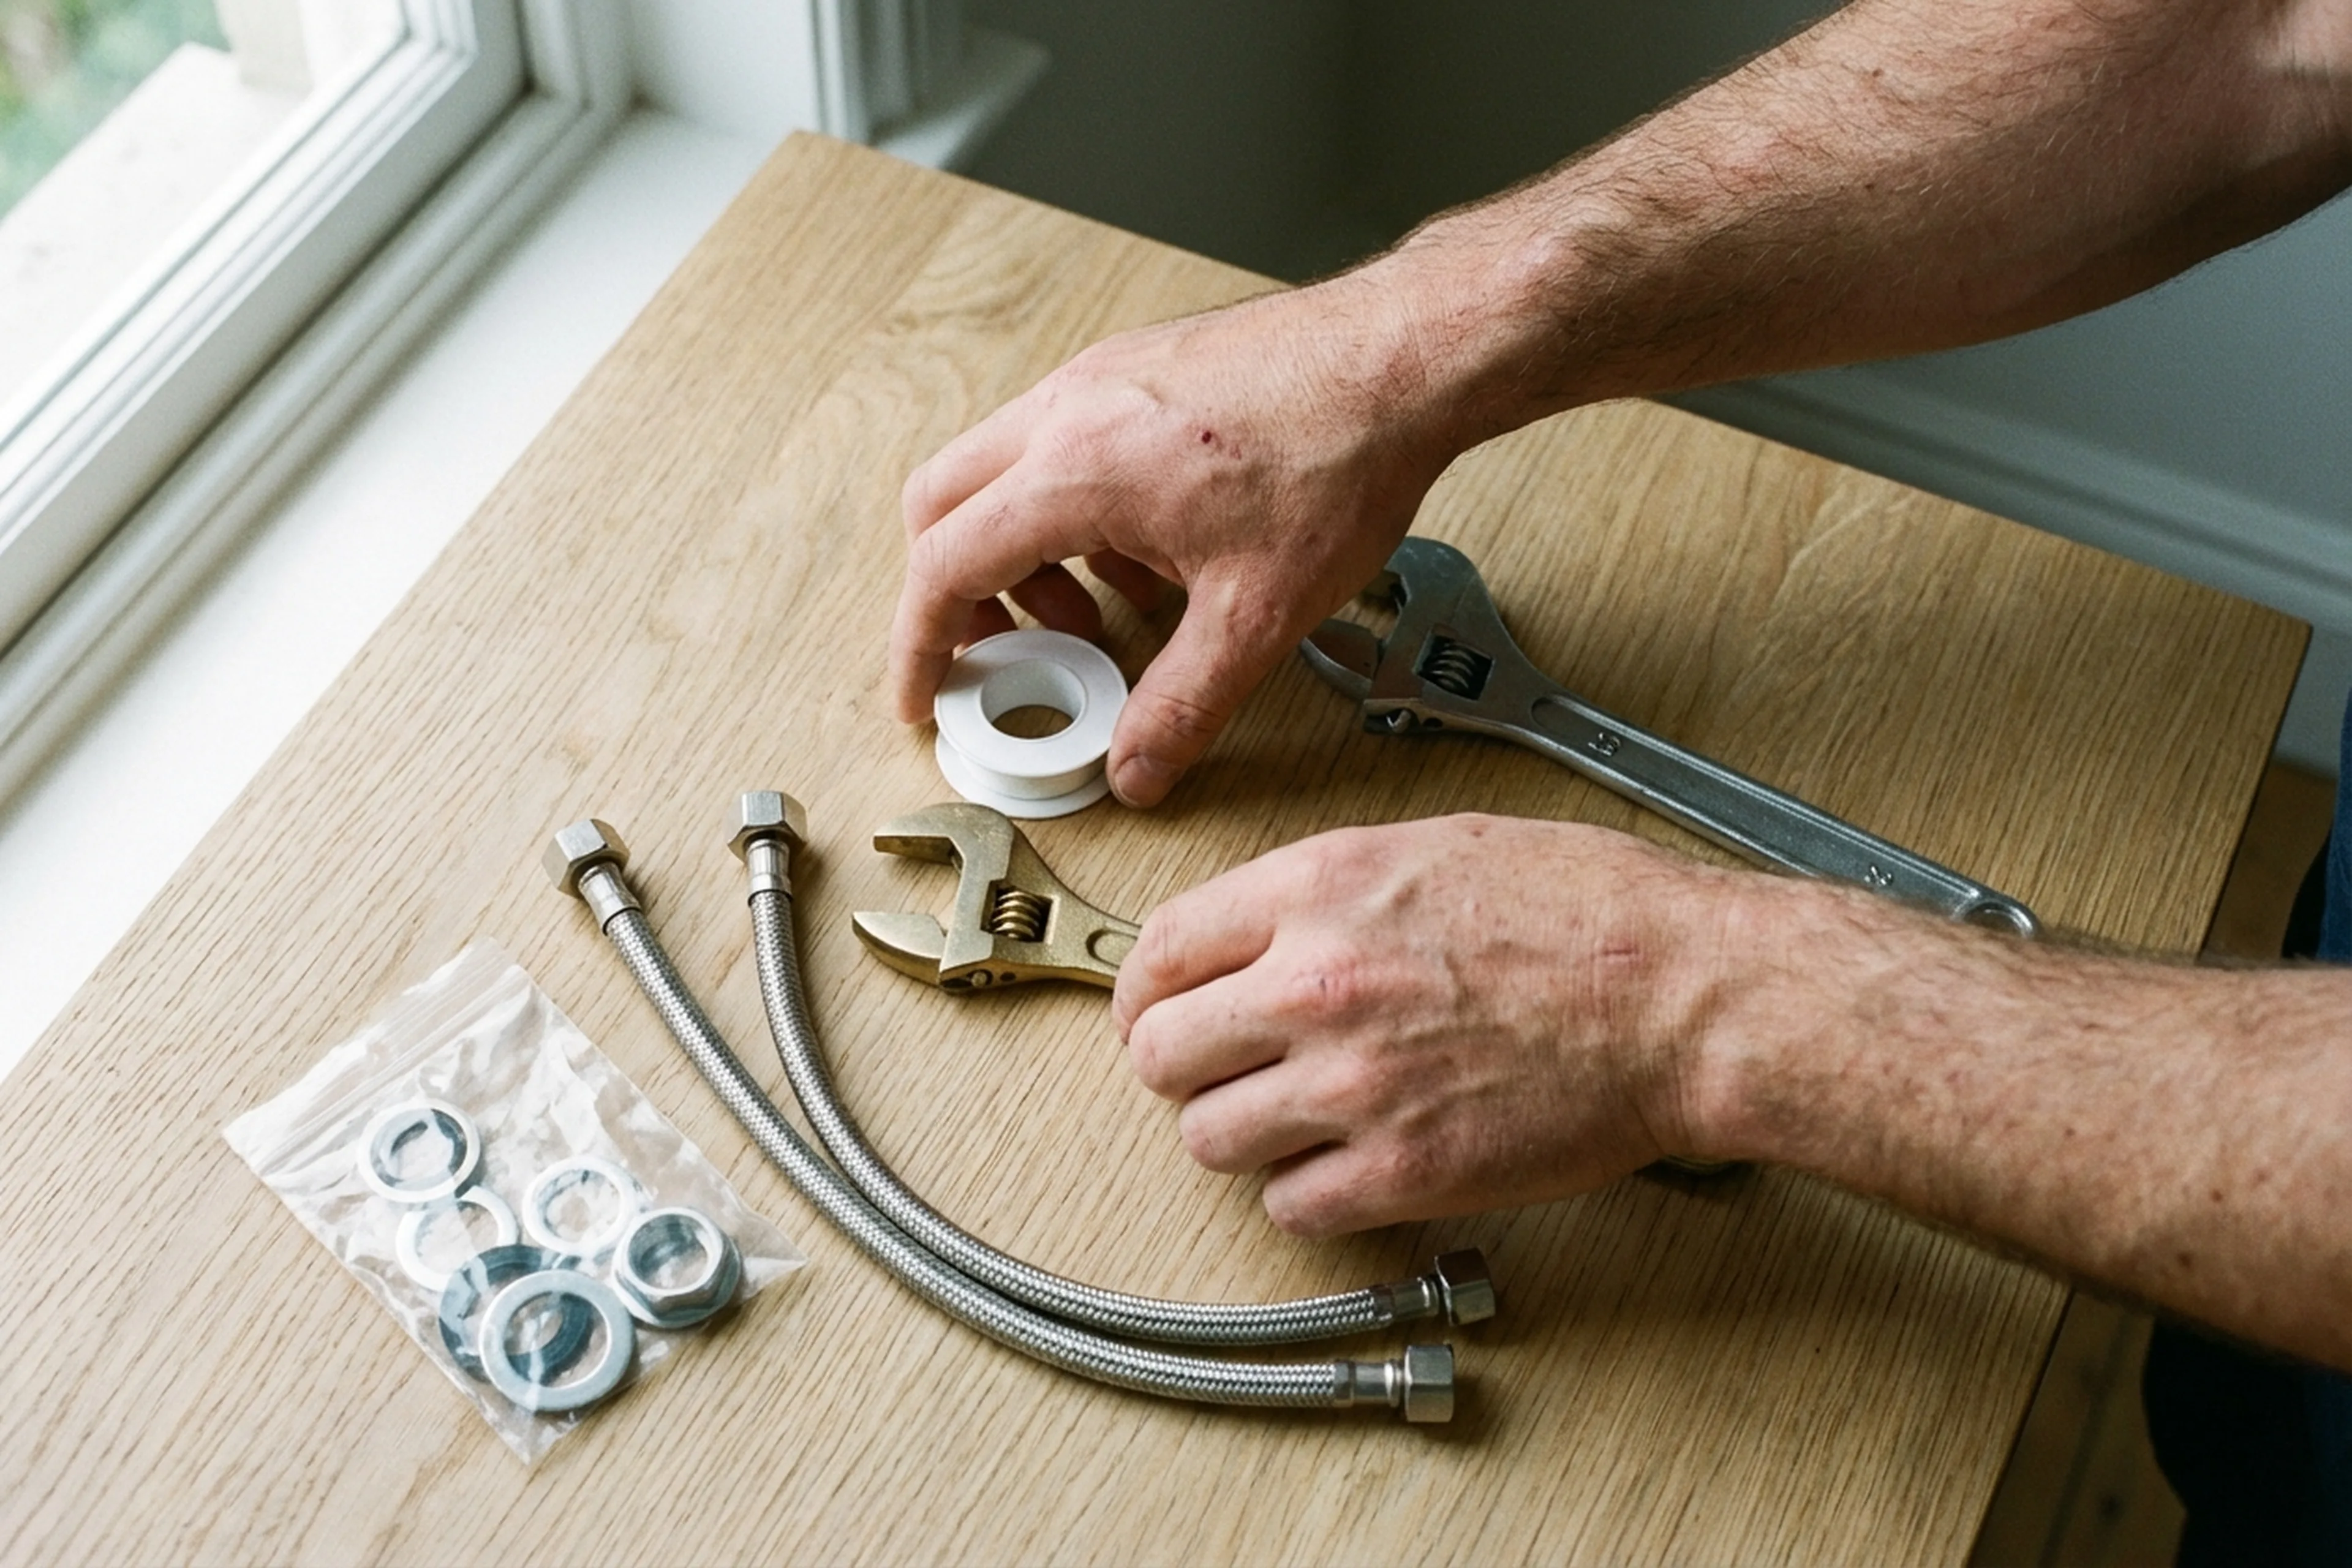
- Tradespeople assemble the new tap: screw in the flexible connectors, then fit the gasket and decorative washer.
- Tradespeople place the tap in the hole and tighten the fixing nut from underneath. Too much force here is risky: ceramic basins crack very easily.
- Tradespeople connect the hoses to the angle valves. Hot on the left, cold on the right. The joints are sealed with PTFE tape or hemp.
- Tradespeople turn the water back on and inspect every connection under pressure. Then they wipe everything dry and wait five minutes, if it all stays dry, the work is finished.
Common mistakes
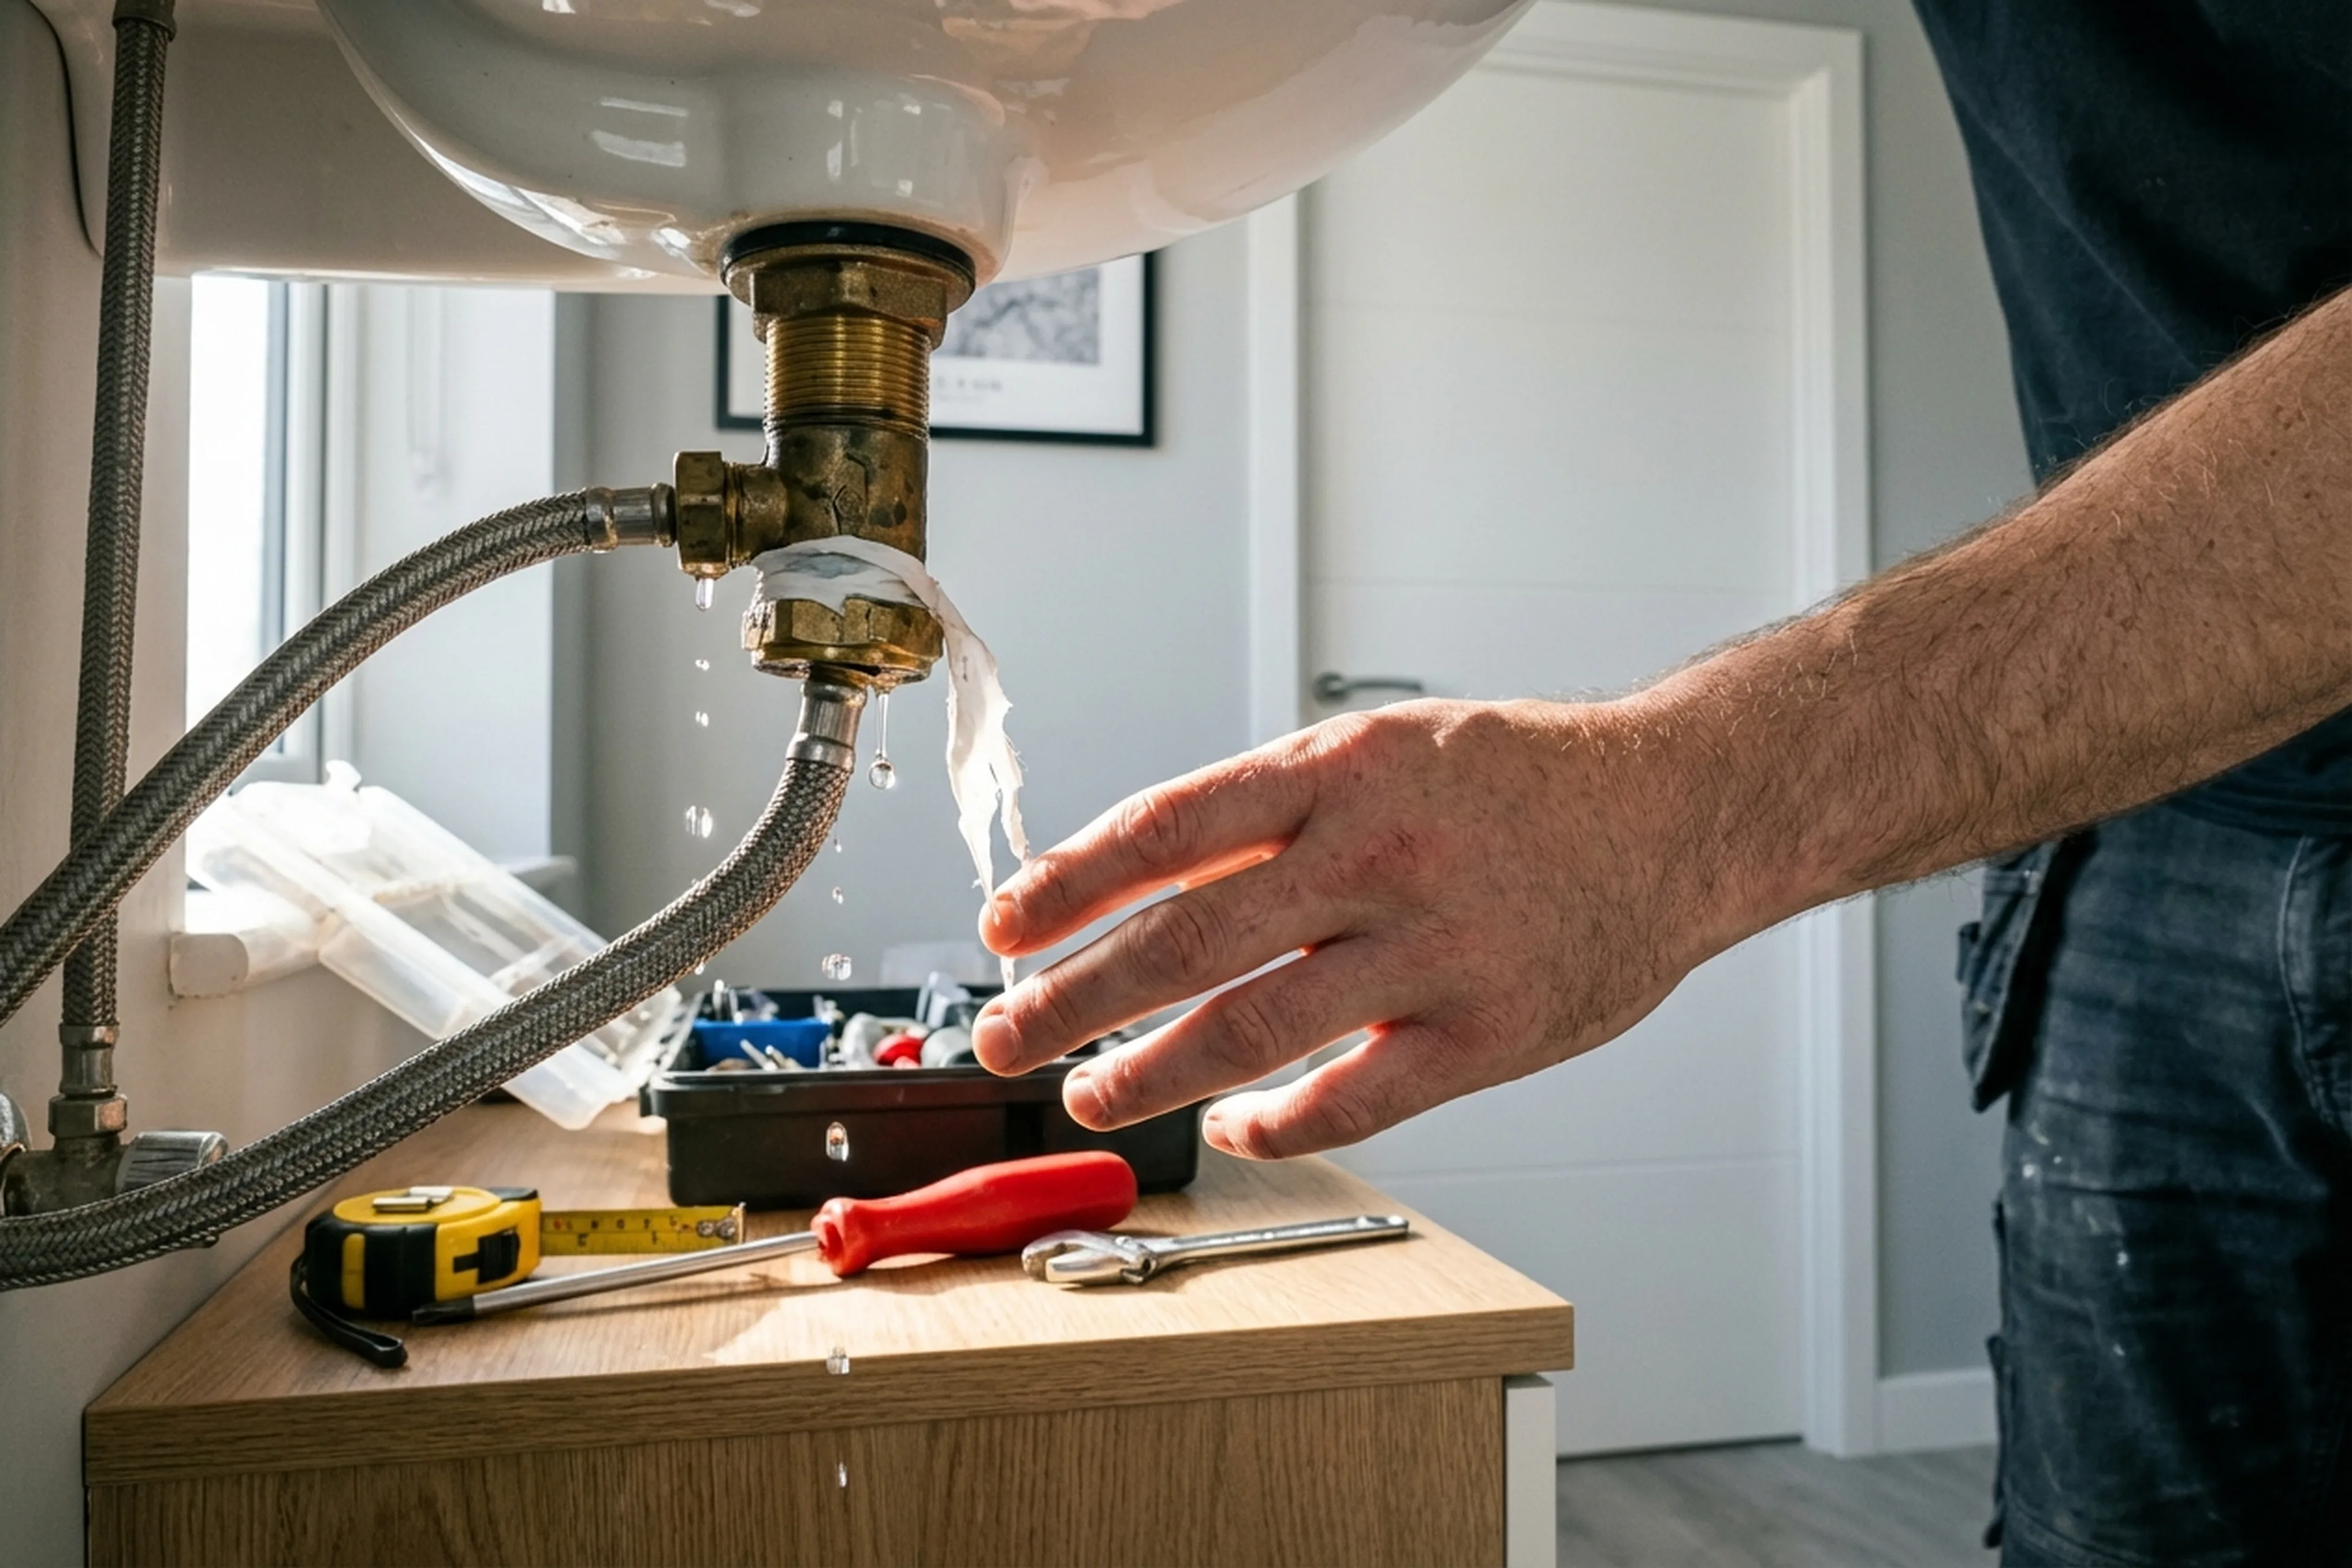
- Tightening the fixing nut too much: the basin cracks, and then the whole unit has to be replaced.
- Keeping old supply hoses when installing a new tap, the rubber ages and starts leaking after a few months.
- Mixing up hot and cold connections — the lever works backwards, and hot water comes out on the cold side.
- Leaving out the gasket under the tap base: water works its way through the mounting hole into the cabinet below.
- Bending the flexible hoses during fitting: the inner rubber core gets damaged and the hose fails within weeks.
- Skipping a check of the angle valves — the tap is brand new, but the valve underneath is seized and cannot be closed in an emergency.
- Using silicone instead of the proper washer, a quick patch that is hard to take apart later.
What to prepare before the visit
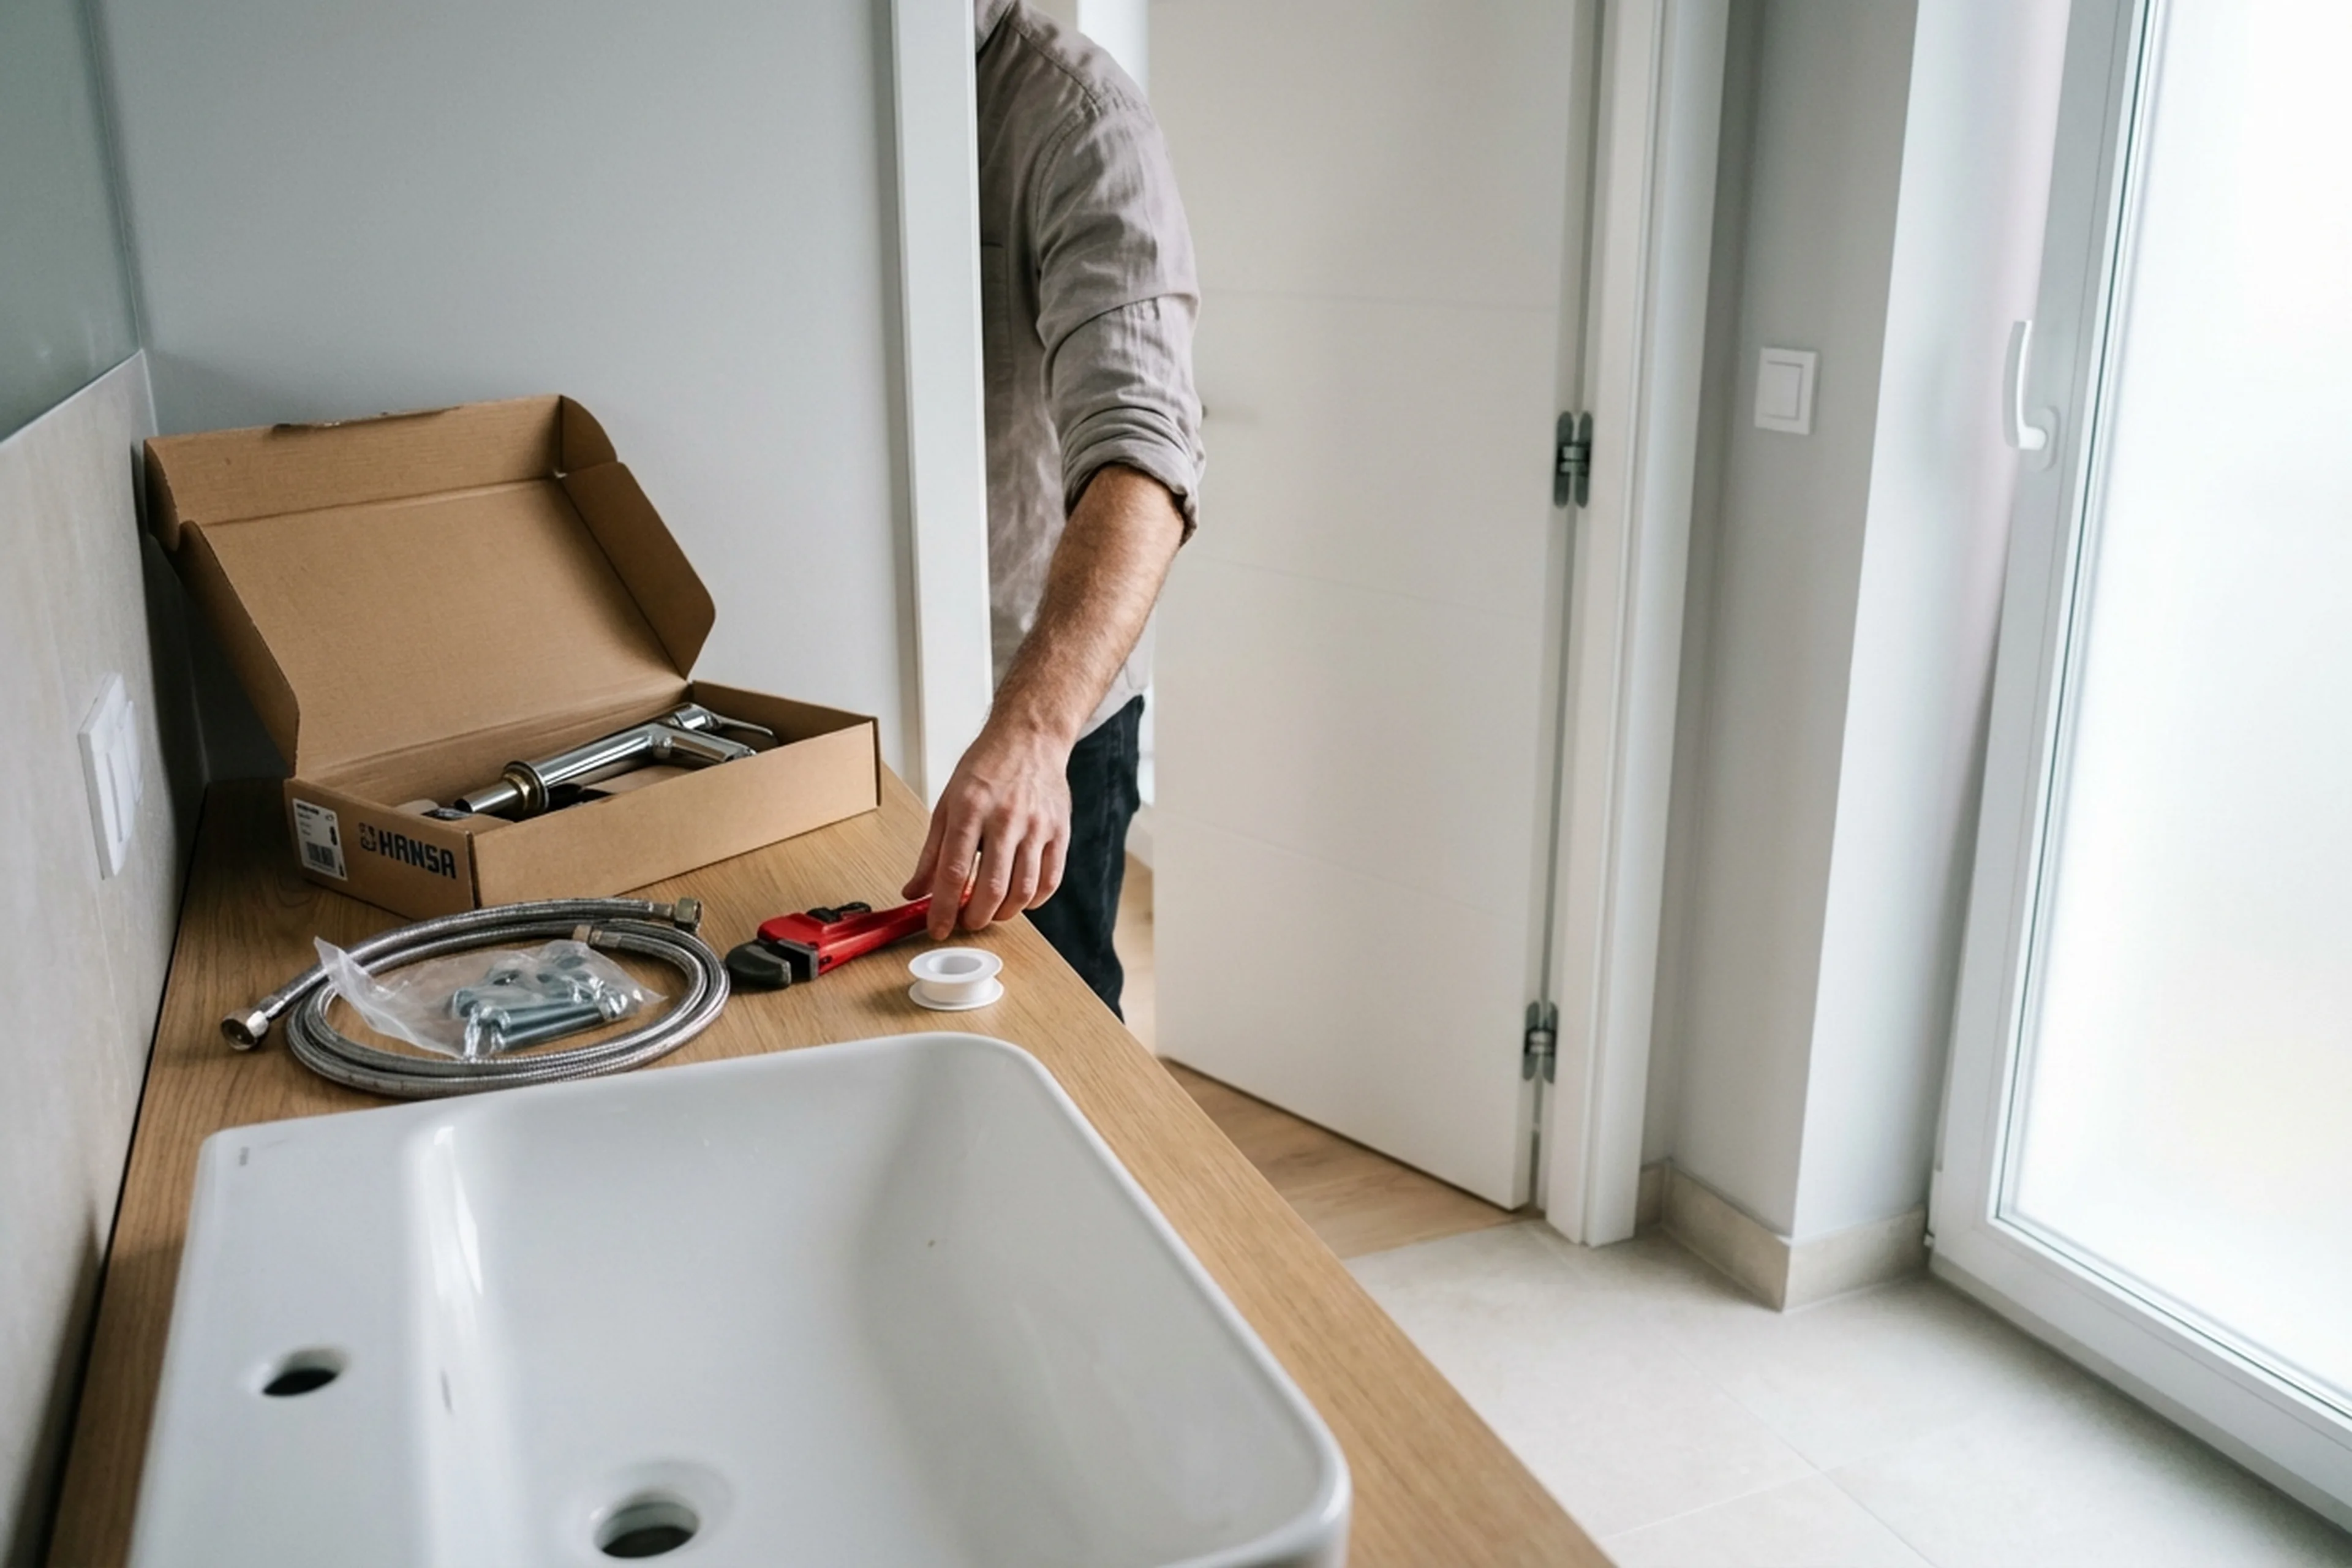
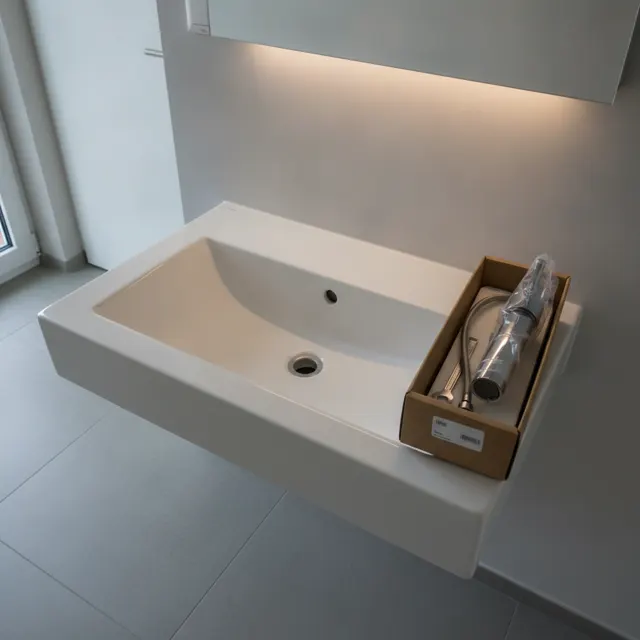
- Buy the tap: check that the box contains all washers and mounting parts.
- Buy flexible supply hoses of the right length (30–50 cm) if they are not included or if the old ones are worn out.
- Make sure the angle valves under the basin really shut off — try closing and reopening them.
- Empty the space under the basin: take everything out of the vanity unit.
- Check the mounting hole diameter: standard is 35 mm, but 28 and 32 mm also exist.
- If the old tap is seized — do not force it; leave rusty nuts to the professional.
- Keep towels and a bucket nearby: some water always comes out when the hoses are disconnected.
A real case from Warsaw: basin mixer tap installation

Tradespeople got a call to a flat in Praga Poludnie. The owner had bought a premium German mixer tap and installed it himself. He tightened the hoses: everything seemed fine. Two days later the neighbour downstairs called: water was dripping from the ceiling. The problem was that one connection had been tightened without PTFE tape, and the gasket under the base had slipped out of place. It was only a slow drip — hard to spot at first, but over forty-eight hours quite a lot of water had gone through. Tradespeople came in, removed the tap, and put everything back together with proper sealing. Tradespeople also changed the supply hoses: they had been twisted during the DIY fitting. Then they pressure-tested every joint: fully dry. The whole visit took about forty minutes. If a professional had fitted it from the start, there would have been no leak and no argument with the neighbours.
Frequently asked questions
Can I fit a mixer tap myself?
In theory yes, if you have basic tools and some hands-on experience. But the risk of a leak is real: leave one joint too loose and water ends up in the flat below. Tradespeople advise calling a professional, especially if this is your first time.
Do I need to replace the hoses when changing the tap?
Yes, if they are more than three to five years old. The rubber core gets old and the braiding corrodes. A new tap connected to old hoses is asking for trouble.
How long does the installation take?
Changing a basin tap with working valves takes around thirty to forty minutes. If the valves or in-wall supply lines also need to be replaced, allow up to ninety minutes.
What if the angle valves do not shut off the water?
Tradespeople replace them. That is a separate job, but they can handle everything in one visit. Tradespeople install ball valves — they are more dependable than the older gate-type ones.
Single-lever or two-handle: which is better?
For a basin, single-lever is the more practical option: you control temperature and flow with one hand. Two-handle taps are mostly picked for retro-style bathrooms.
Is sealant needed during installation?
Not under the tap base: that is what the factory gasket is for. On threaded connections they use PTFE tape or hemp with paste. Silicone is used only as a decorative bead around the basin edge if there is a visible gap.
Book the installation

Tradespeople fit and replace basin mixer taps across Warsaw. Tradespeople come with tools and all consumables: PTFE tape, washers, fixings — everything needed for the job. Every connection is pressure-tested before they leave.
Order in the app
Describe the job, add photos and the address. Tradespeople send their own prices and dates, and you pick one of the offers.
Open the app