
How much does floor-standing toilet installation cost
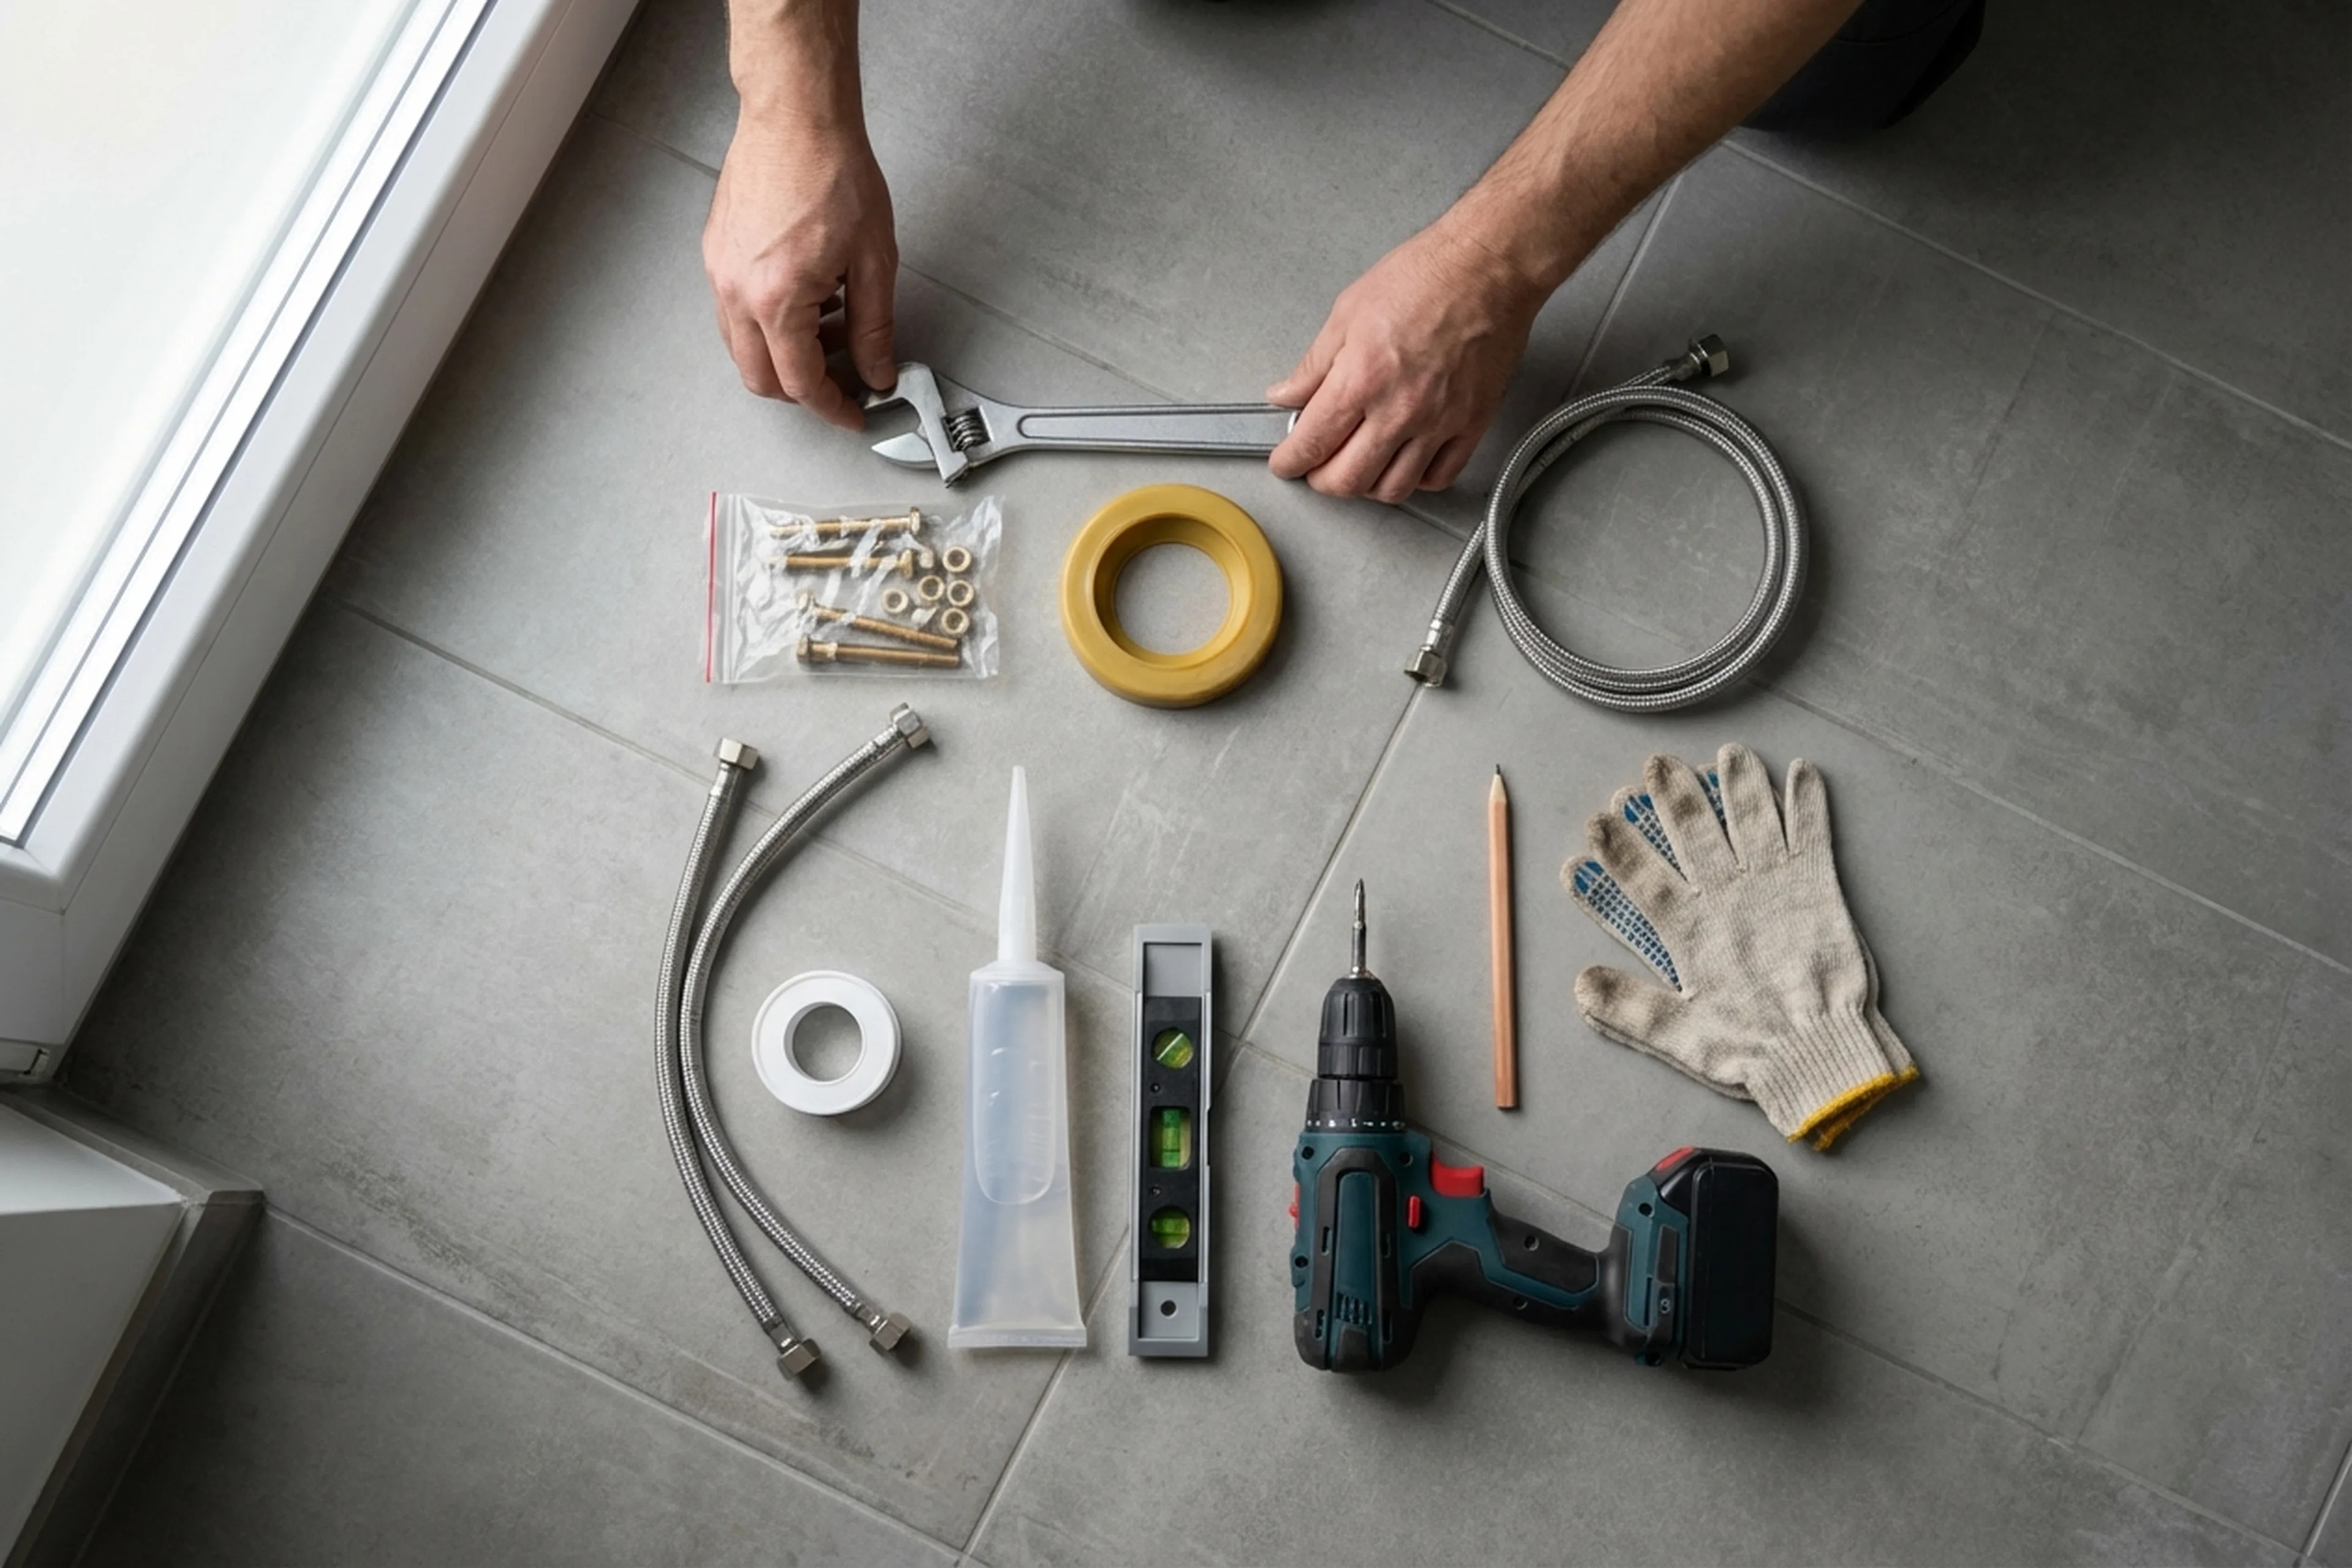
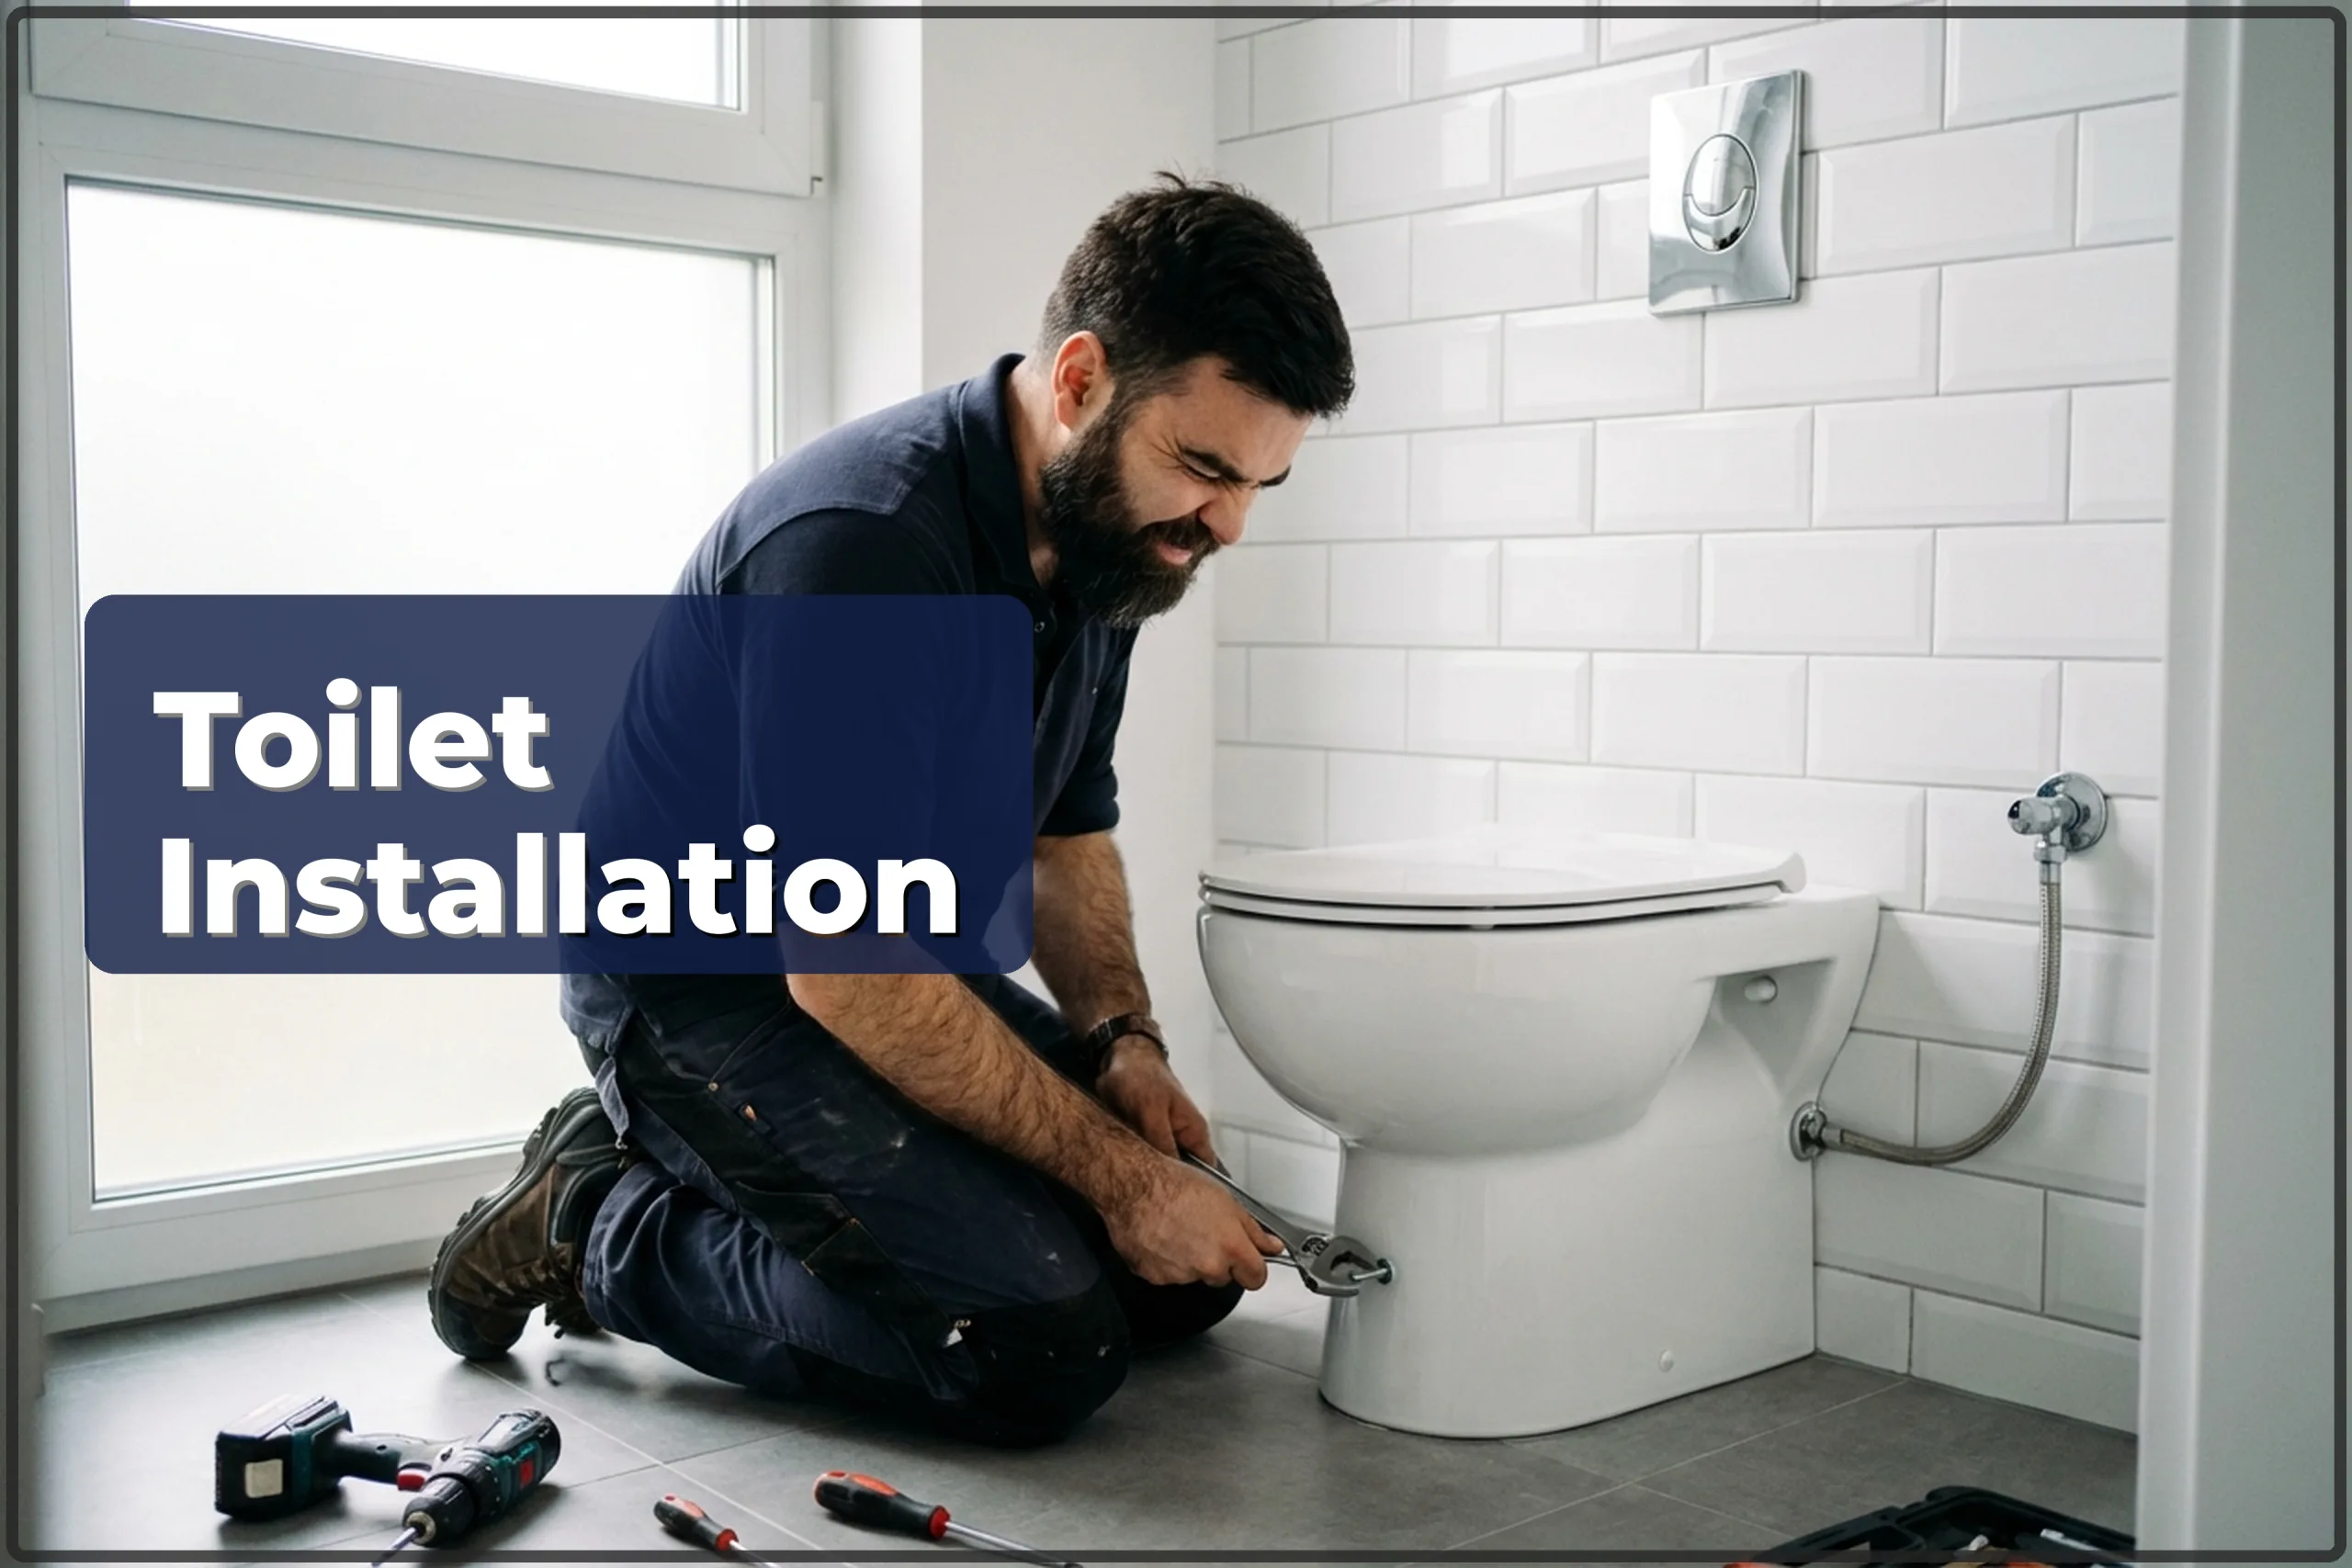
The cost is based on the toilet model, the state of the waste pipe, and where the water feed comes in. A close-coupled cistern toilet is quicker and less expensive to fit. A monoblock or a toilet with a separate wall-mounted cistern comes out a bit higher on labour. If extra connectors, flexi hoses, or adapters are required, those are charged as separate materials and paid by the client. Fixings are included. Up-to-date prices for all plumbing jobs are in the table below.
| Service | Price |
|---|---|
| Washbasin installation | 200–500 zł |
| Washbasin replacement | 250–600 zł |
| Vanity unit installation | 300–600 zł |
| Basin tap installation | 150–250 zł |
| Basin tap replacement | 250–400 zł |
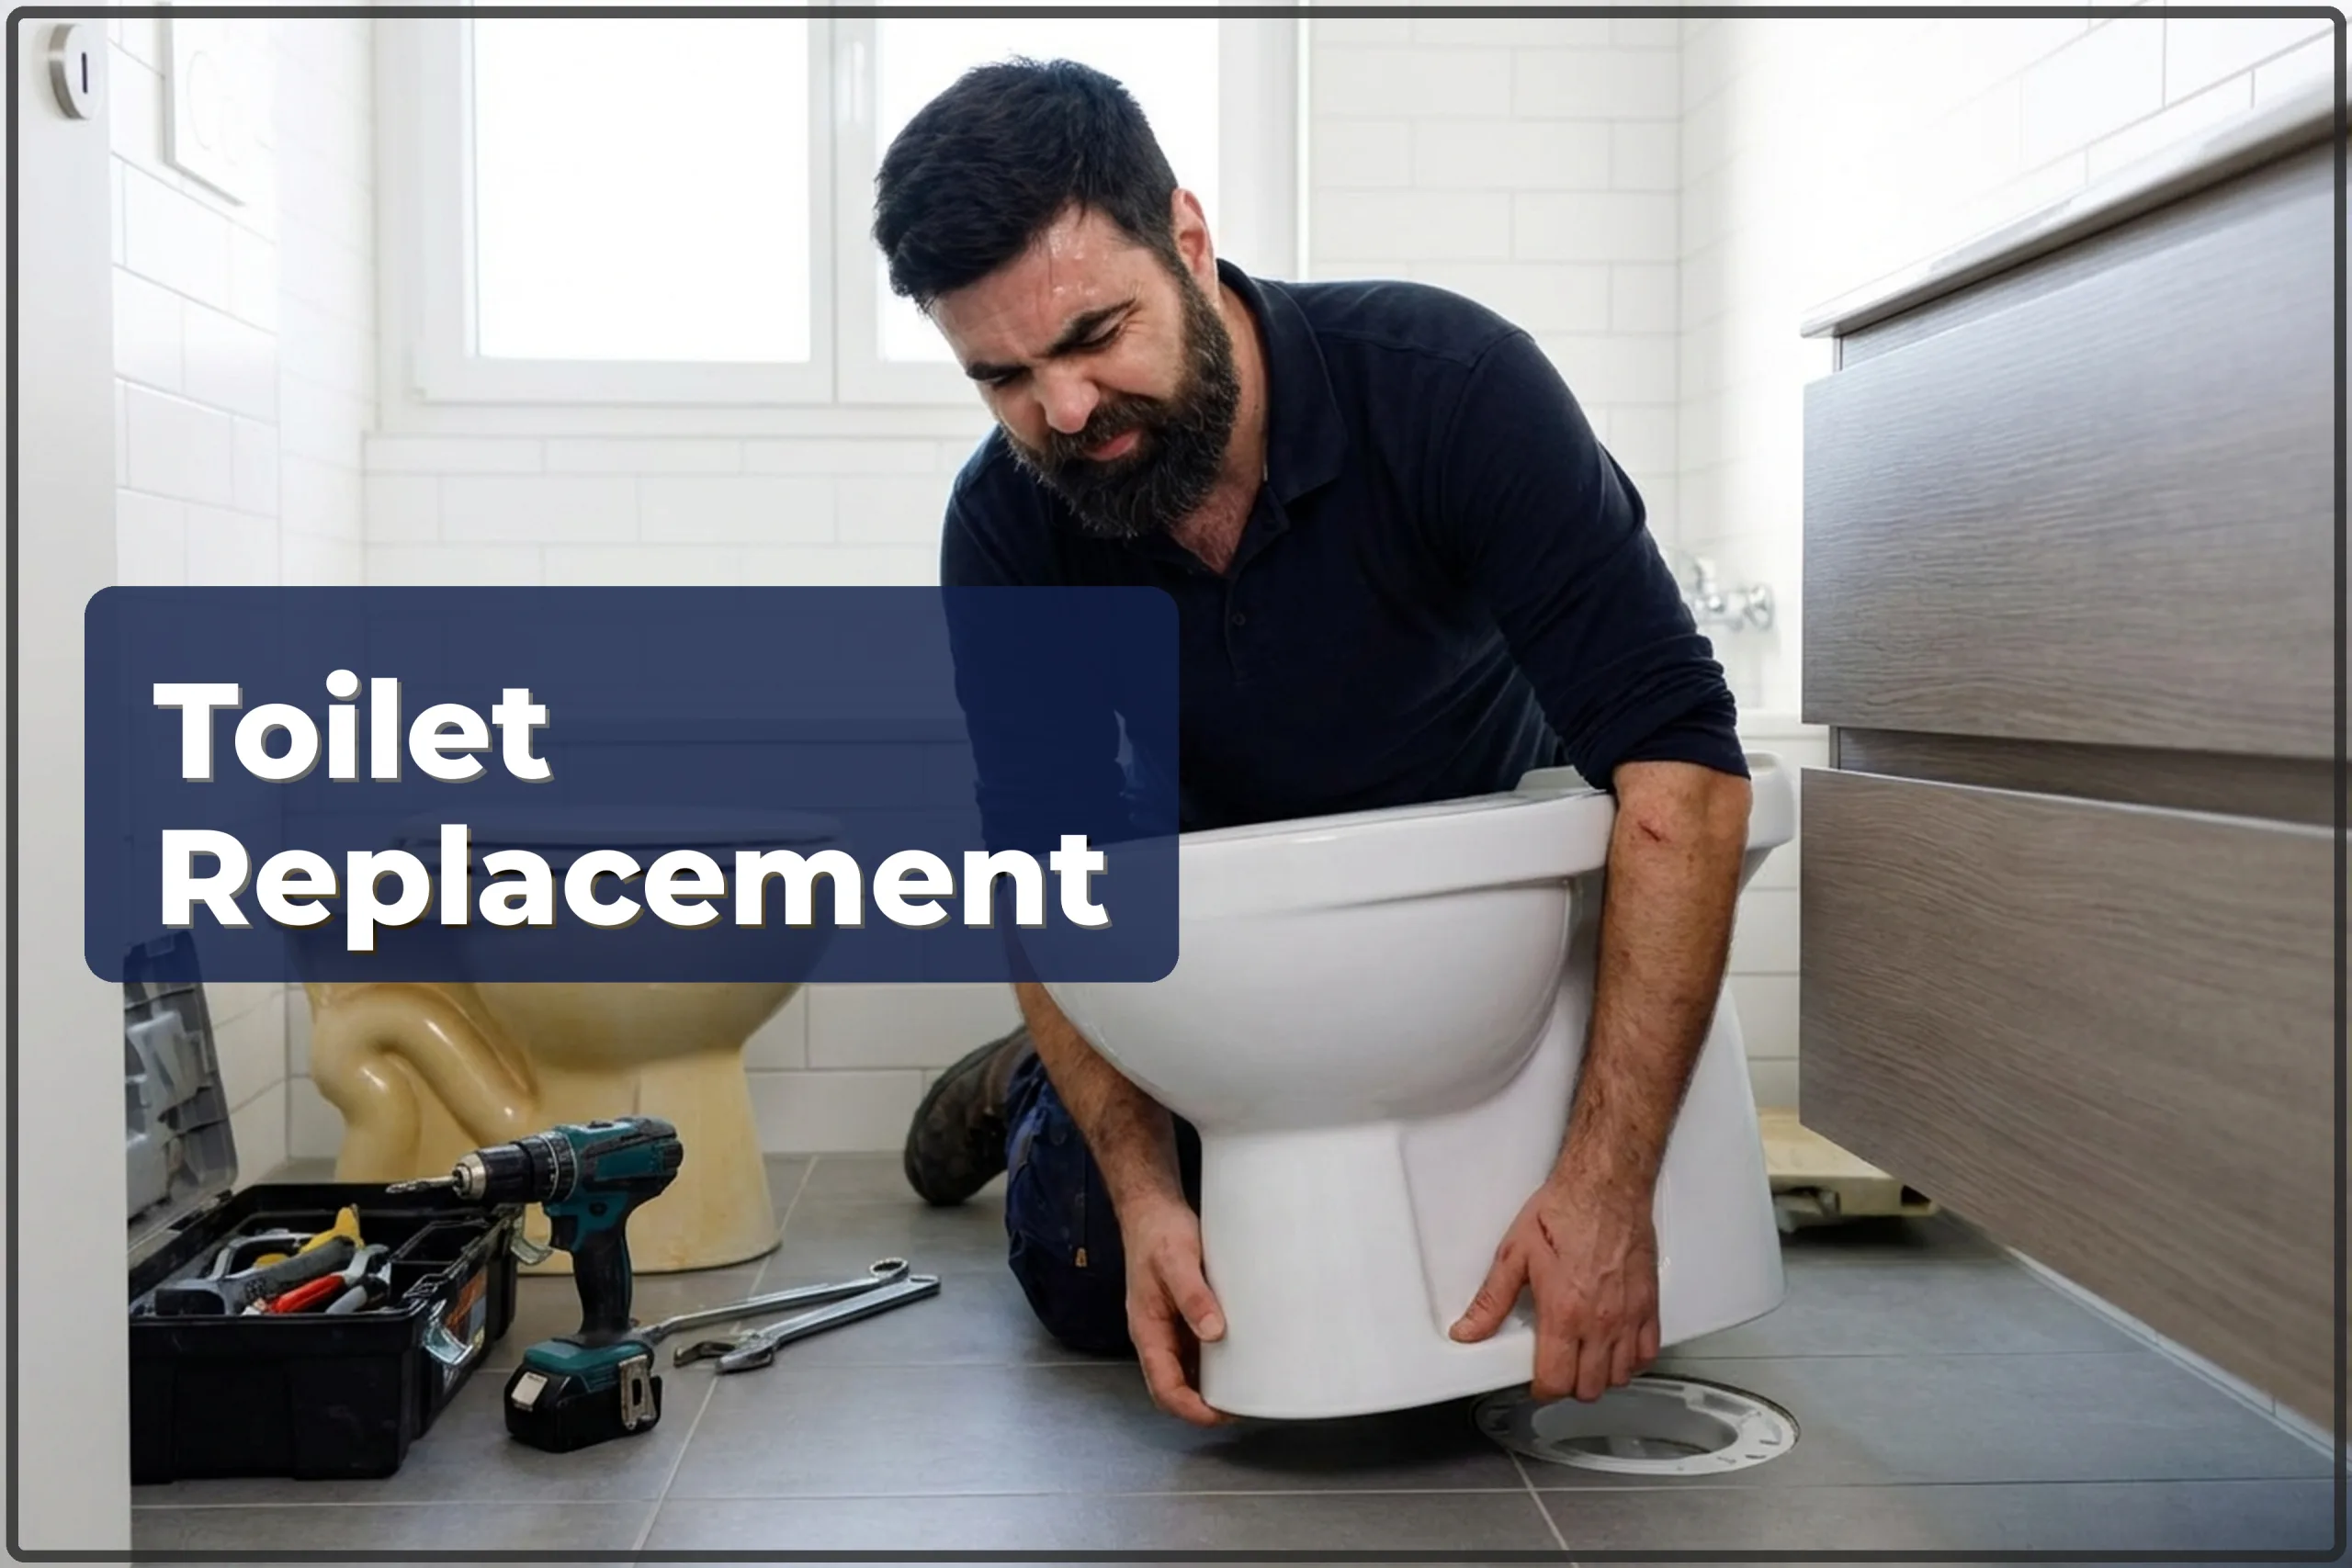
| Floor toilet installation | 300–500 zł |
| Floor toilet replacement | 350–600 zł |
| Wall-hung toilet installation (frame) | 450–700 zł |
| WC frame replacement | 600–1500 zł |
| Bathtub installation | 400–900 zł |
| Bathtub replacement | 500–1000 zł |
| Shower cabin installation | 350–1200 zł |
| Shower tray installation | 500–800 zł |
| Shower tray replacement | 600–1000 zł |
| Linear drain installation | 400–900 zł |
| Re-sealing shower and bathtub | 250–600 zł |
| Towel radiator installation | 300–600 zł |
| Towel radiator replacement | 350–700 zł |
| Drain cleaning | 200–800 zł |
| Trap (siphon) replacement | 120–400 zł |
Indicative prices. Ranges for a typical scope. Fixings included, materials separate. Minimum order 300 zł.
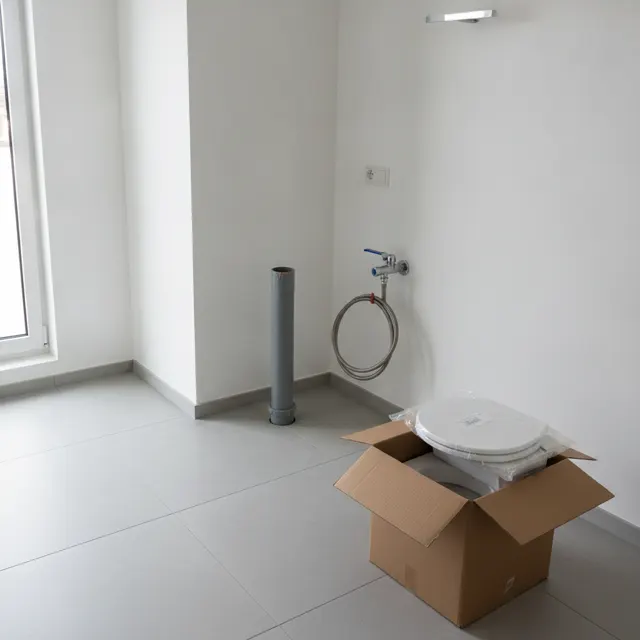
What it costs and how to book: toilet installation in Warsaw.
Installation or replacement?
Installation assumes a clean waste outlet and a new floor. If the old pan is screwed down, bedded in cement or sitting on a cast-iron stack, book toilet replacement.
How floor-standing toilet installation is done
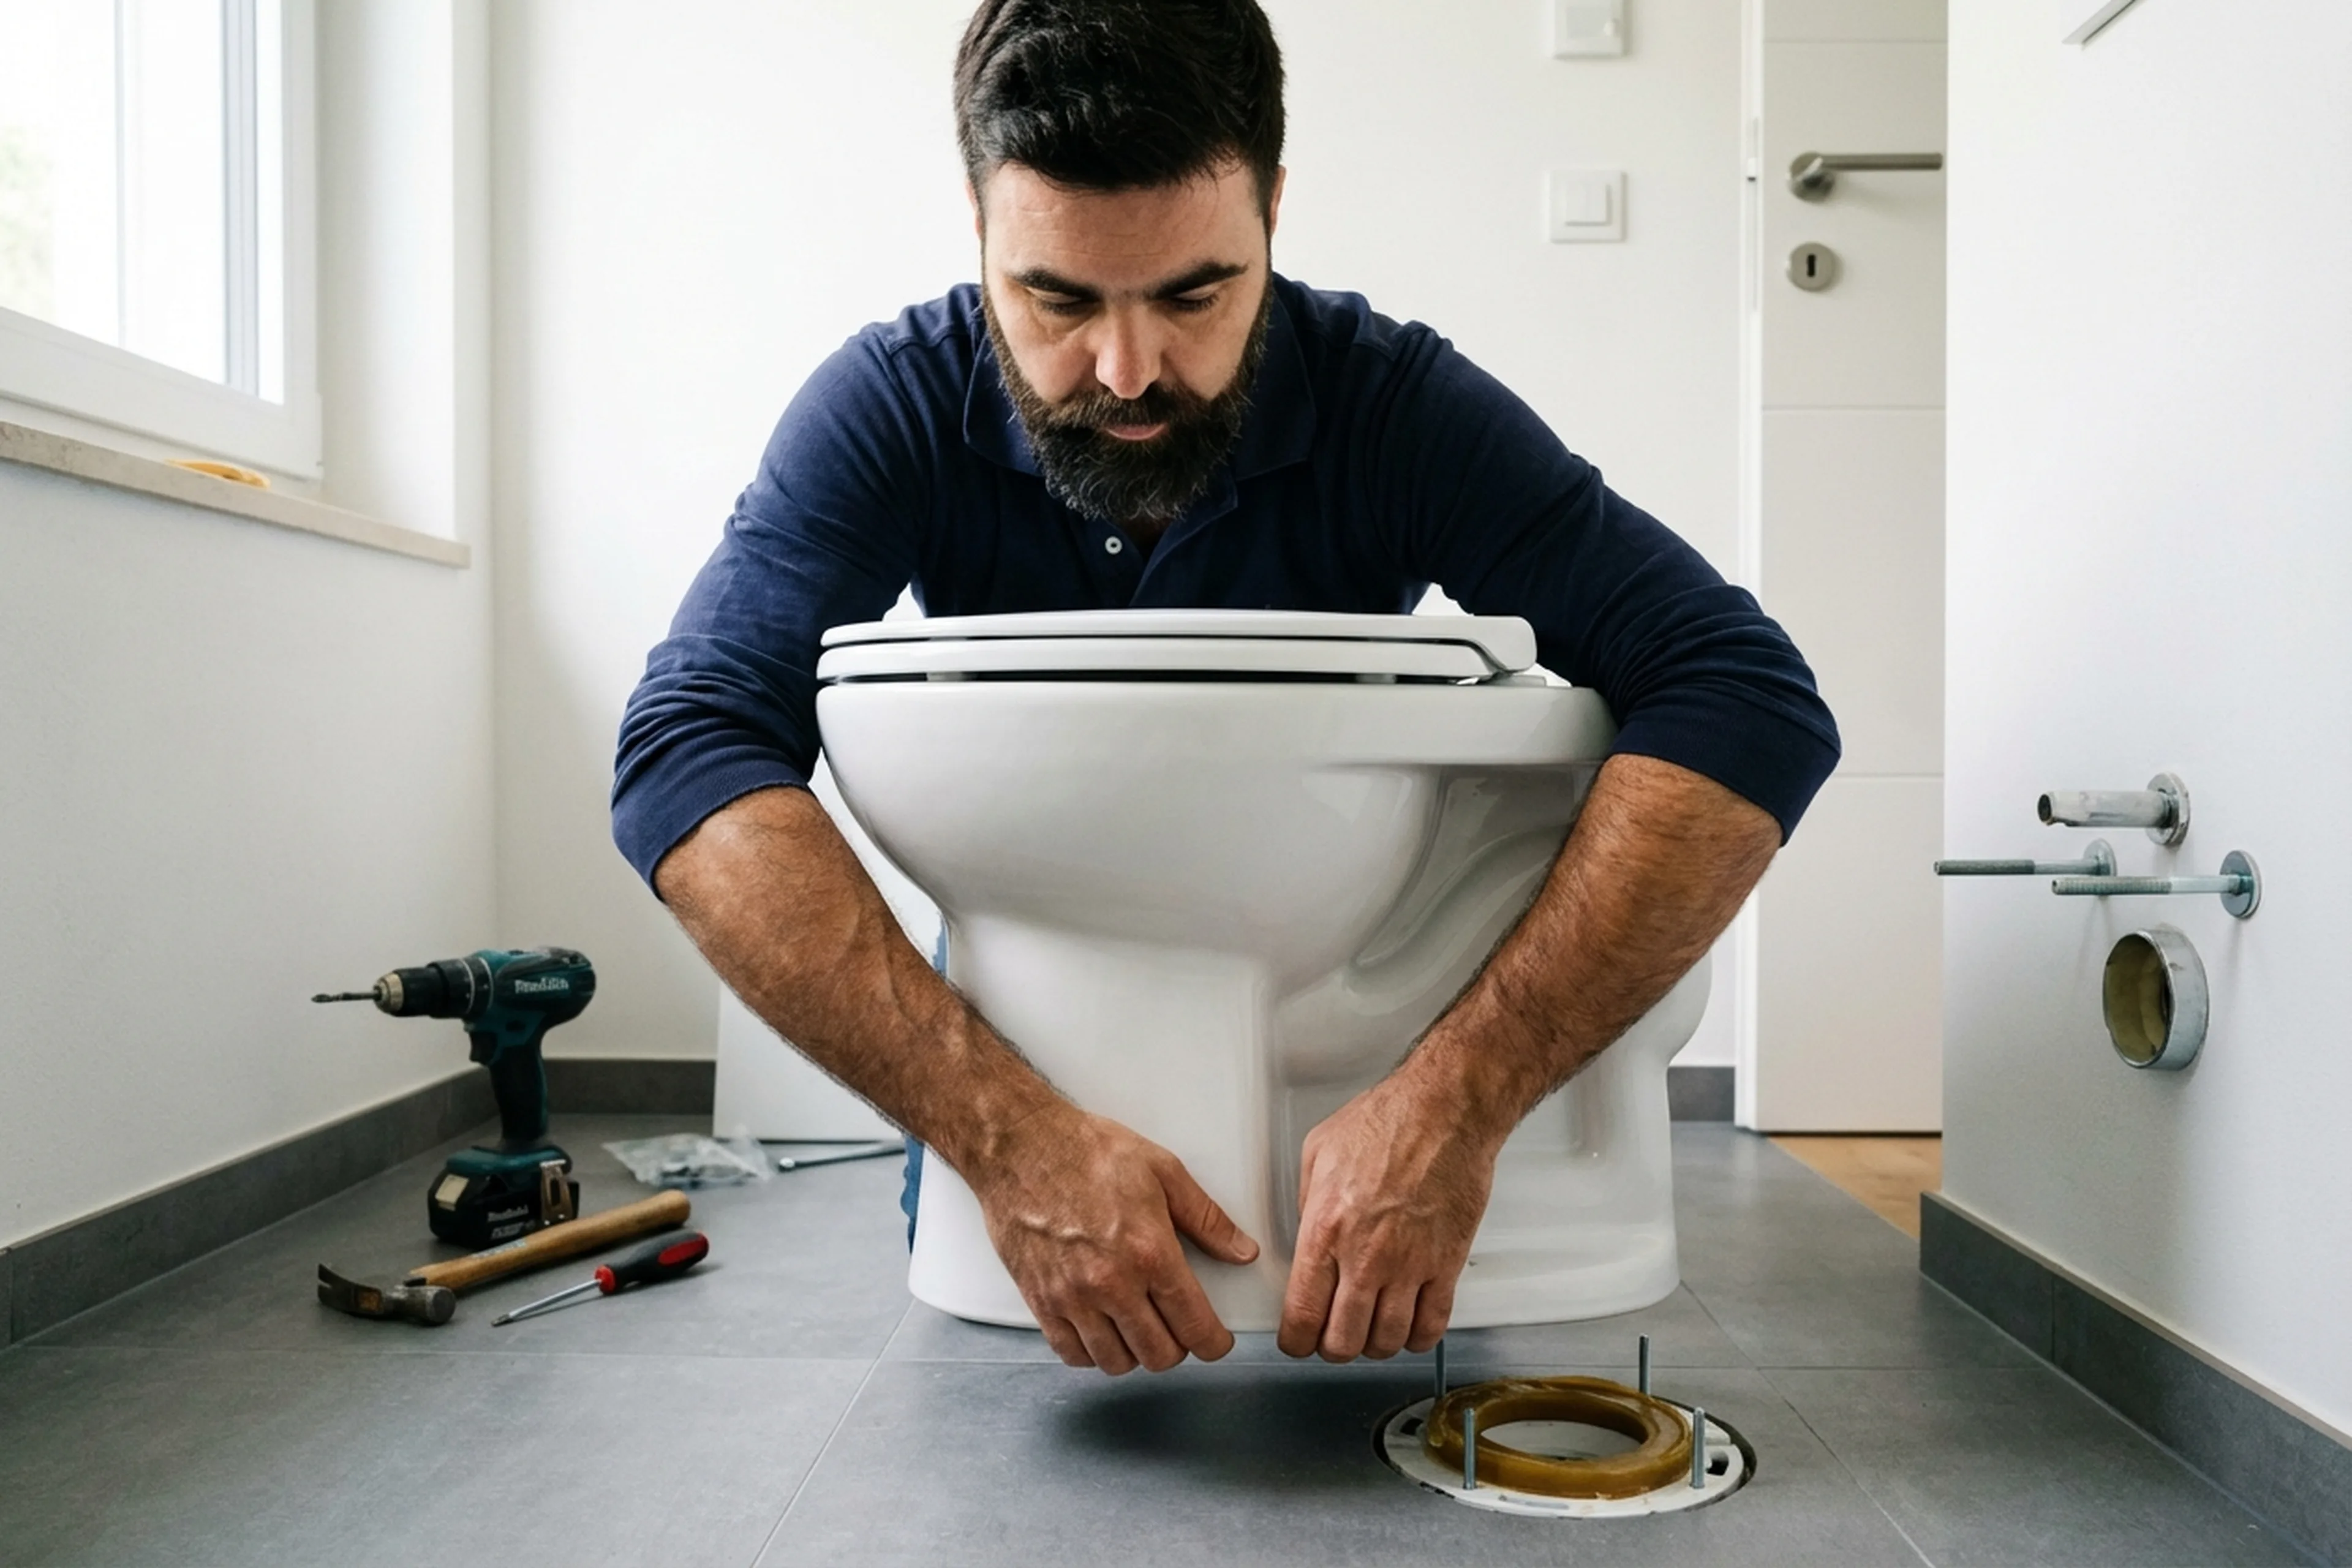
- Site inspection: they check the waste outlet type (horizontal, vertical or angled), where the water supply is, and what condition the tiles or screed are in.
- Dry fitting: the toilet is set in place without fixings, the outlet is lined up with the waste pipe, and they decide if a flexi connector or rigid adapter is needed.
- Marking and drilling the mounting holes. Tiles are drilled with a diamond bit at low speed, then they change to hammer mode for the concrete below.
- Wall plugs are inserted, and sanitary silicone is applied around the base of the toilet and at the waste connection.
- The toilet is bolted to the floor and tightened evenly on both sides: uneven force cracks ceramics.
- Cistern connection: the internal valve assembly is installed, the water supply hose is connected, and the fill and flush valves are checked.
- Test flush: they inspect every joint for leaks and make sure the flush mechanism is working properly.
Important: this job means working with water supply and waste connections. If you have not done this before, do not chance it. A bad seal on the waste pipe can cause leaks and water damage in the flat downstairs. It is much cheaper to bring in a professional once than to pay for somebody else’s ceiling repair later.
Common installation mistakes
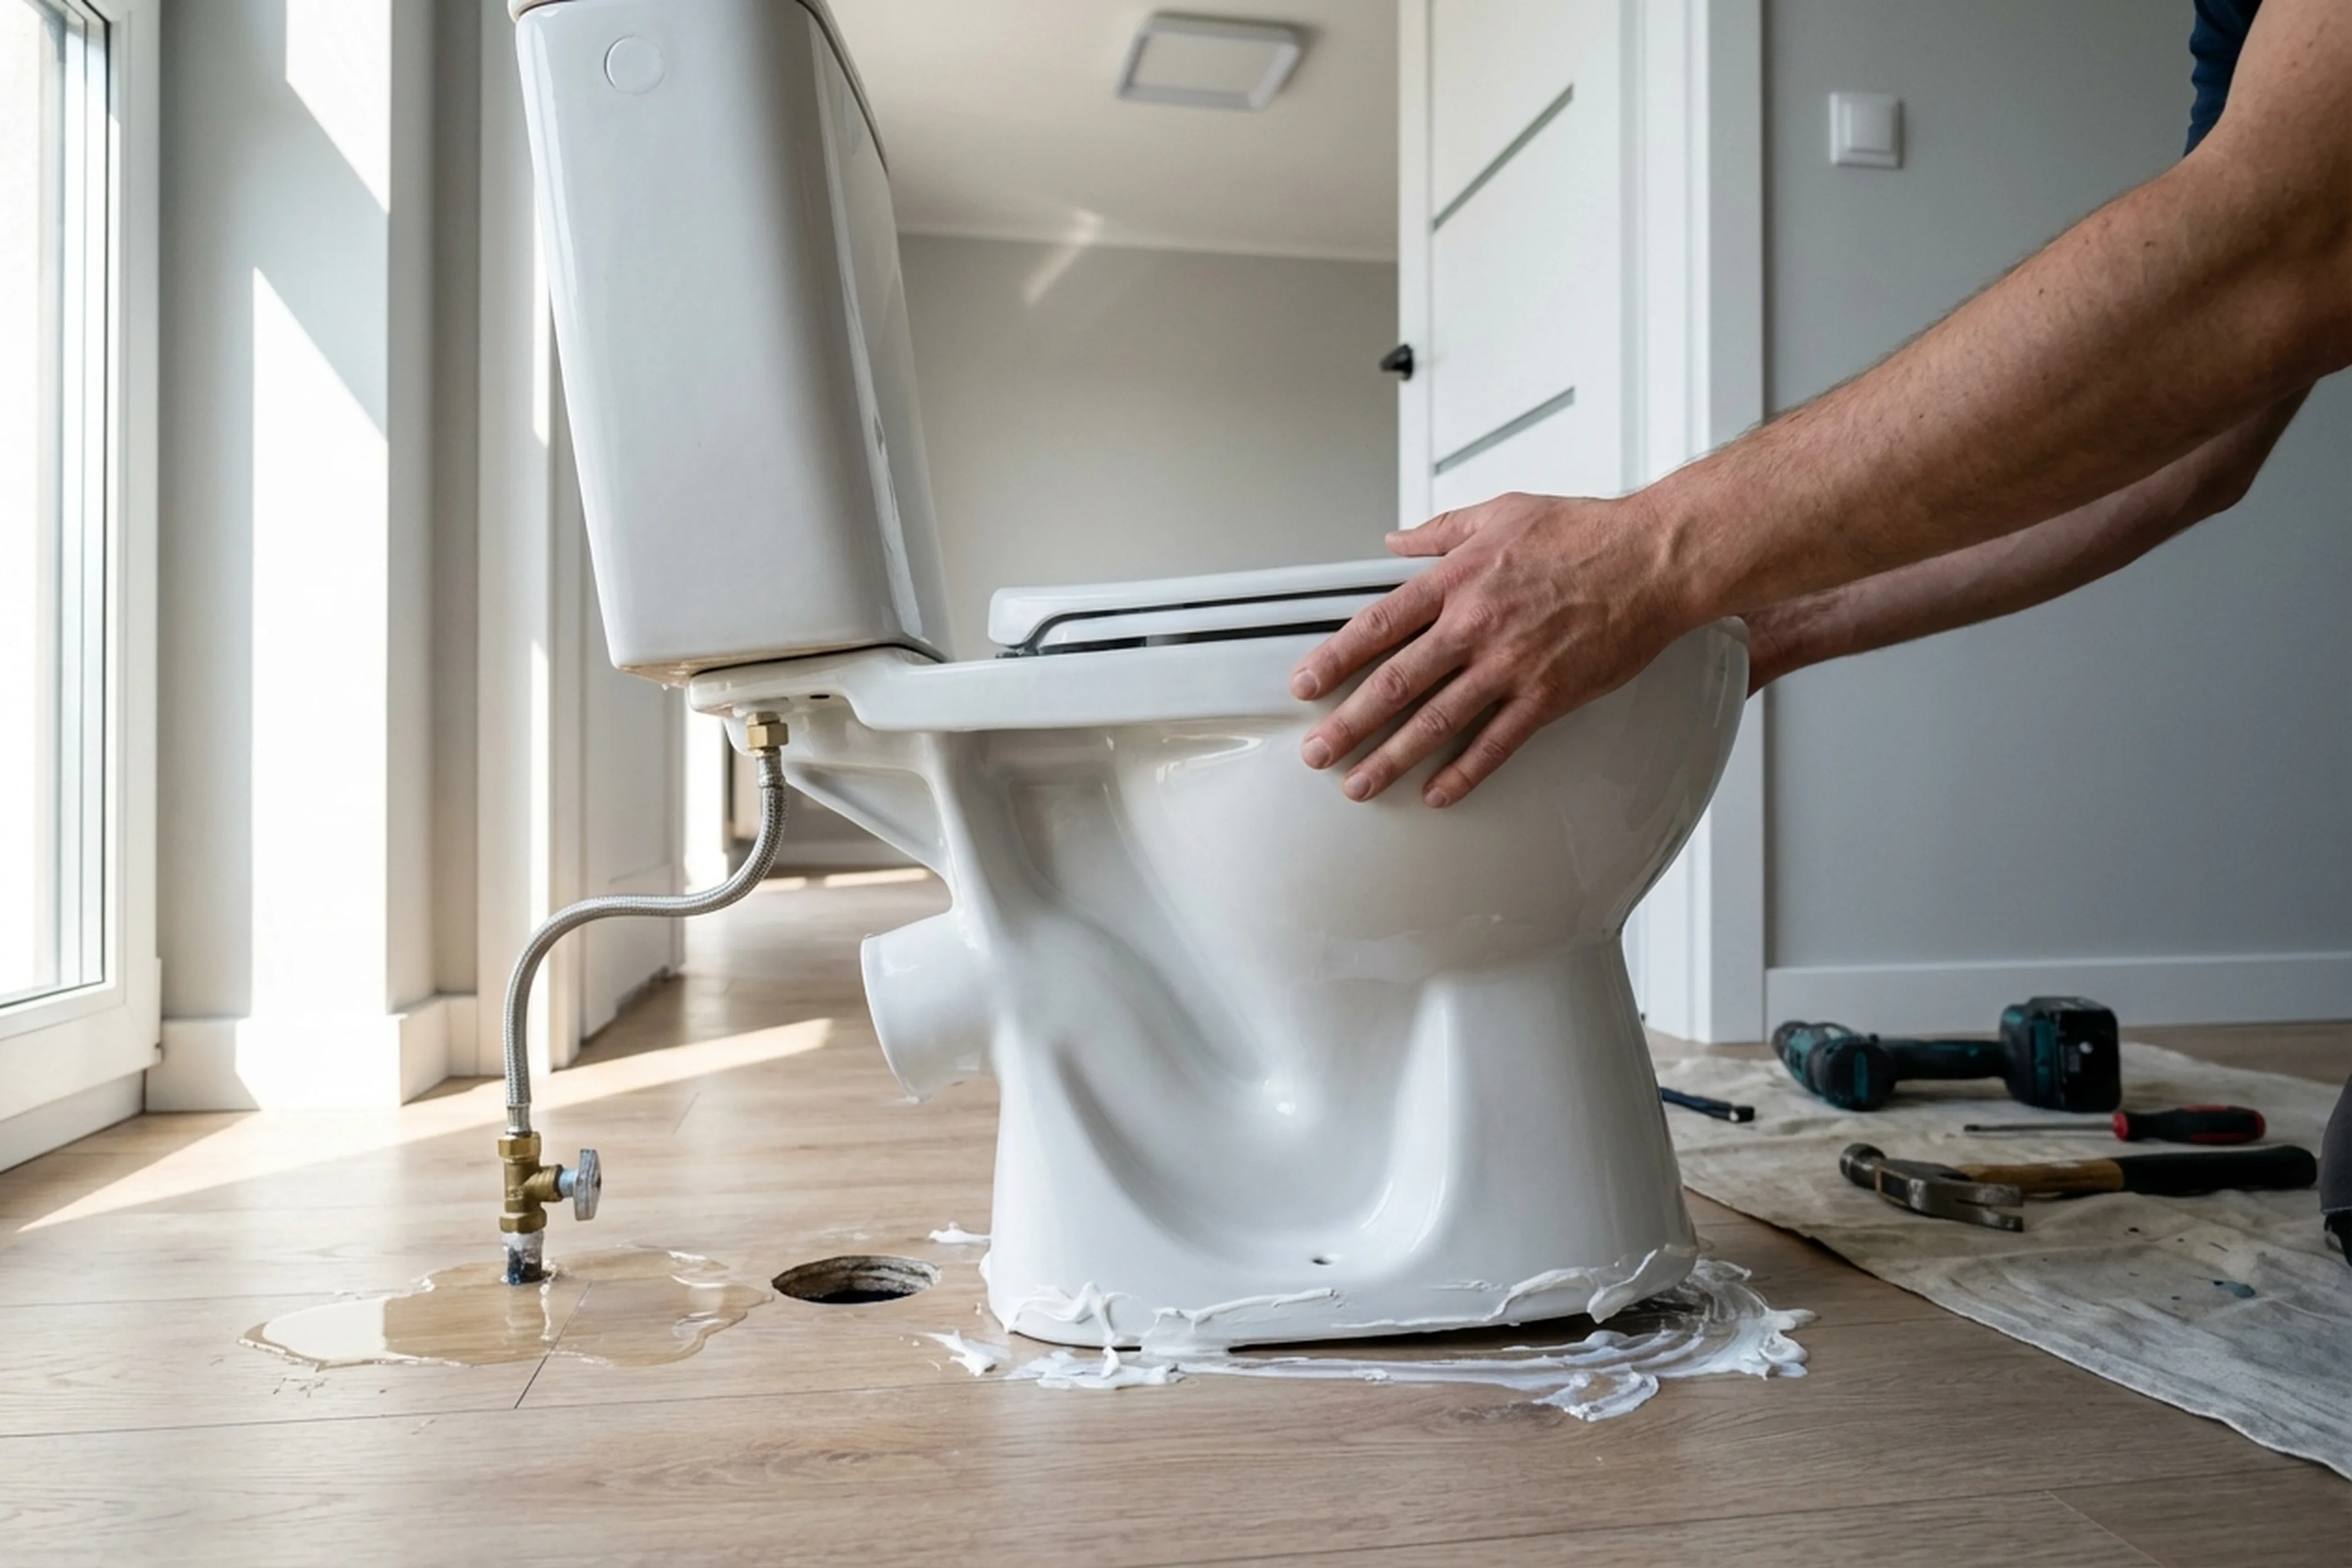
- Not checking the outlet type before buying — getting a toilet with a horizontal outlet when the pipe comes out of the floor (vertical). Then you need adapters or another toilet.
- Over-tightening bolts on one side: the ceramic cracks and the toilet is finished.
- Leaving out silicone around the base: wash water gets underneath, leading to mould and bad smells.
- Setting the toilet on an uneven floor without levelling — it wobbles, and the fixings work loose over time.
- Using the old flexi connector again: it is already misshapen and will start leaking within months.
- Forgetting to test the cistern valves after fitting, water keeps running, and the meter spins up.
- Not turning off the water before starting — flooding the bathroom when removing the old supply hose.
What to prepare before the visit
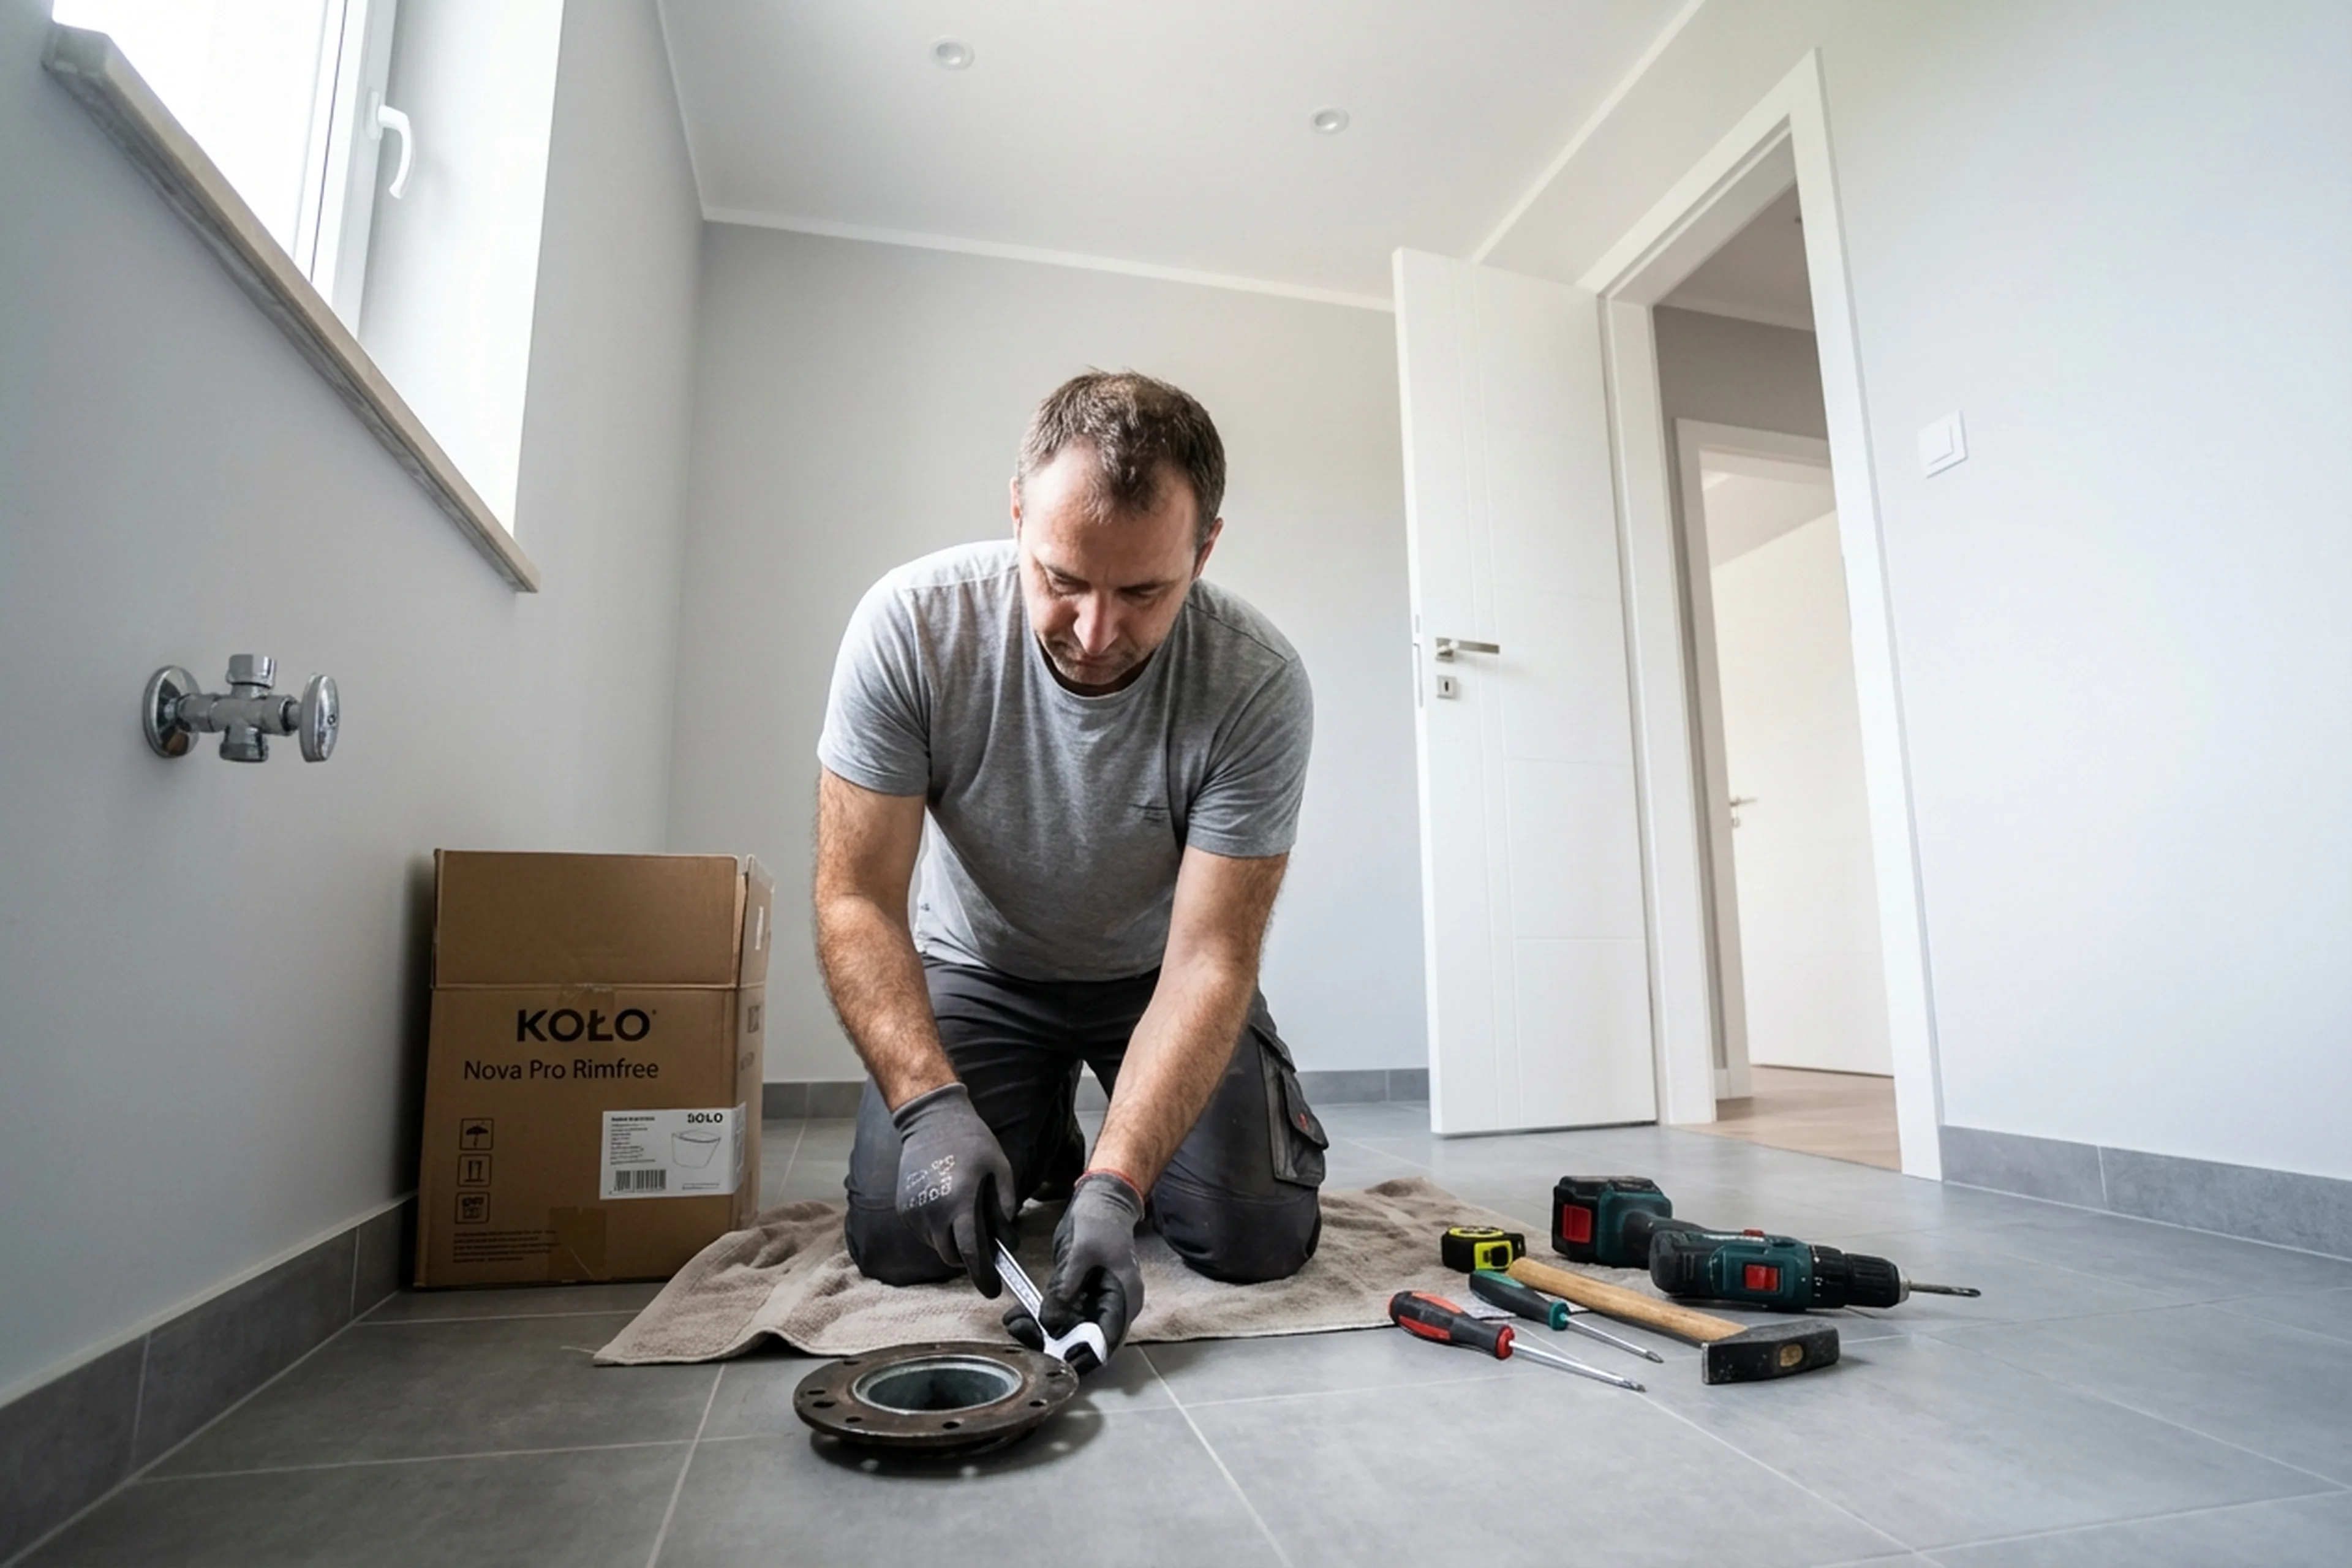
- Buy a toilet with the right outlet type: check beforehand whether your flat has a horizontal, vertical or angled waste pipe.
- Check what is in the box: cistern, internal valve set, mounting bolts, seat — make sure nothing is missing.
- Make sure there is access to the riser and the shut-off valve for the water supply.
- If the old toilet is still there, say so in the order whether it needs to be removed (that is a separate job).
- Floor tiles should already be laid before the toilet is fitted.
- Have a flexi hose, connector or rigid adapter ready, if you are not sure about the sizes, add to the order a photo and they will advise.
- Remove unnecessary things from the bathroom: you need room to work.
- If the building has a shared riser and the water has to be shut off centrally, let the neighbours or building management know in advance.
A real case from Warsaw: floor-standing toilet installation
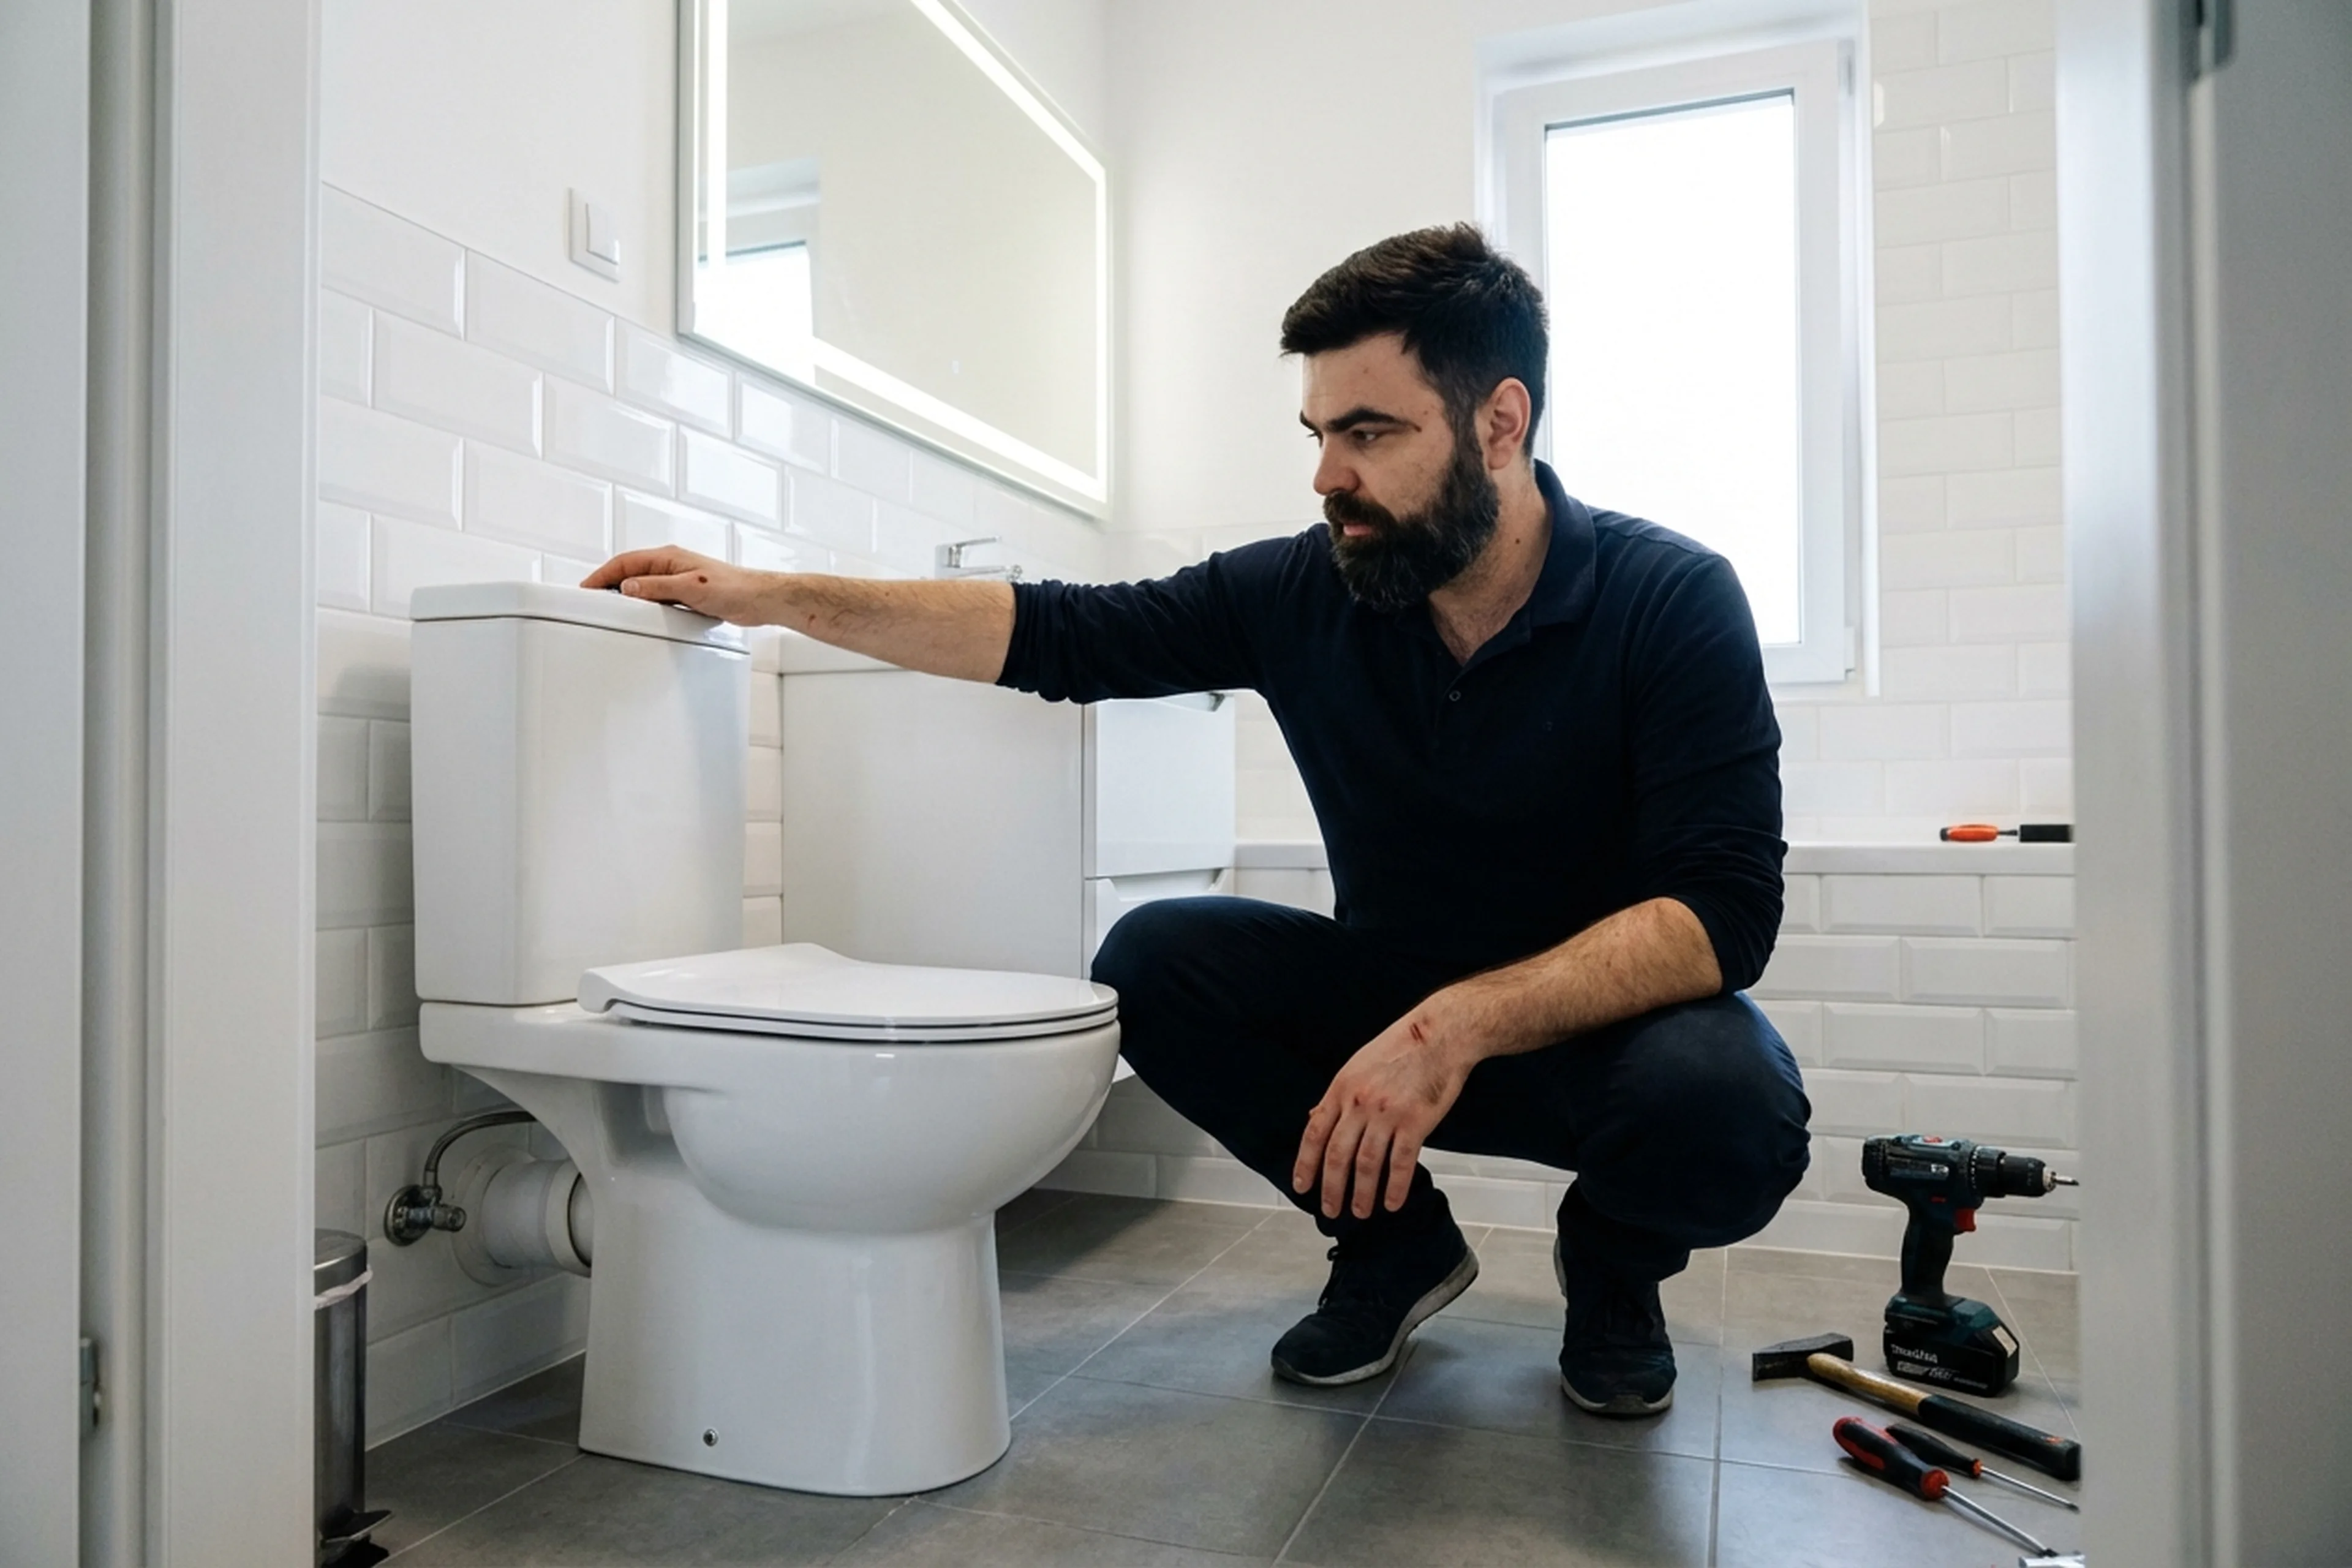
Tradespeople had a call from Ursynow. The owners had bought a resale flat and were redoing the bathroom. They took out the old toilet themselves, laid new tiles, and then got stuck trying to install the new one. The problem was simple: they had bought a toilet with a horizontal outlet, but the waste pipe came through the floor — vertical outlet. They did not want to take it back. Tradespeople found a 90-degree elbow adapter, adjusted the height, and sealed the whole connection. Then they connected the cistern and did a test flush: everything worked, no leaks. The job took a bit over an hour because of the adapter work. With the right outlet type, it would have taken about forty minutes.
Cersanit close-coupled toilets and sets: what to check before fitting
Cersanit toilets are often bought as sets: a concealed frame with a pan and seat, or a close-coupled floor toilet with its cistern. A set is only convenient if everything fits together, so open the boxes before the handyman arrives and check the contents against the list in the instructions, along with the series of the pan, frame and flush plate.
On a close-coupled toilet the cistern sits on the pan on two bolts with washers, and a large seal around the flush valve sits between them. Any of these points can leak. Warsaw’s hard water speeds up the wear: seals harden and limescale builds up on the valves, so on an older toilet the whole mechanism is often replaced while the ceramic stays. The bolts are tightened evenly and gently, because a cistern cracks when it is overtightened just to be safe.
In older blocks the soil pipe is often not where the new pan expects it, and the old seal in the socket has gone rock hard. A new seal is needed then, sometimes with a flexible connector or an elbow.
Frequently asked questions
How long does installation take?
A standard floor-standing toilet installation takes from 40 minutes to an hour and a half. If the old toilet has to be removed, add another 20 to 30 minutes.
Can a toilet be mounted on a wooden floor?
Yes, provided the floor is solid and even. Tradespeople use long screws with washers and seal the base with silicone.
Should the connector be replaced when swapping the toilet?
In most cases, yes. Old connectors deform under load and lose their seal with time. Trying to save money on a connector often ends with a leak.
Which sealant should be used?
Sanitary silicone with an anti-mould additive. Standard acrylic sealant is not suitable: it lets water pass and turns yellow.
Can the toilet be relocated?
Yes, but only if the waste pipe can be extended with the proper gradient. Over longer runs a macerator pump may be needed. That is a separate project.
What if the toilet rocks after installation?
That means the floor is uneven or the bolts are too loose. The toilet has to come off, the base must be levelled with packing or compound, and then fitted again.
Book the installation
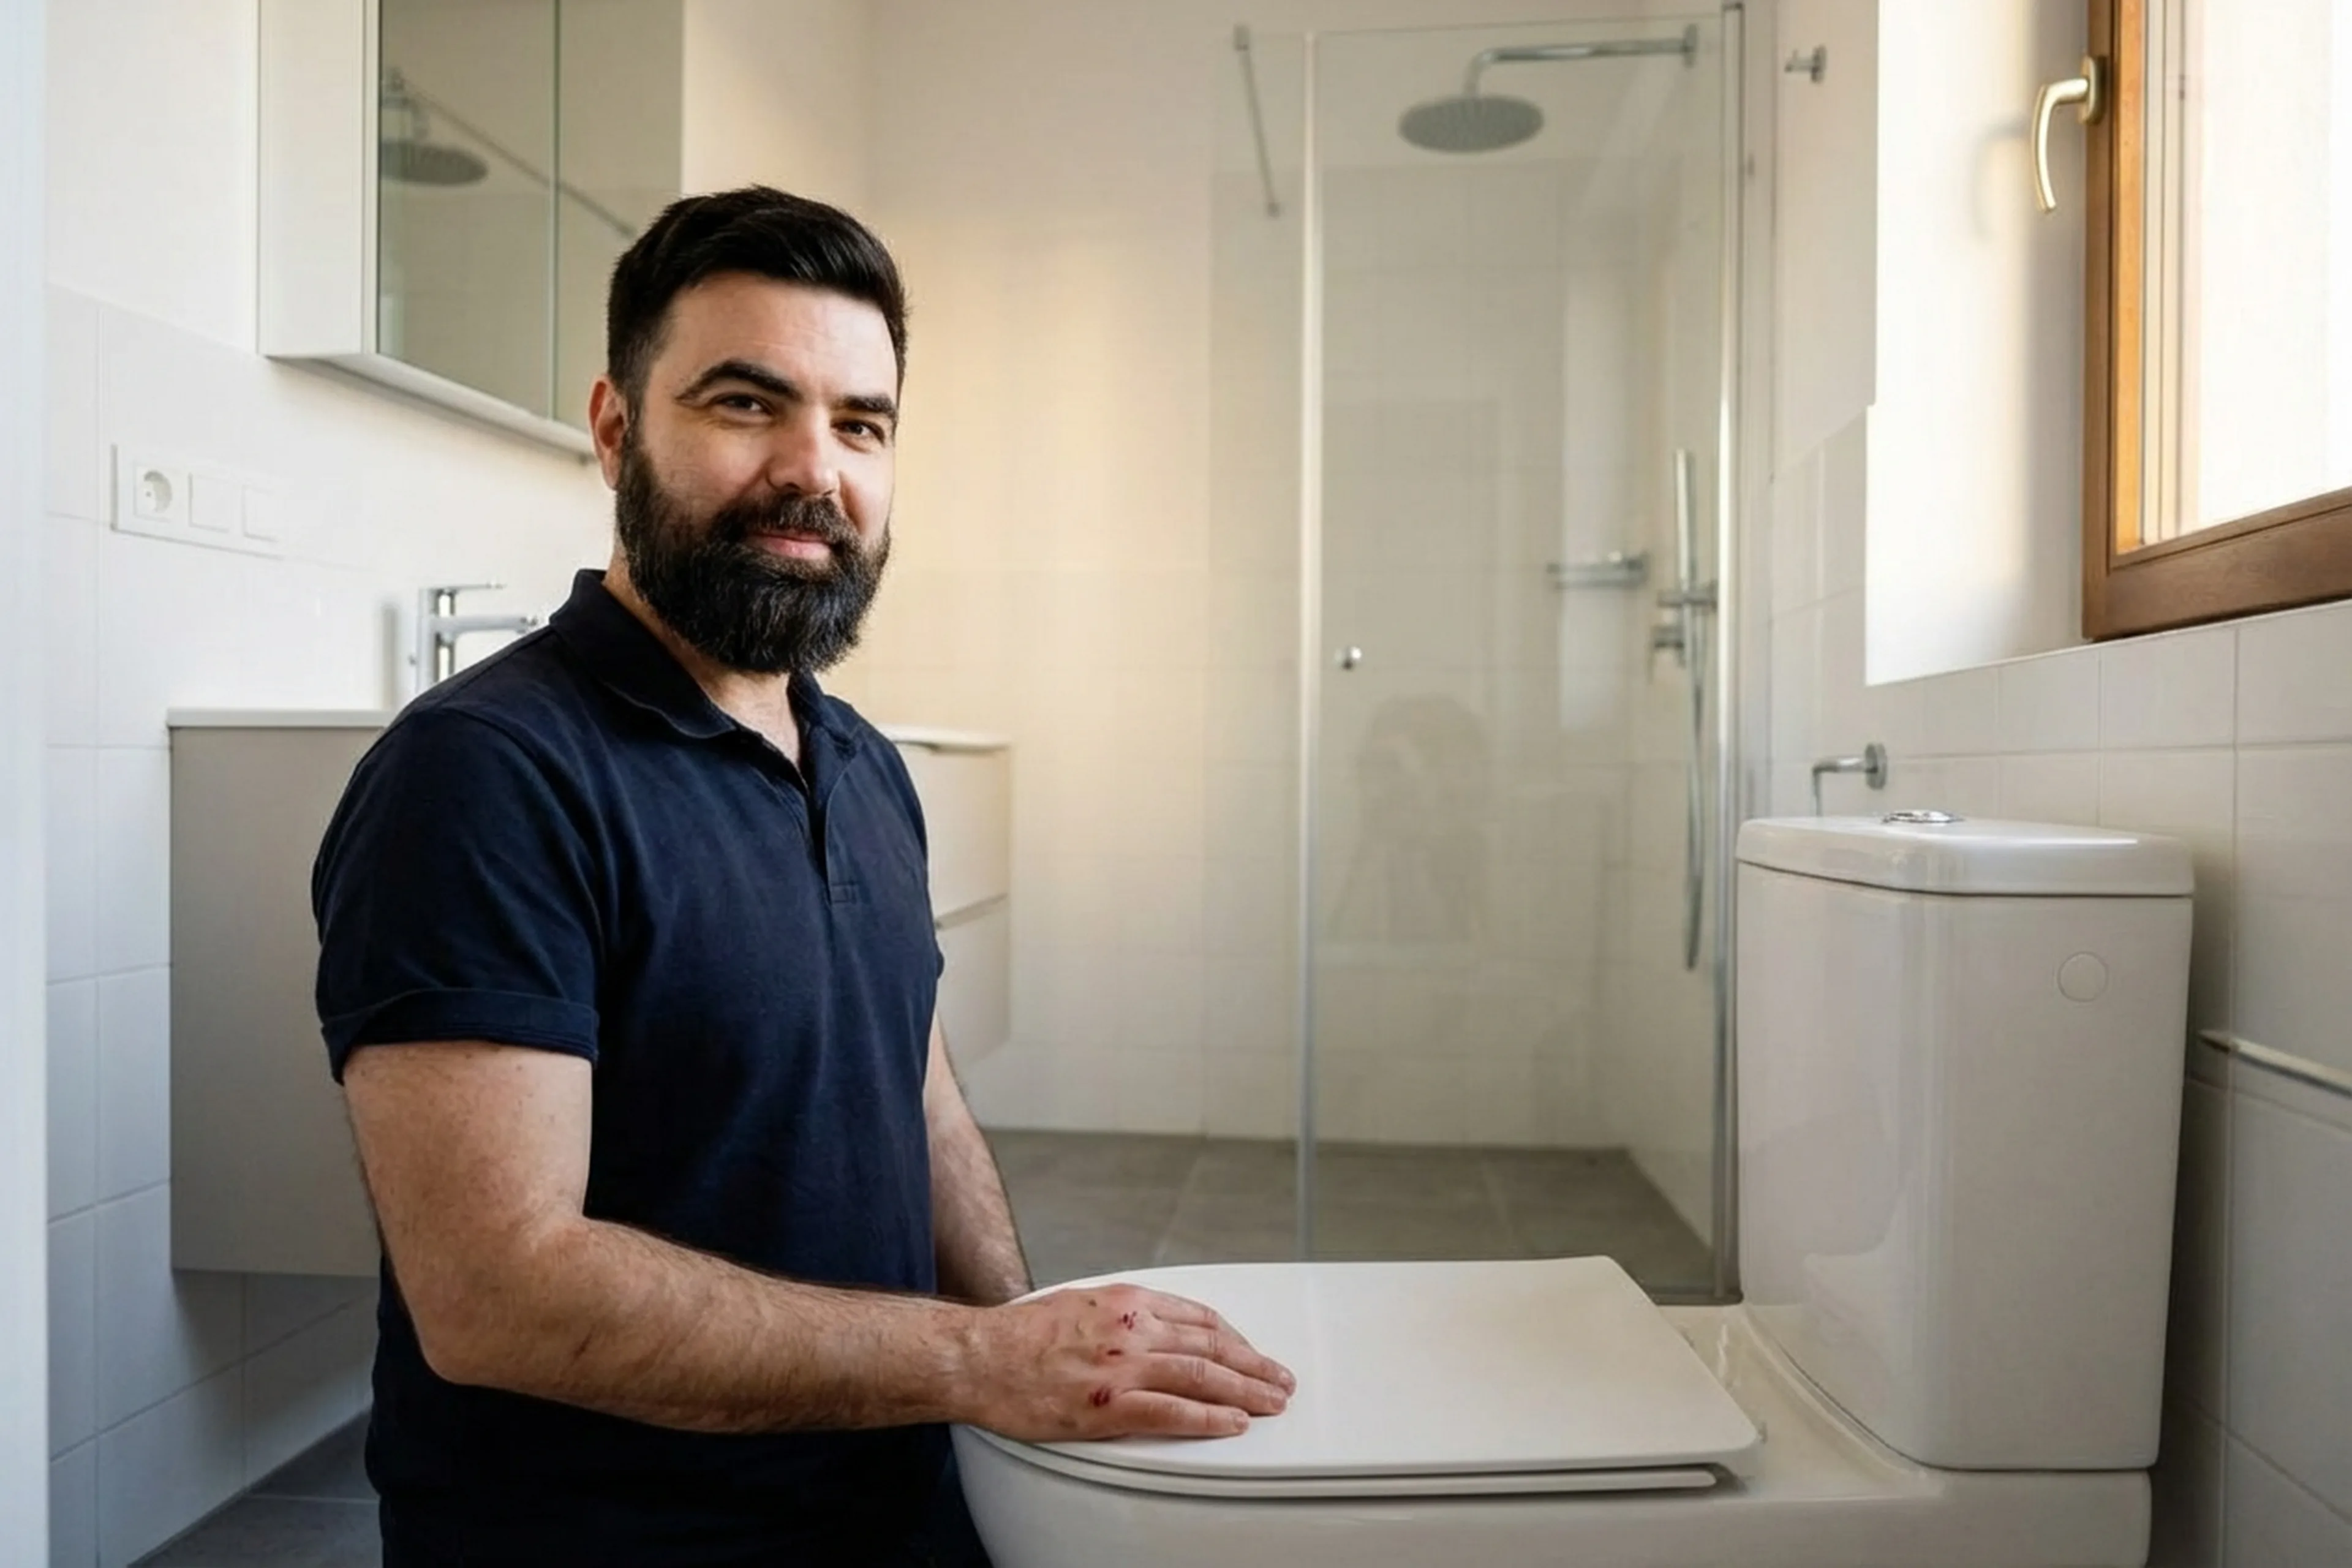
Tradespeople cover all of Warsaw and come with tools and basic fixings. The toilet and consumables (connector, hose, silicone) are provided by the client. Not sure what to buy? Send them a photo of the bathroom and they will advise.
Order in the app
Describe the job, add photos and the address. Tradespeople send their own prices and dates, and you pick one of the offers.
Open the app