
How much does installation cost
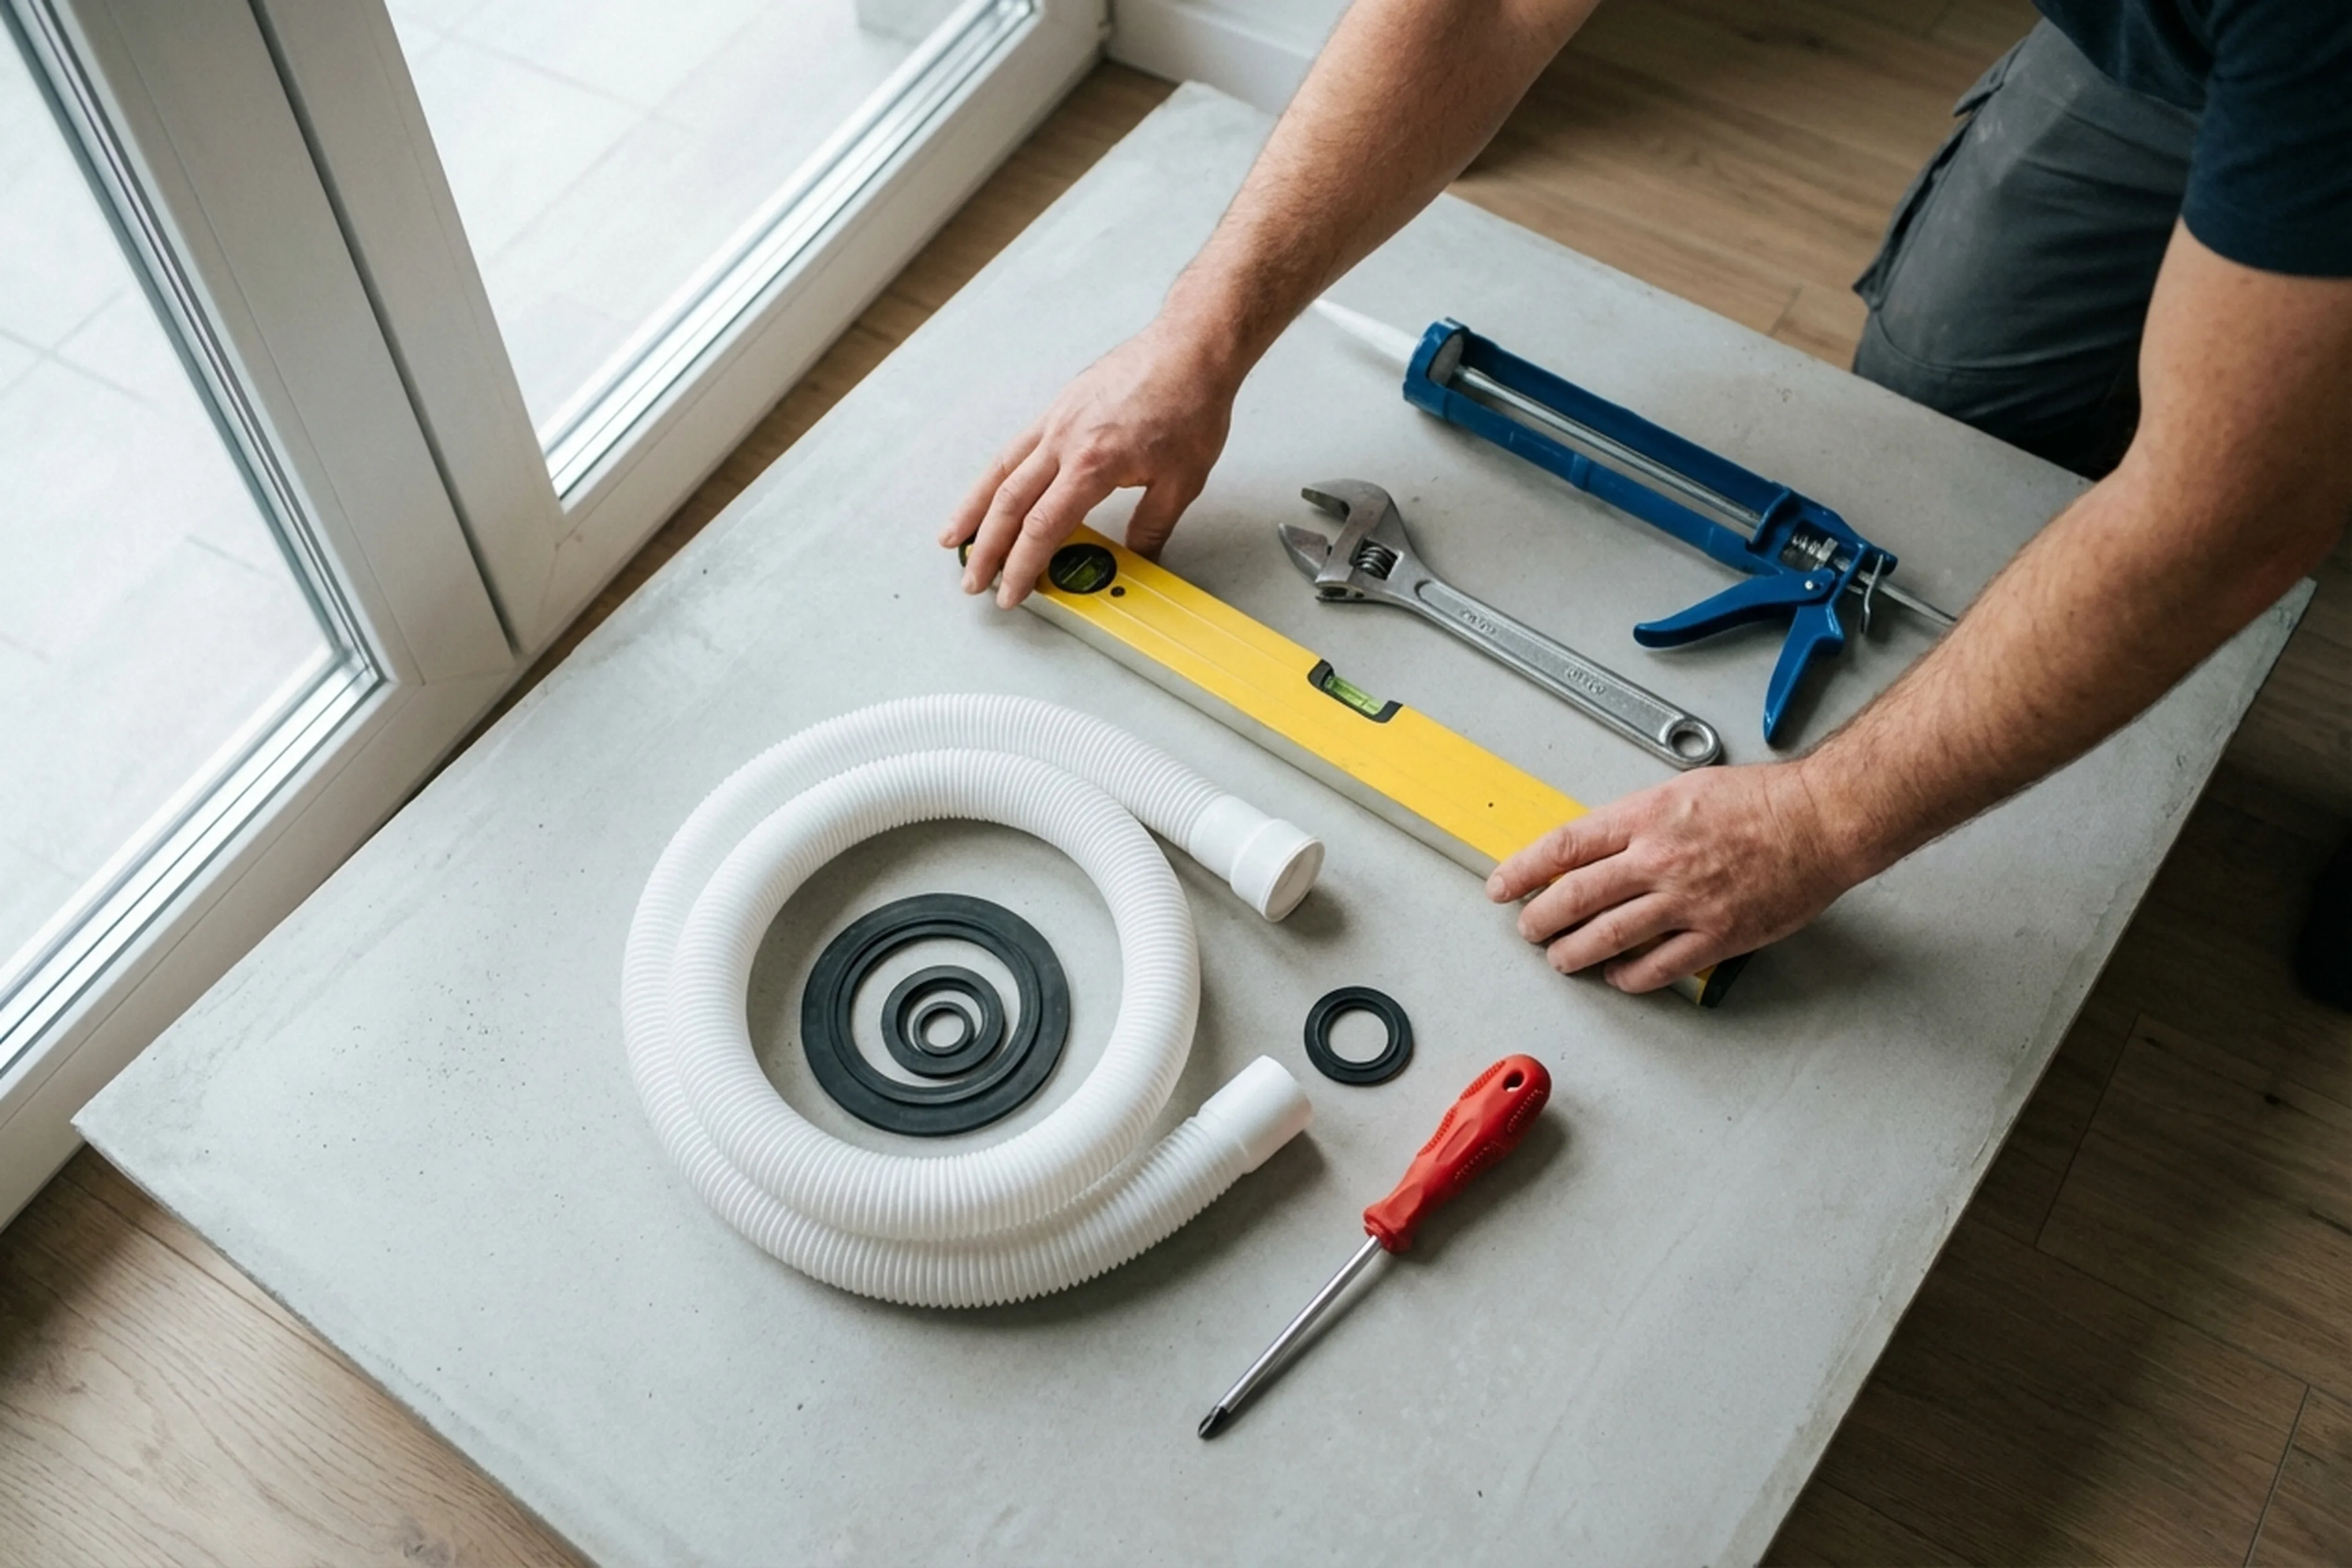
The cost depends on what the tray is made of (acrylic, ceramic, enamelled steel), how it is mounted (factory frame, adjustable legs, brick plinth) and how awkward the drain connection is. Low-profile trays with almost no space underneath are a separate job — in many cases the screed has to be chased out to fit the trap. Current rates for all bathroom work are in the table below. Fixings and sealant are included; the tray and trap are provided by the client.
| Service | Price |
|---|---|
| Washbasin installation | 200–500 zł |
| Washbasin replacement | 250–600 zł |
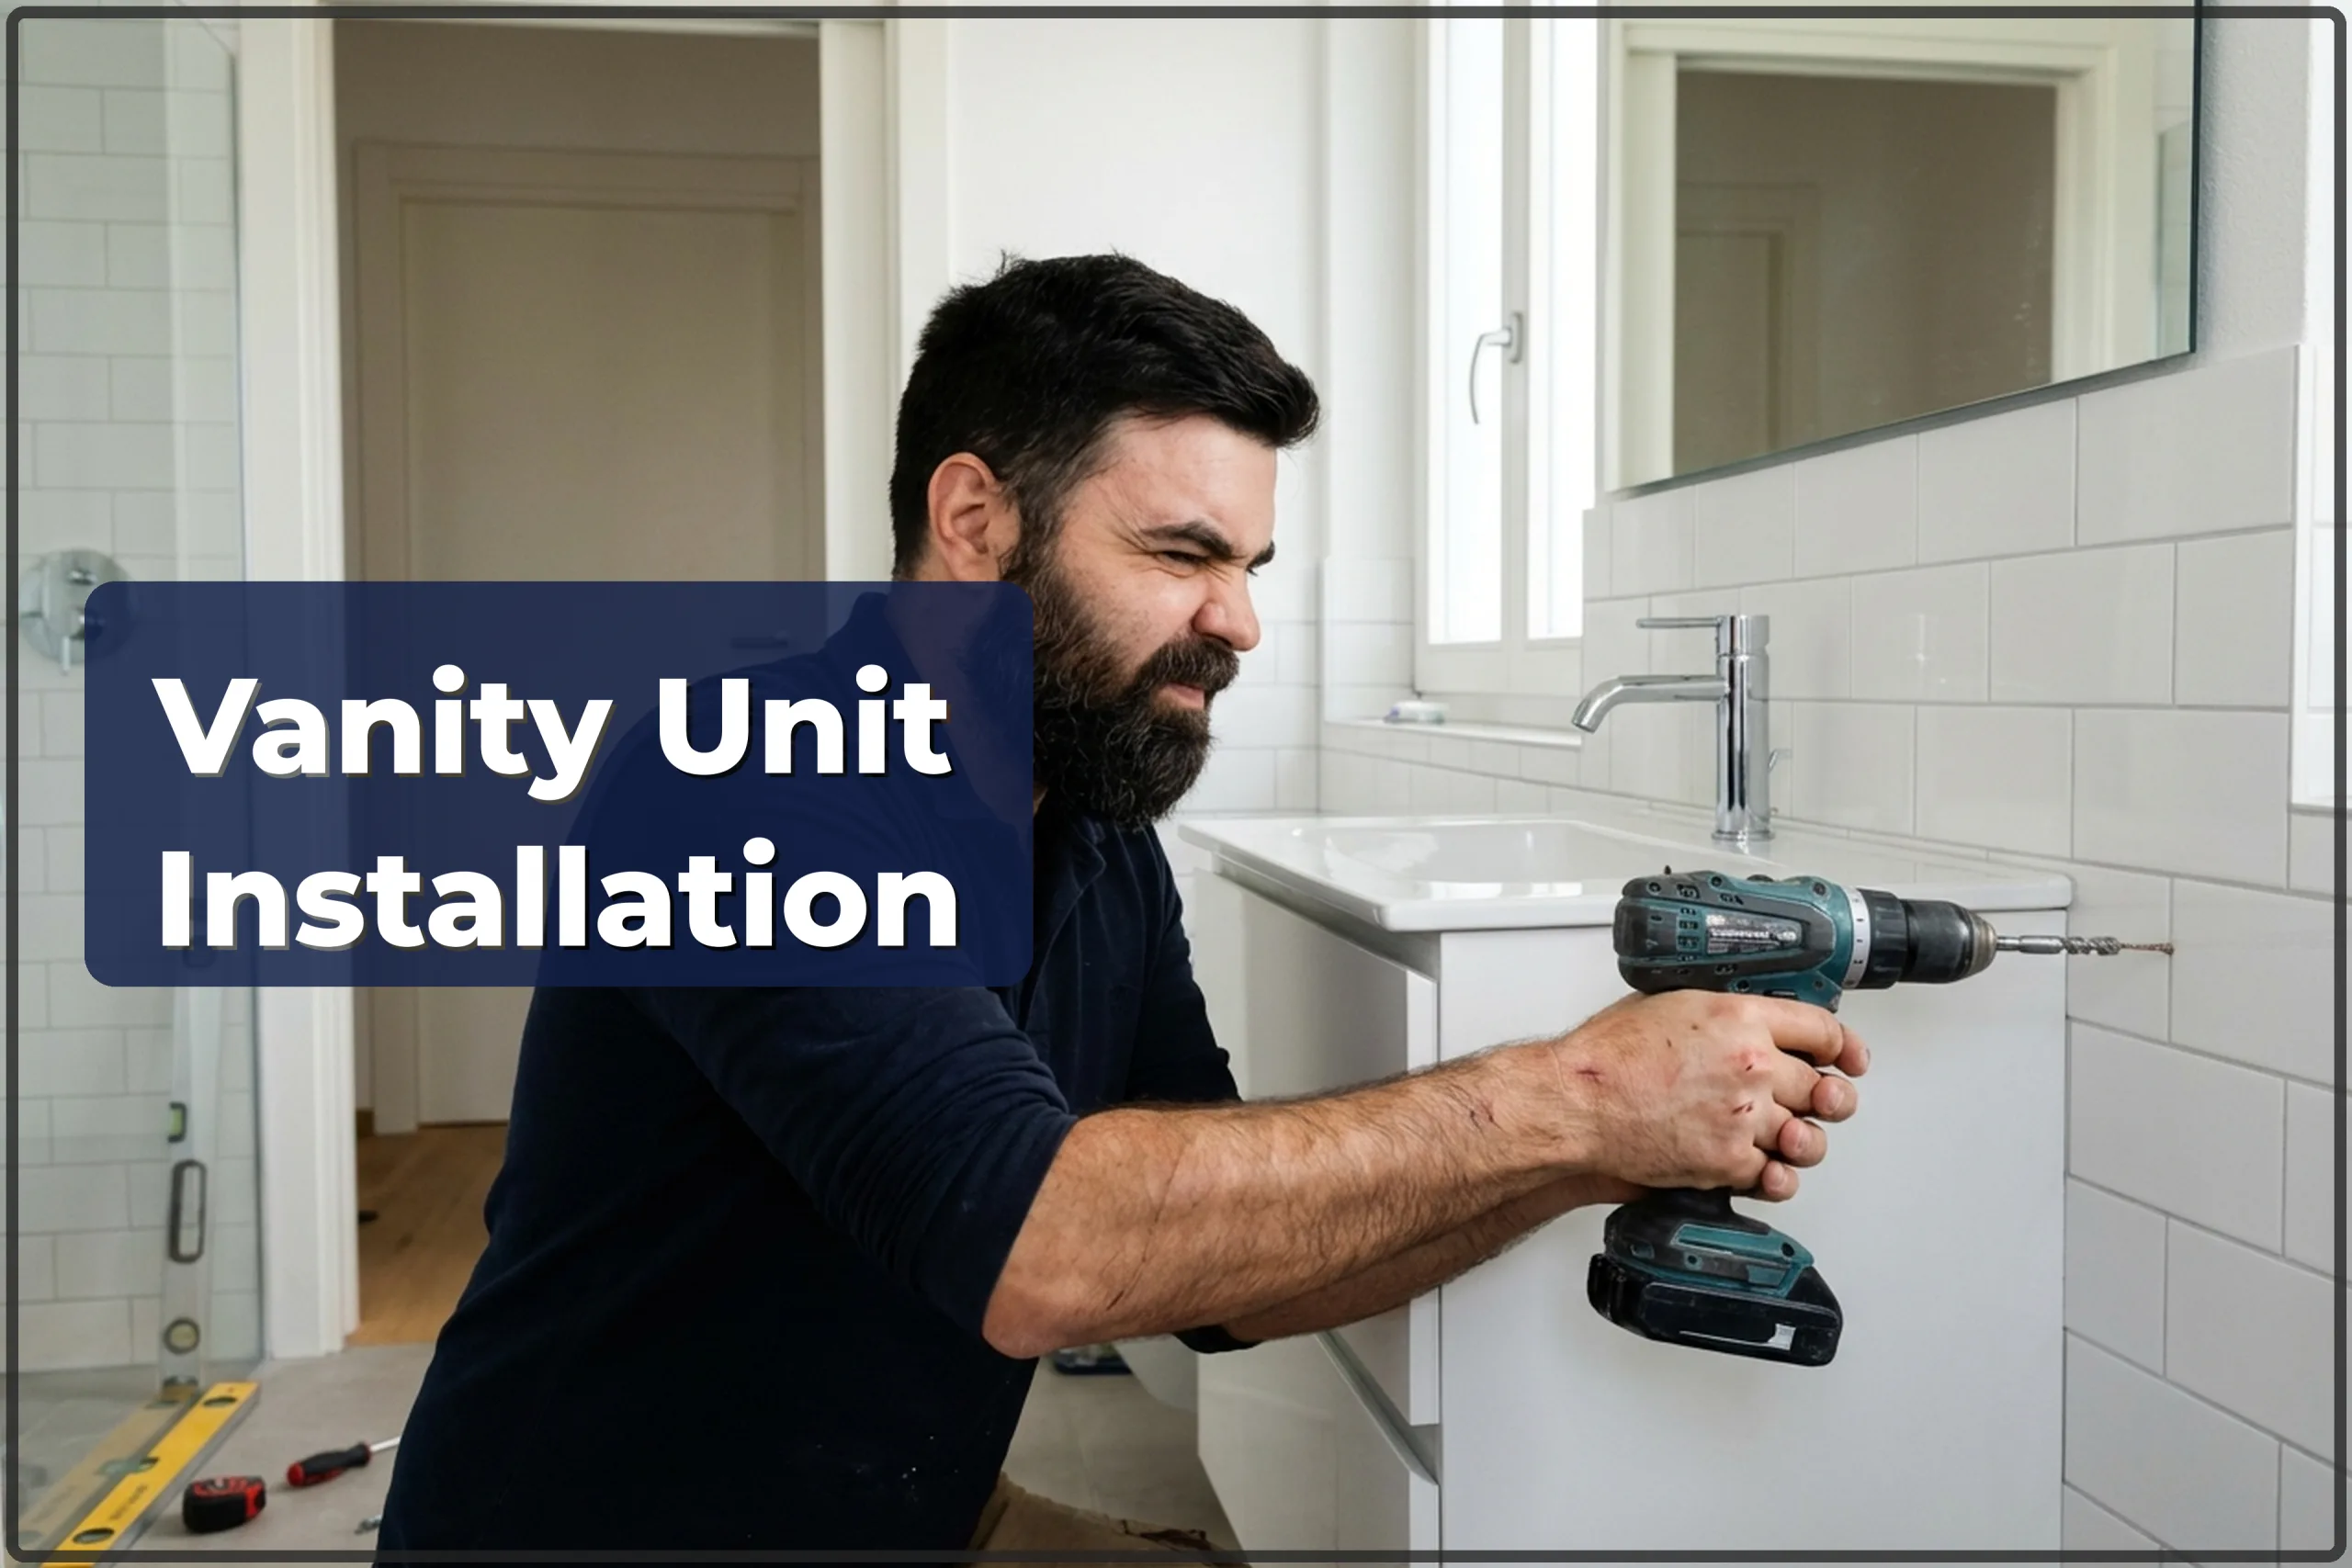
| Vanity unit installation | 300–600 zł |
| Basin tap installation | 150–250 zł |
| Basin tap replacement | 250–400 zł |
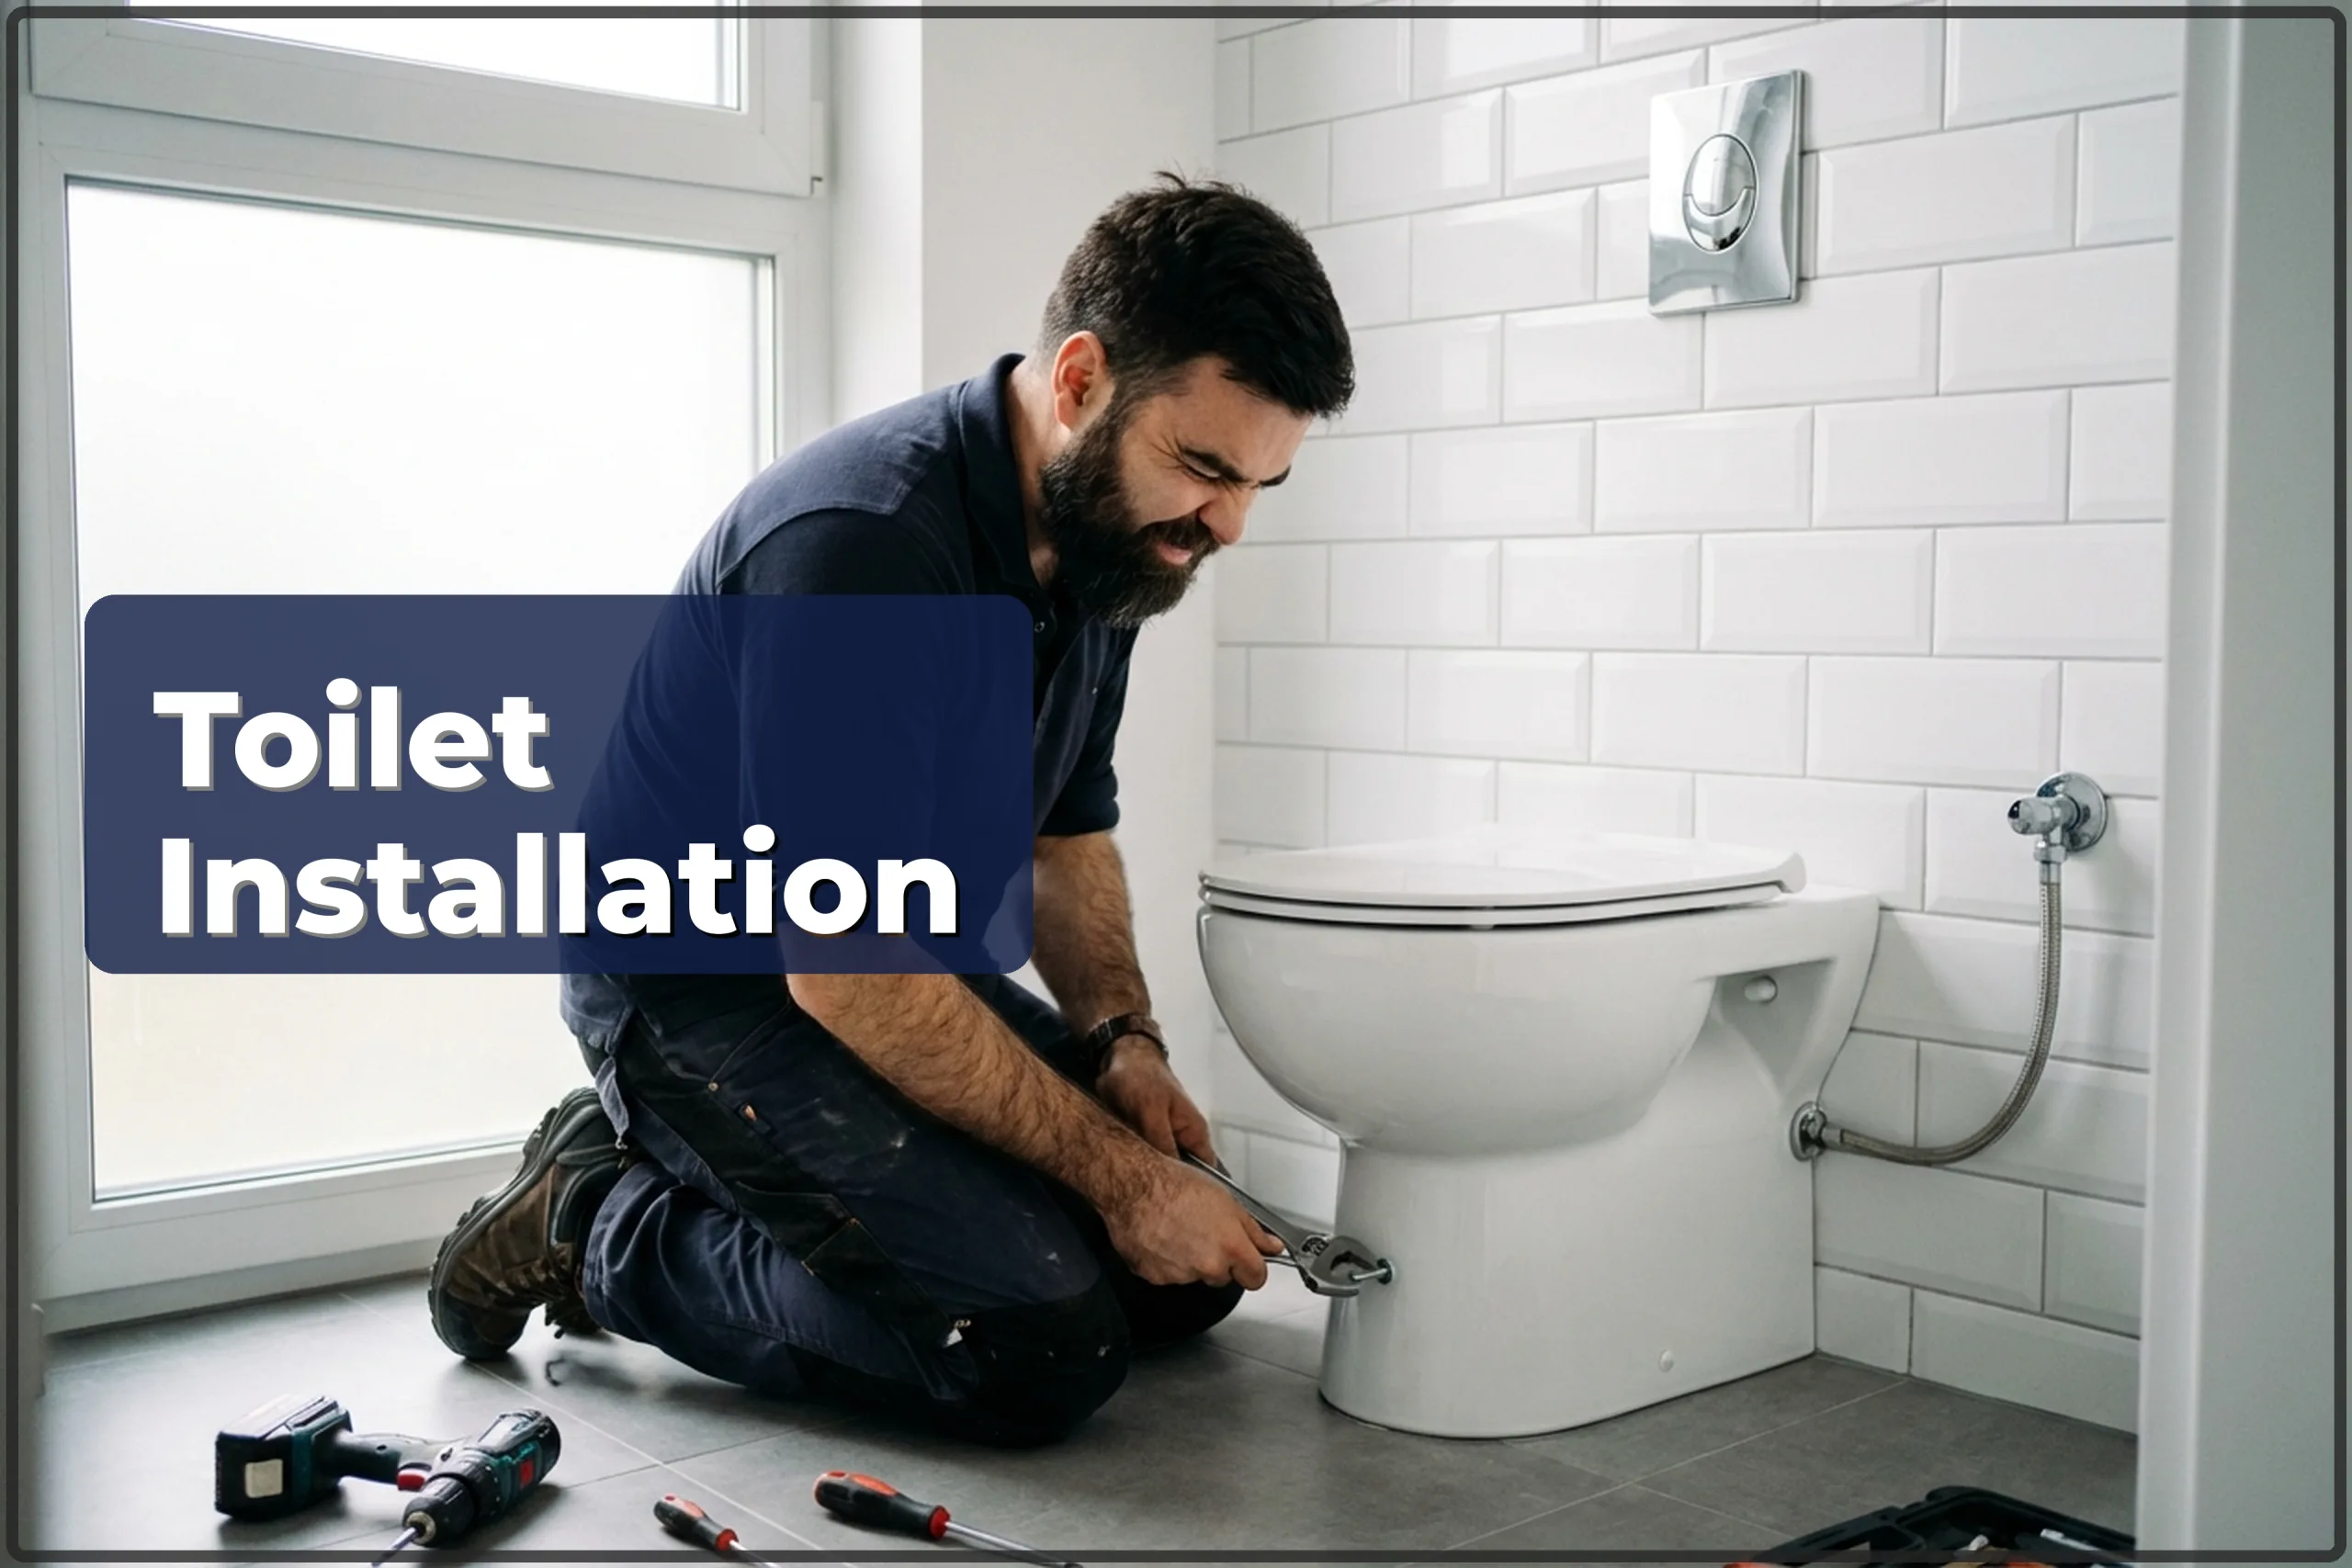
| Floor toilet installation | 300–500 zł |
| Floor toilet replacement | 350–600 zł |
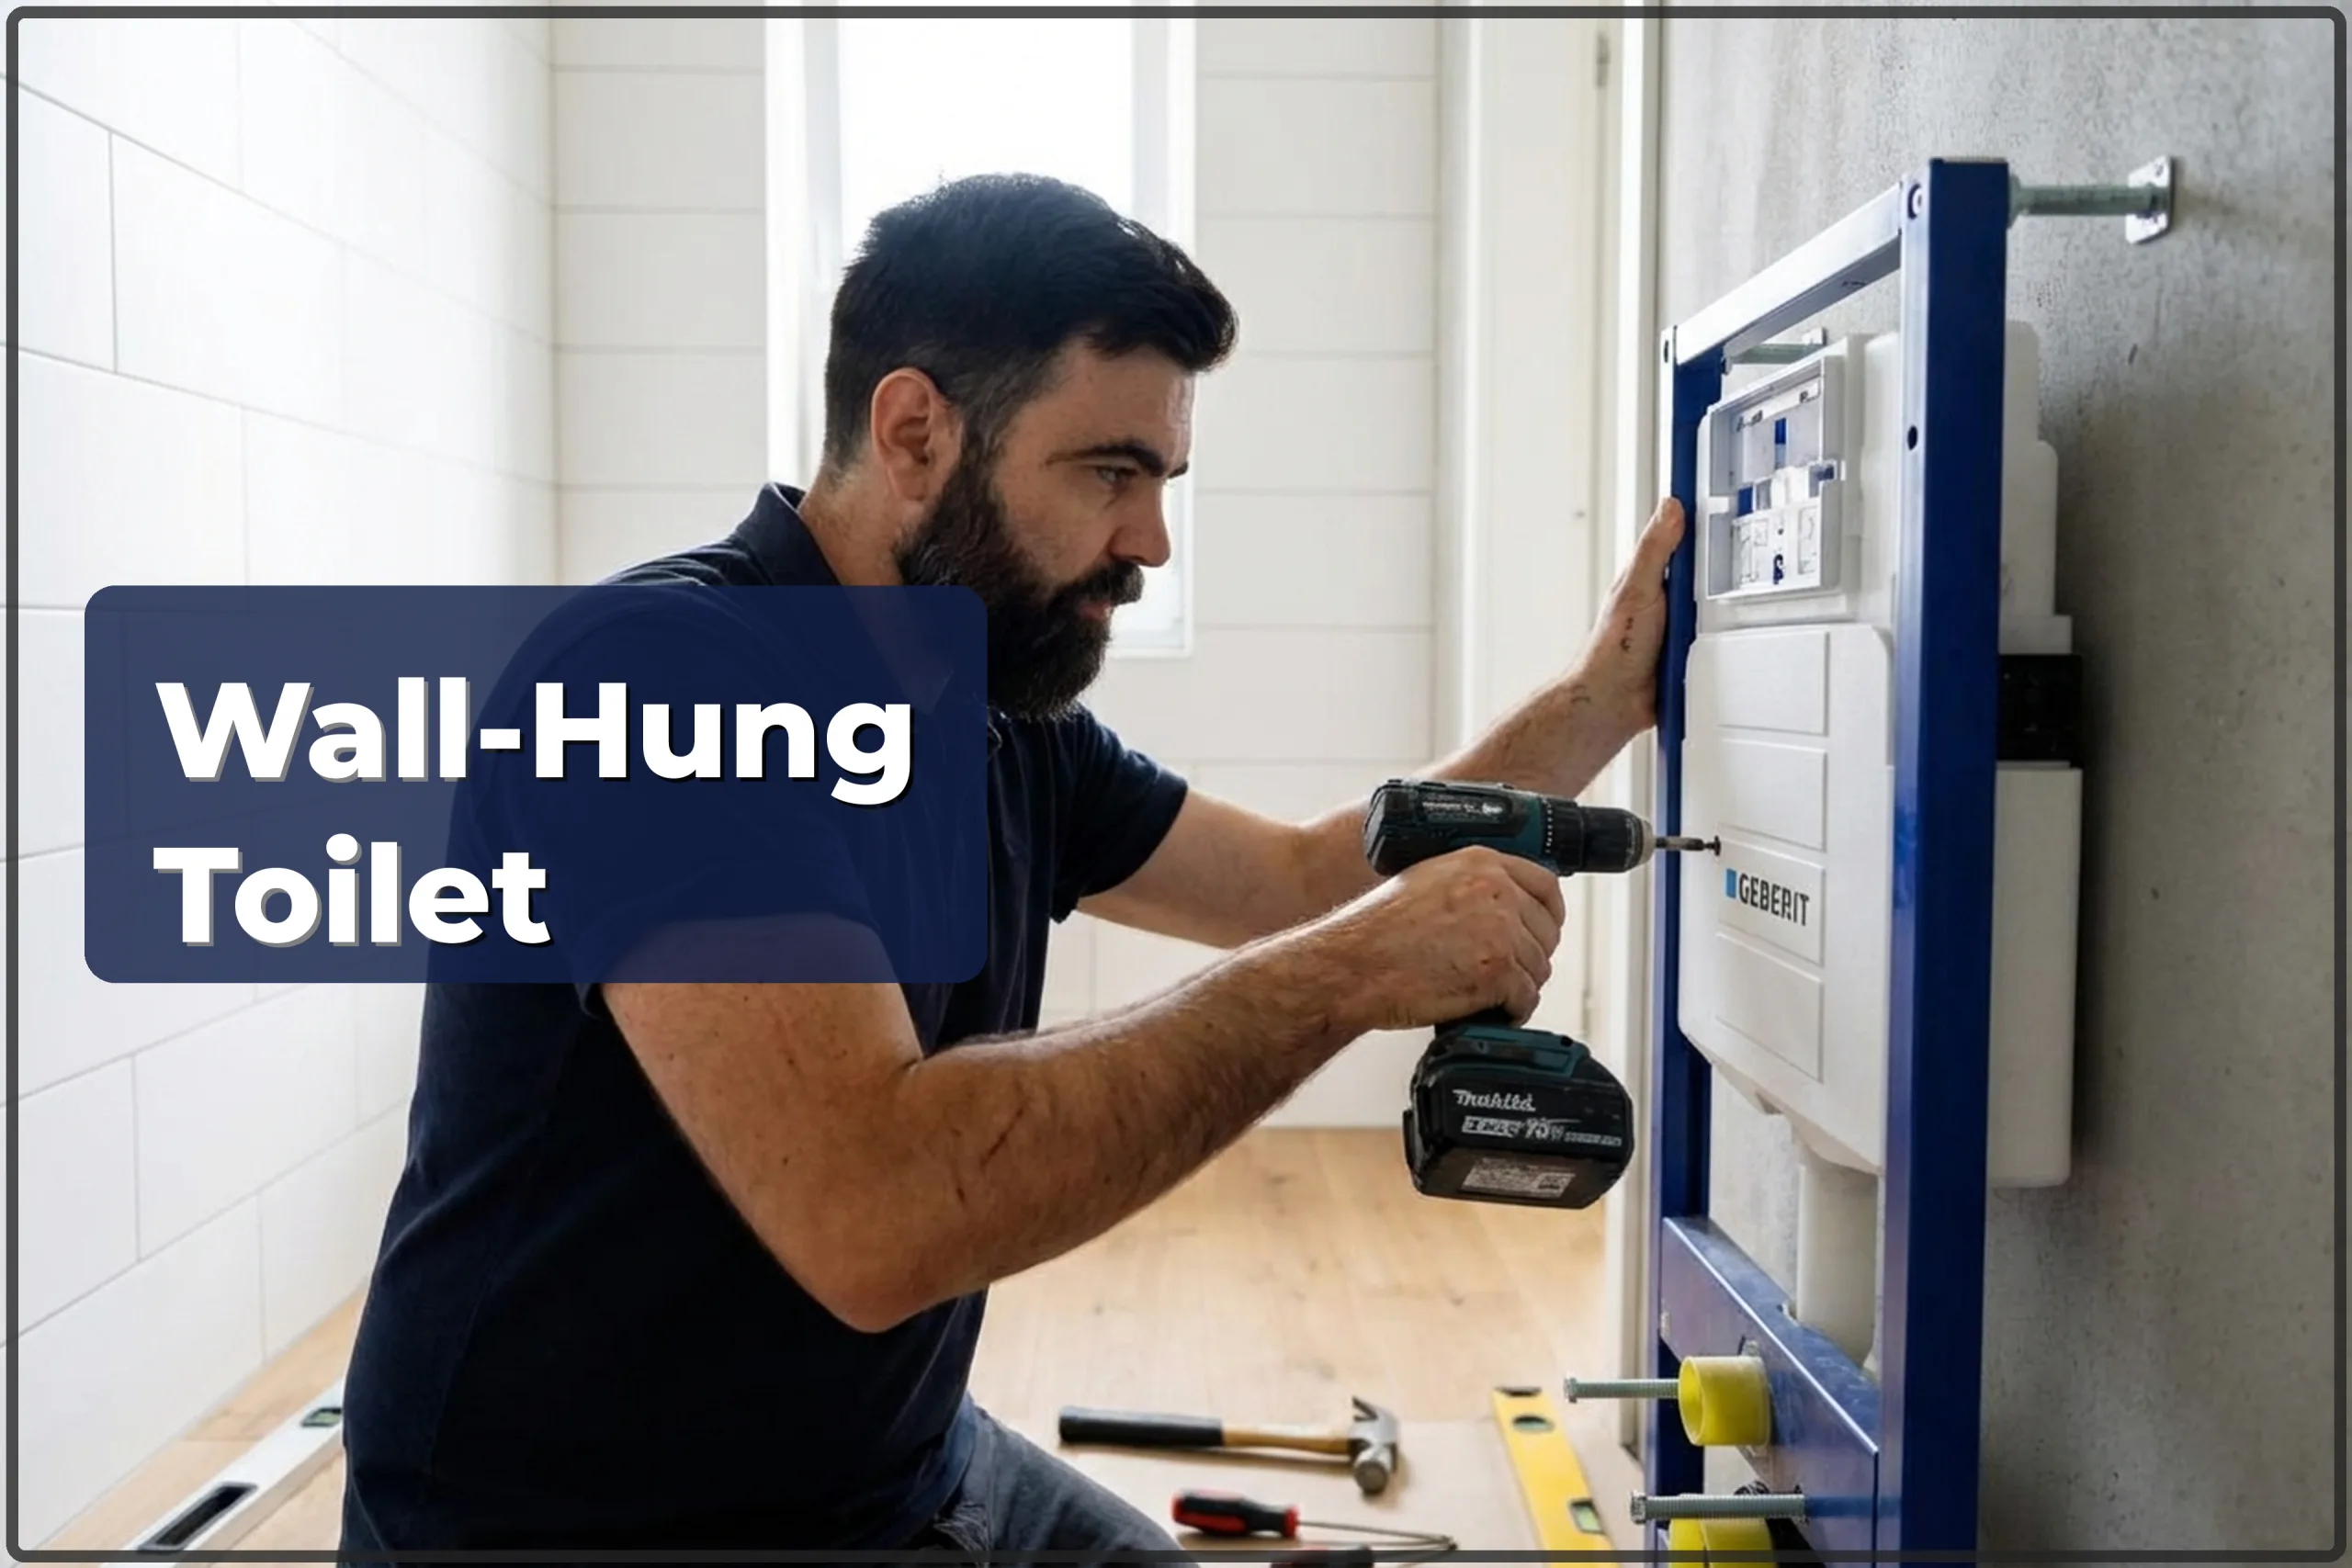
| Wall-hung toilet installation (frame) | 450–700 zł |
| WC frame replacement | 600–1500 zł |
| Bathtub installation | 400–900 zł |
| Bathtub replacement | 500–1000 zł |
| Shower cabin installation | 350–1200 zł |
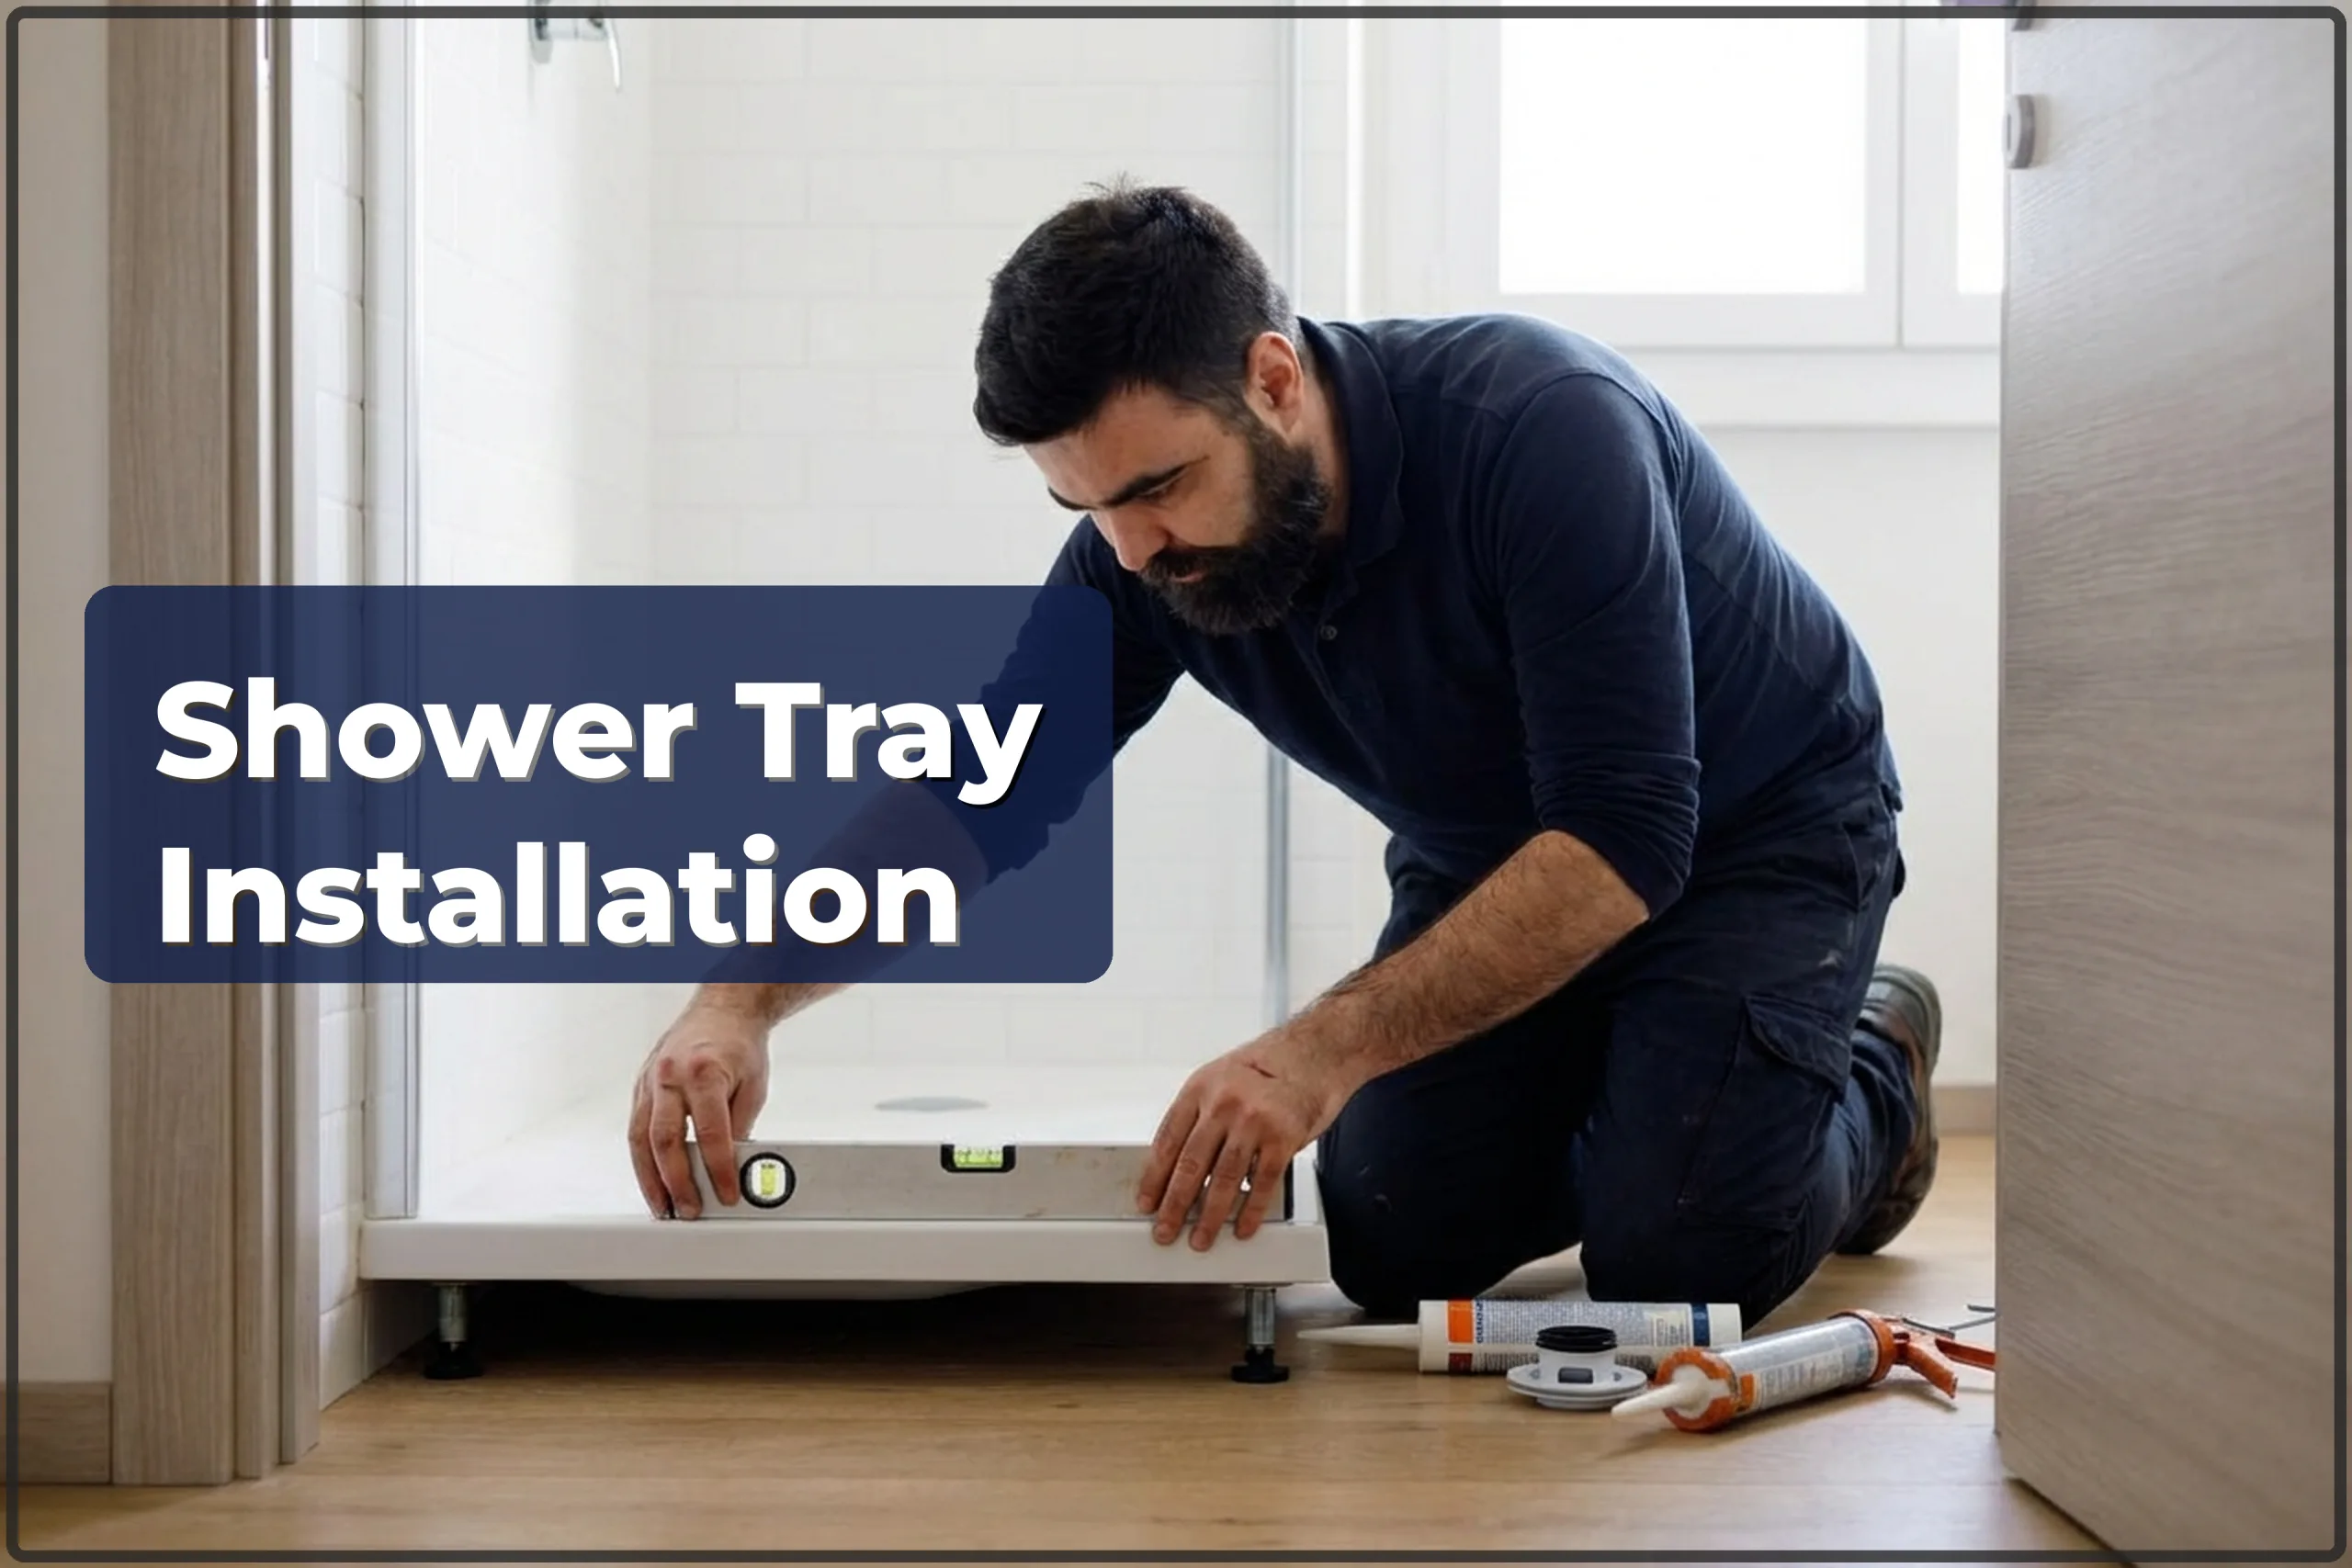
| Shower tray installation | 500–800 zł |
| Shower tray replacement | 600–1000 zł |
| Linear drain installation | 400–900 zł |
| Re-sealing shower and bathtub | 250–600 zł |
| Towel radiator installation | 300–600 zł |
| Towel radiator replacement | 350–700 zł |
| Drain cleaning | 200–800 zł |
| Trap (siphon) replacement | 120–400 zł |
Indicative prices. Ranges for a typical scope. Fixings included, materials separate. Minimum order 300 zł.
Rather hand the job over? More here: plumber in Warsaw.
Installation or replacement?
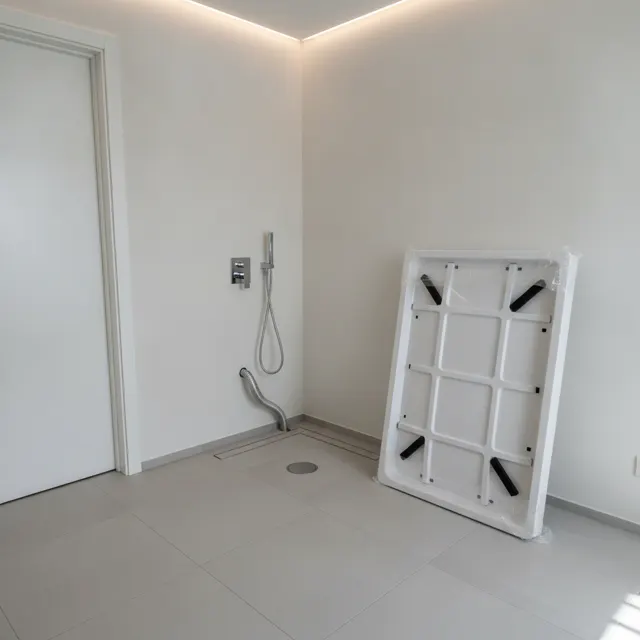
Installation assumes a ready waste and a level floor. If the old tray and enclosure have to come out first, the silicone cut away and the space underneath checked for leaks, book shower tray replacement.
How shower tray installation is done
- Site inspection: they check where the drain outlet sits, the floor fall and the distance to the waste stack. Tradespeople make sure there is enough room under the tray for the trap.
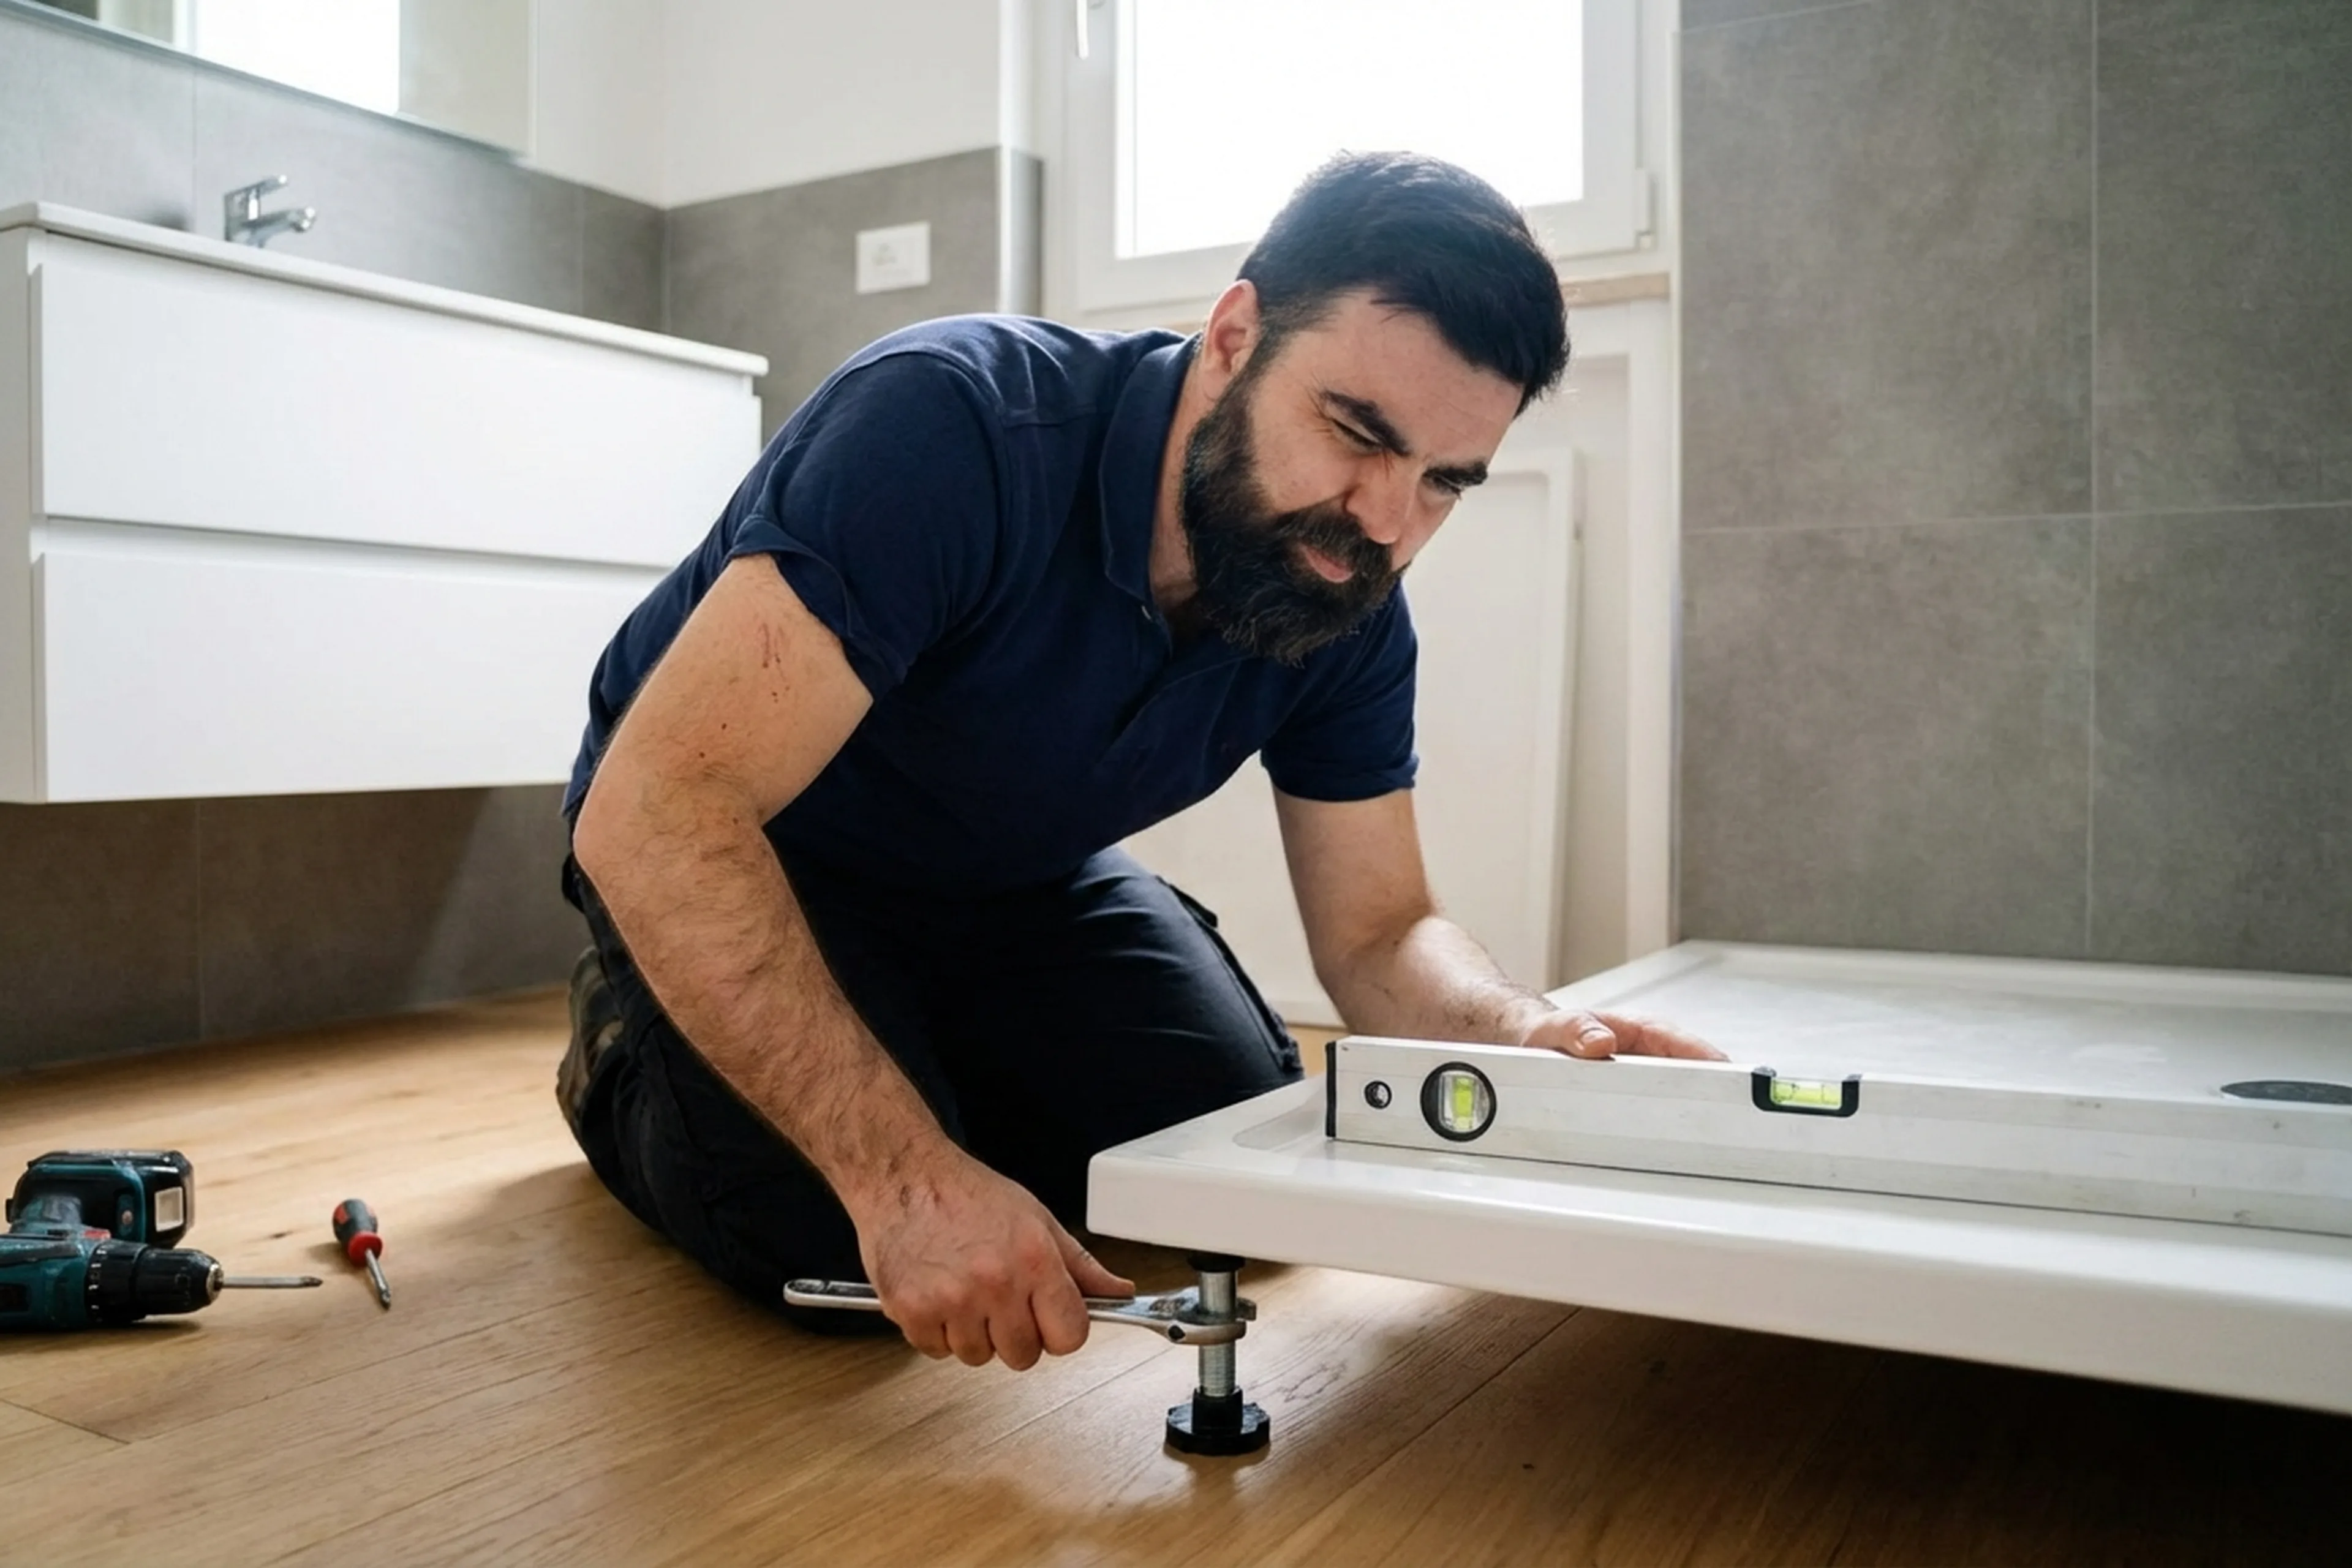
- Assembling the frame or legs: if the tray includes a frame, they put it together according to the manufacturer’s instructions and level it. If a brick plinth is required, they build the base and leave it to set.
- Dry fit: the tray is placed in position without sealant so they can check the level and line up the waste outlet with the drain pipe.
- Trap connection: they install the trap and connect it to the drain using a flexible or rigid pipe. Tradespeople check the fall: at least 2 cm per metre.
- Flow test: they pour water into the tray, watch how it drains and inspect each joint for leaks.
- Sealing the wall joint: they apply sanitary silicone around the whole perimeter where the tray meets the wall. If the tiles are already fitted, they fill the gap neatly.
- Fitting the apron panel (if supplied): they install the decorative panel and make sure the trap can still be reached for maintenance.
Common mistakes
- Not checking the fall on the drain pipe — water runs away slowly, dirt builds up in the trap and the bathroom starts smelling.
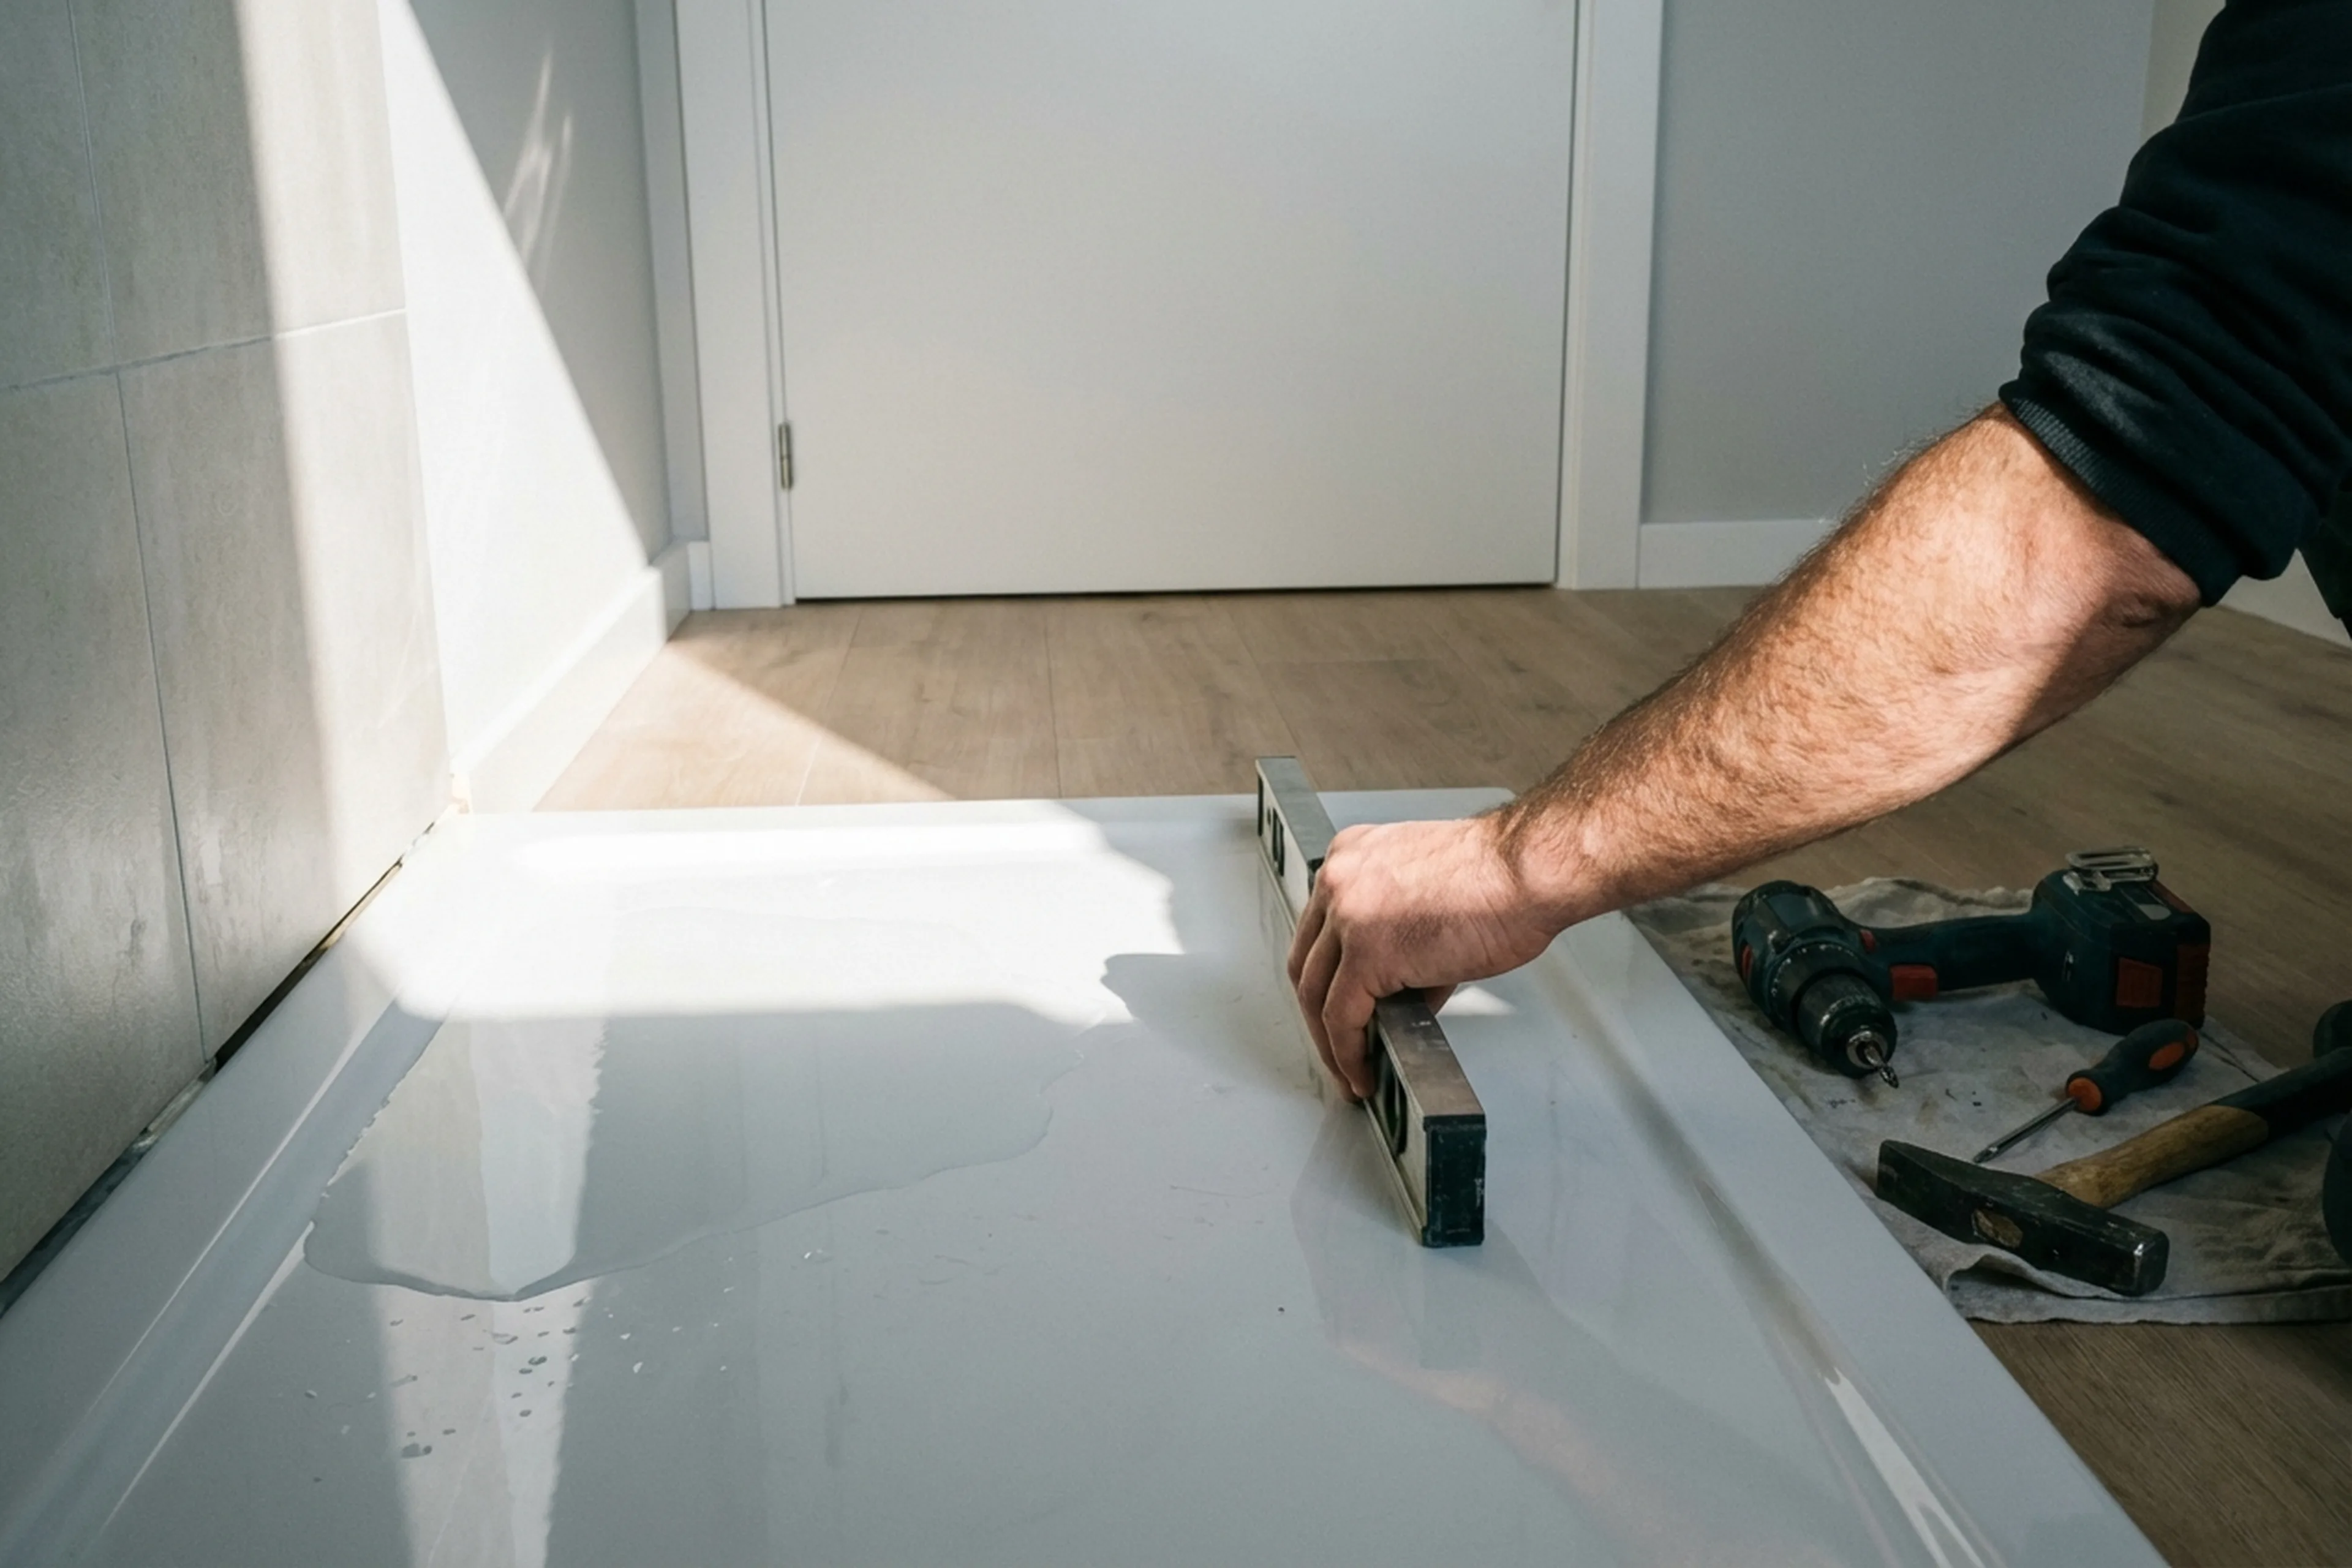
- Setting the tray without a spirit level: water sits in one corner instead of running to the outlet.
- Using general-purpose silicone instead of sanitary silicone, it goes black and gets mouldy within months.
- Sealing the apron permanently with no access to the trap — if it blocks, the panel has to be broken out.
- Supporting the whole tray on expanding foam: the foam expands unevenly, the tray leans and the base bends under load.
- Skipping the leak test before sealing: the leak only shows up after the job is finished.
- Connecting the drain without a trap with a water seal — sewer smell comes straight into the bathroom.
Important: any work on water supply and drainage needs care. One bad connection can lead to leaks and flood the flat below. If you are not sure of your plumbing skills, it is better to call a professional.
What to prepare before the visit
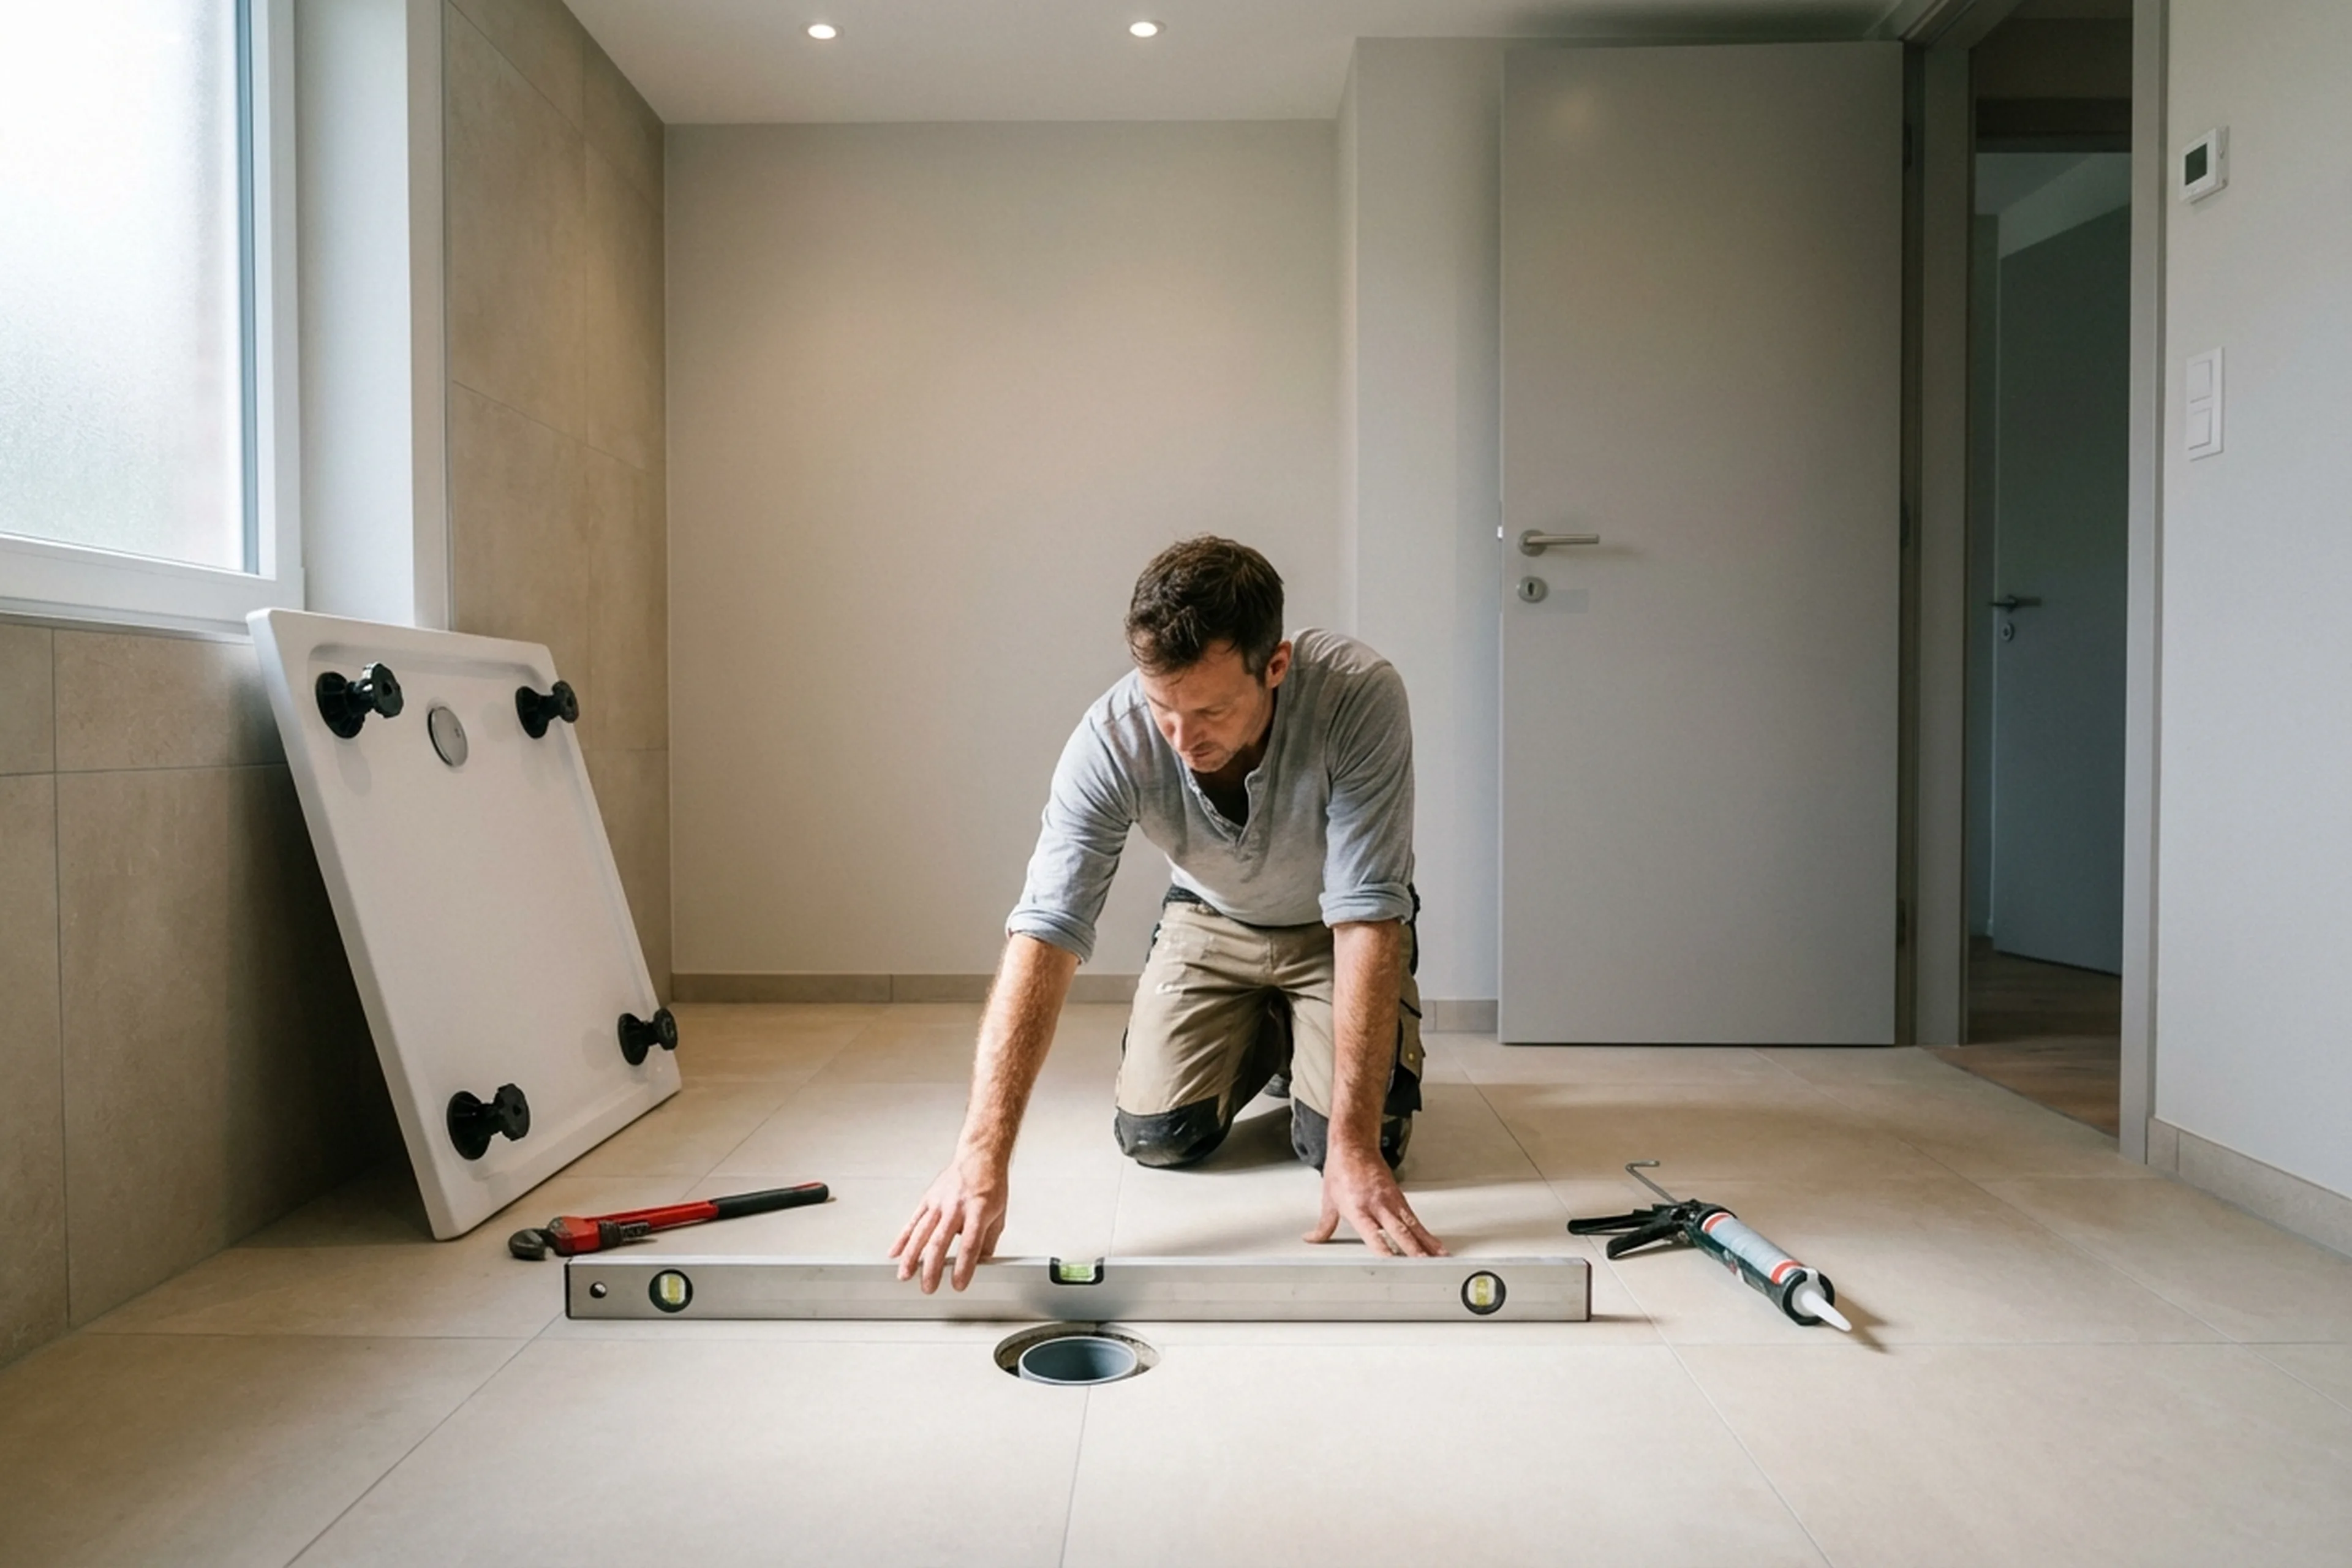
- Buy the tray and trap: make sure the waste hole diameter matches (usually 60 or 90 mm).
- Check whether the frame and legs come in the set or need to be bought separately.
- Confirm that the drain outlet is in the correct spot and has not been covered with concrete.
- Clear the bathroom of furniture and belongings — the technician needs room to work.
- If an old tray or bathtub is still there, say so in the order in advance, removal is priced separately.
- Make sure there is access to the waste stack and shut-off valves in case the water has to be turned off.
- Check whether the walls around the tray are already tiled: this changes the order of work.
- For low-profile trays (rim under 5 cm), check the screed depth — chasing may be needed.
A real case from Warsaw: shower tray installation
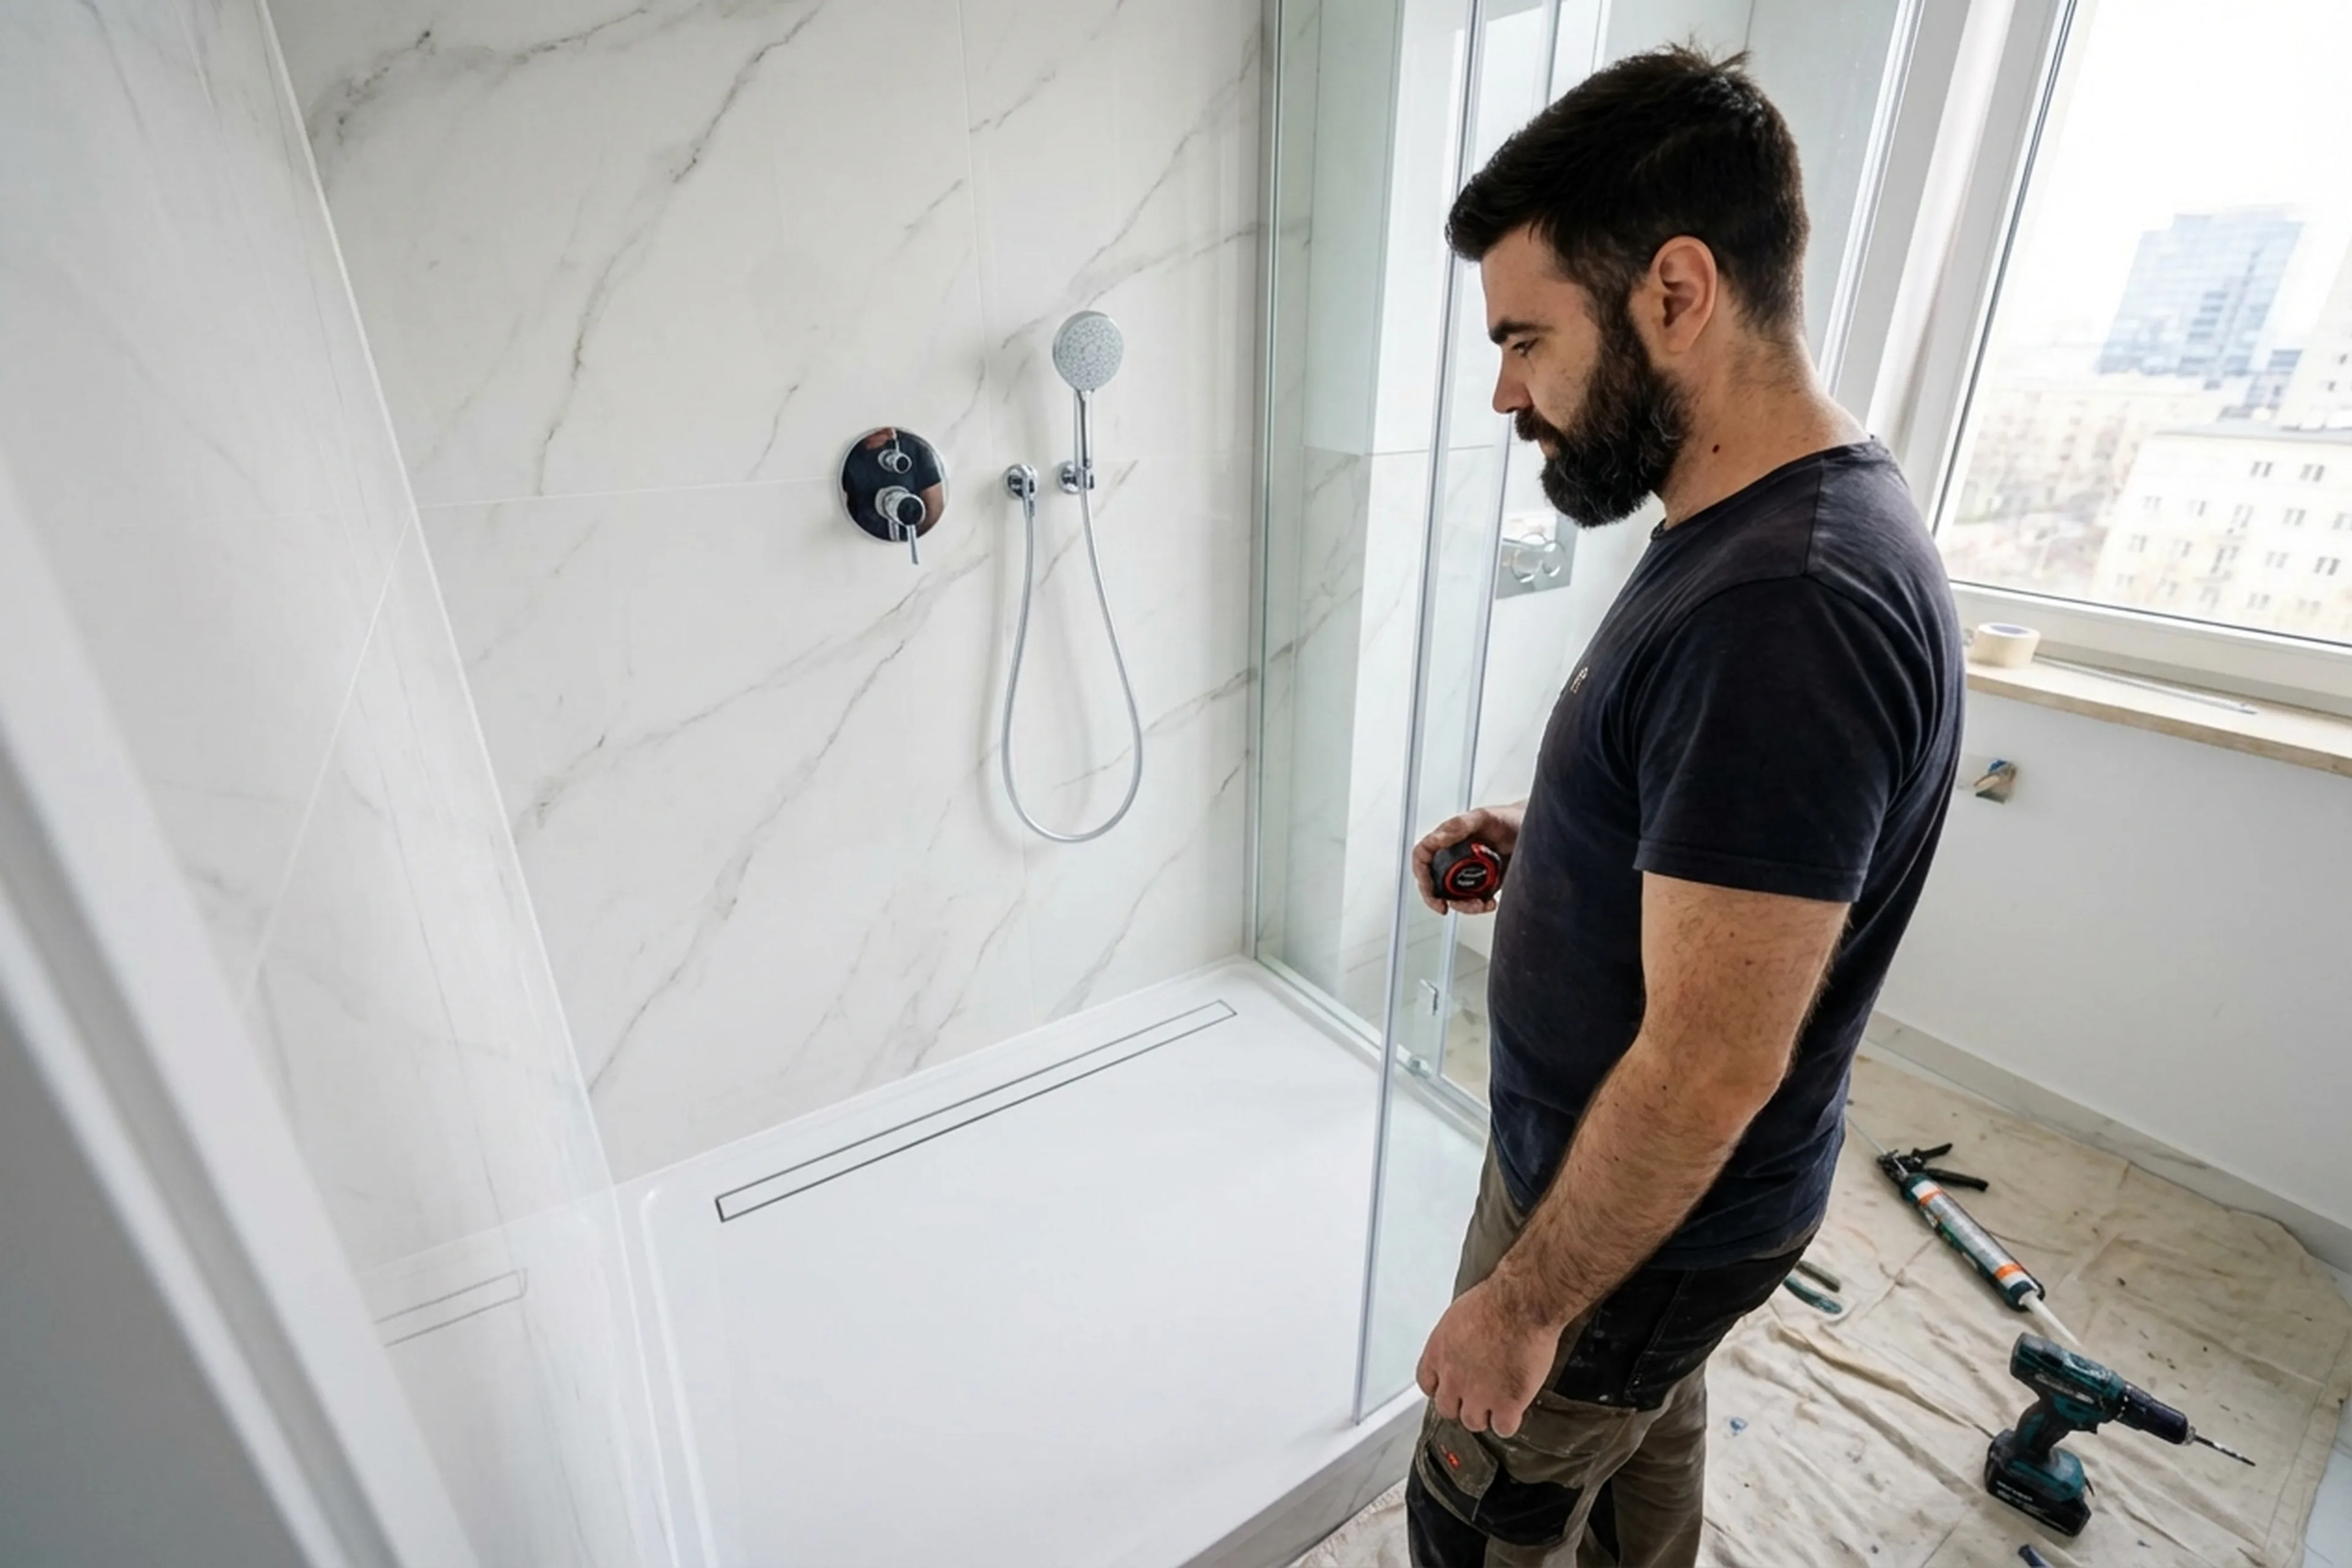
Tradespeople were called to a flat on Mokotow. The owners had bought a low-profile 90 x 90 acrylic tray and wanted it fitted where an old cast-iron bathtub had stood. The issue was that the drain outlet had been set up for the bathtub: too high for a slim trap. Tradespeople had to chase the screed, drop the pipe by 4 cm and reroute the connection. The tray was installed on its factory frame, levelled accurately and connected to a trap with a proper water seal. Tradespeople filled it with water: it drained in seconds and every joint stayed dry. The wall joint was finished with sanitary silicone. The whole job took about three hours, including the drain modification. A week later the owners confirmed that everything was working perfectly.
Frequently asked questions
Can a tray be set on a brick plinth?
Yes. It’s a good choice for heavy ceramic trays or when the drain needs more fall. The brick base should cure for at least 24 hours before the tray is set on top.
Which trap do I need?
That depends on the space beneath the tray. For low-profile trays, a slim trap 6–8 cm high is the best option. For trays on legs, a standard bottle trap will do. The main thing is a water seal — without it, sewer gas gets into the room.
The tray base flexes when I stand on it: is that normal?
No. If the base bends, the frame has been assembled wrongly or there are too few support points. An extra brick or aerated-concrete block under the centre usually fixes it.
Do I need tiles under the tray?
Not always, but the screed has to be flat and waterproofed. Tiles underneath add an extra layer of protection if a leak ever happens.
Can I install the tray myself?
Technically yes, but mistakes with the drain connection and sealing cost money. A leak into the flat below means paying for your neighbour’s repairs. If you are unsure, call a professional.
How long does installation take?
A standard frame-mounted installation with drain connection takes 1.5–2 hours. If screed chasing or drain rerouting is required, allow 3–4 hours.
Book the installation
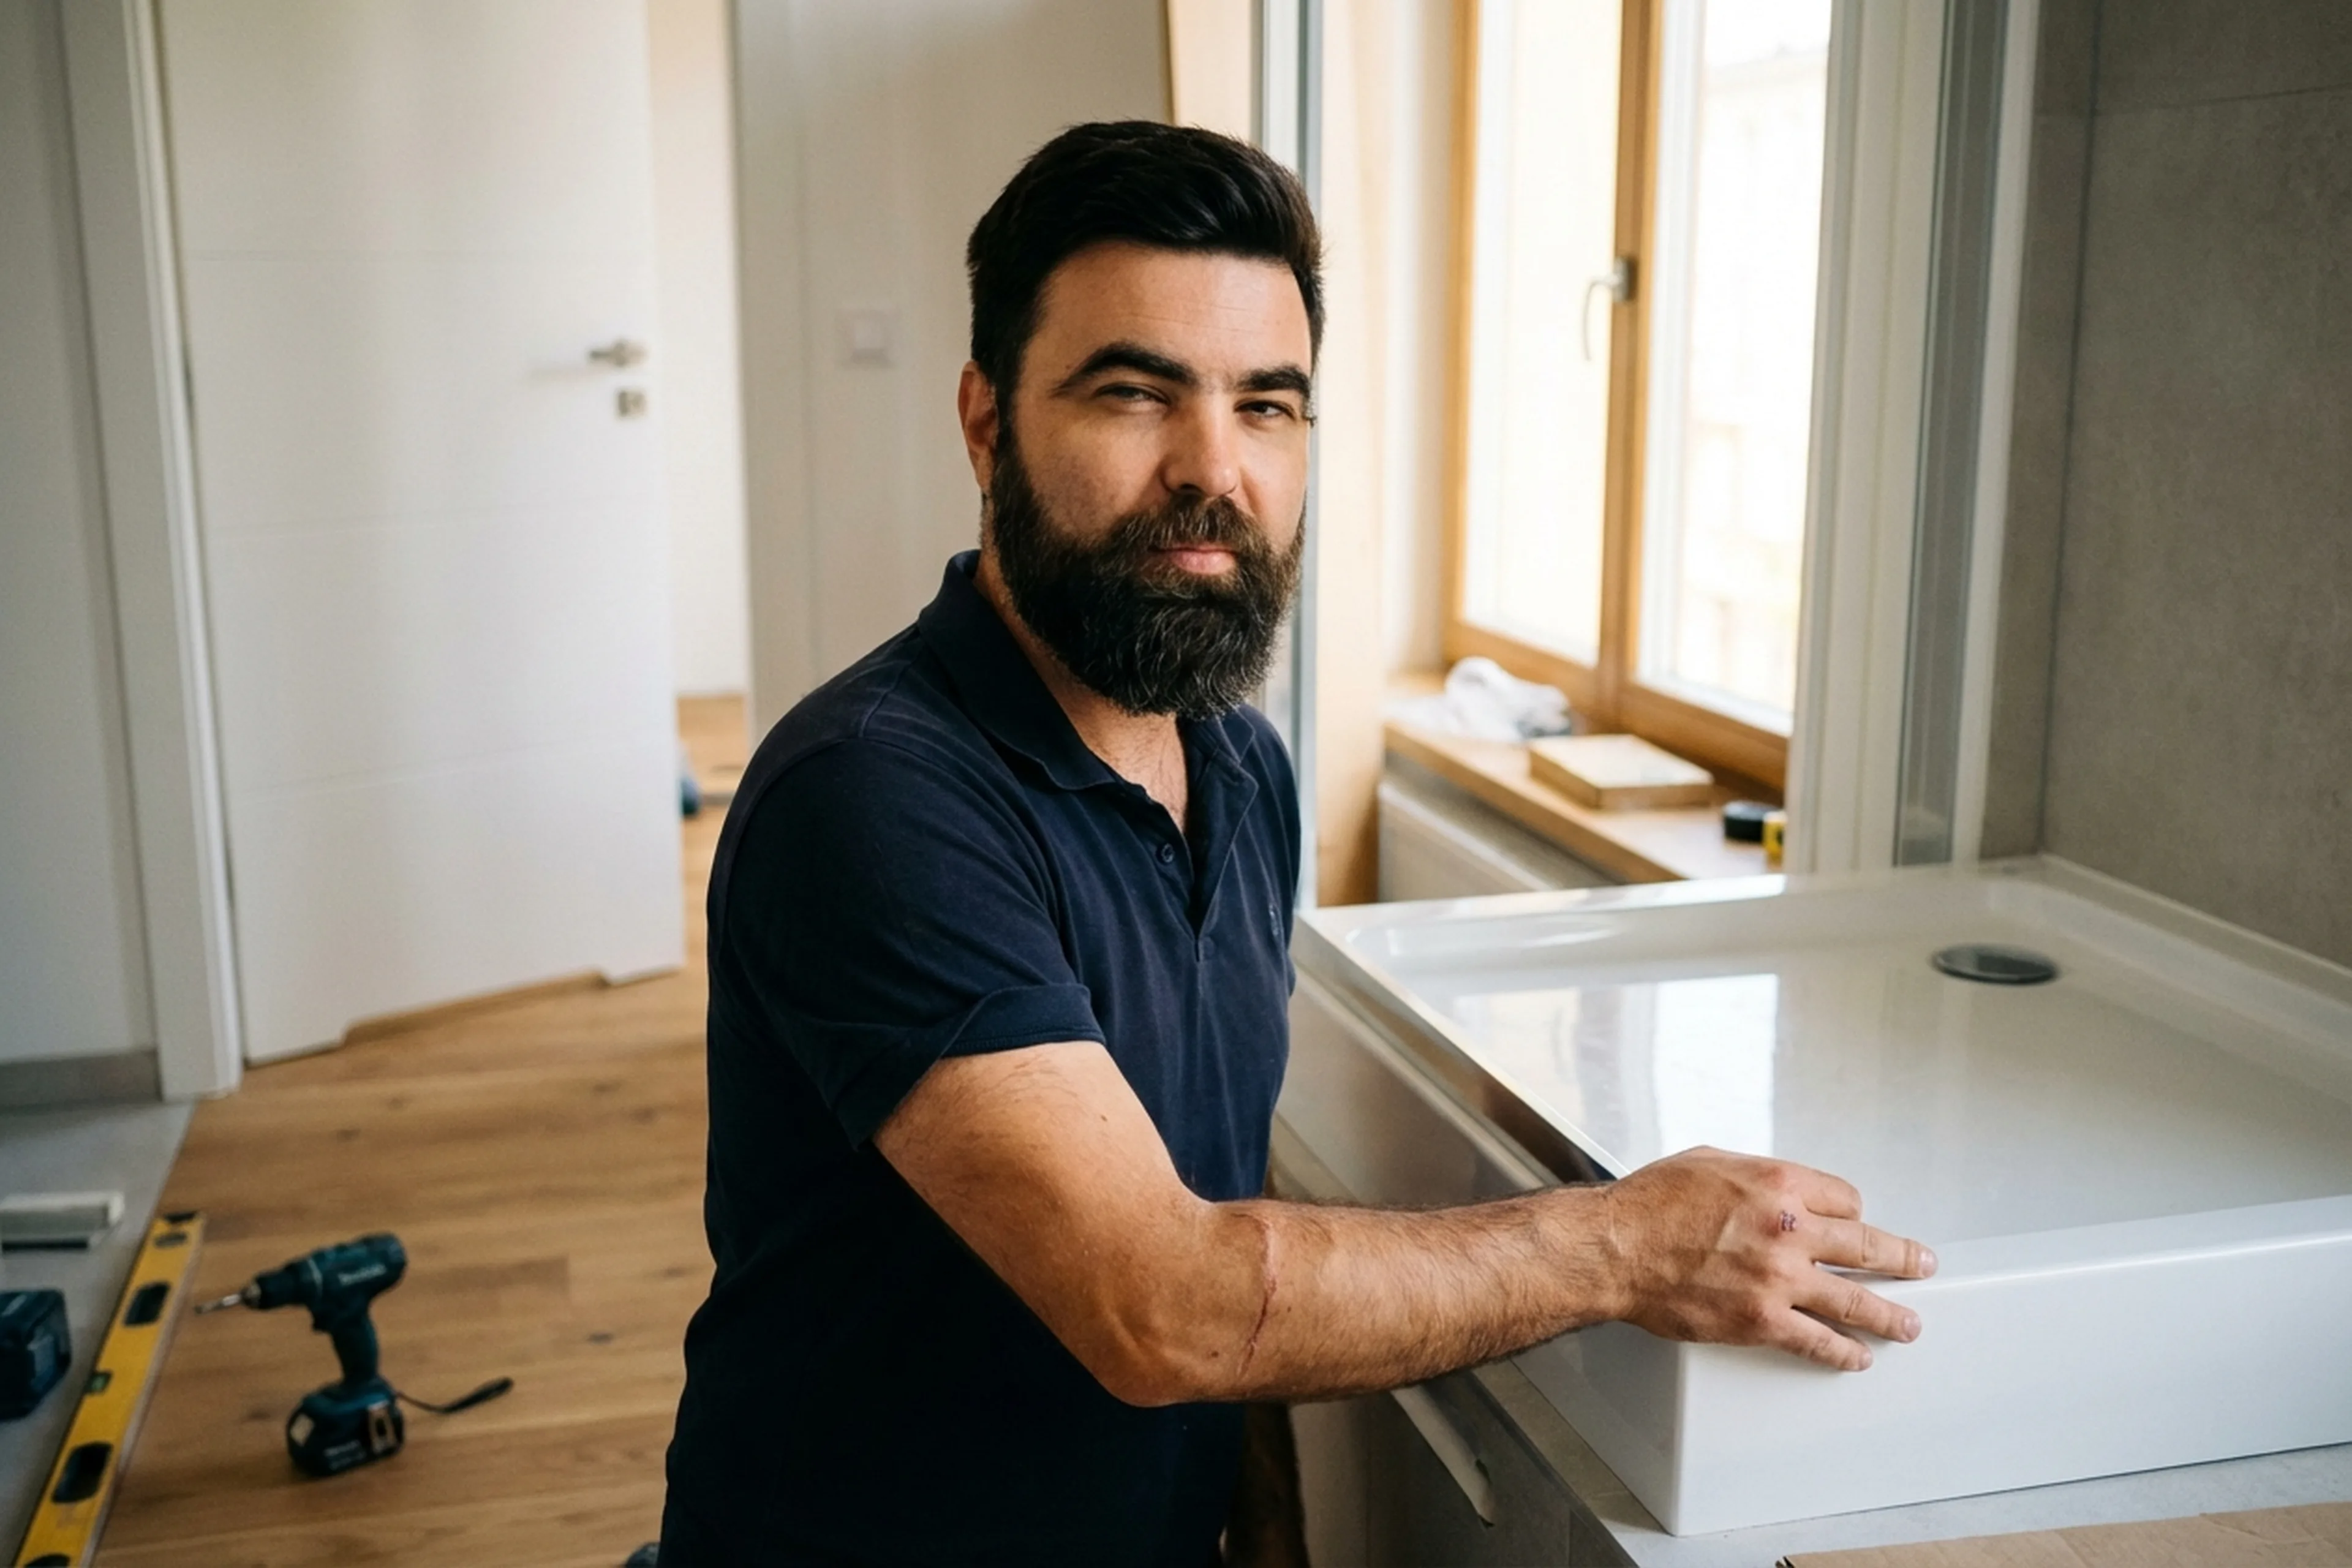
Tradespeople fit shower trays across Warsaw: acrylic, steel and ceramic, in any size and shape. Tradespeople come with tools, fixings and sealant. Tradespeople test the drain before closing any access.
Order in the app
Describe the job, add photos and the address. Tradespeople send their own prices and dates, and you pick one of the offers.
Open the app