
How much does installation cost
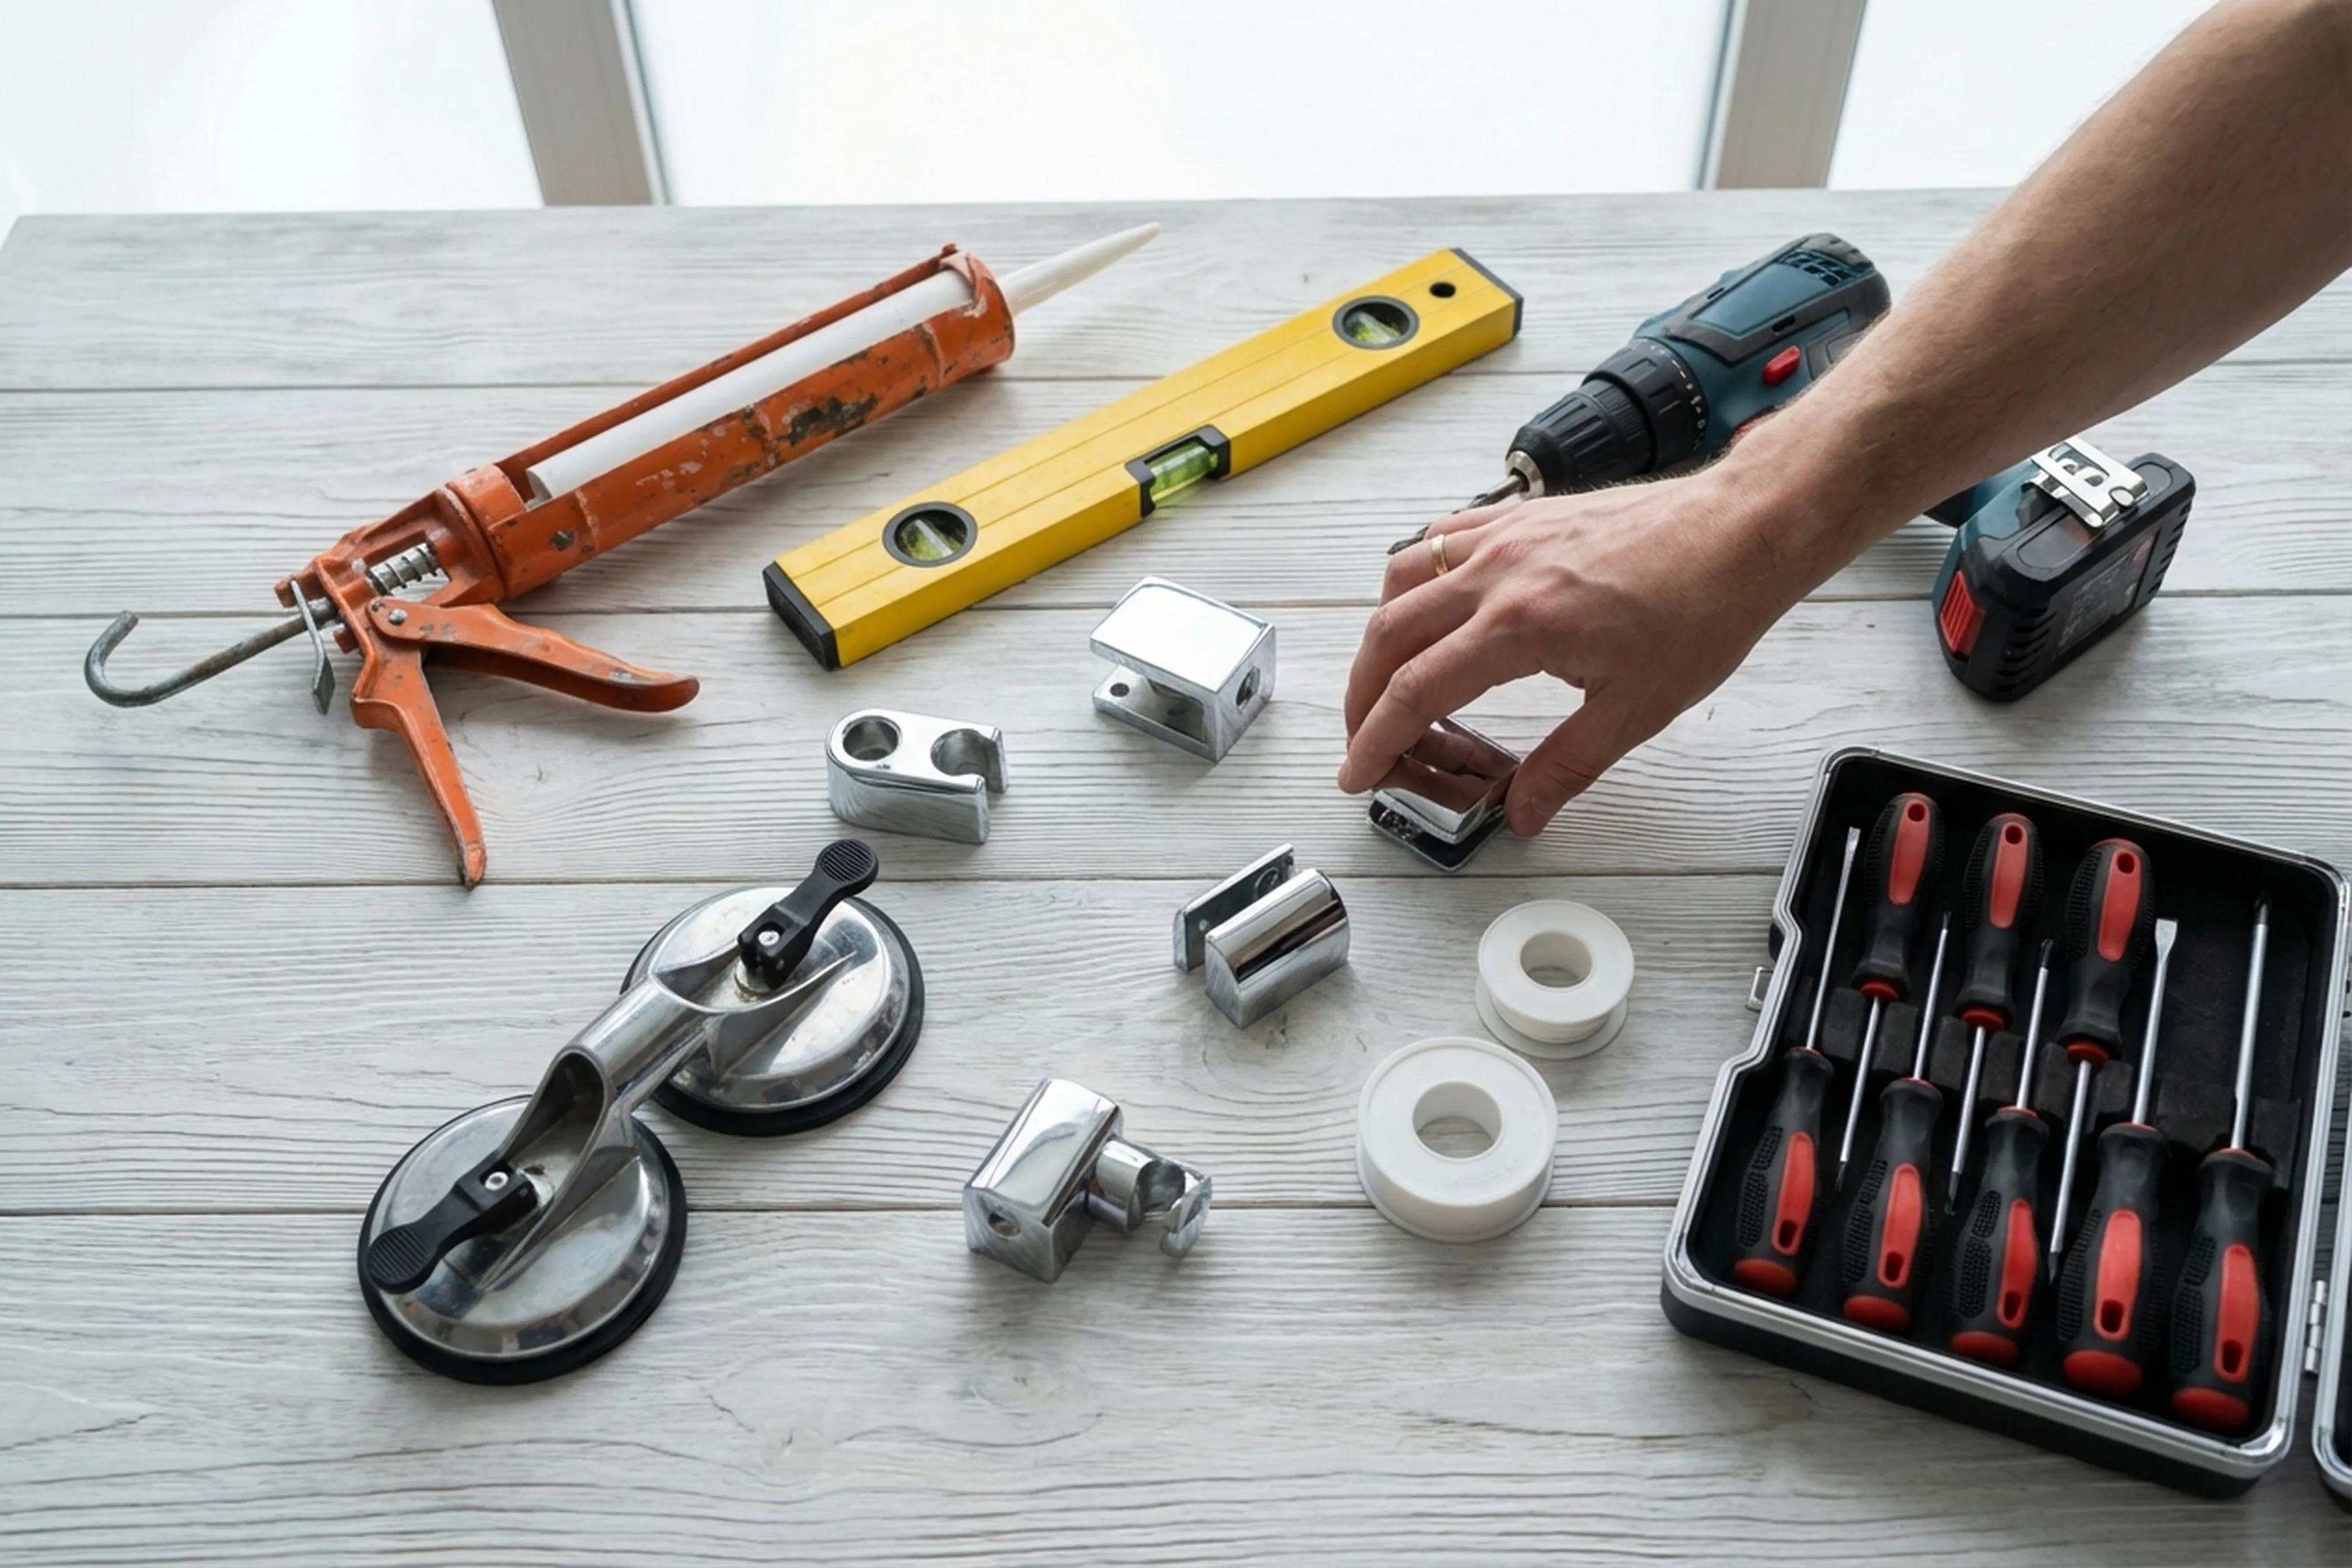
The cost depends on the type of cabin (corner, wall-mounted, high or low tray), how tricky the plumbing connection is, and the condition of the bathroom. If the water feed has to be extended or the waste outlet moved, the price increases. Current rates for all bathroom work are listed in the table below. Fixings and sanitary silicone are included; the cabin itself and any plumbing materials are provided by the client.
| Service | Price |
|---|---|
| Washbasin installation | 200–500 zł |
| Washbasin replacement | 250–600 zł |
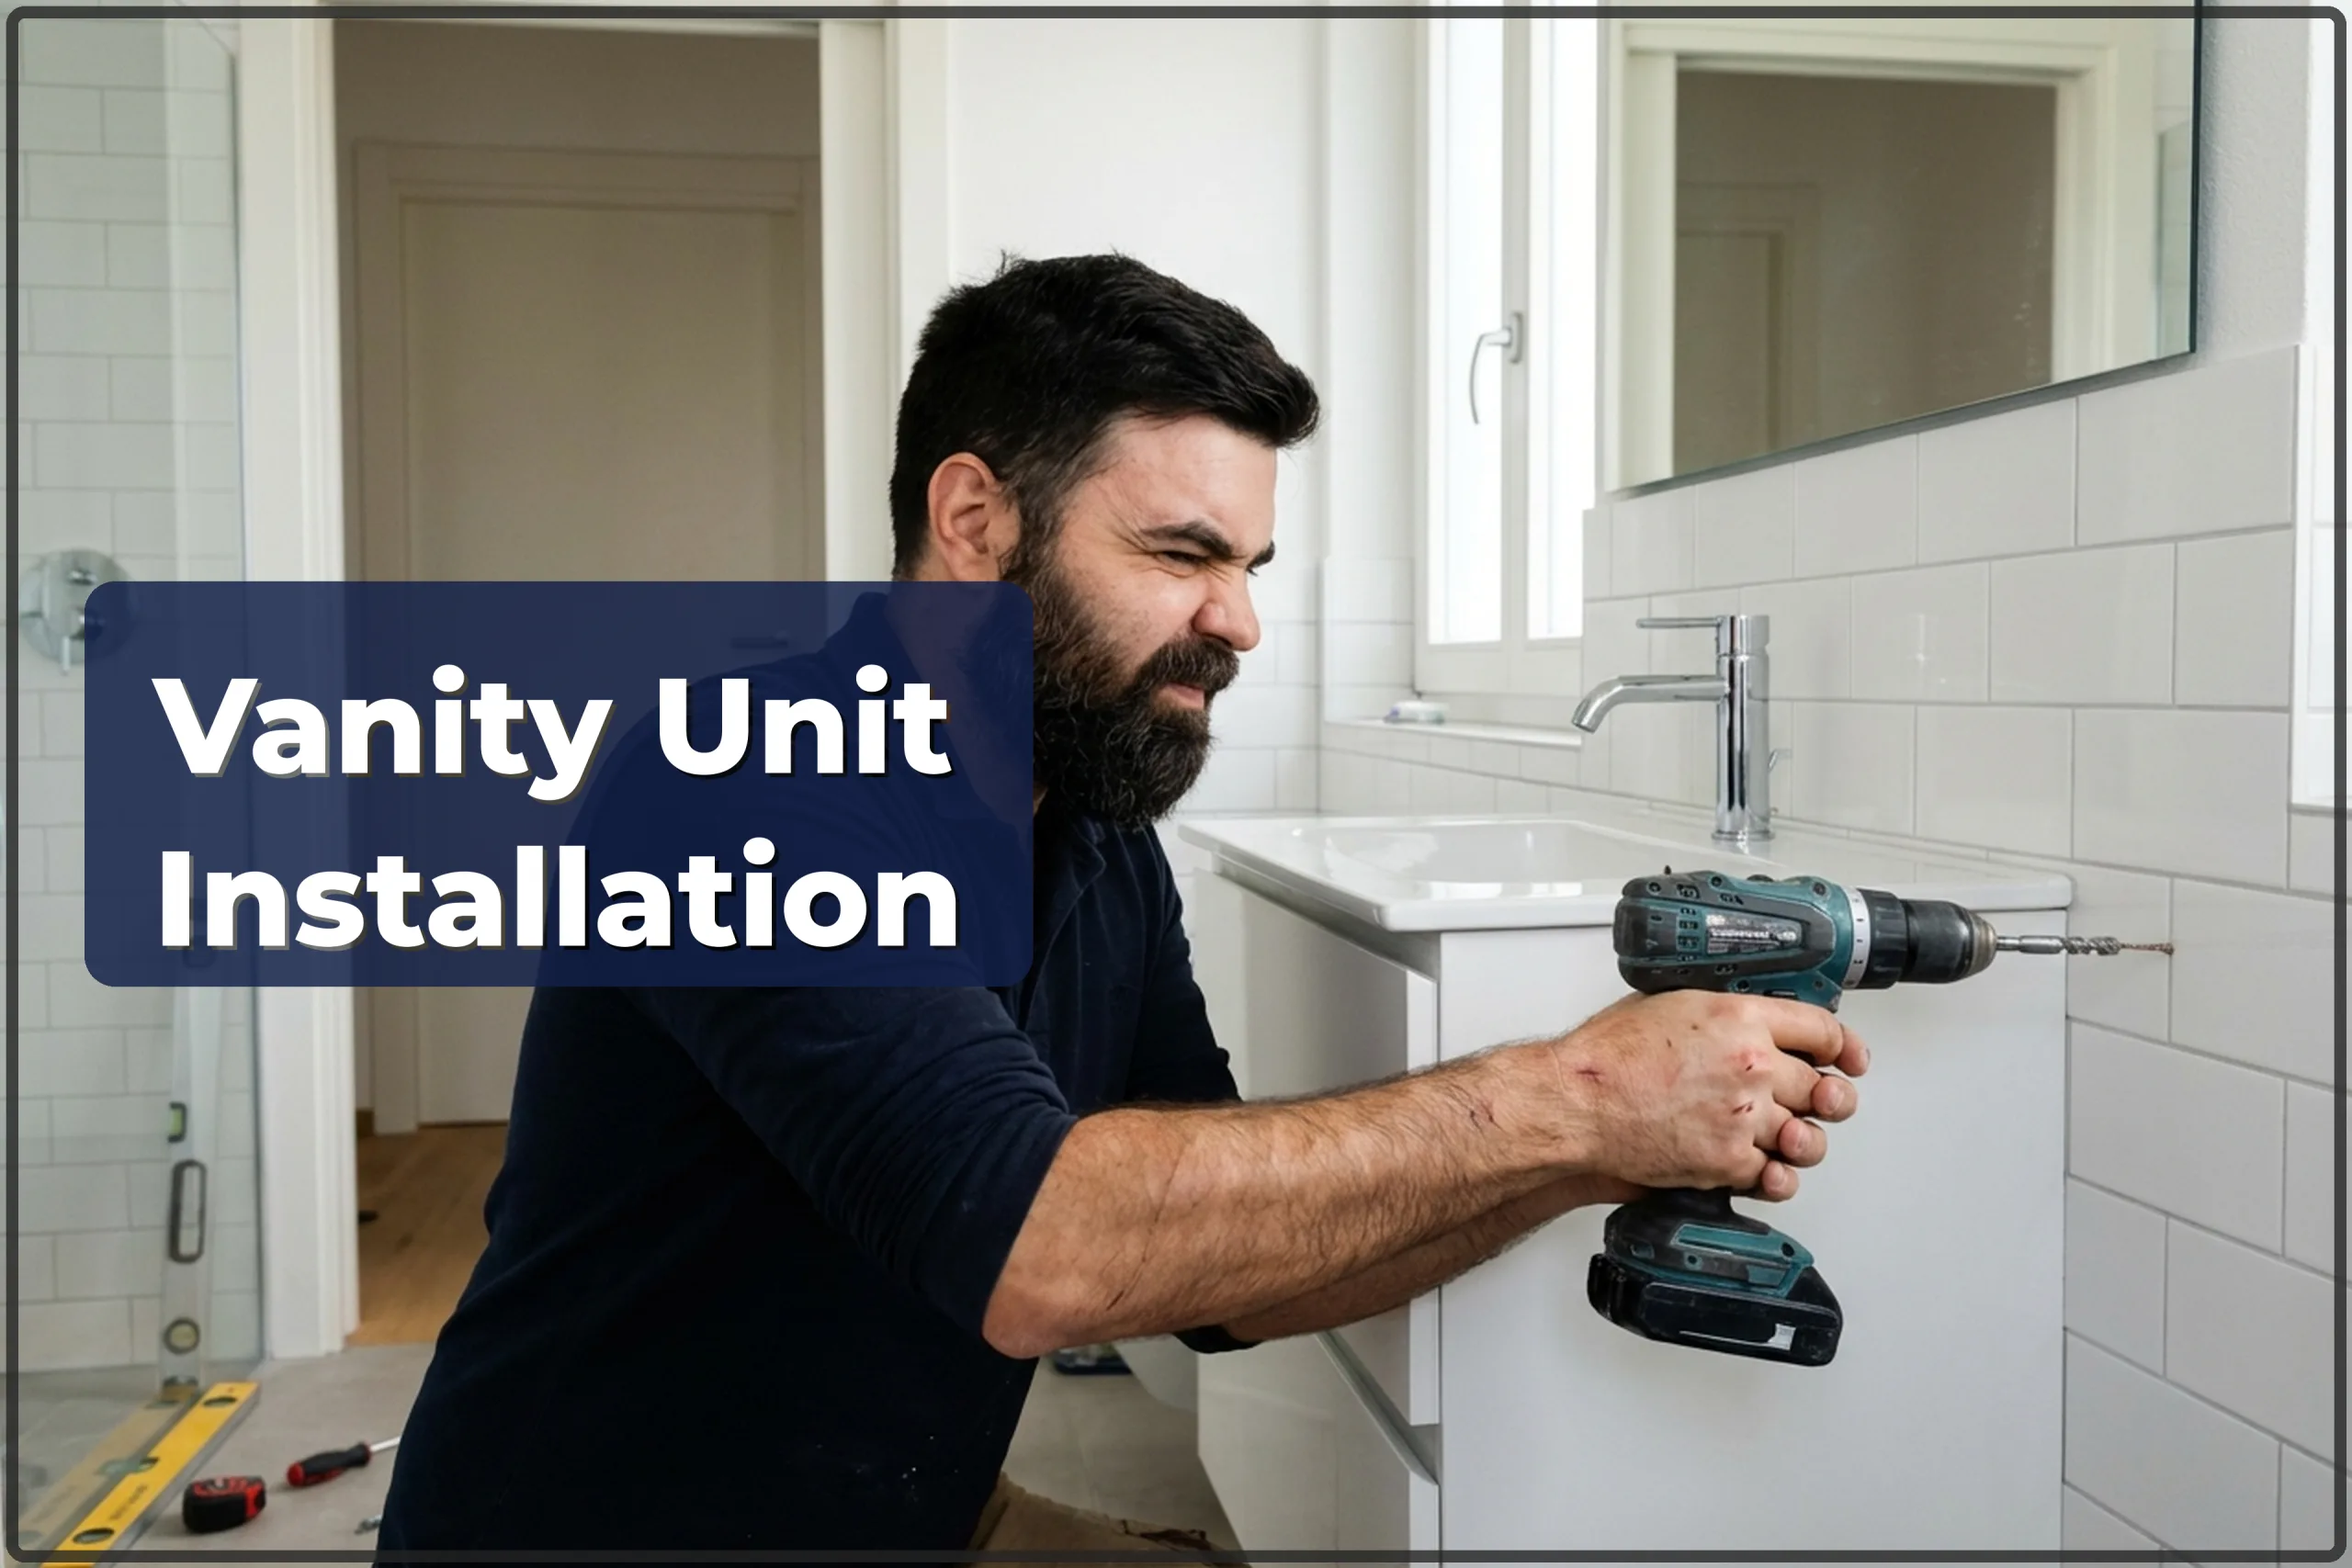
| Vanity unit installation | 300–600 zł |
| Basin tap installation | 150–250 zł |
| Basin tap replacement | 250–400 zł |
| Floor toilet installation | 300–500 zł |
| Floor toilet replacement | 350–600 zł |
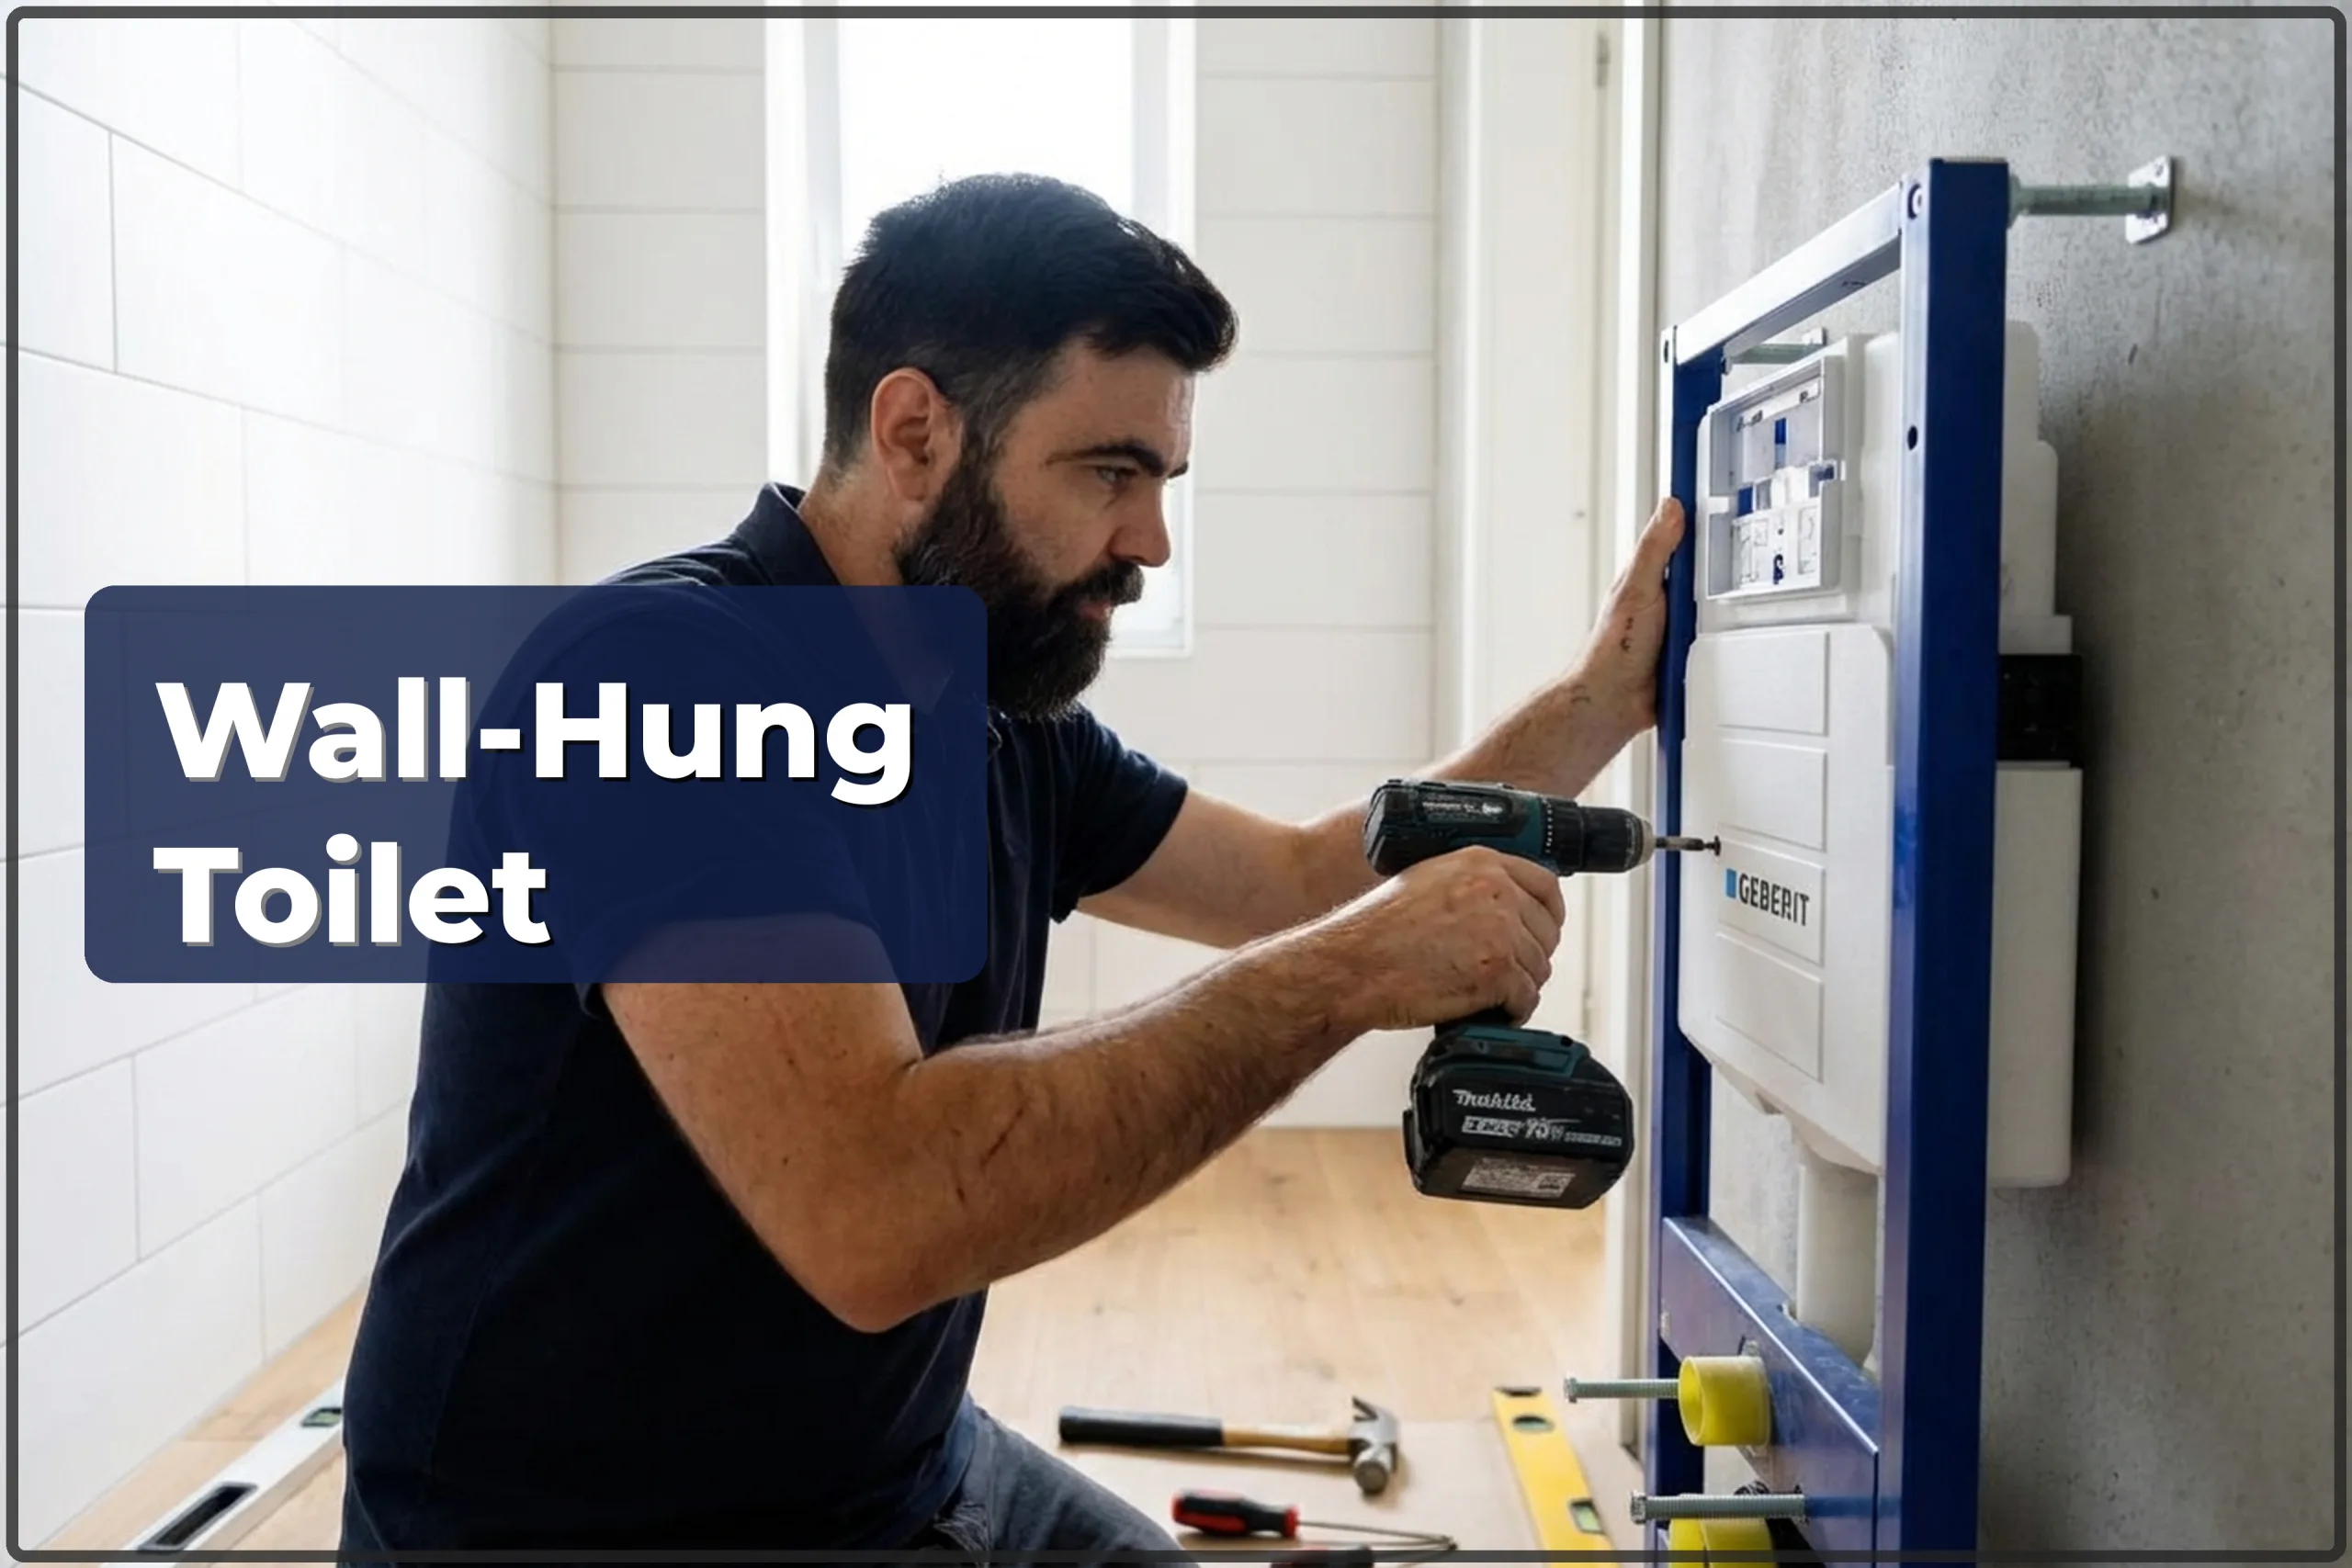
| Wall-hung toilet installation (frame) | 450–700 zł |
| WC frame replacement | 600–1500 zł |
| Bathtub installation | 400–900 zł |
| Bathtub replacement | 500–1000 zł |
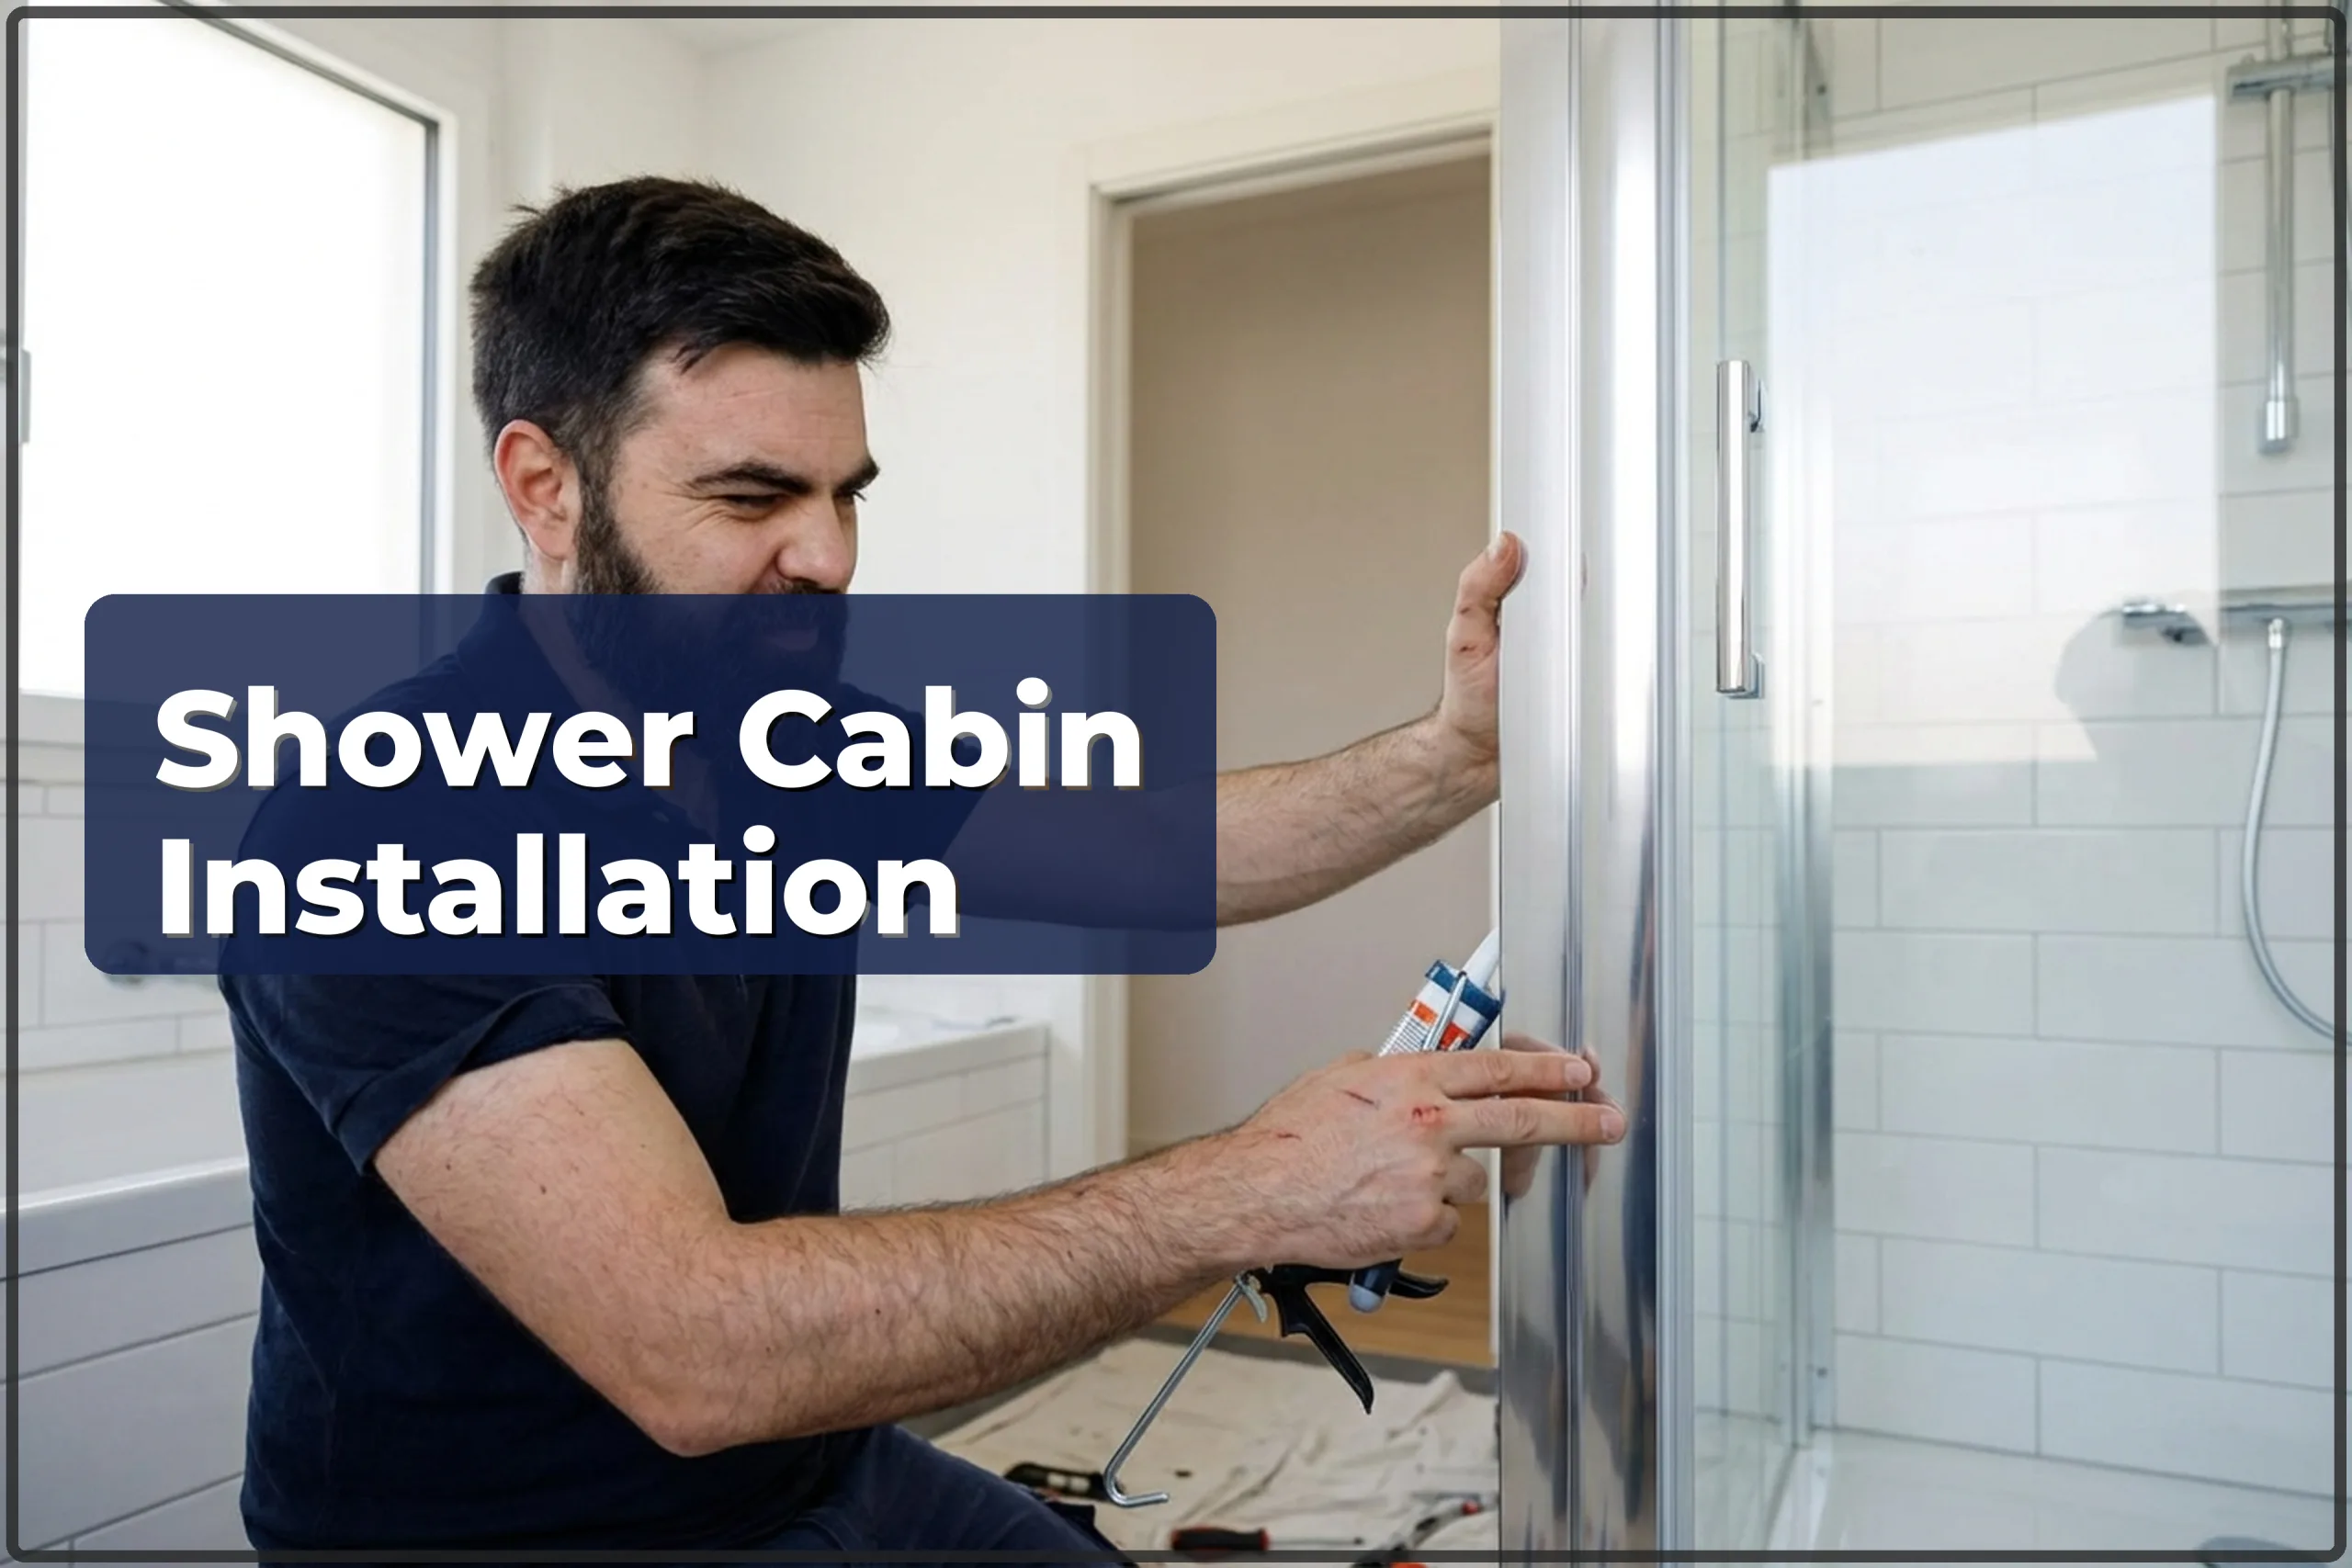
| Shower cabin installation | 350–1200 zł |
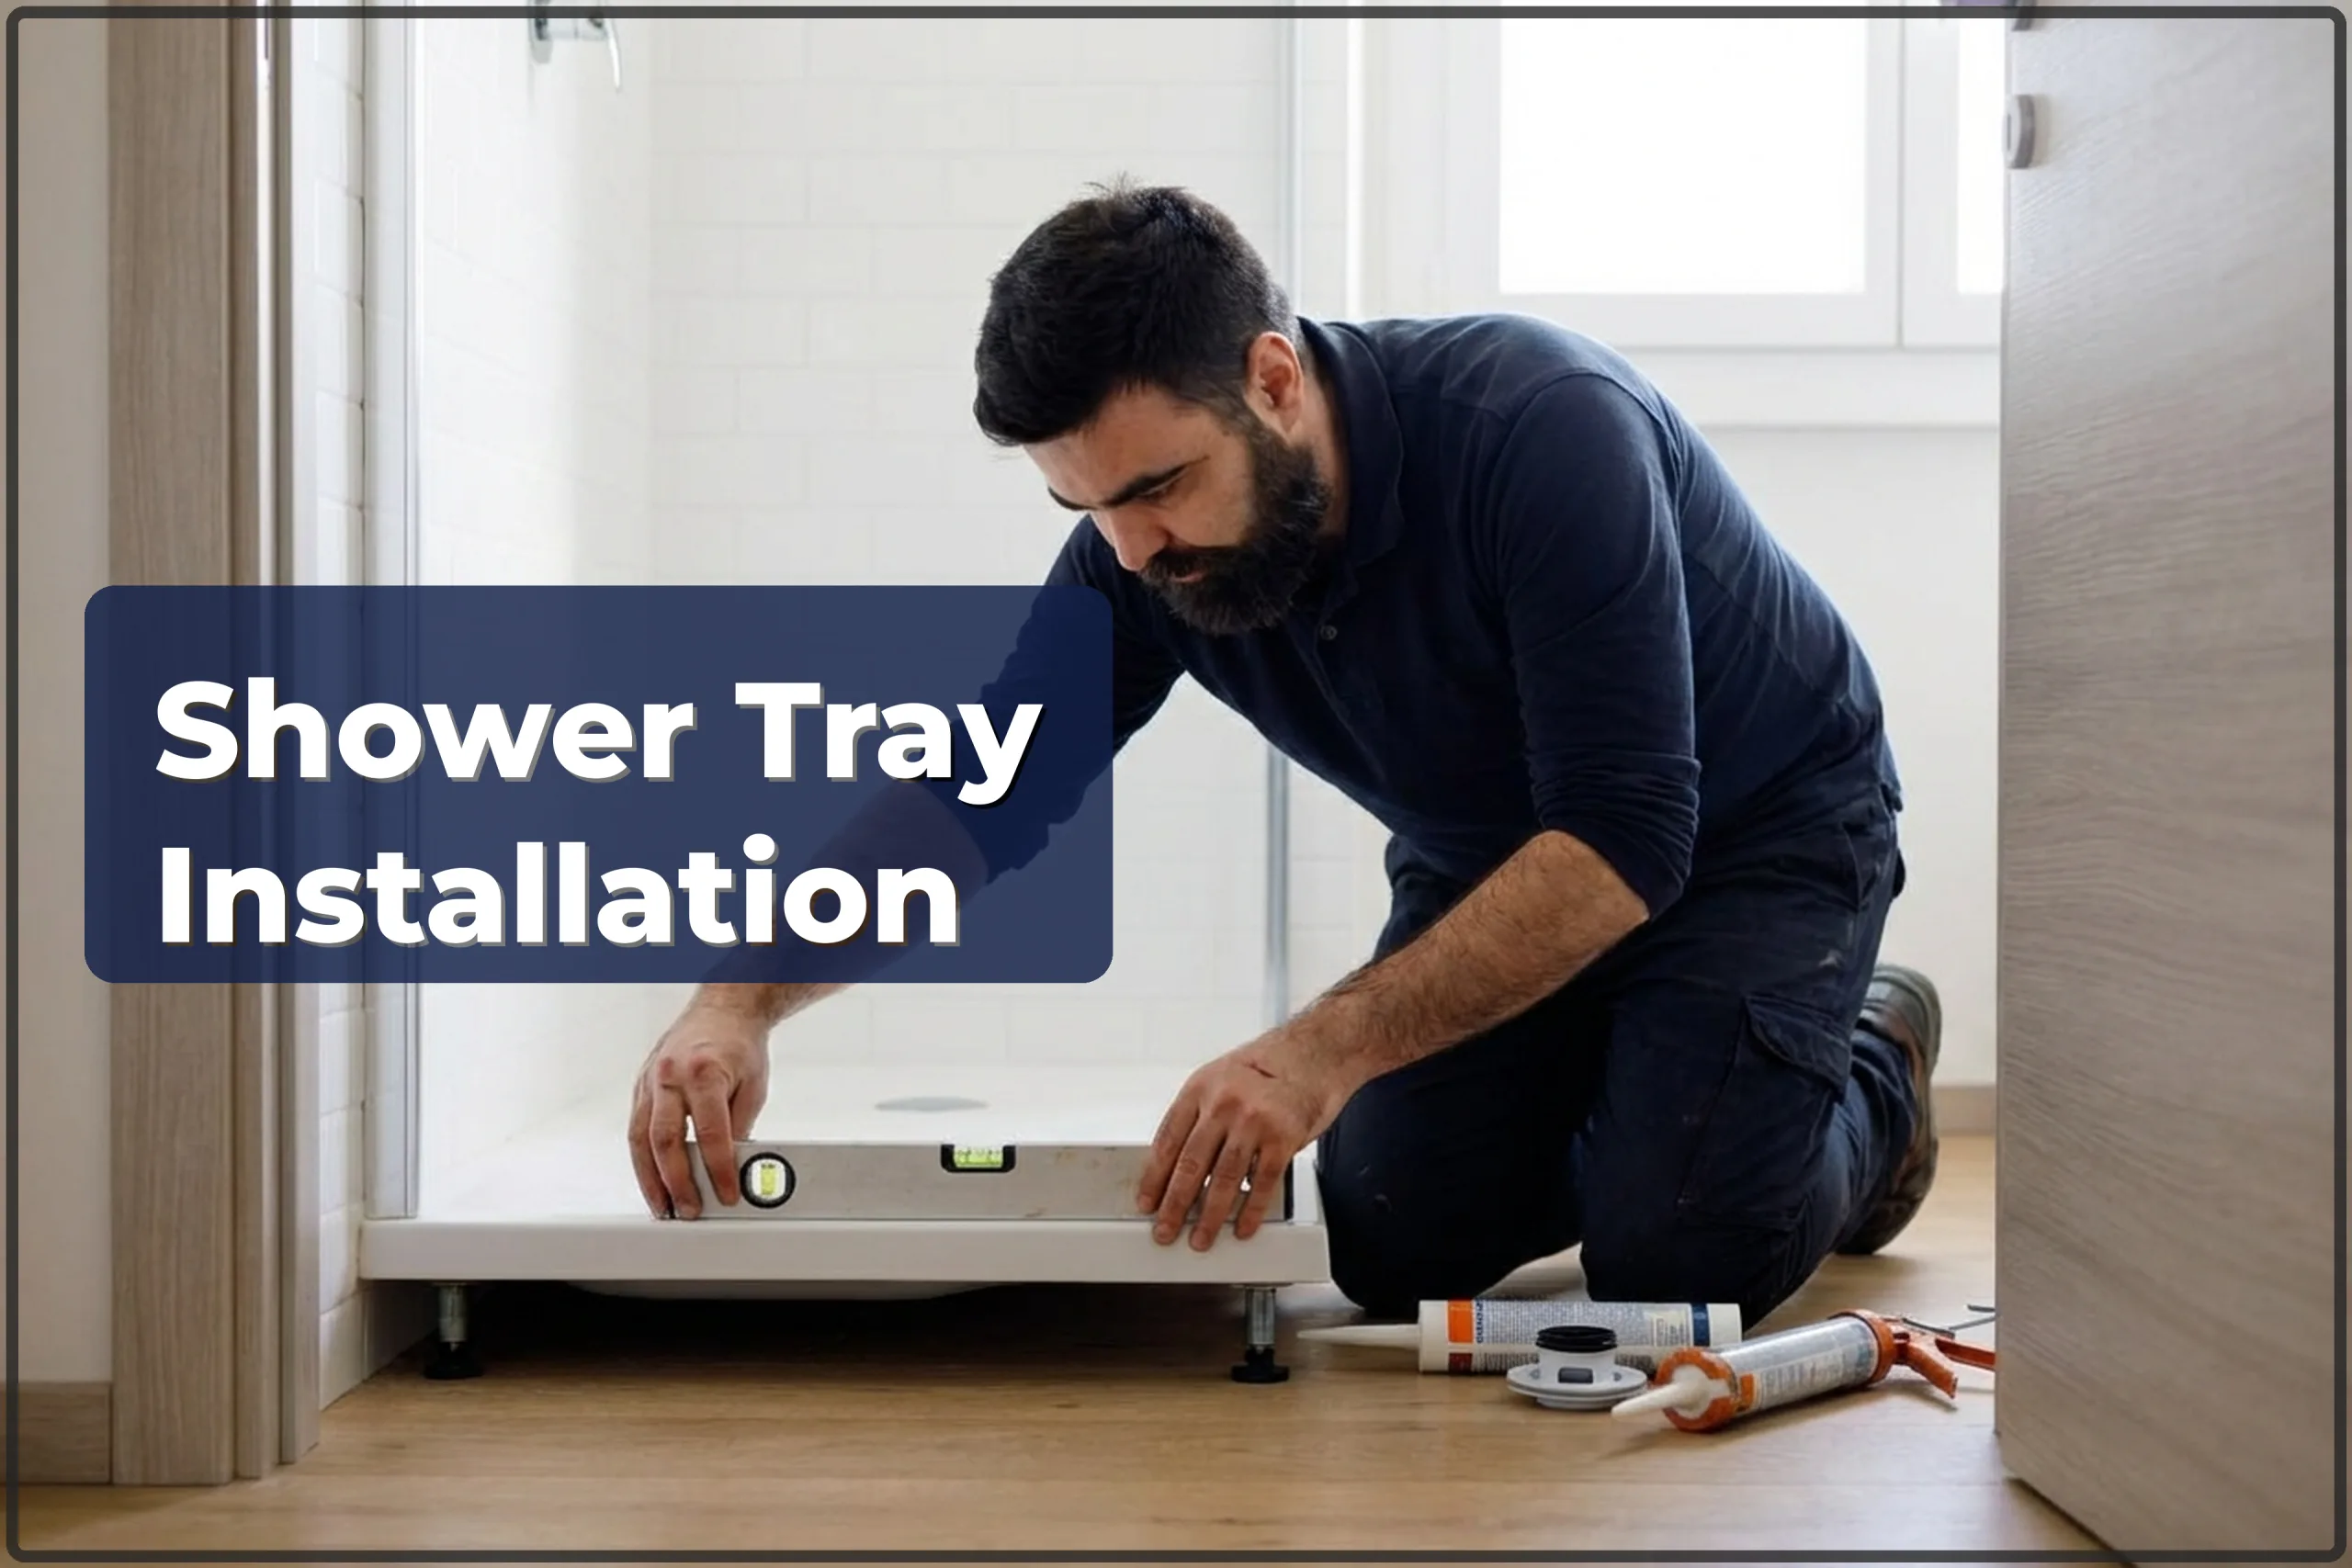
| Shower tray installation | 500–800 zł |
| Shower tray replacement | 600–1000 zł |
| Linear drain installation | 400–900 zł |
| Re-sealing shower and bathtub | 250–600 zł |
| Towel radiator installation | 300–600 zł |
| Towel radiator replacement | 350–700 zł |
| Drain cleaning | 200–800 zł |
| Trap (siphon) replacement | 120–400 zł |
Indicative prices. Ranges for a typical scope. Fixings included, materials separate. Minimum order 300 zł.
What it costs and how to book: a good plumber in Warsaw.
How shower cabin installation is done
- Bathroom inspection: they check where the waste outlet sits, the pipe diameter, and access to the riser. Tradespeople also measure the space for the cabin.
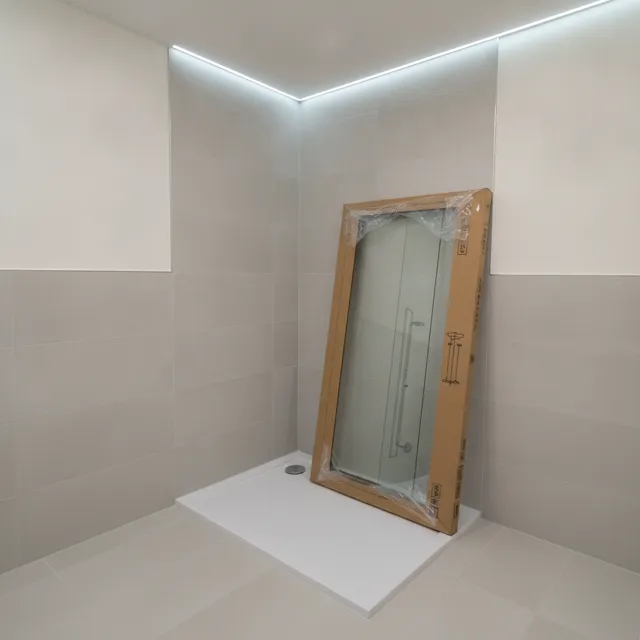
- Unpacking and inventory check: they match the parts to the instruction sheet and inspect the glass panels and profiles for damage. If something is missing, better to find out before assembly begins.
- Tray installation: they level it with the adjustable feet, connect the drain trap to the waste pipe, and check the fall, water needs to drain fast with no standing water.
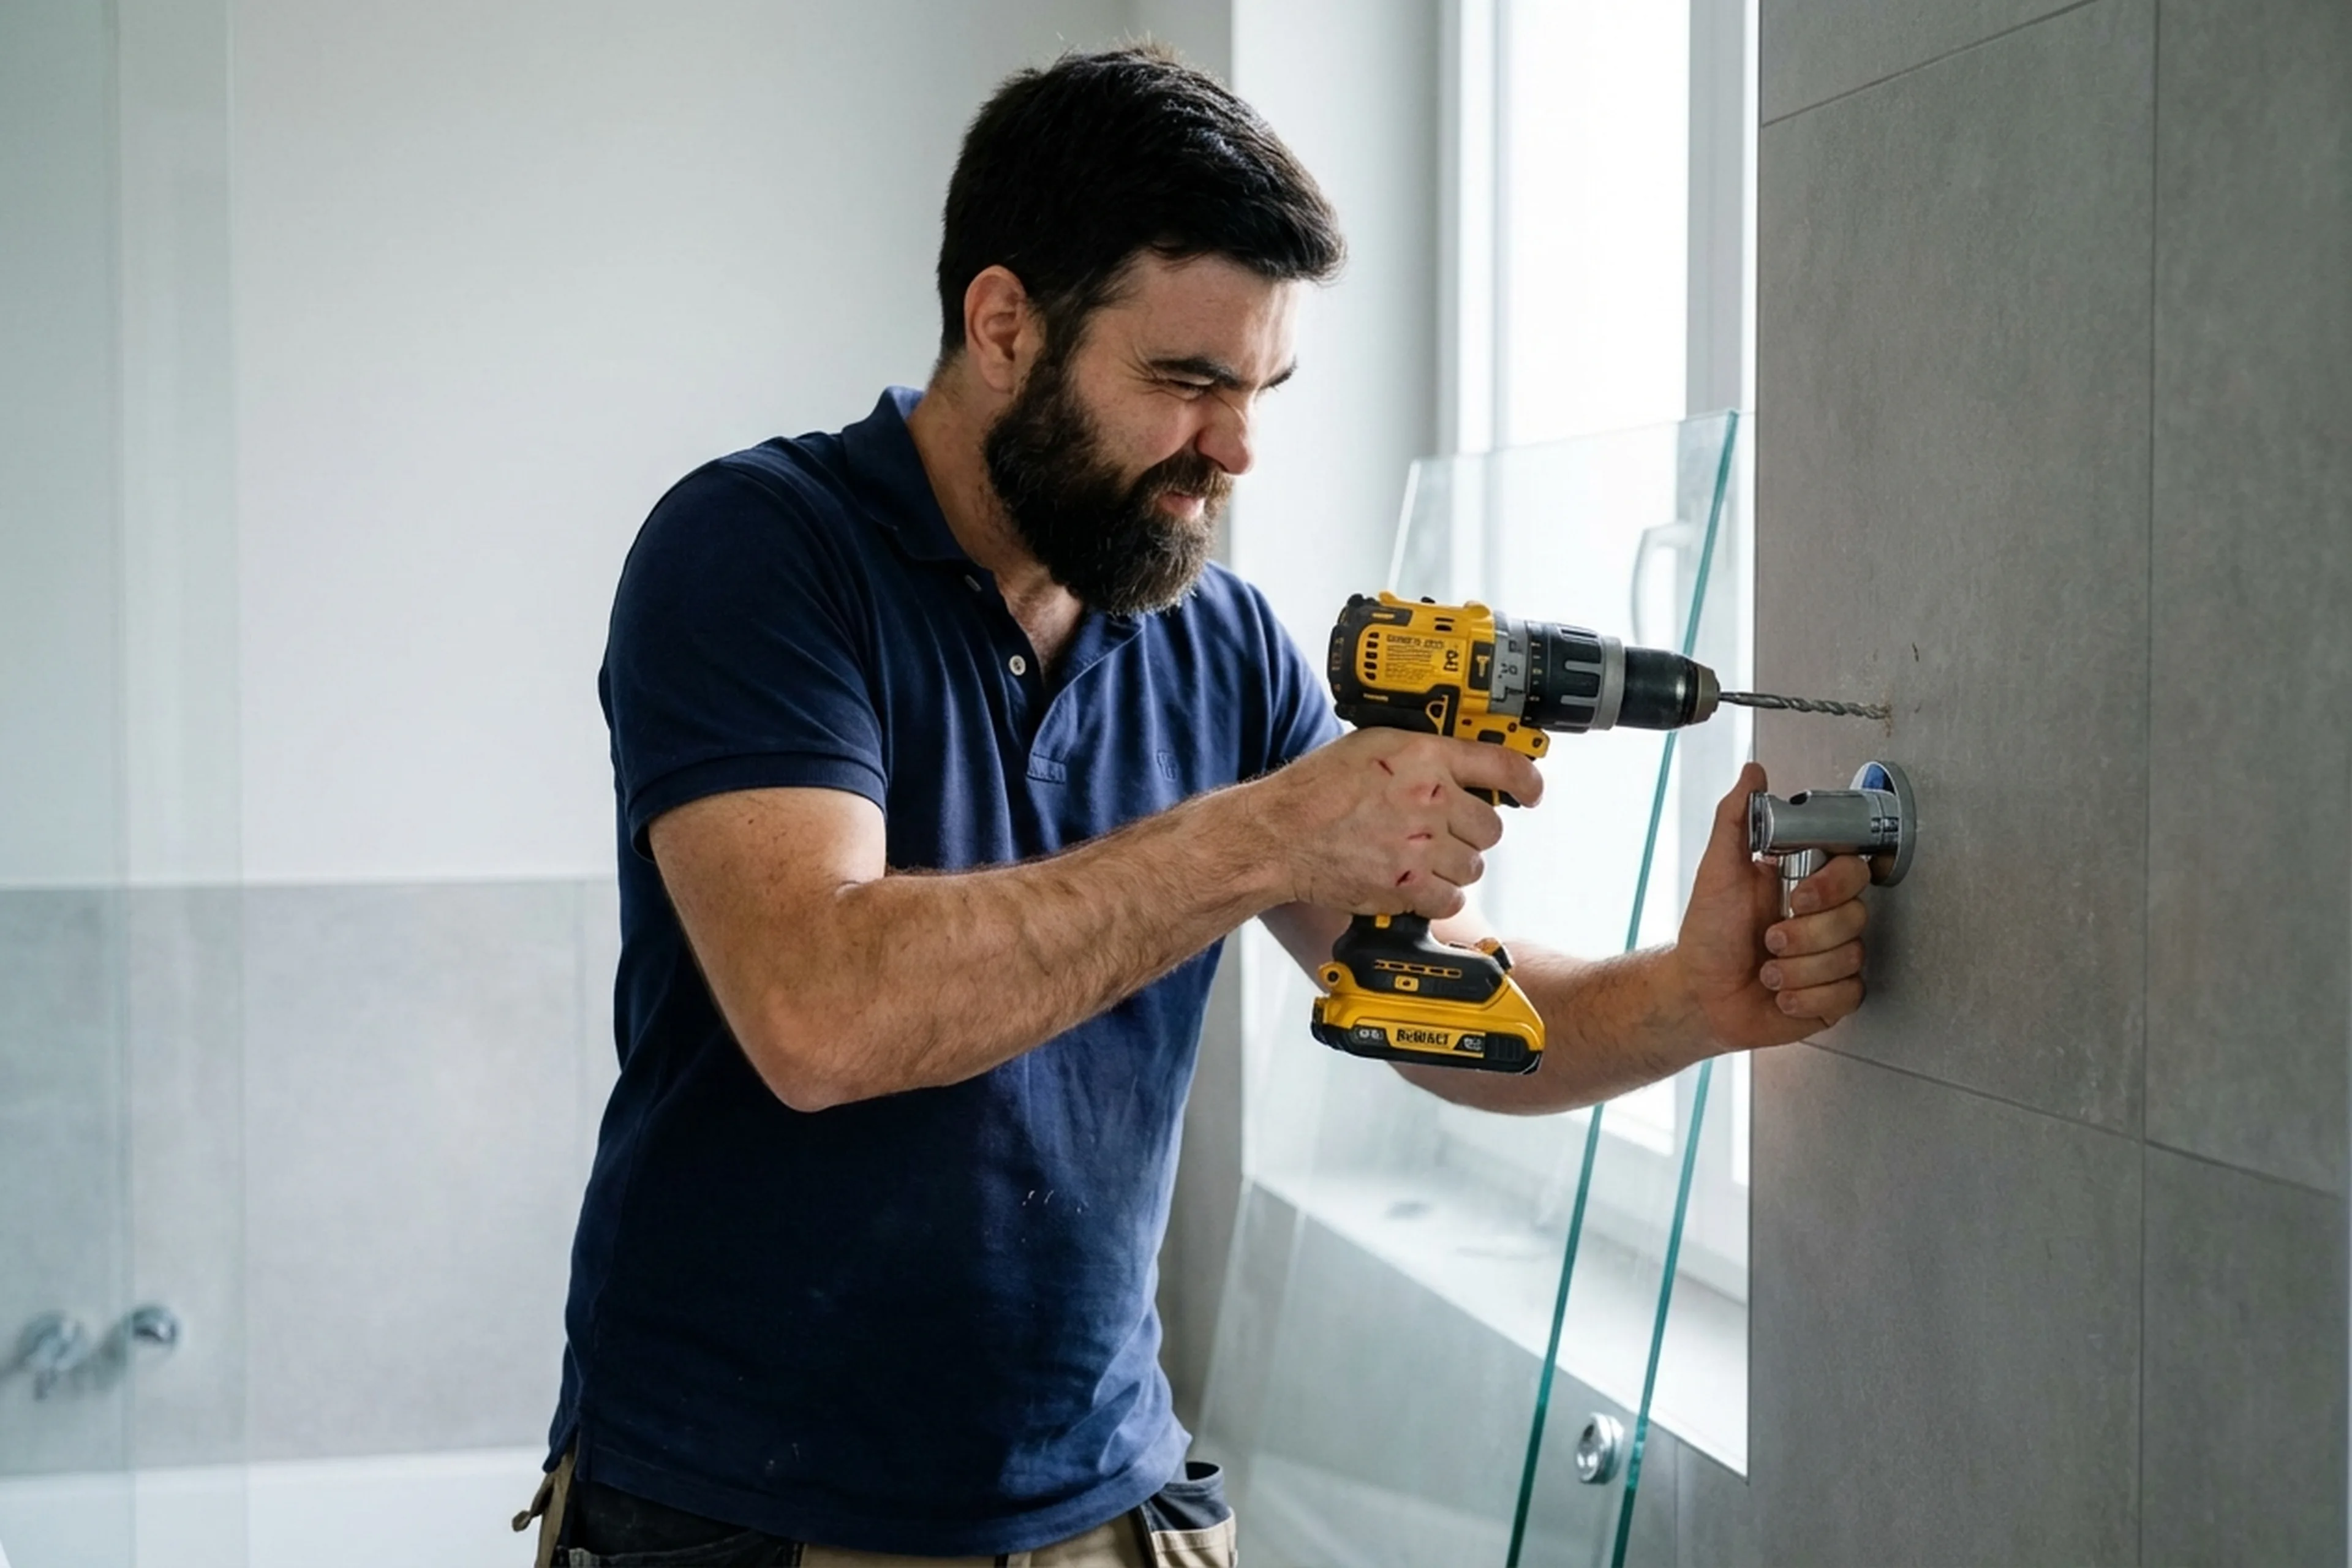
- Frame and rail assembly: aluminium profiles are fixed to the walls and lined up vertically and horizontally. Tradespeople drill tiles carefully — with a tile bit, no hammer action.
- Glass panels and door fitting: panels are mounted on rollers and the door movement is adjusted so they slide freely and close without gaps.
- Sealing: sanitary silicone is applied to every joint between the profiles, the wall, and the tray. Tradespeople use mould-resistant silicone only.
- Final test: they turn on the water, inspect every joint for leaks, and run the drain under load. The client checks the result before they leave.
The full installation takes between two and four hours depending on the cabin design and the condition of the plumbing.
Common installation mistakes
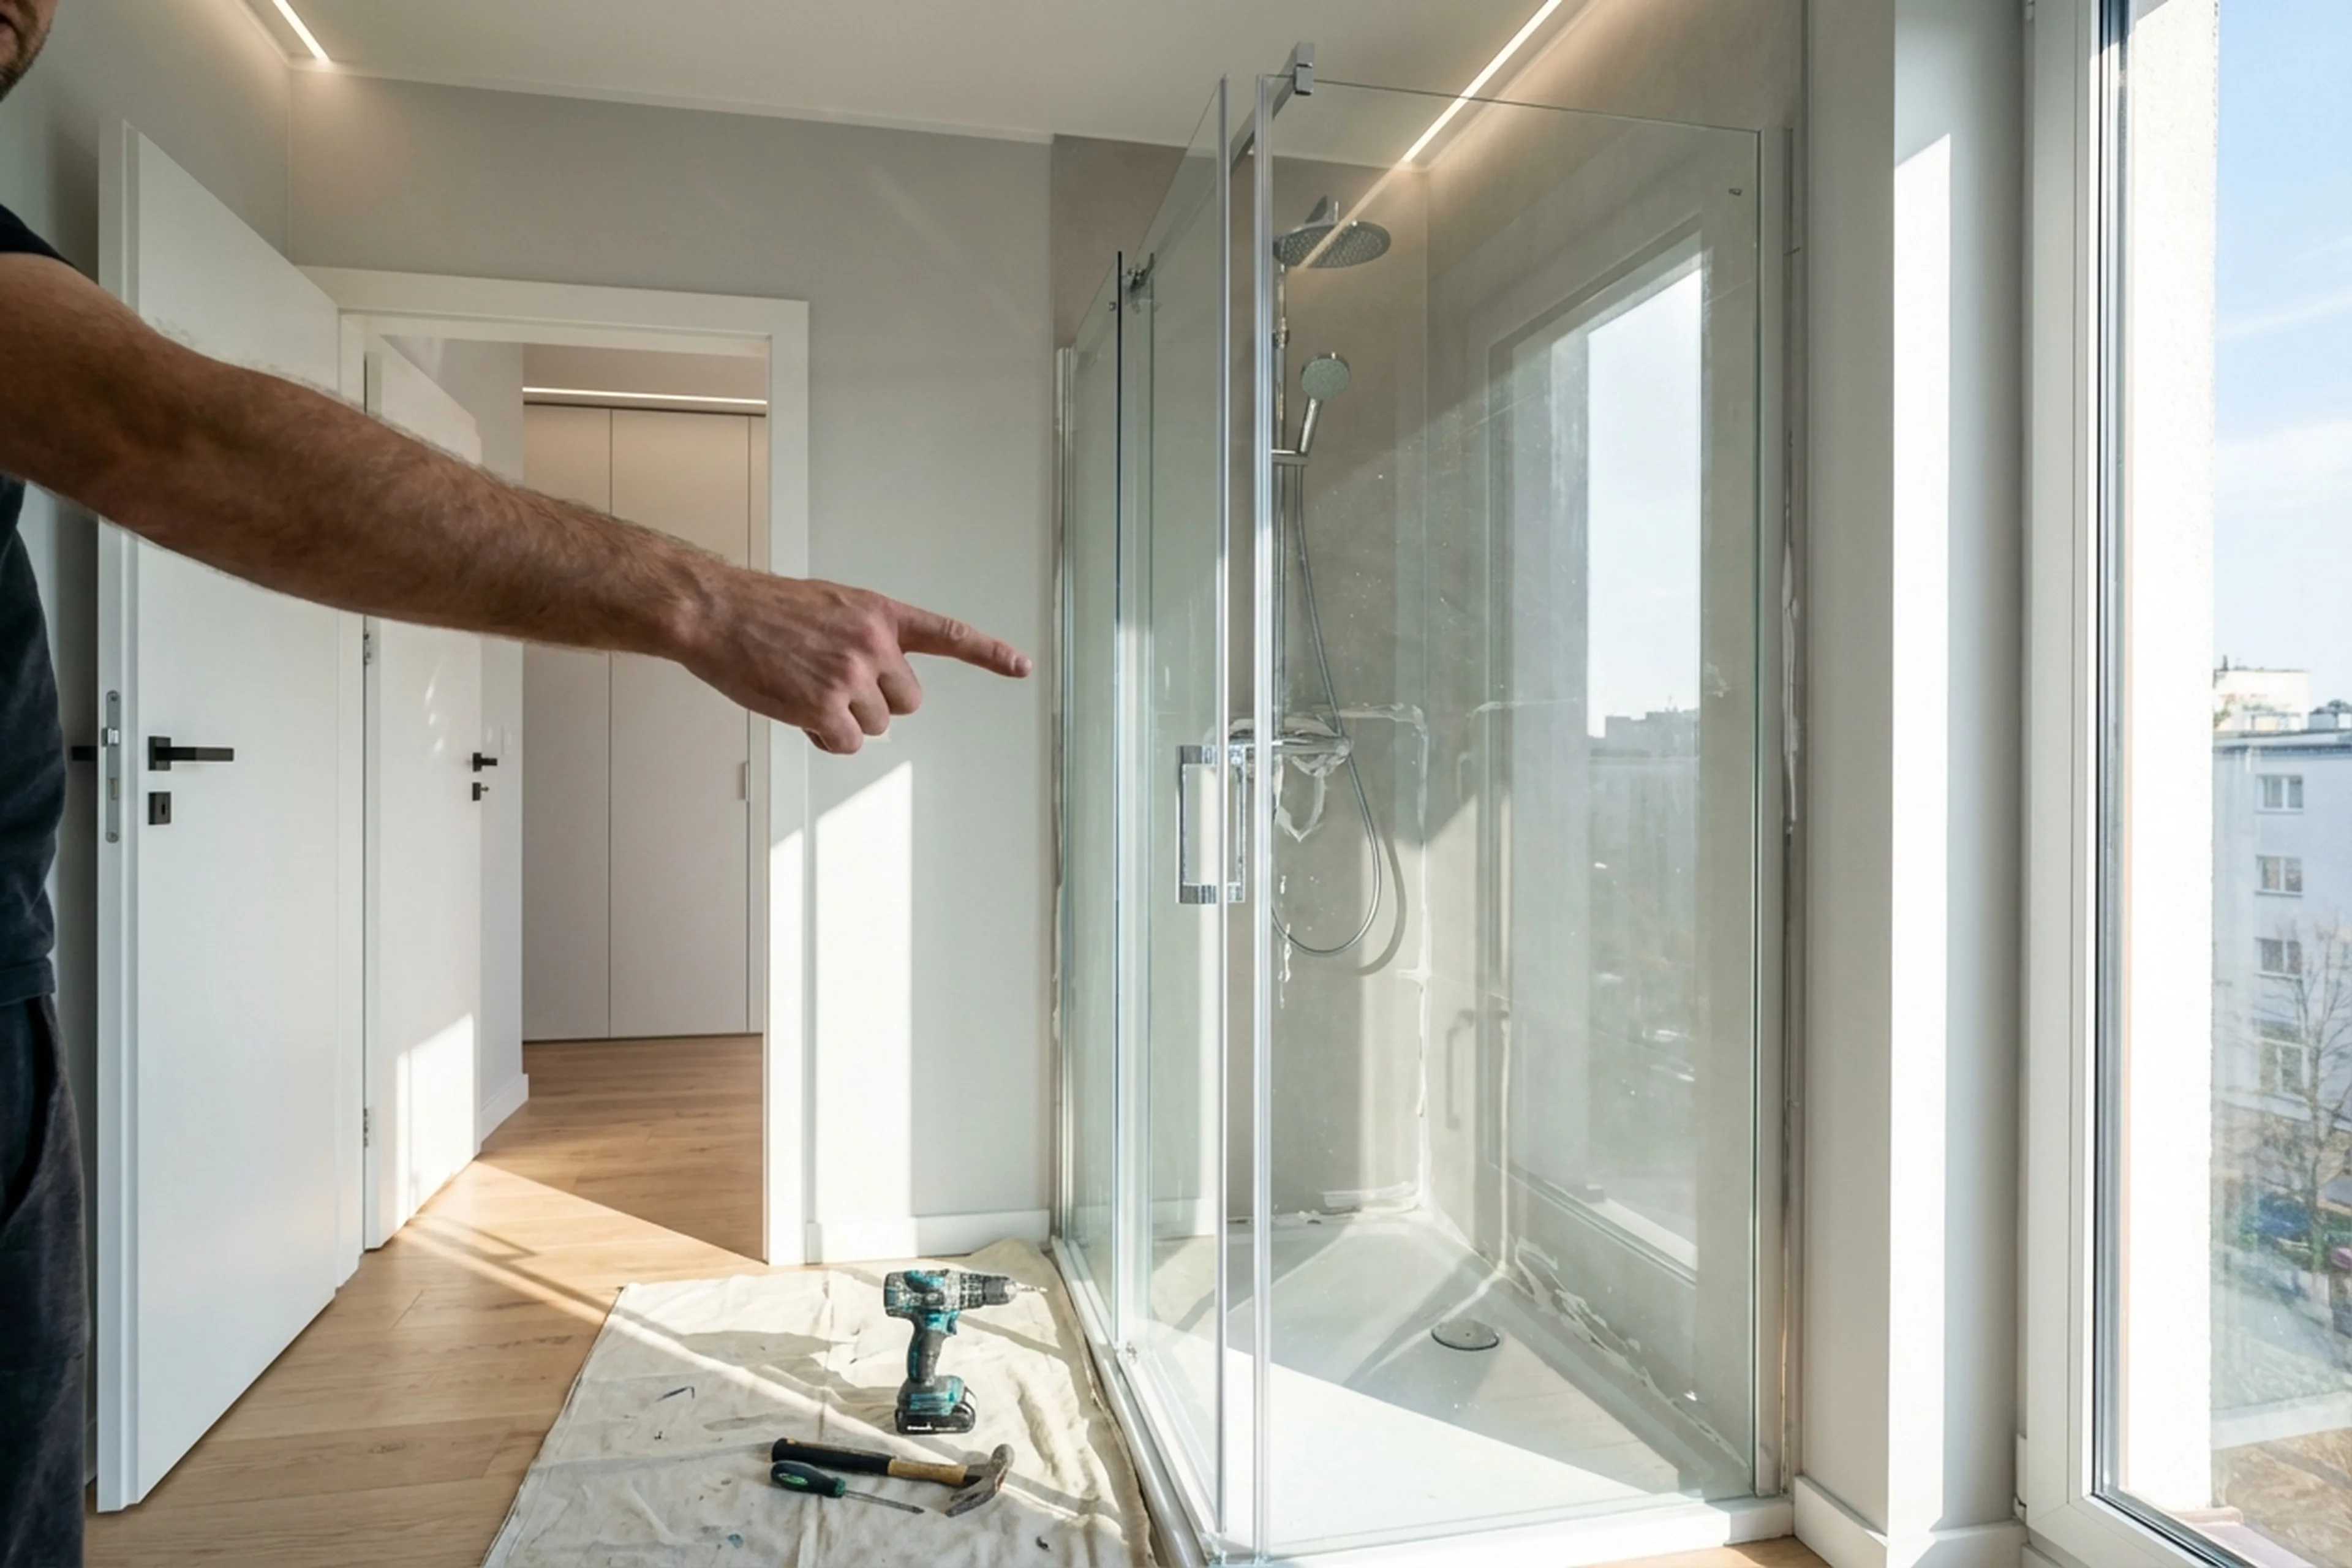
- Tray not level: water collects in one corner instead of running to the drain. Then mould starts.
- Drain trap connected without enough fall or with a reverse slope, water drains slowly and the trap starts to smell.
- Profiles screwed to the wall without silicone behind them — water gets behind the cabin, the wall becomes damp, finishes start to fail.
- Tiles drilled in hammer mode: cracks and chips, and the tile needs replacing.
- No inventory check before starting, a missing part found halfway through assembly.
- Standard silicone used instead of sanitary grade, joints go black with mould within a few months.
- Doors left unadjusted — they do not shut properly, and water sprays onto the floor every time someone uses the shower.
What to prepare before the visit
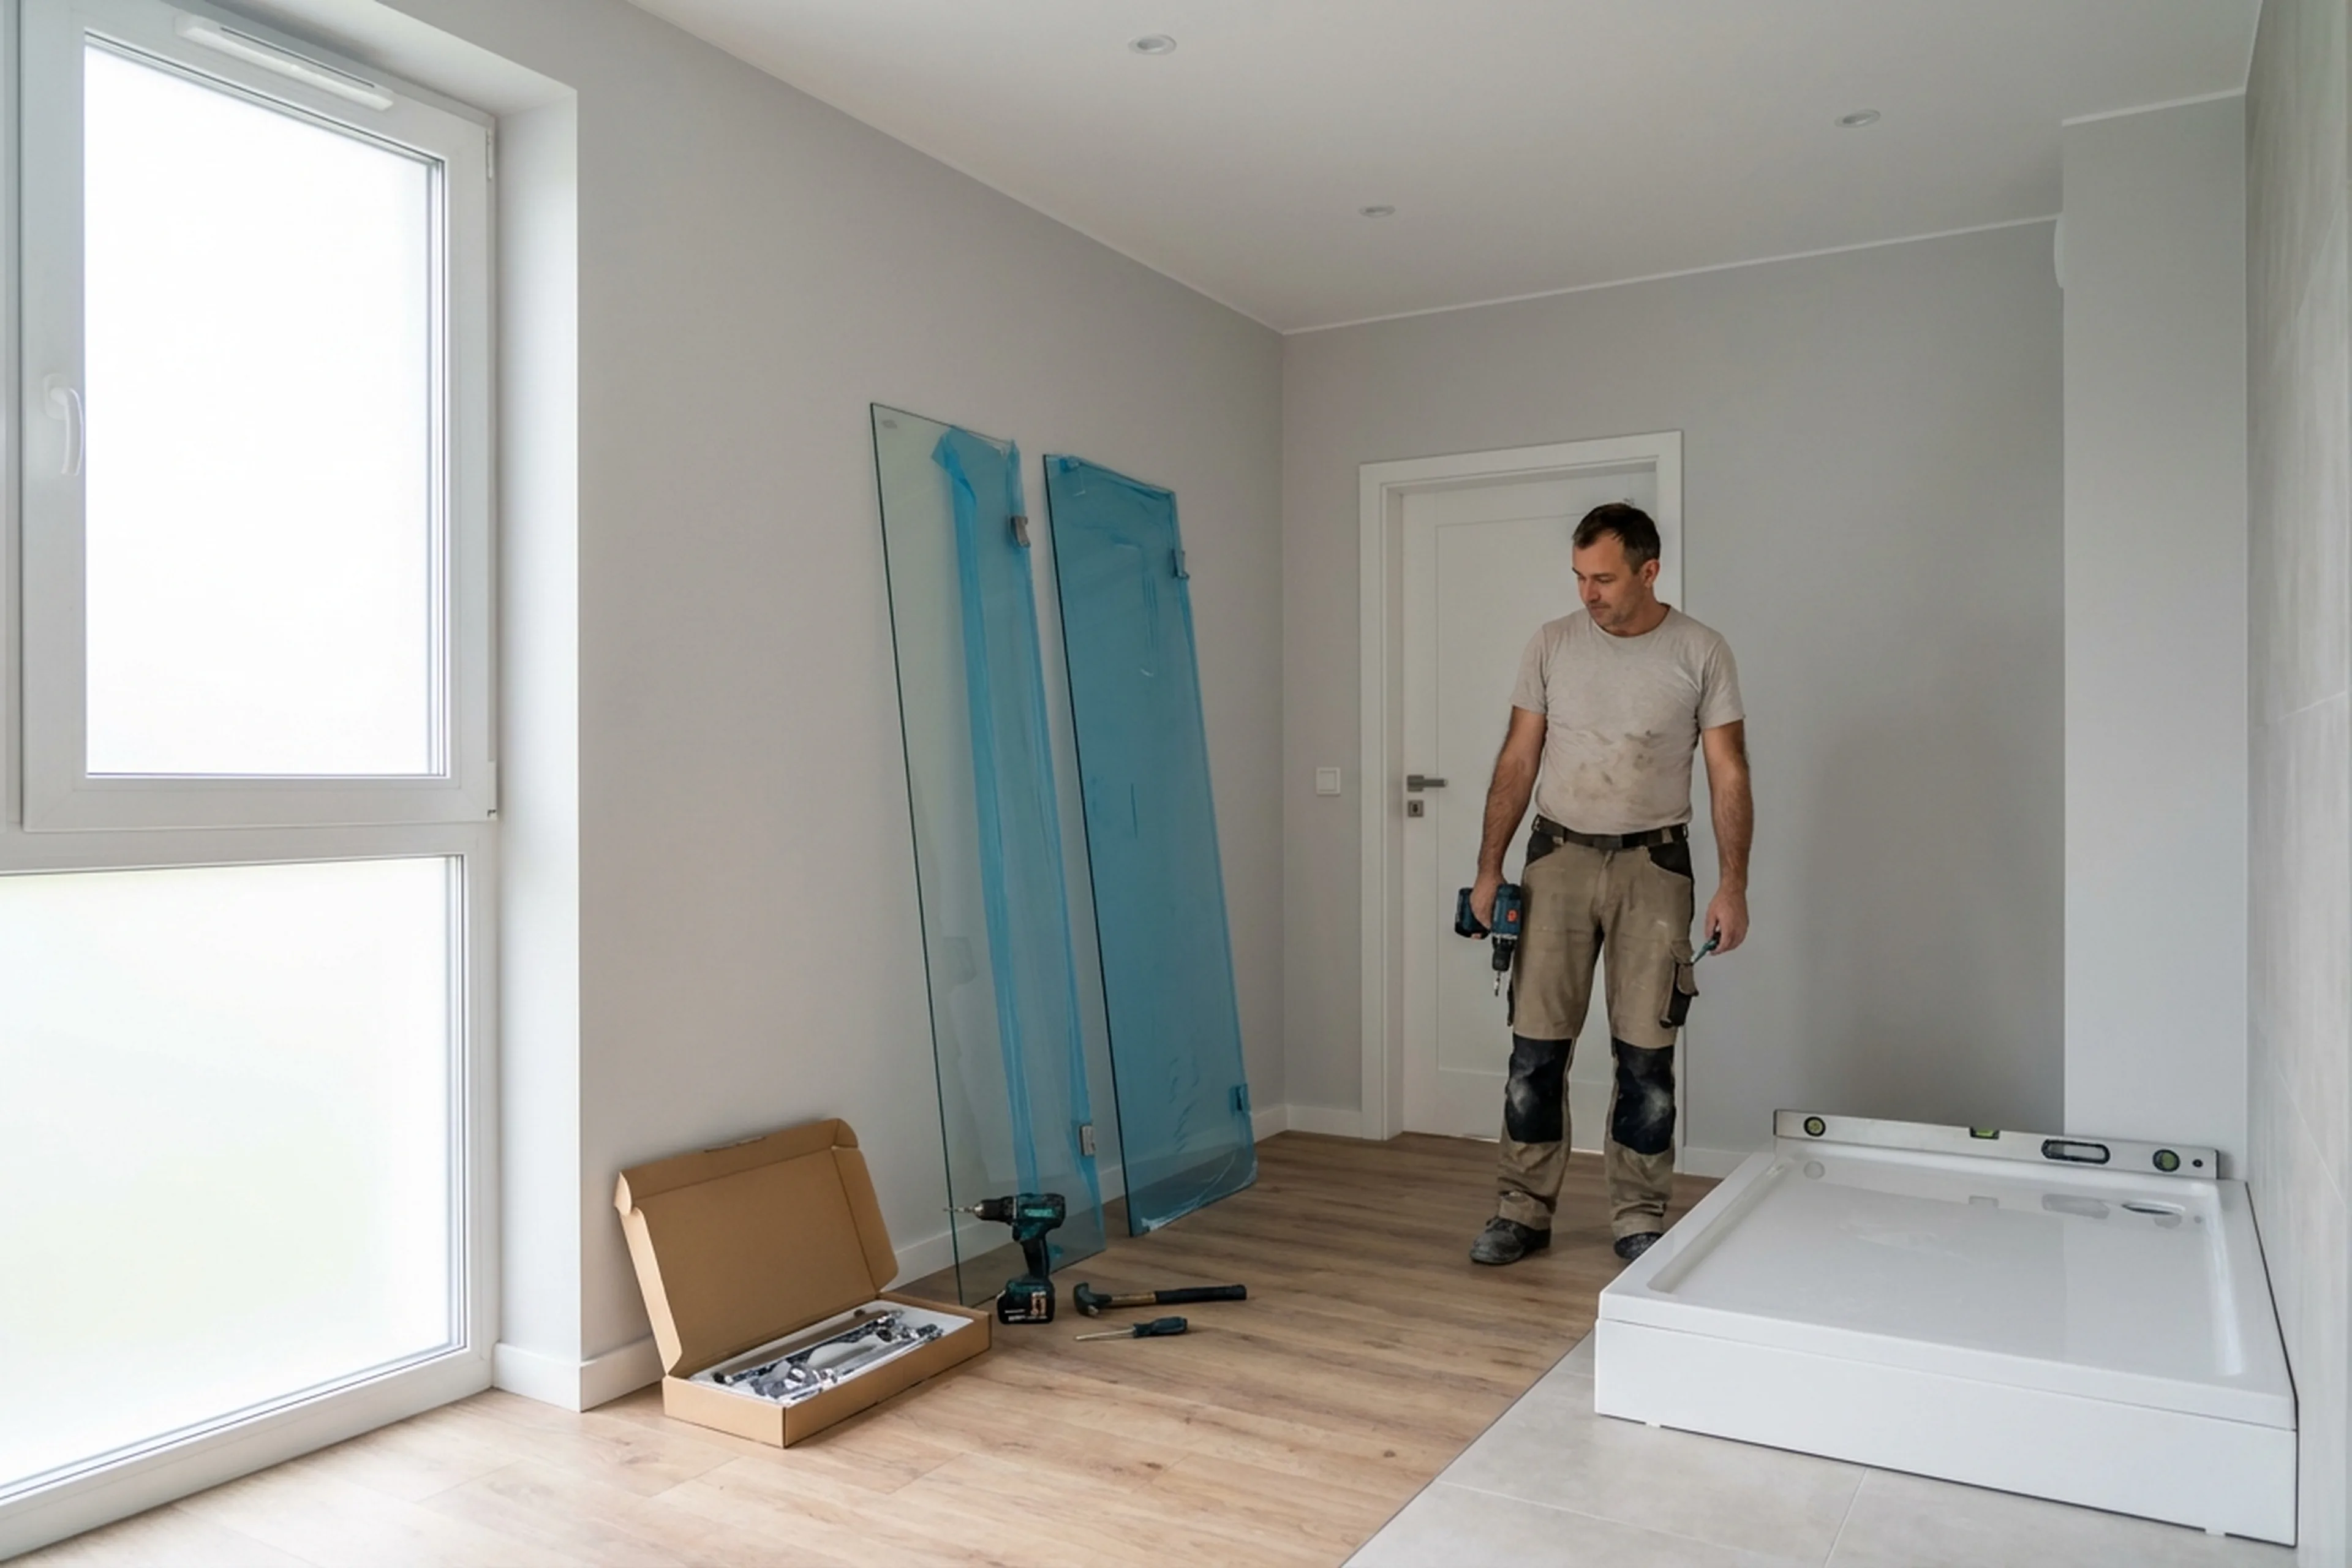
- The shower cabin: complete, ideally with all parts checked against the instruction list.
- Clear access to the installation area — remove old cabinets, shelves, and bath mats.
- If replacing an existing cabin, the old one should be removed beforehand (or book removal separately).
- The waste outlet must already be in place and working. If the pipes are old or blocked, say so in the order.
- Hot and cold water supply: with shut-off valves so the water can be turned off during installation.
- Wall tiles in the cabin area must be laid and grouted.
- Electricity in the bathroom — for the drill and driver.
- If the bathroom is very tight, mention it in the request so the tradesperson can plan the assembly order.
A real case from Warsaw: shower cabin installation
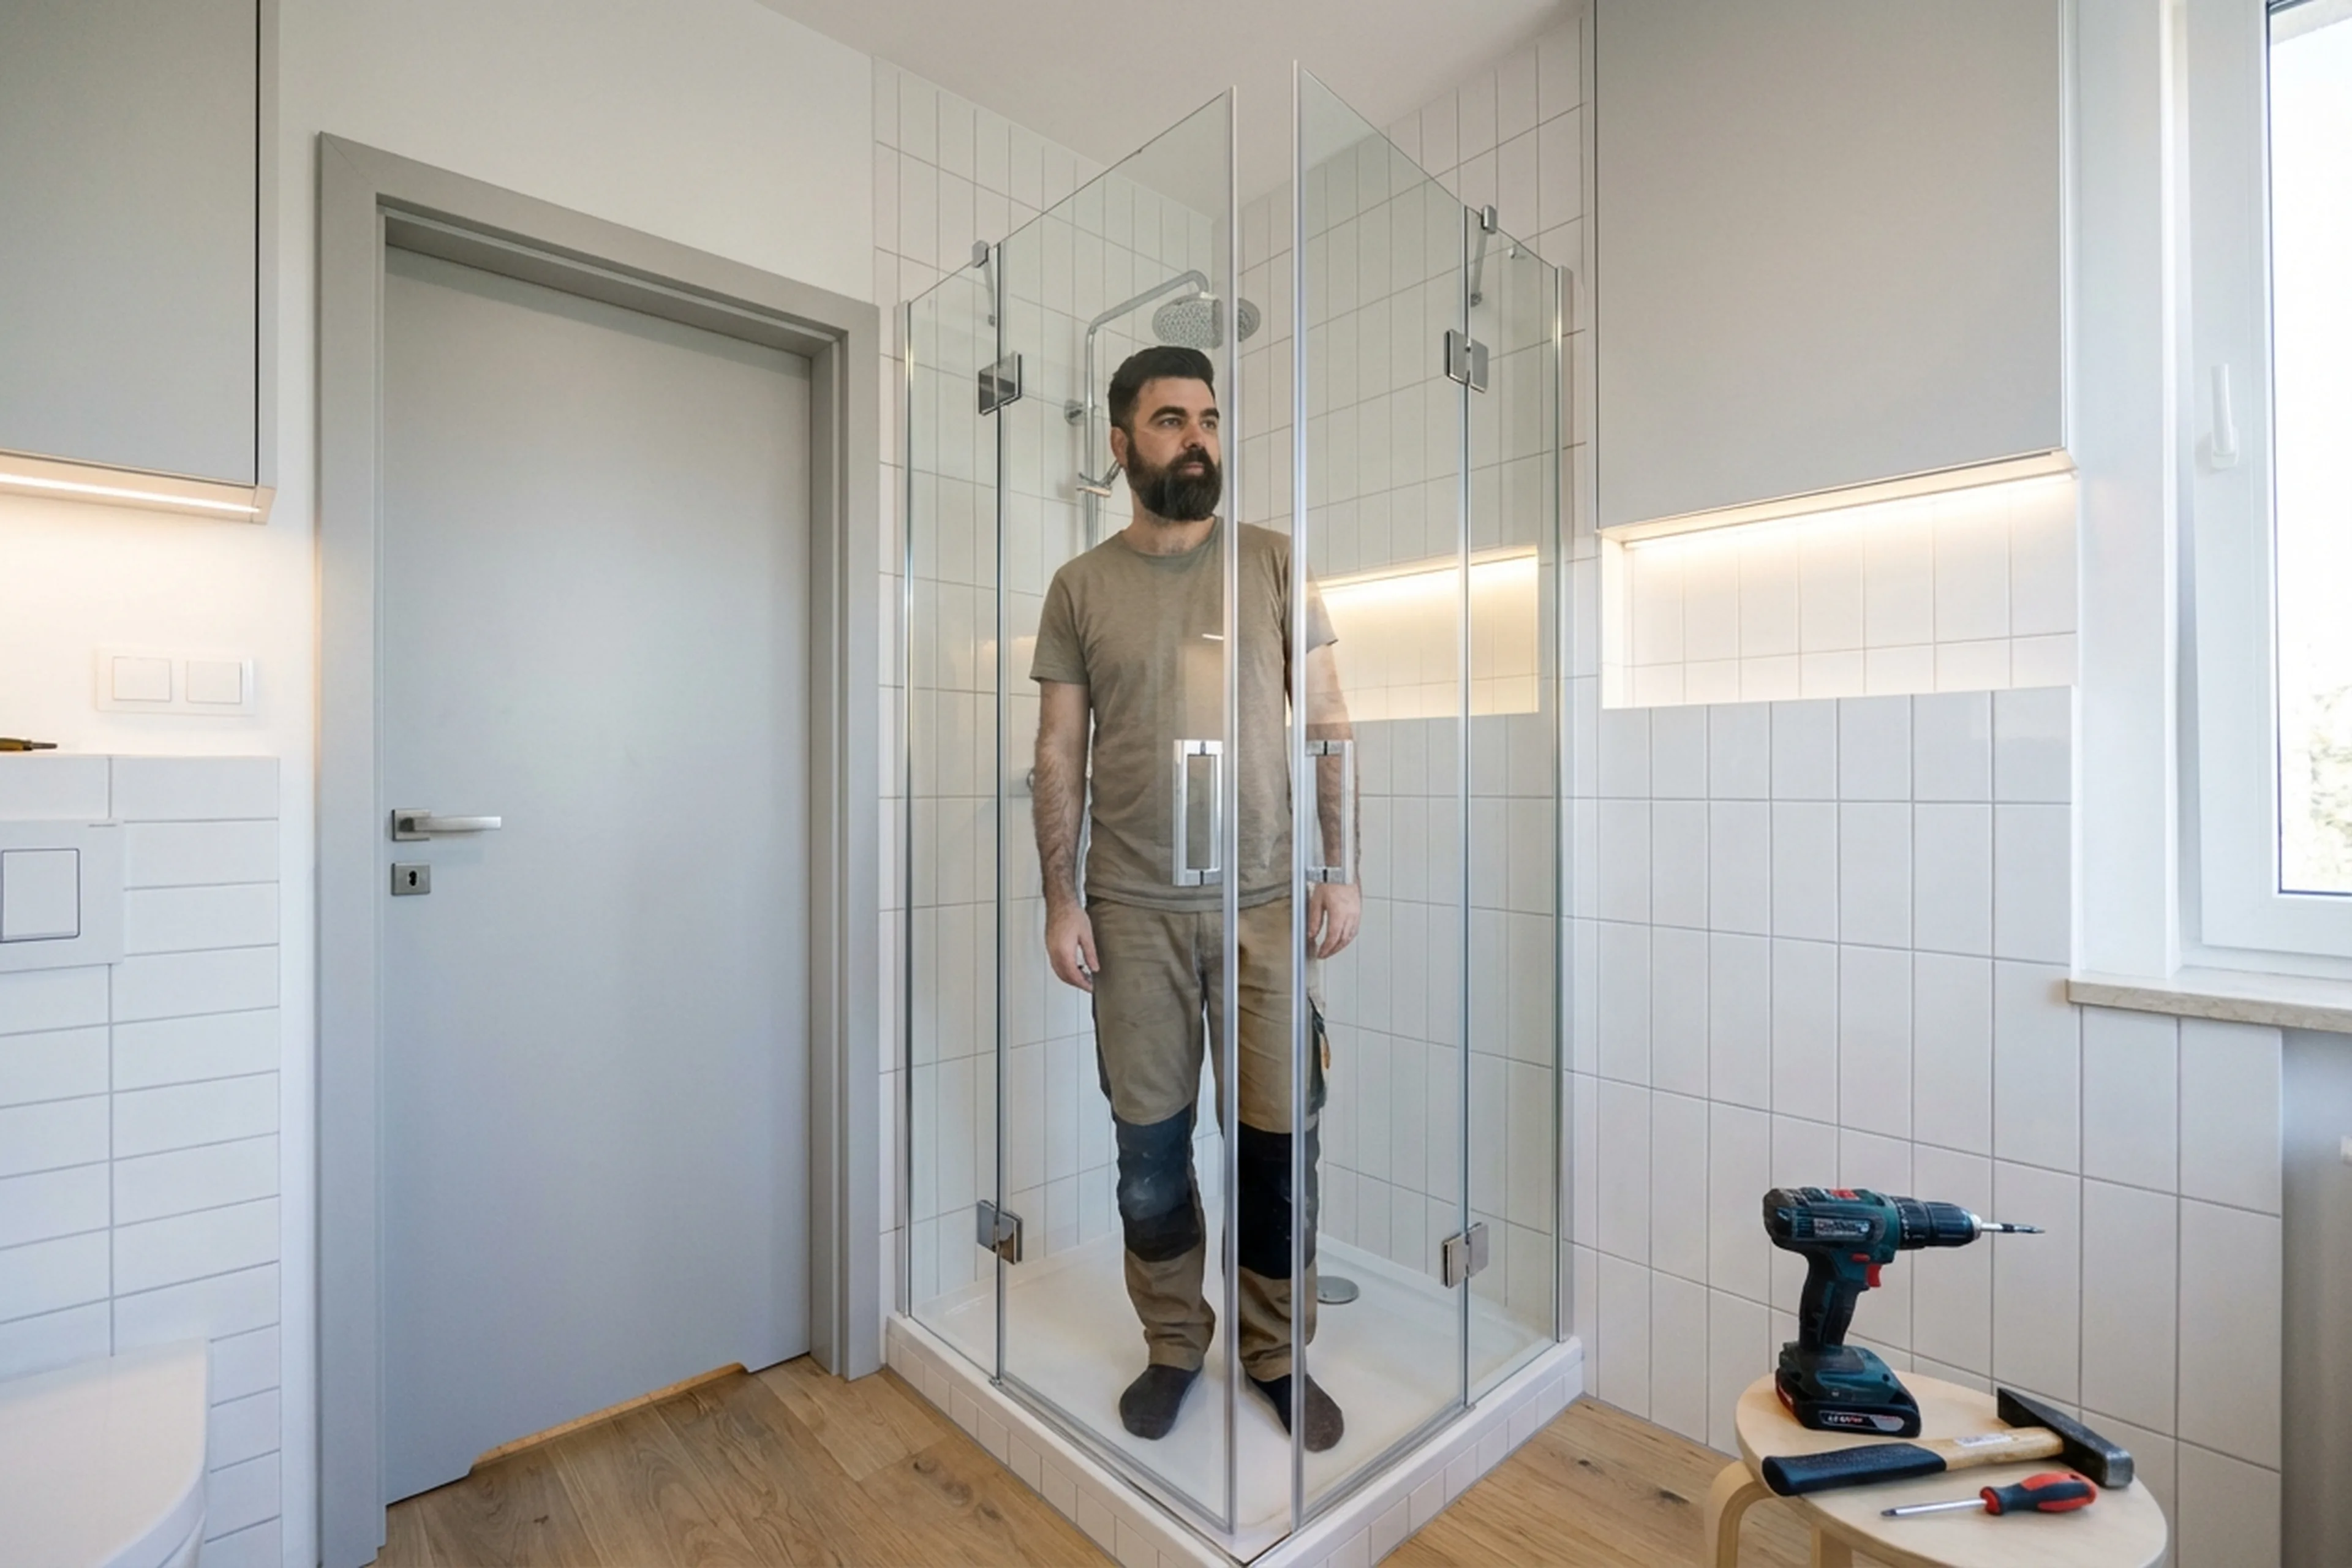
Tradespeople were called to a flat in Praga Poludnie. The owners had bought a 90 x 90 cm corner cabin with a high tray. The bathroom was small, and the waste outlet was 15 cm away from where it had to be. Tradespeople extended the pipe with a flexible connector and fitted a trap with a side outlet to keep the correct fall. The tray was levelled on its feet, connected, and tested: water drained quickly. Tradespeople assembled the frame, hung the glass panels, and adjusted the doors. Silicone was applied around the entire perimeter. Water on: completely dry, not one leak. The job took three hours. The owners have been using it for six months with no complaints.
Radaway, Sanswiss, Kermi and Cersanit enclosures: what to watch when fitting
Radaway
Radaway makes a lot of different layouts: corner units, recess fits, walk-in panels, sliding and hinged doors. Each goes together a bit differently, so the manual in the box is worth keeping. Don’t throw it out with the packaging.
An enclosure won’t straighten a crooked wall or a tilted tray. The wall profiles have a little adjustment, but if the wall is further out than that, the door rubs or stops short of the seal. That’s why a good fitter picks up a spirit level before the drill.
Sanswiss
Sanswiss makes corner enclosures, recess fits and walk-in panels, with sliding, hinged and folding doors. Some models come with coated glass that sheds water more easily. It makes cleaning quicker, but you still have to wipe the panels.
With these enclosures a lot comes down to adjustment. The door should move freely and close against the seal along its whole length. If the frame is even a little off, the door drifts open or leaves a gap that sprays water under strong pressure. Fixing it later means cutting out the silicone and setting the profiles again, so it pays to get it straight the first time.
Kermi
The range covers corner units, recess fits, quadrants and walk-in panels. Doors are hinged, sliding or pivoting, often with magnetic seals that pull the door against the frame. A magnetic seal only works when both parts stand dead vertical. A few millimetres off and the magnet won’t catch.
Some Kermi glass has a factory coating that water runs off more easily. A mild cleaner and a soft cloth are all it needs. Scouring cream and wire pads dull the coating, and there’s no undoing that.
Cersanit
Cersanit is a Polish bathroom brand, and its shower cabins come in several layouts: square and quadrant corner units, rectangular ones, with sliding or hinged doors. The walls are toughened glass in aluminium frames. Fitting is much the same across models; the door adjustment is where they differ.
The tray is usually bought separately, so check that tray and cabin sizes match before you book anyone. The wall profile has a little adjustment in it, but it can’t hide a wall that leans. If the corner of the room is out of plumb, the gap ends up at the door.
Frequently asked questions
Can I install the cabin myself?
Technically yes, but there are a few traps: the tray has to be perfectly level, the trap connected properly, and every joint sealed. A mistake at any point leads to leaks. If you have no experience, it is safer to call a professional.
How long does installation take?
Two to four hours on average. It depends on the cabin type and the condition of the plumbing. A cabin with hydromassage or a steam generator takes more time.
Do I need to remove the old cabin first?
Yes, and that is a separate job. Tradespeople can remove it during the same visit, but please say so in the order in advance.
What if the waste outlet does not line up with the drain?
Tradespeople extend the pipe using a flexible connector or rigid elbows. The main thing is keeping the fall for proper drainage. If the distance is large, the outlet may need to be relocated — that counts as plumbing work.
Which sealant should be used?
Sanitary silicone with anti-mould additives only. Standard acrylic or universal silicone starts growing mould quickly in a wet bathroom.
Cabin with a tray or without: which is better?
A tray cabin is simpler to install and cheaper. A walk-in (trayless) setup needs floor waterproofing and a linear drain, that is a different level of work and budget. For a standard bathroom they recommend a cabin with a tray.
Book the installation

Tradespeople install shower cabins across Warsaw — arriving with tools, fixings, and sanitary silicone. Tradespeople work carefully: tiles are drilled without chipping, and every joint is checked for leaks.
Order in the app
Describe the job, add photos and the address. Tradespeople send their own prices and dates, and you pick one of the offers.
Open the app