
How much does vanity unit installation cost
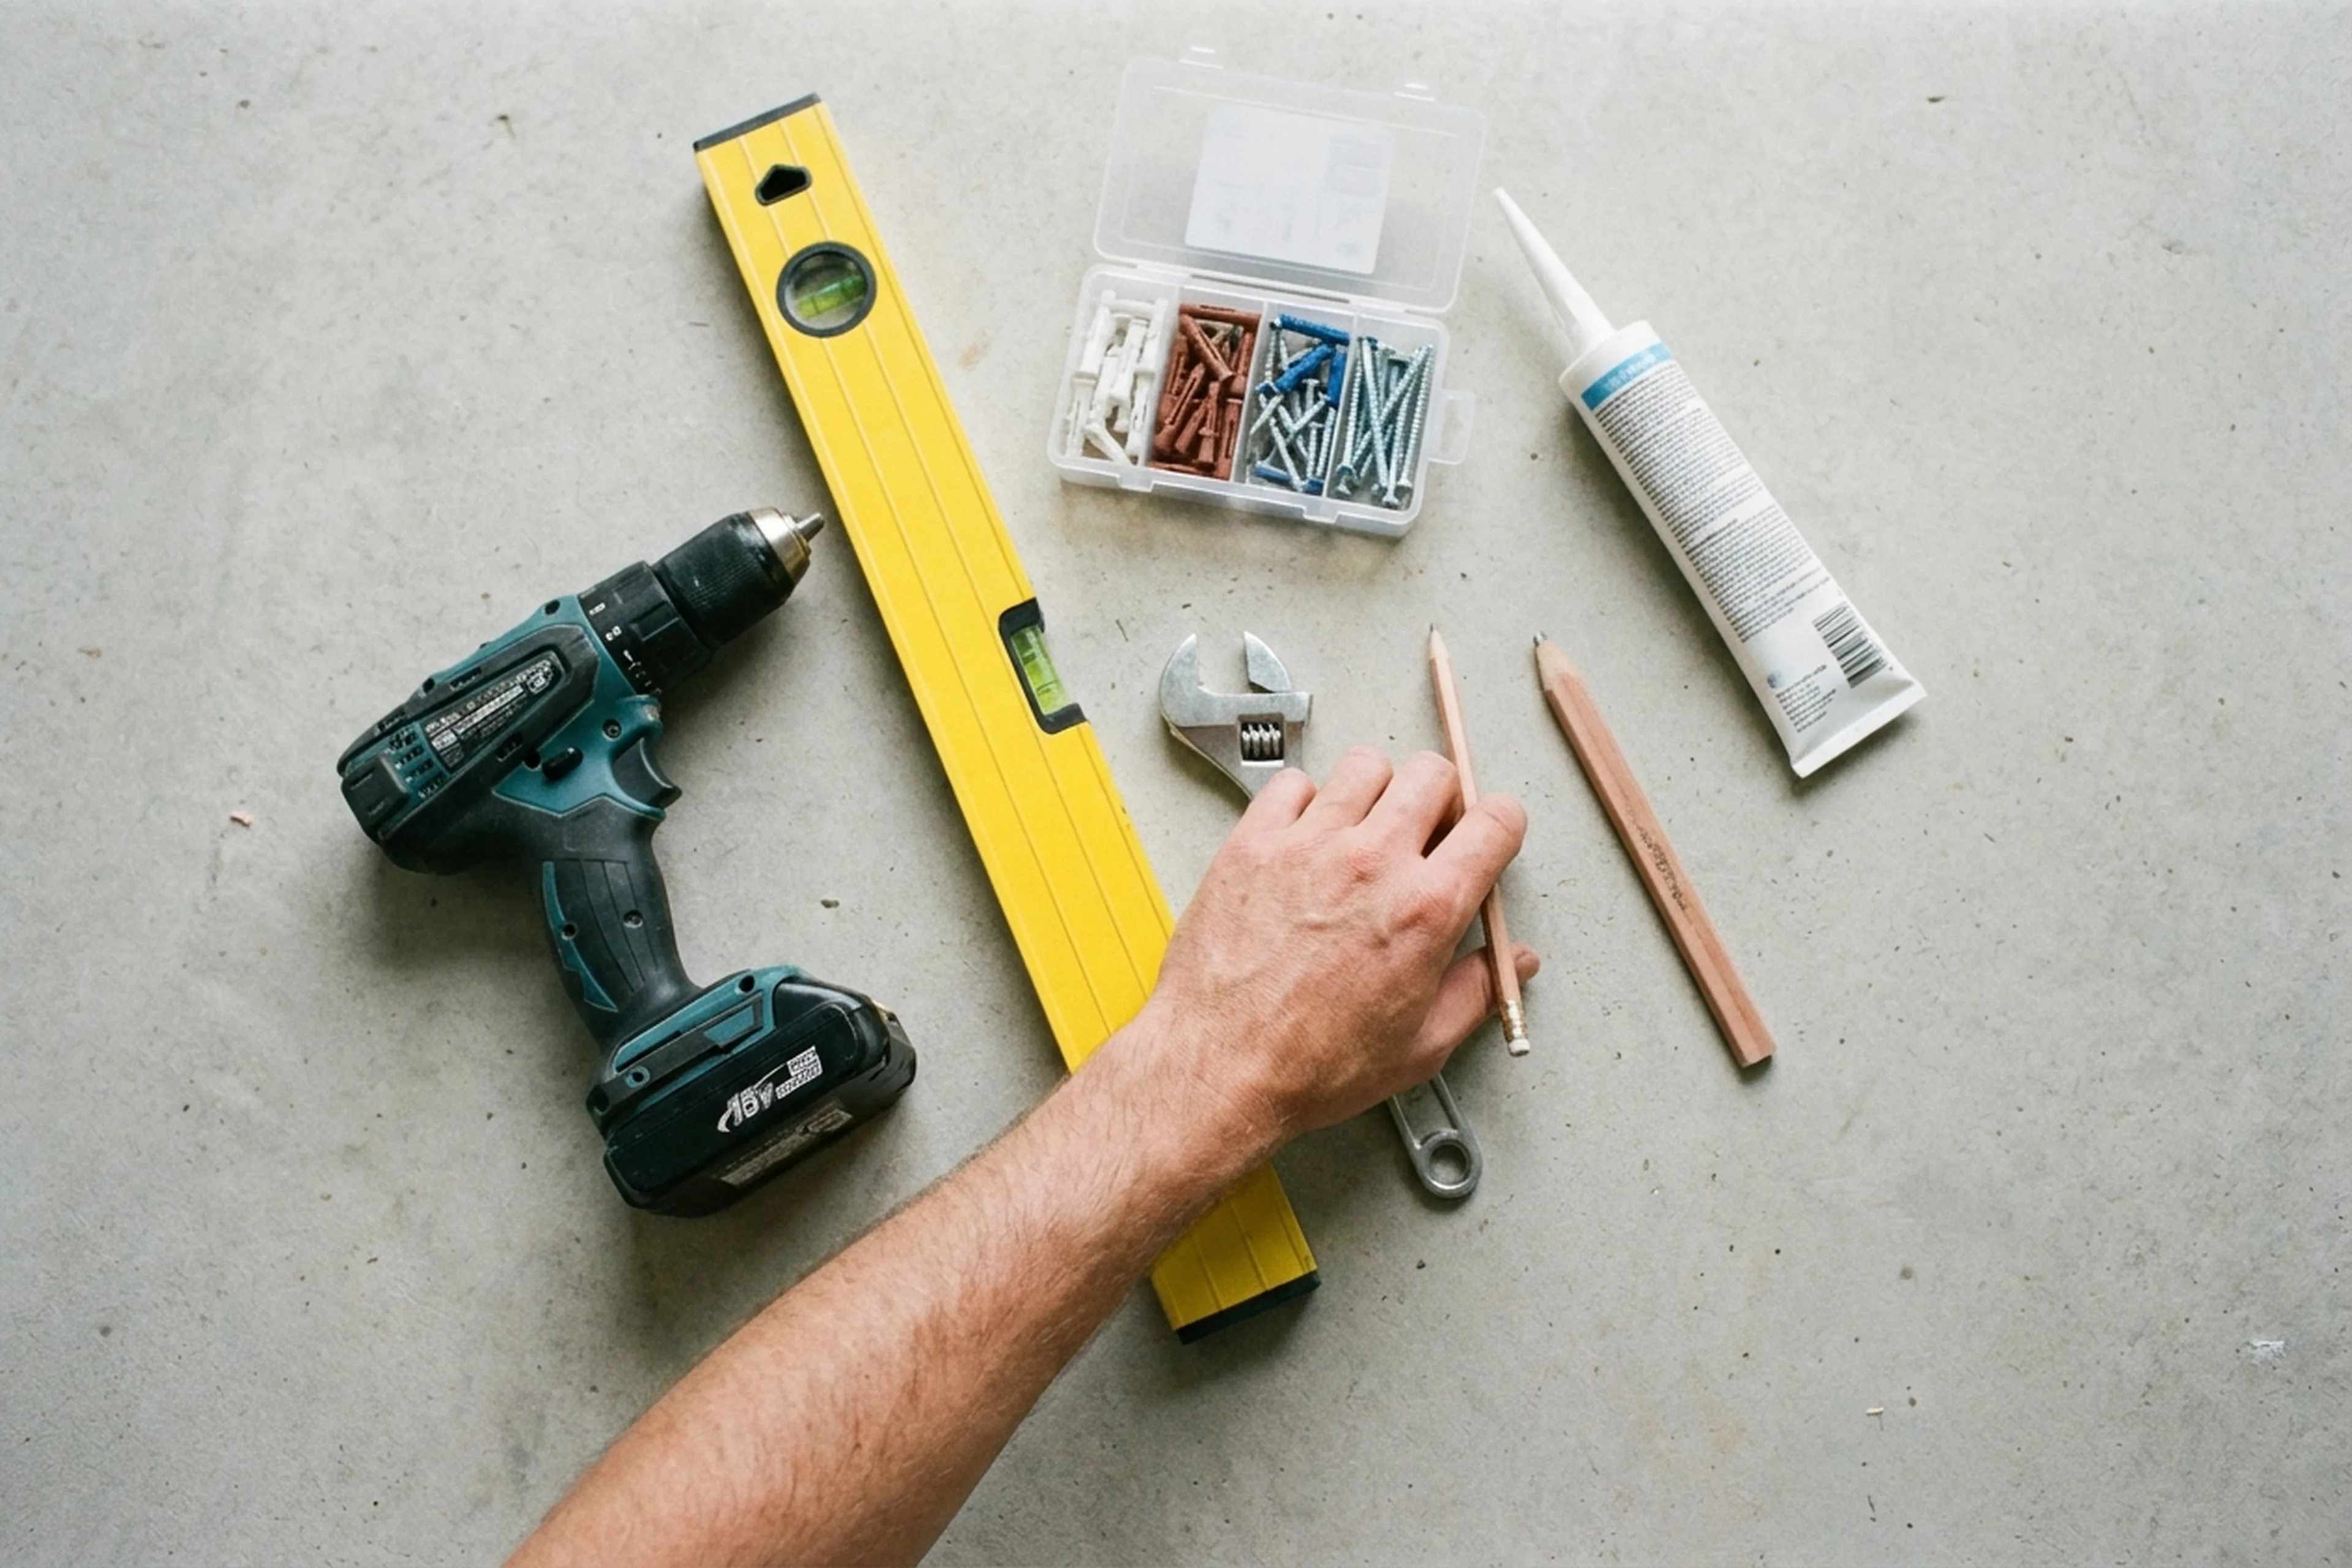
The cost depends on the kind of unit (freestanding or wall-hung), how the connections are made, and the state of the existing pipework. A wall-hung unit has to be fixed securely to the wall, that takes more work than placing a freestanding cabinet on the floor. If the water or waste pipes need to be moved, that adds to the scope. Up-to-date prices for all bathroom jobs are listed in the table below. Fixings are included; materials (silicone, flexible hoses, trap) are billed separately if they need replacing.
| Service | Price |
|---|---|
| Washbasin installation | 200–500 zł |
| Washbasin replacement | 250–600 zł |
| Vanity unit installation | 300–600 zł |
| Basin tap installation | 150–250 zł |
| Basin tap replacement | 250–400 zł |
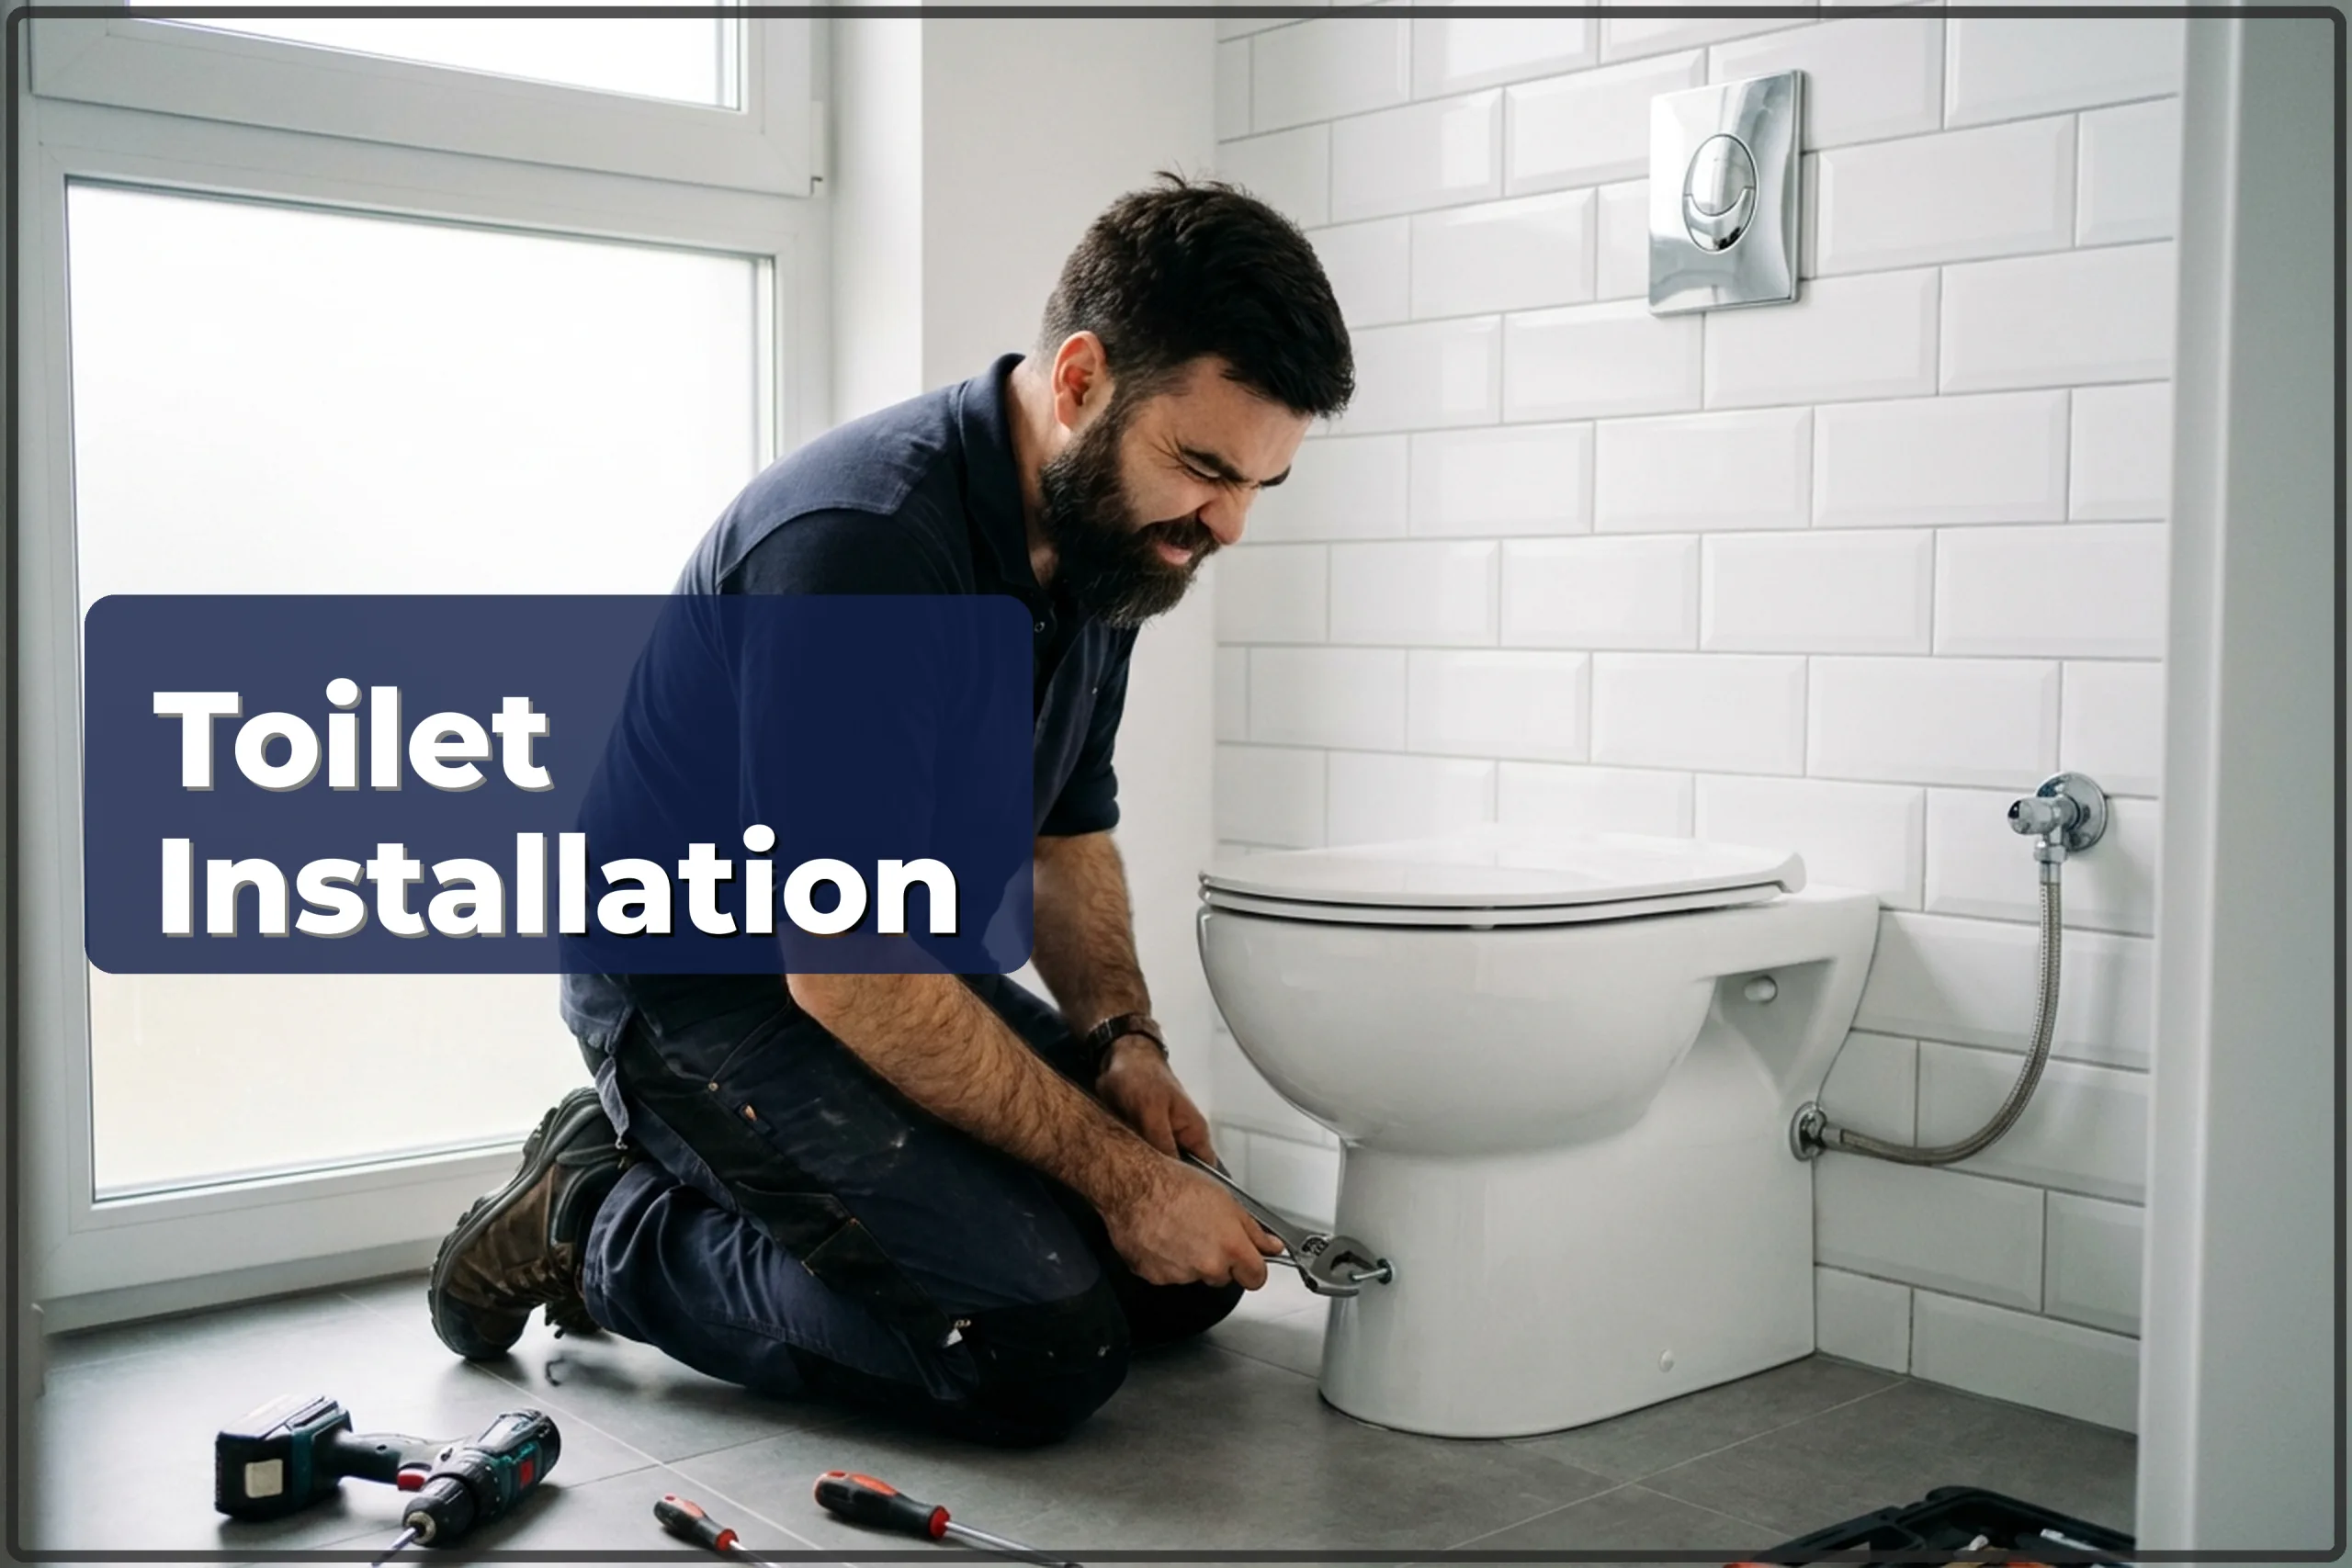
| Floor toilet installation | 300–500 zł |
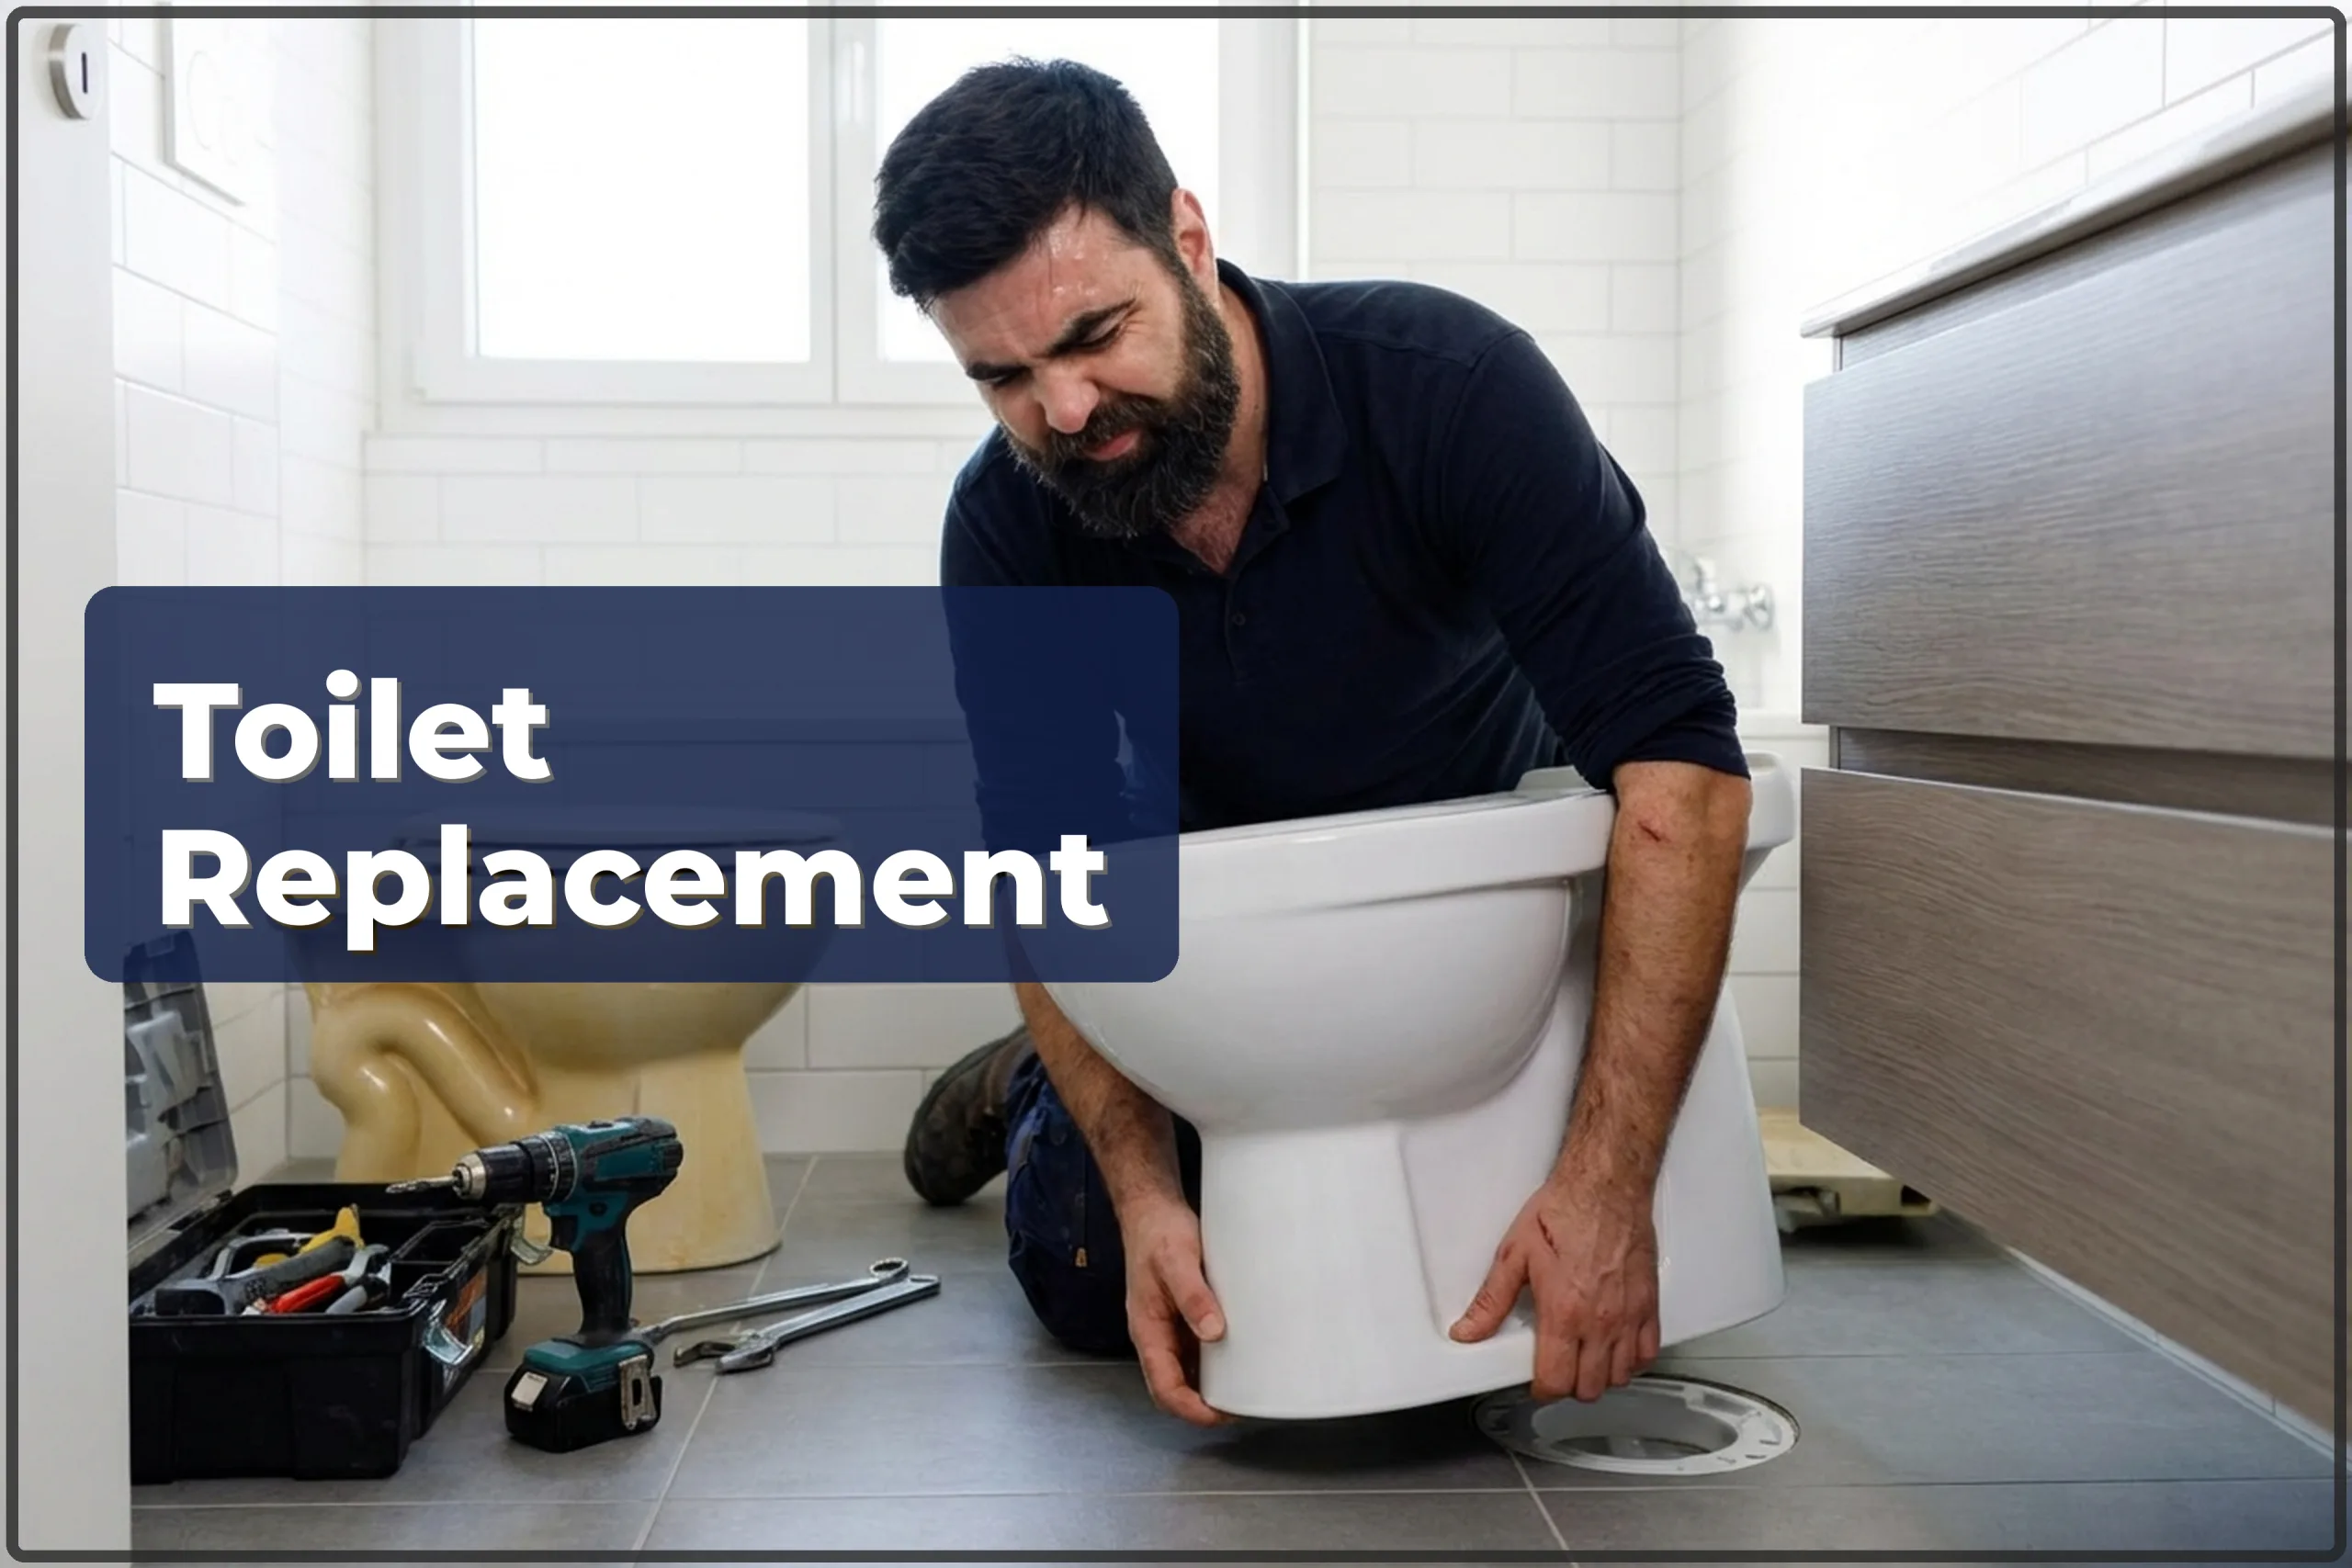
| Floor toilet replacement | 350–600 zł |
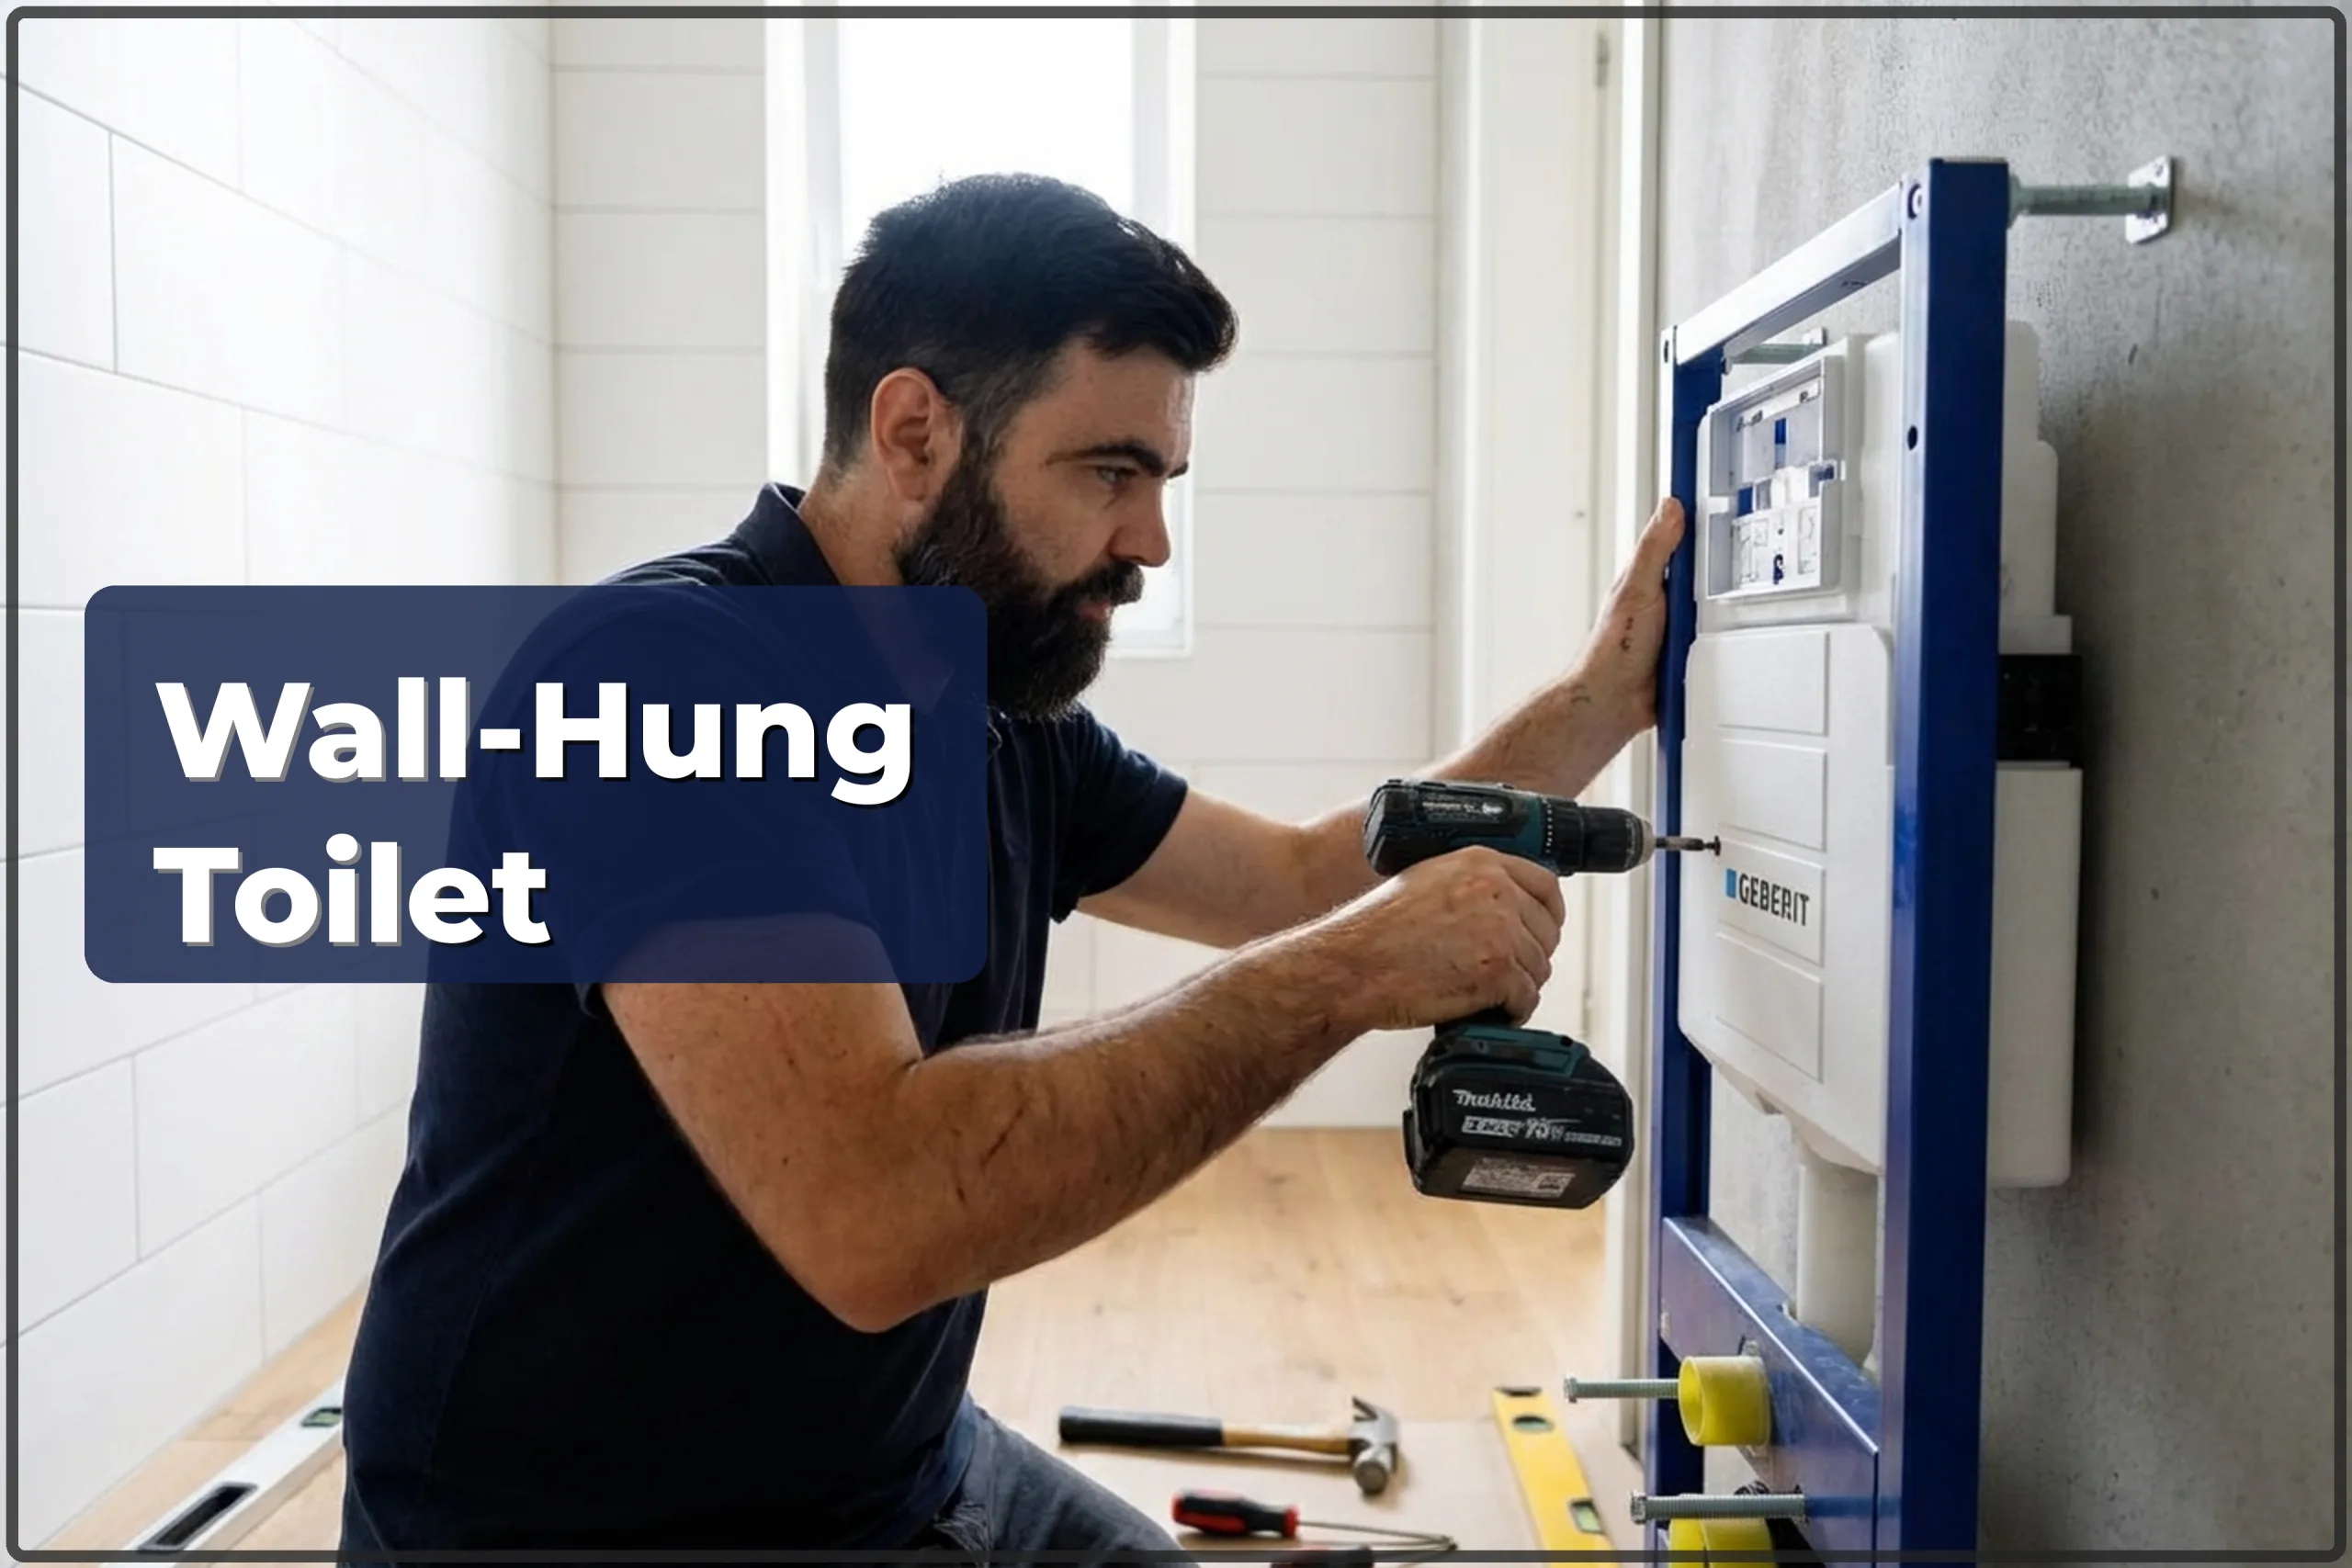
| Wall-hung toilet installation (frame) | 450–700 zł |
| WC frame replacement | 600–1500 zł |
| Bathtub installation | 400–900 zł |
| Bathtub replacement | 500–1000 zł |
| Shower cabin installation | 350–1200 zł |
| Shower tray installation | 500–800 zł |
| Shower tray replacement | 600–1000 zł |
| Linear drain installation | 400–900 zł |
| Re-sealing shower and bathtub | 250–600 zł |
| Towel radiator installation | 300–600 zł |
| Towel radiator replacement | 350–700 zł |
| Drain cleaning | 200–800 zł |
| Trap (siphon) replacement | 120–400 zł |
Indicative prices. Ranges for a typical scope. Fixings included, materials separate. Minimum order 300 zł.
What it costs and how to book: plumber in Warsaw.
How vanity unit installation is done
- Bathroom survey: they inspect where the water feeds and waste outlet are, and measure the recess or wall.
- Cabinet assembly according to the manufacturer’s instructions: hinges, shelves, drawers. If the unit came flat-packed, they assemble it from the ground up.
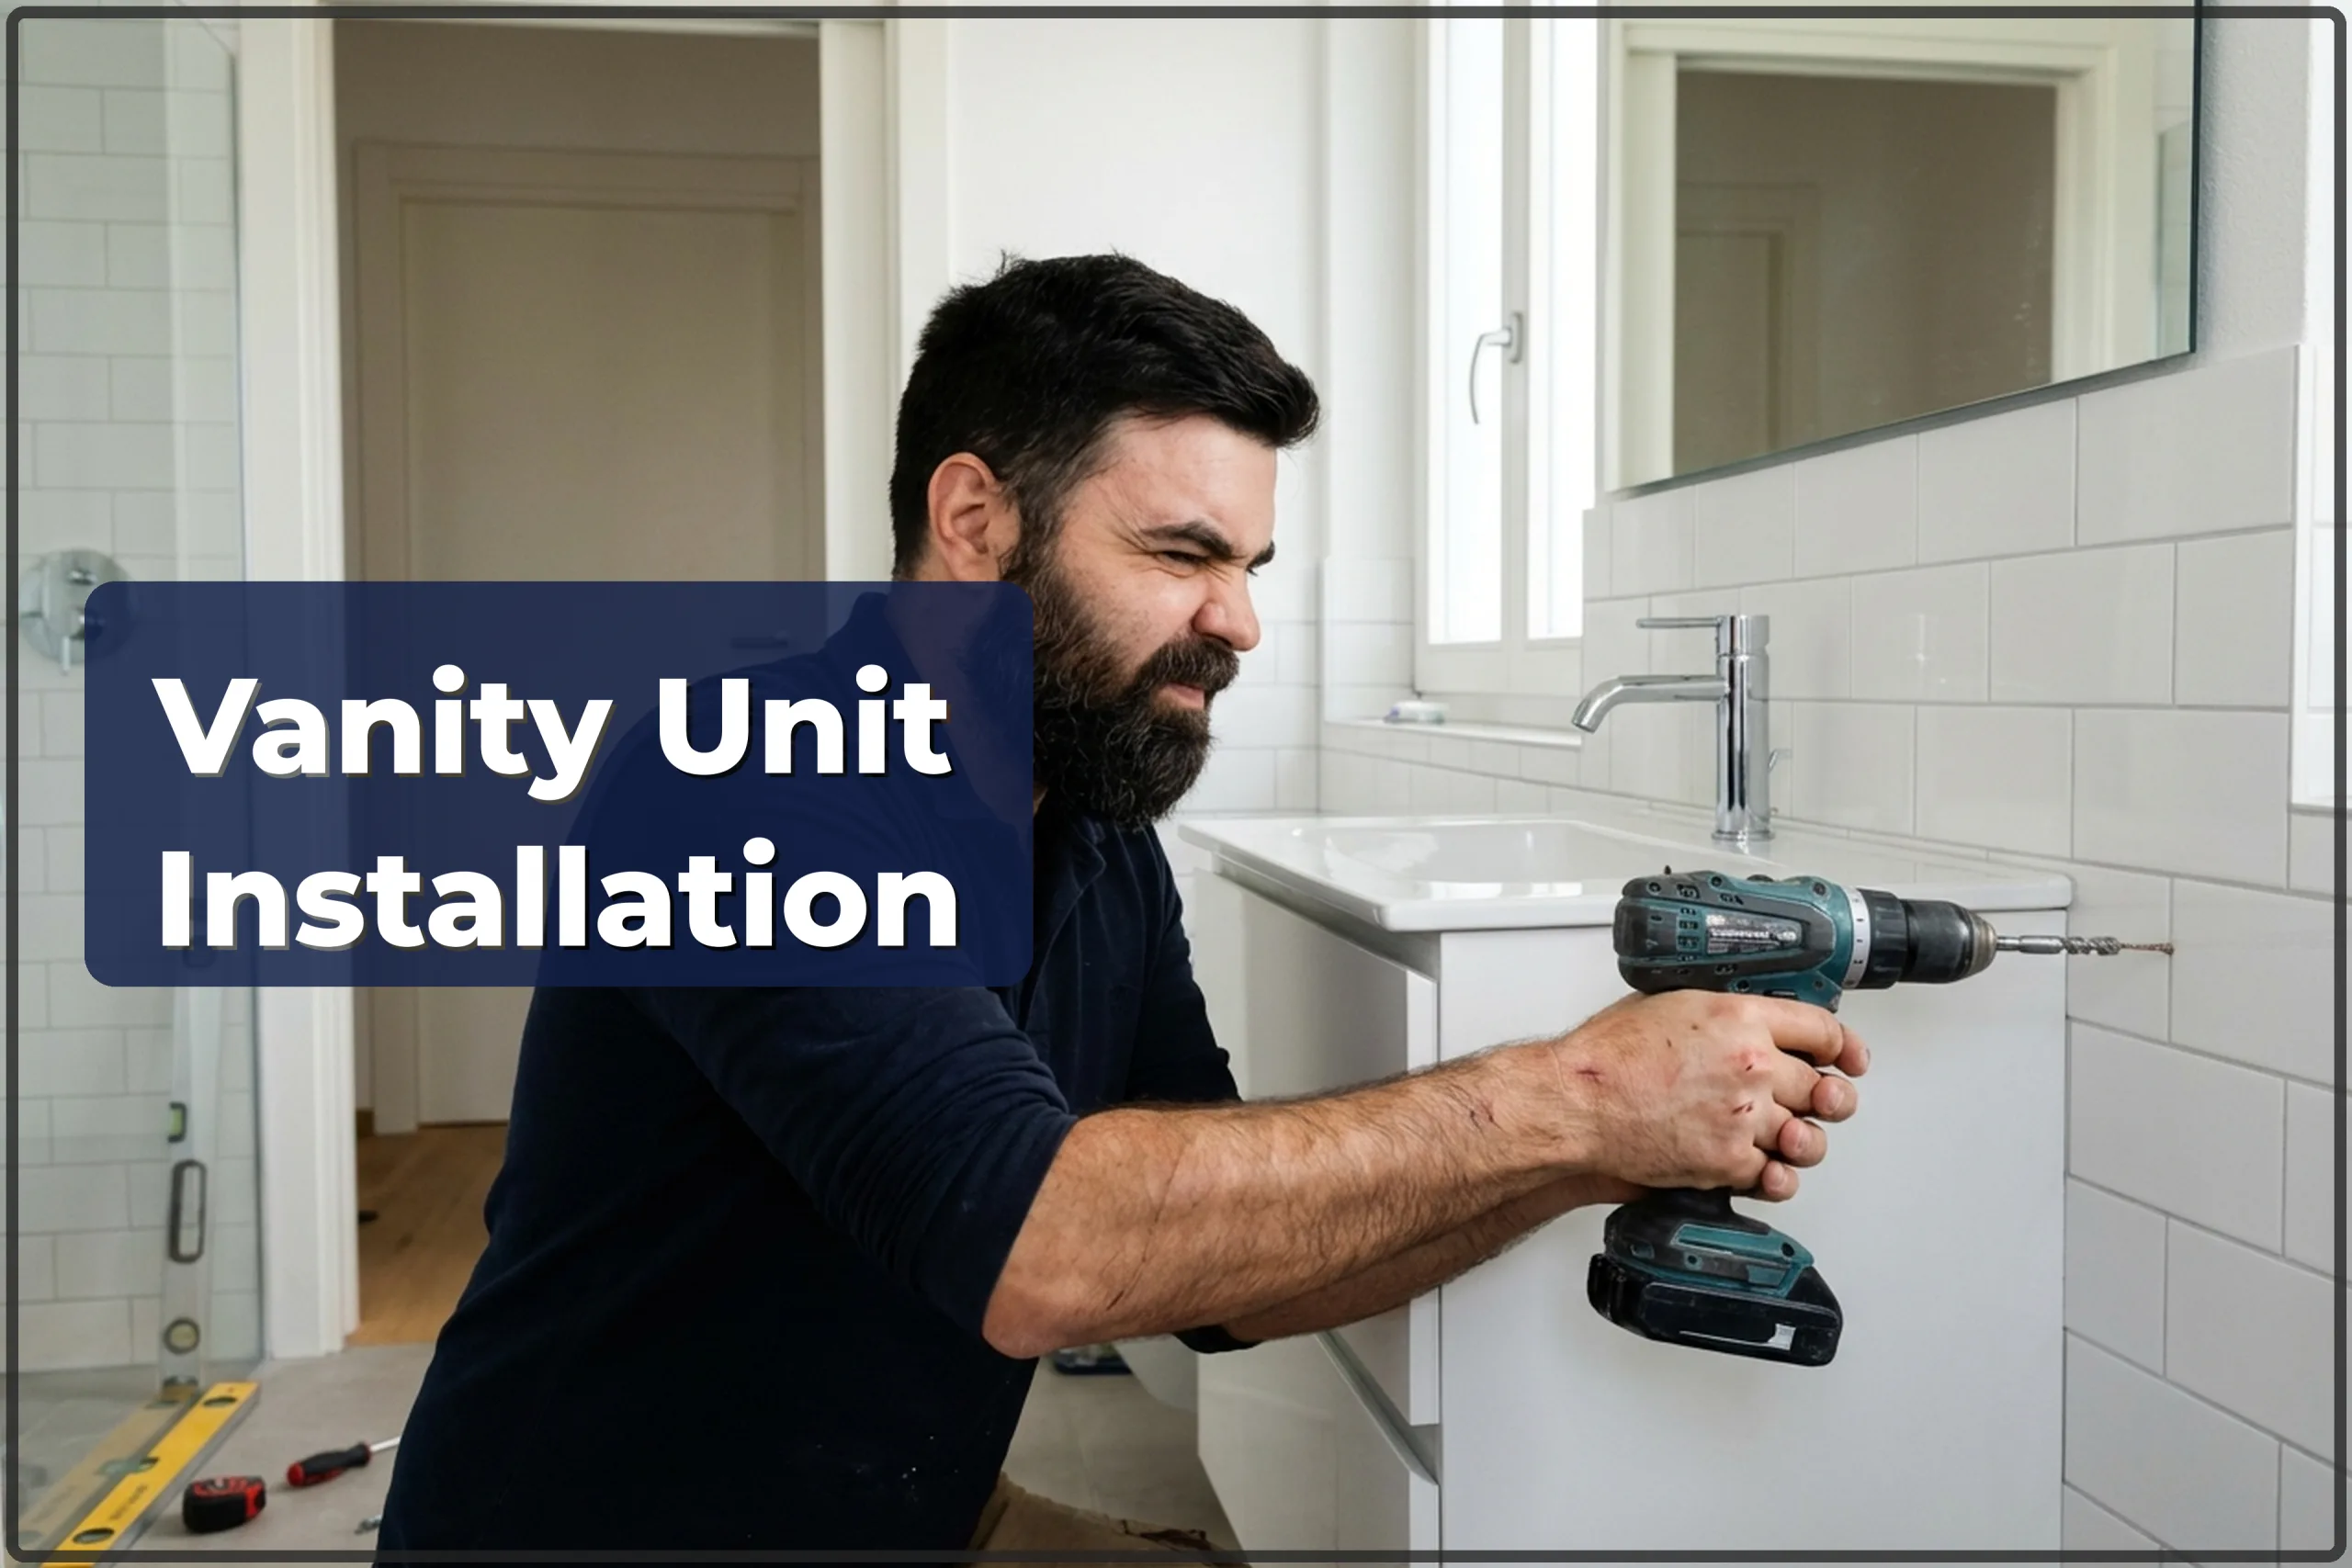
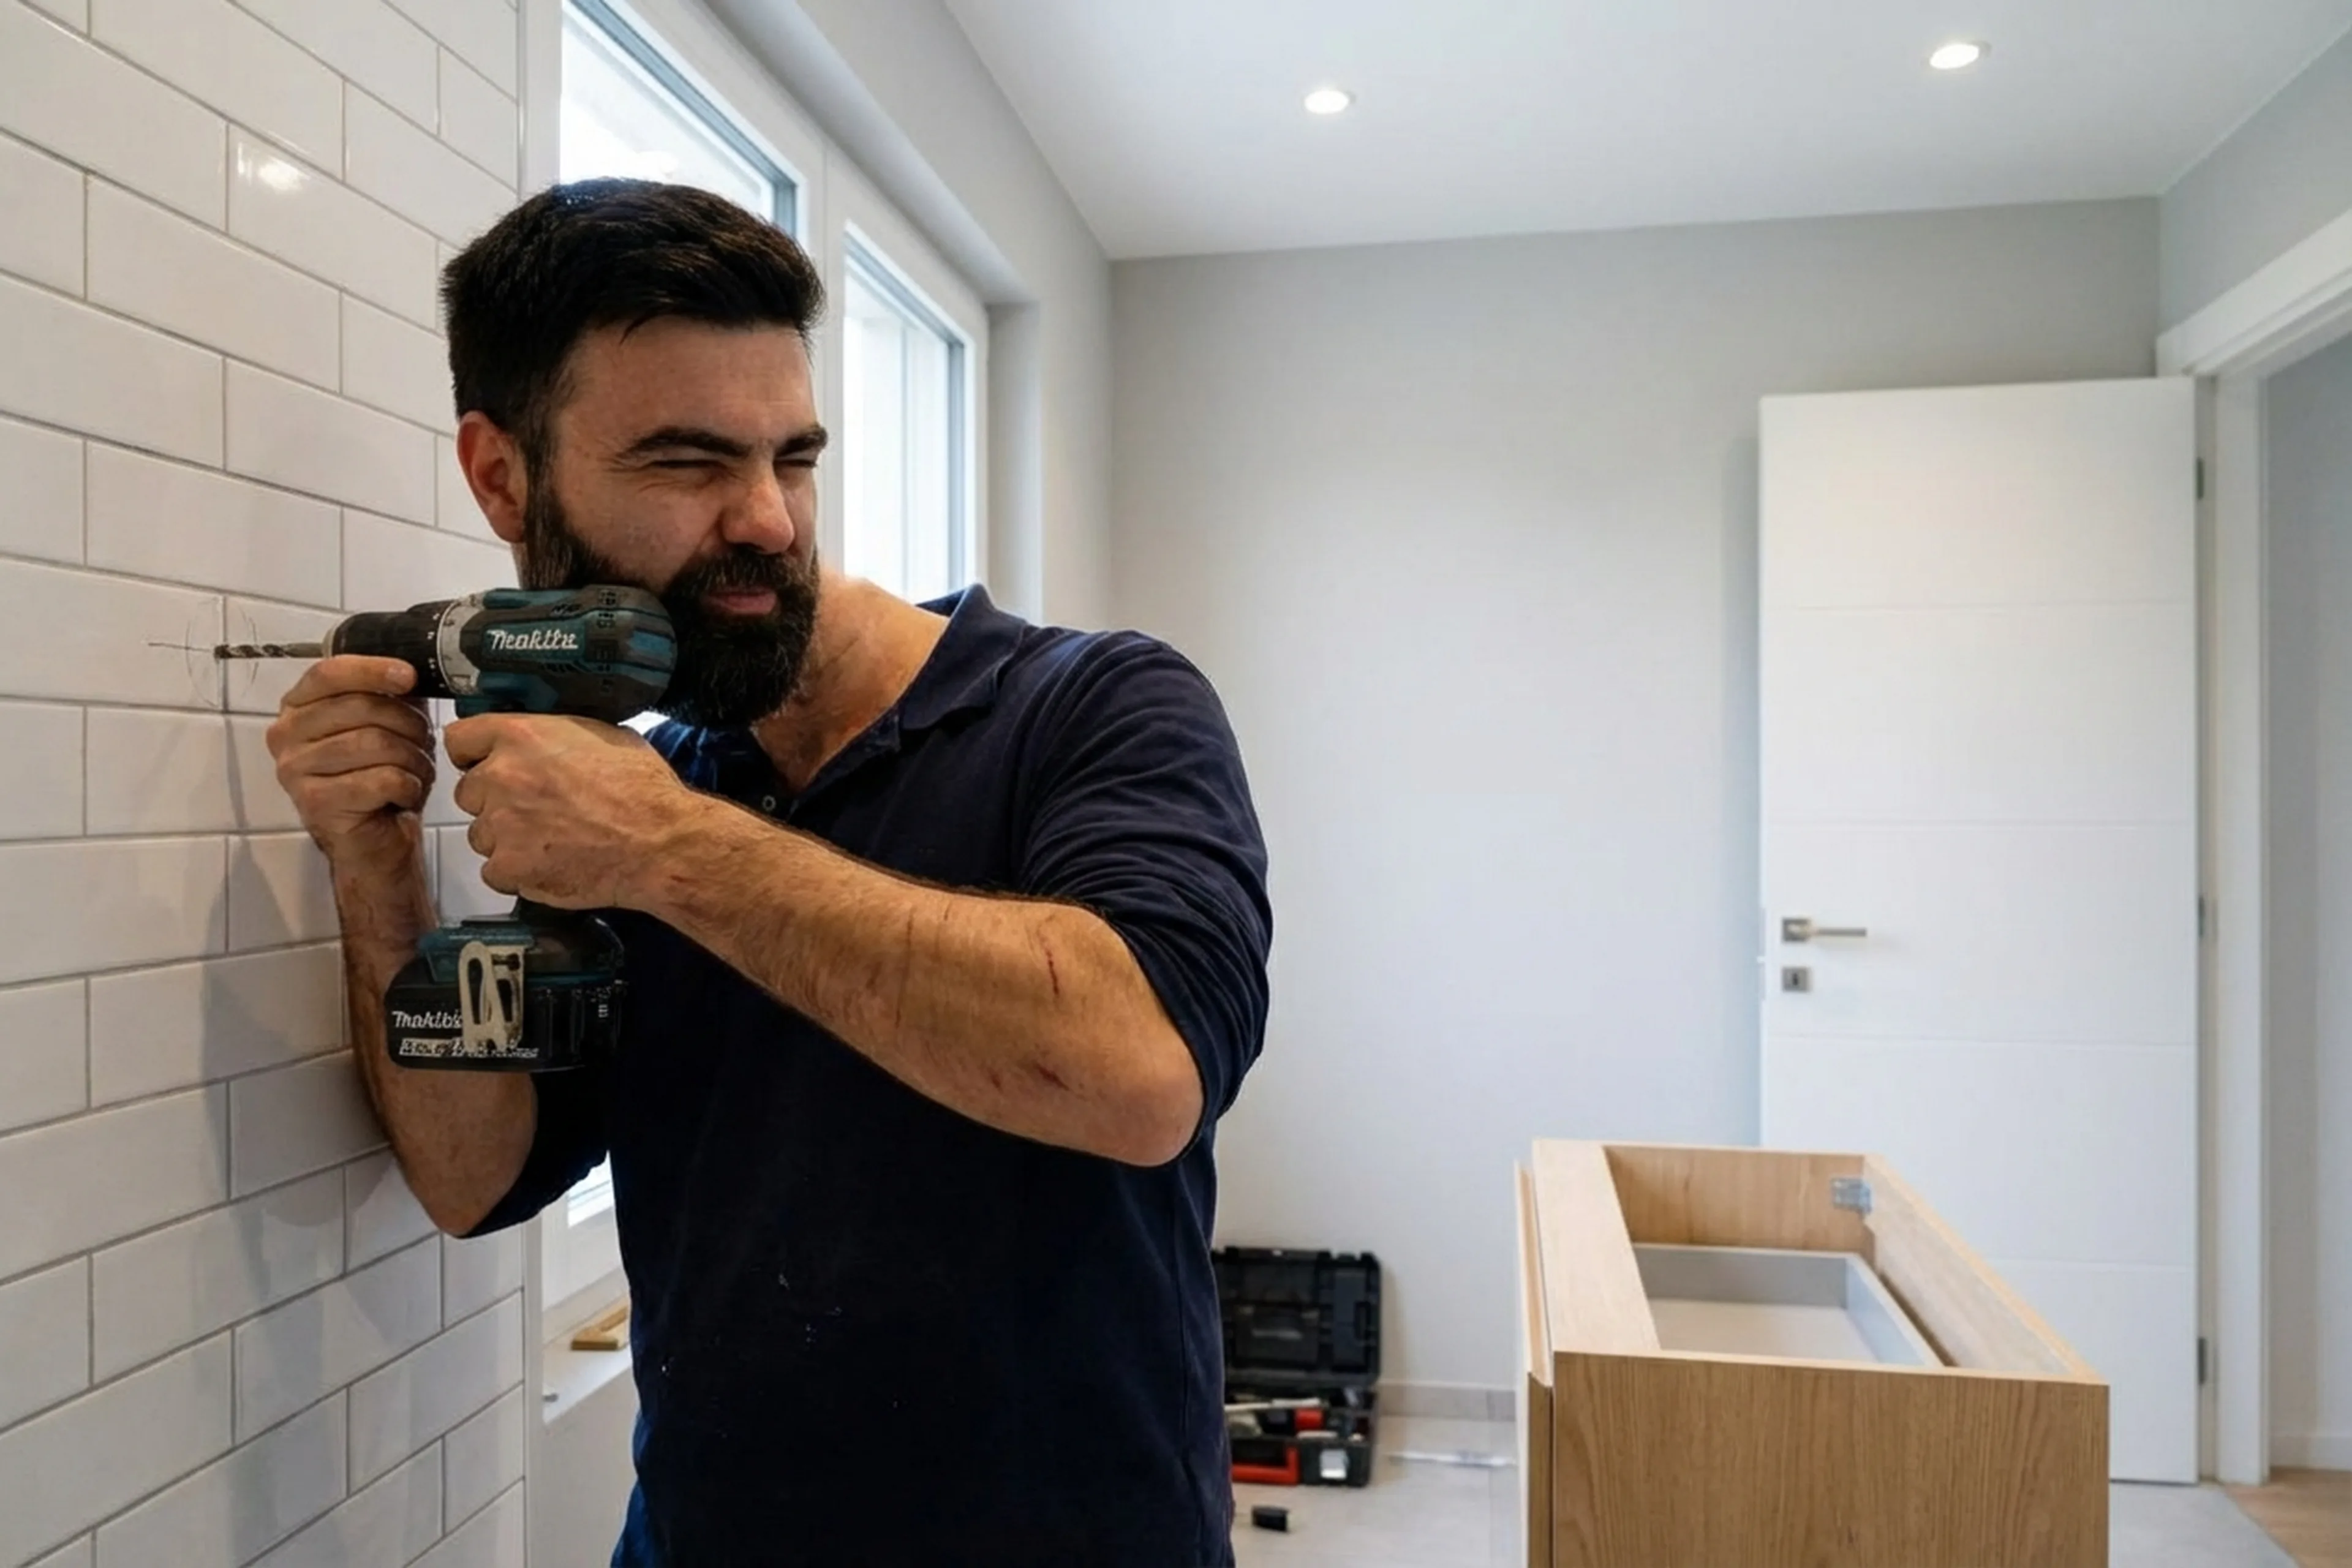
- Wall marking (for wall-hung models): they mark the fixing points, drill the holes, and fit anchors. For freestanding units they level the feet with a spirit level.
- Mounting the basin onto the cabinet: they fasten the bowl and seal the joint with silicone.
- Connecting the trap to the waste pipe. Tradespeople check that the trap bend fits inside the cabinet without catching on the shelves.
- Connecting the mixer tap: flexible hoses to the hot and cold feeds. If the tap has not yet been mounted on the basin, they fit it.
- Testing: they turn the water on and check every joint for several minutes. Tradespeople seal the gap between the unit and the wall.
Common mistakes
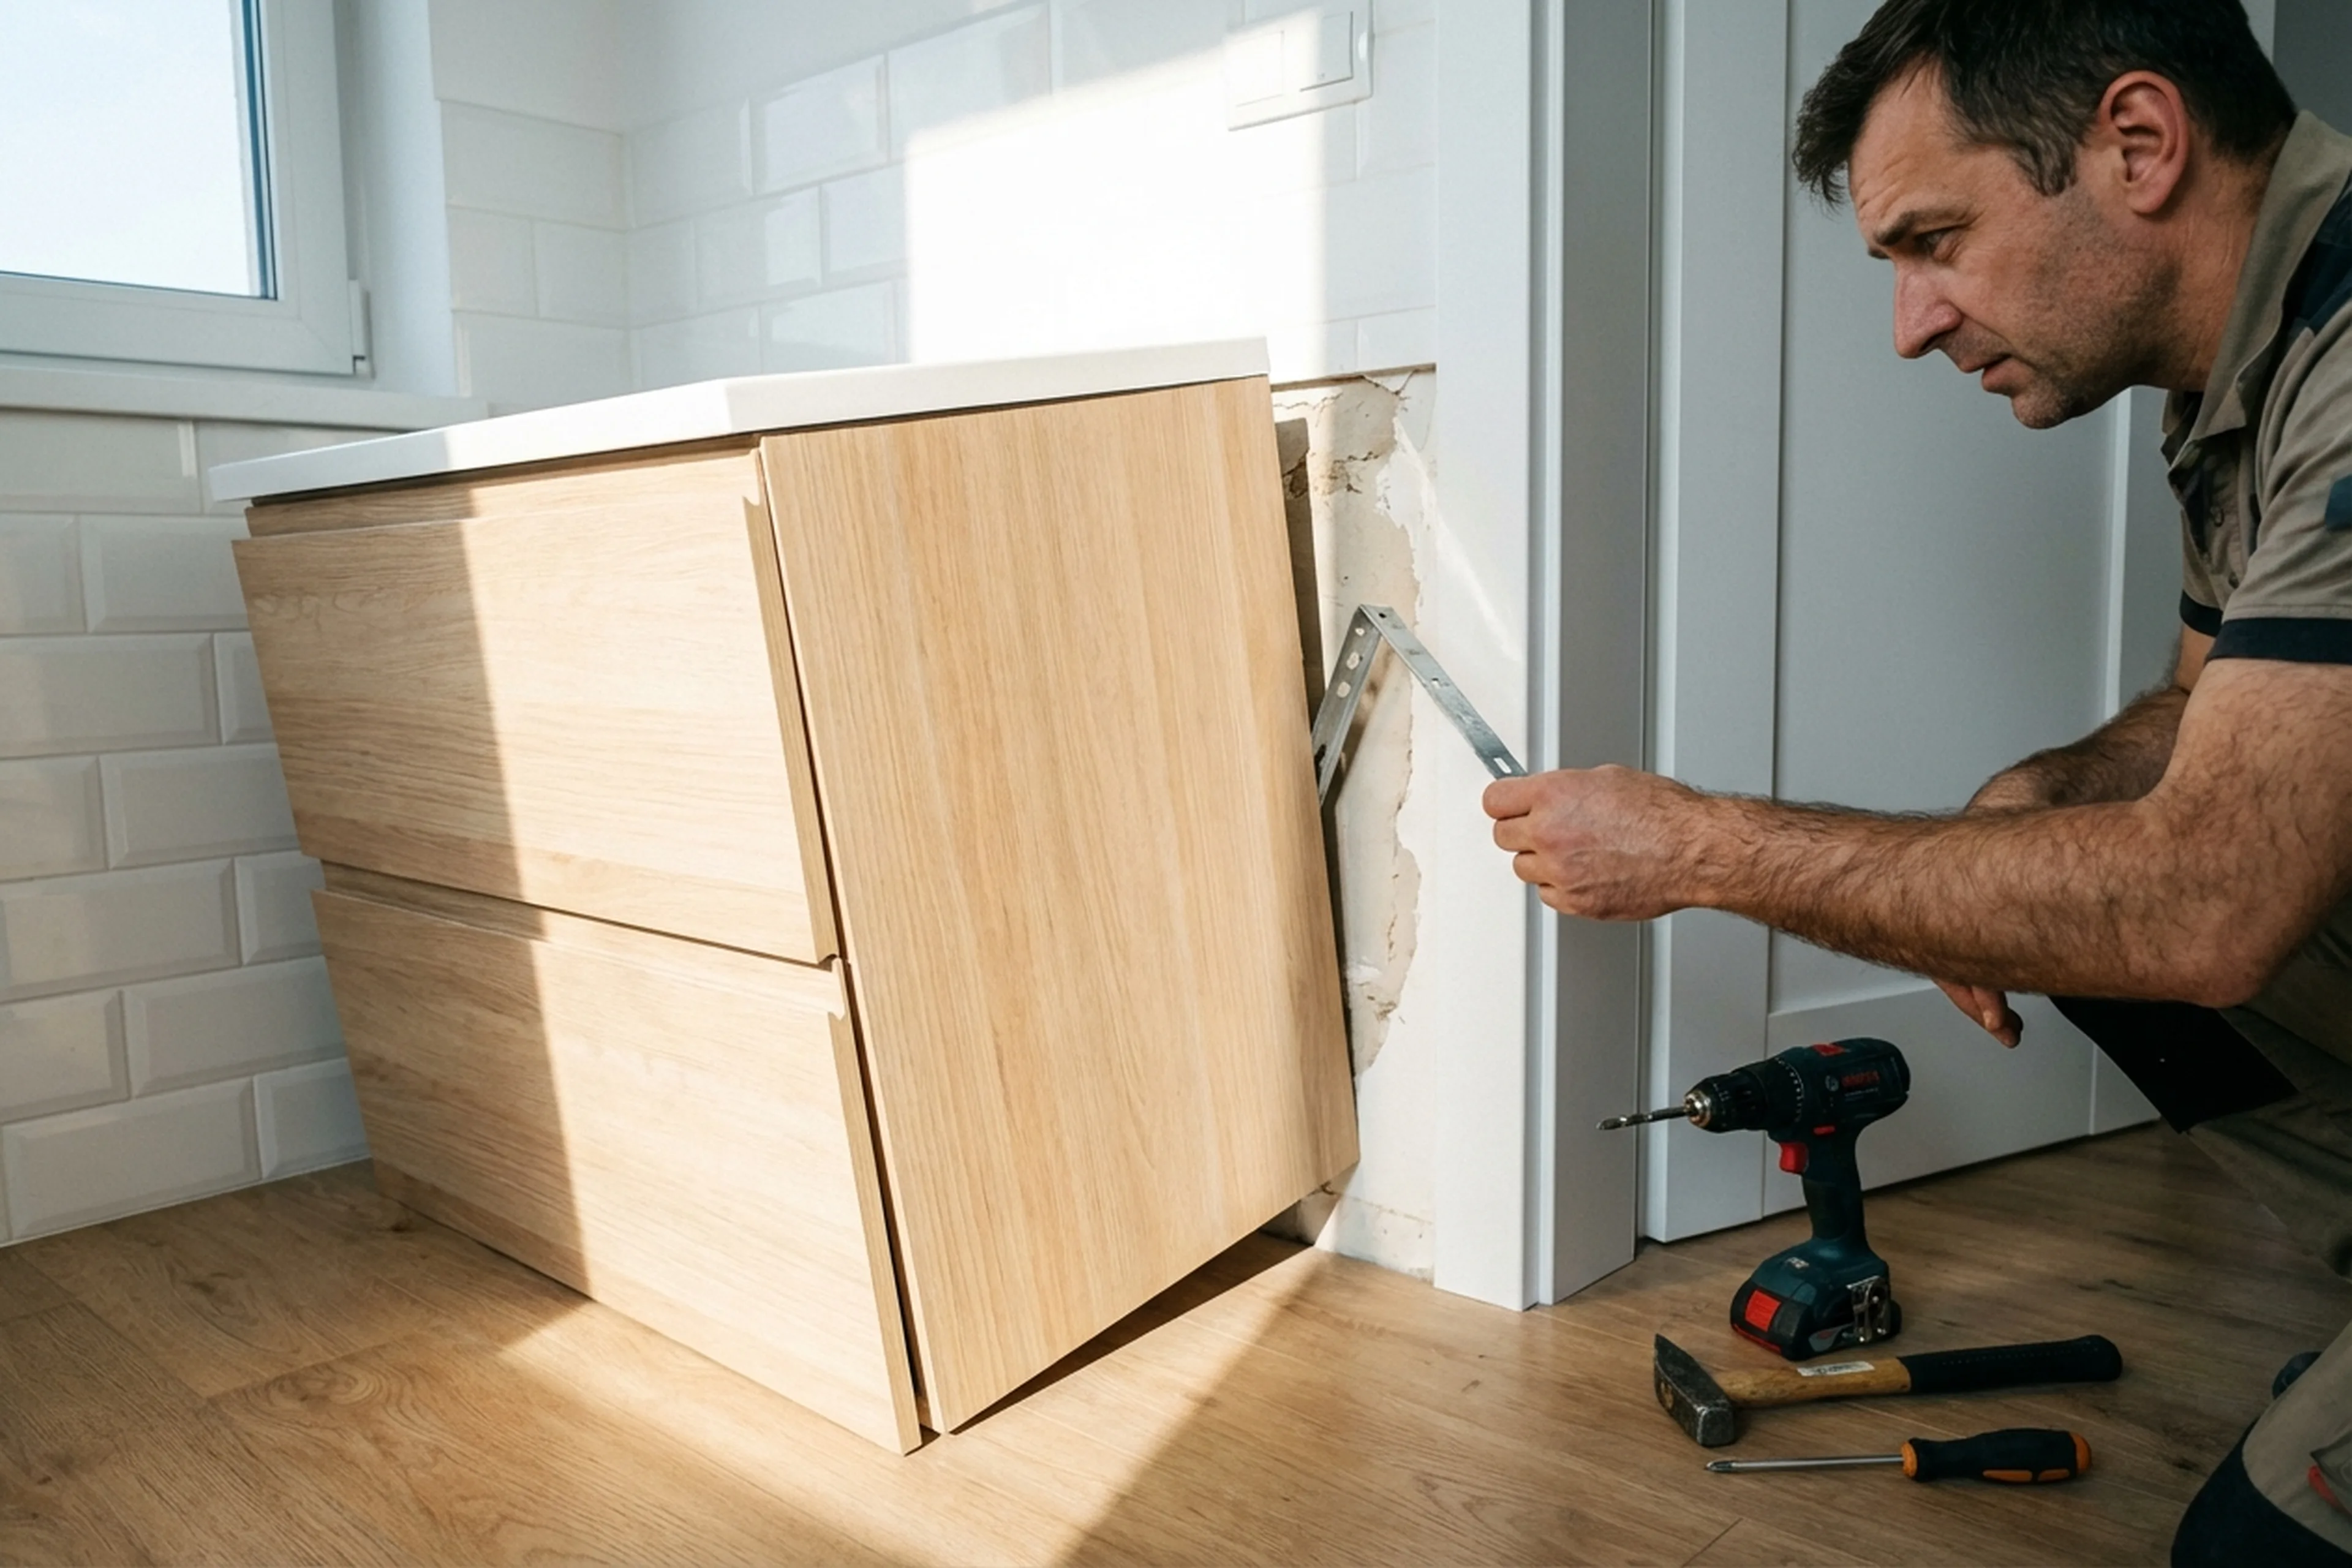
- Fixing a wall-mounted unit to plain plasterboard with no backing — after a month it pulls away, often taking part of the wall with it.
- Failing to check whether the trap fits inside the cabinet, then the shelf has to be cut or replaced with a flat trap.
- Leaving out silicone between the basin and the wall, water gets behind the unit, then mould appears.
- Overtightening flexible hoses with an adjustable spanner — the thread splits and water pours into the flat below.
- Shoving the unit tight against the riser: later there is no way to reach the shut-off valves.
- Not setting the cabinet level: water sits in the basin instead of running away.
- Using old flexible hoses again during reinstallation — the rubber inside is already perished, so a leak is only a matter of time.
Important: any work on the water supply comes with a leak risk. If you are not sure what condition your pipes or valves are in, it is better to bring in a professional than deal with the mess after a flood.
What to prepare before the visit
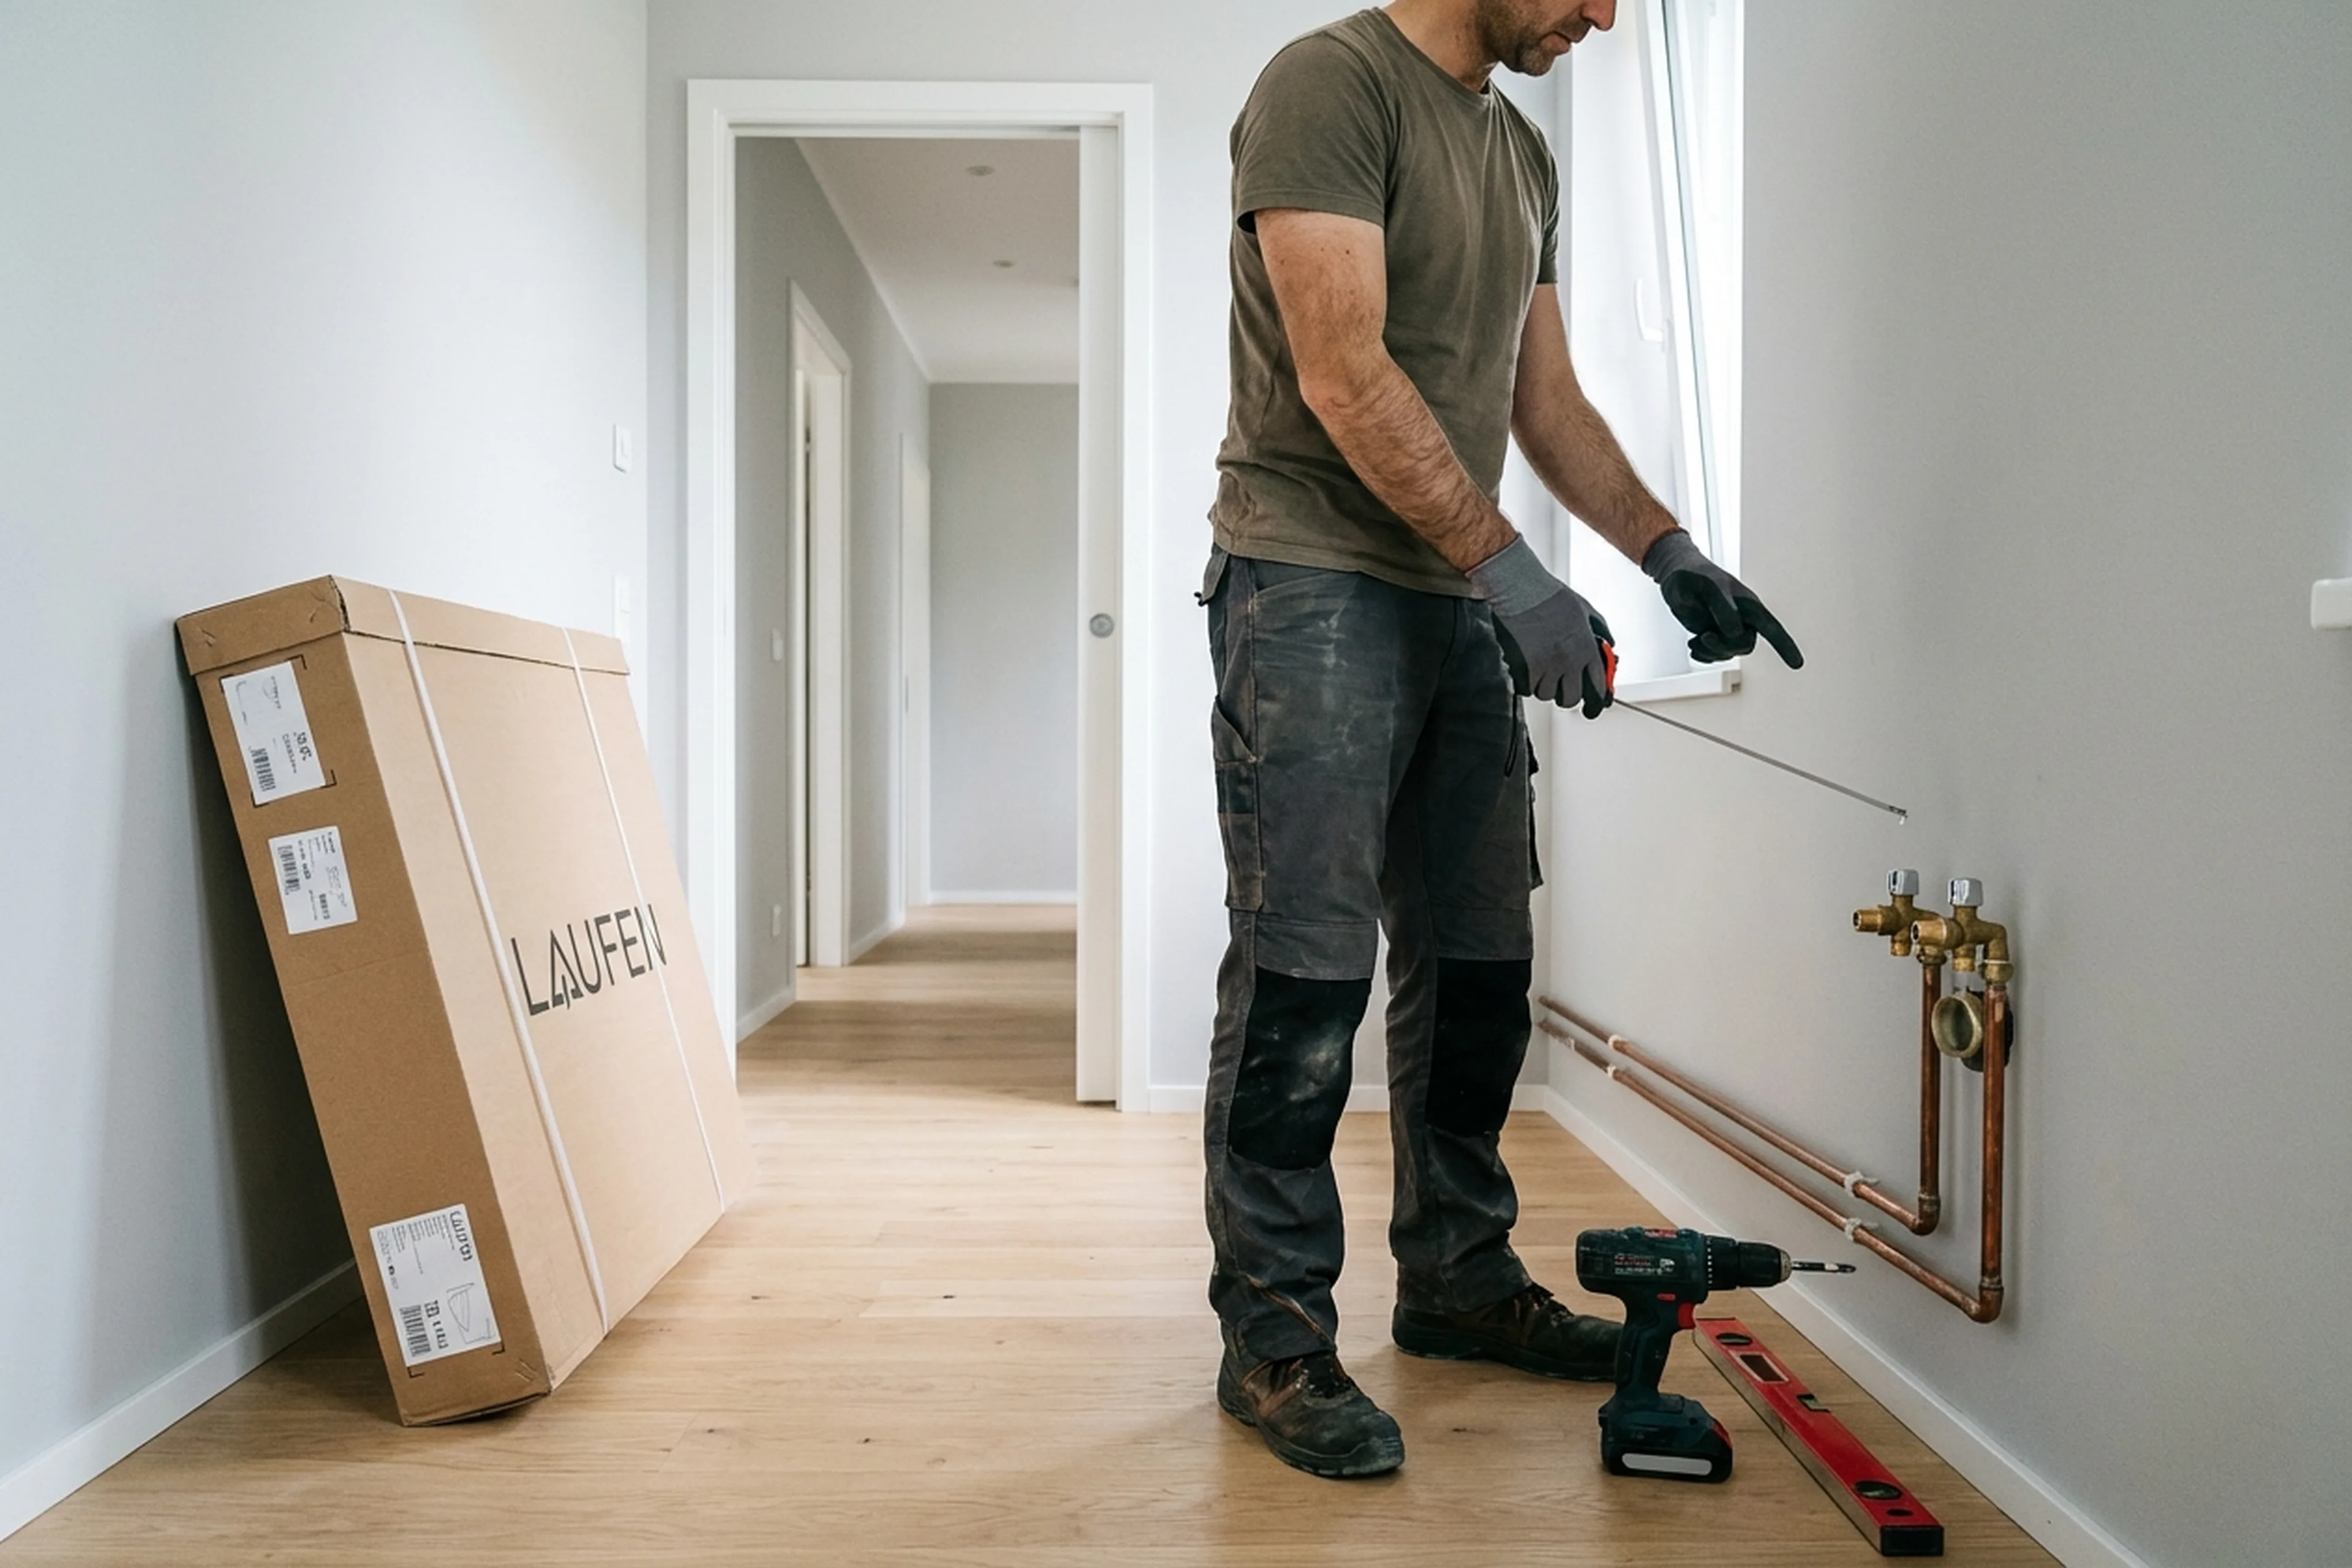
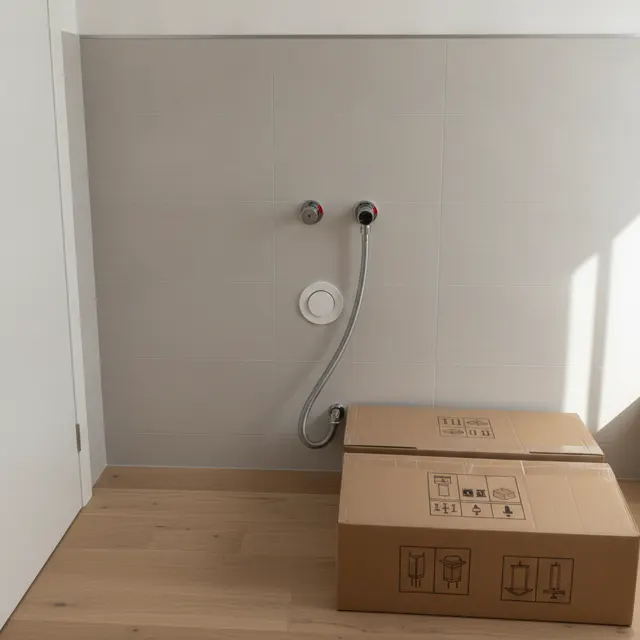
- The vanity unit and basin must be on site: still boxed or already unpacked.
- Mixer tap and flexible supply hoses: if you are purchasing them yourself, check the hose length (usually 30-50 cm).
- Trap — if one does not come with the basin, get it in advance (bottle trap or flat trap for slim cabinets).
- Make sure the water connection points are in the correct place and the shut-off valves work properly.
- Clear the bathroom: remove the old unit or basin if they are still there.
- Check the wall behind the unit: plasterboard needs special anchors; brick or concrete can take standard wall plugs.
- Make sure the waste outlet is accessible: it must not be covered with tiles.
- If you want both hot and cold connections but only cold is available, say so in the order beforehand.
A real case from Warsaw: vanity unit installation
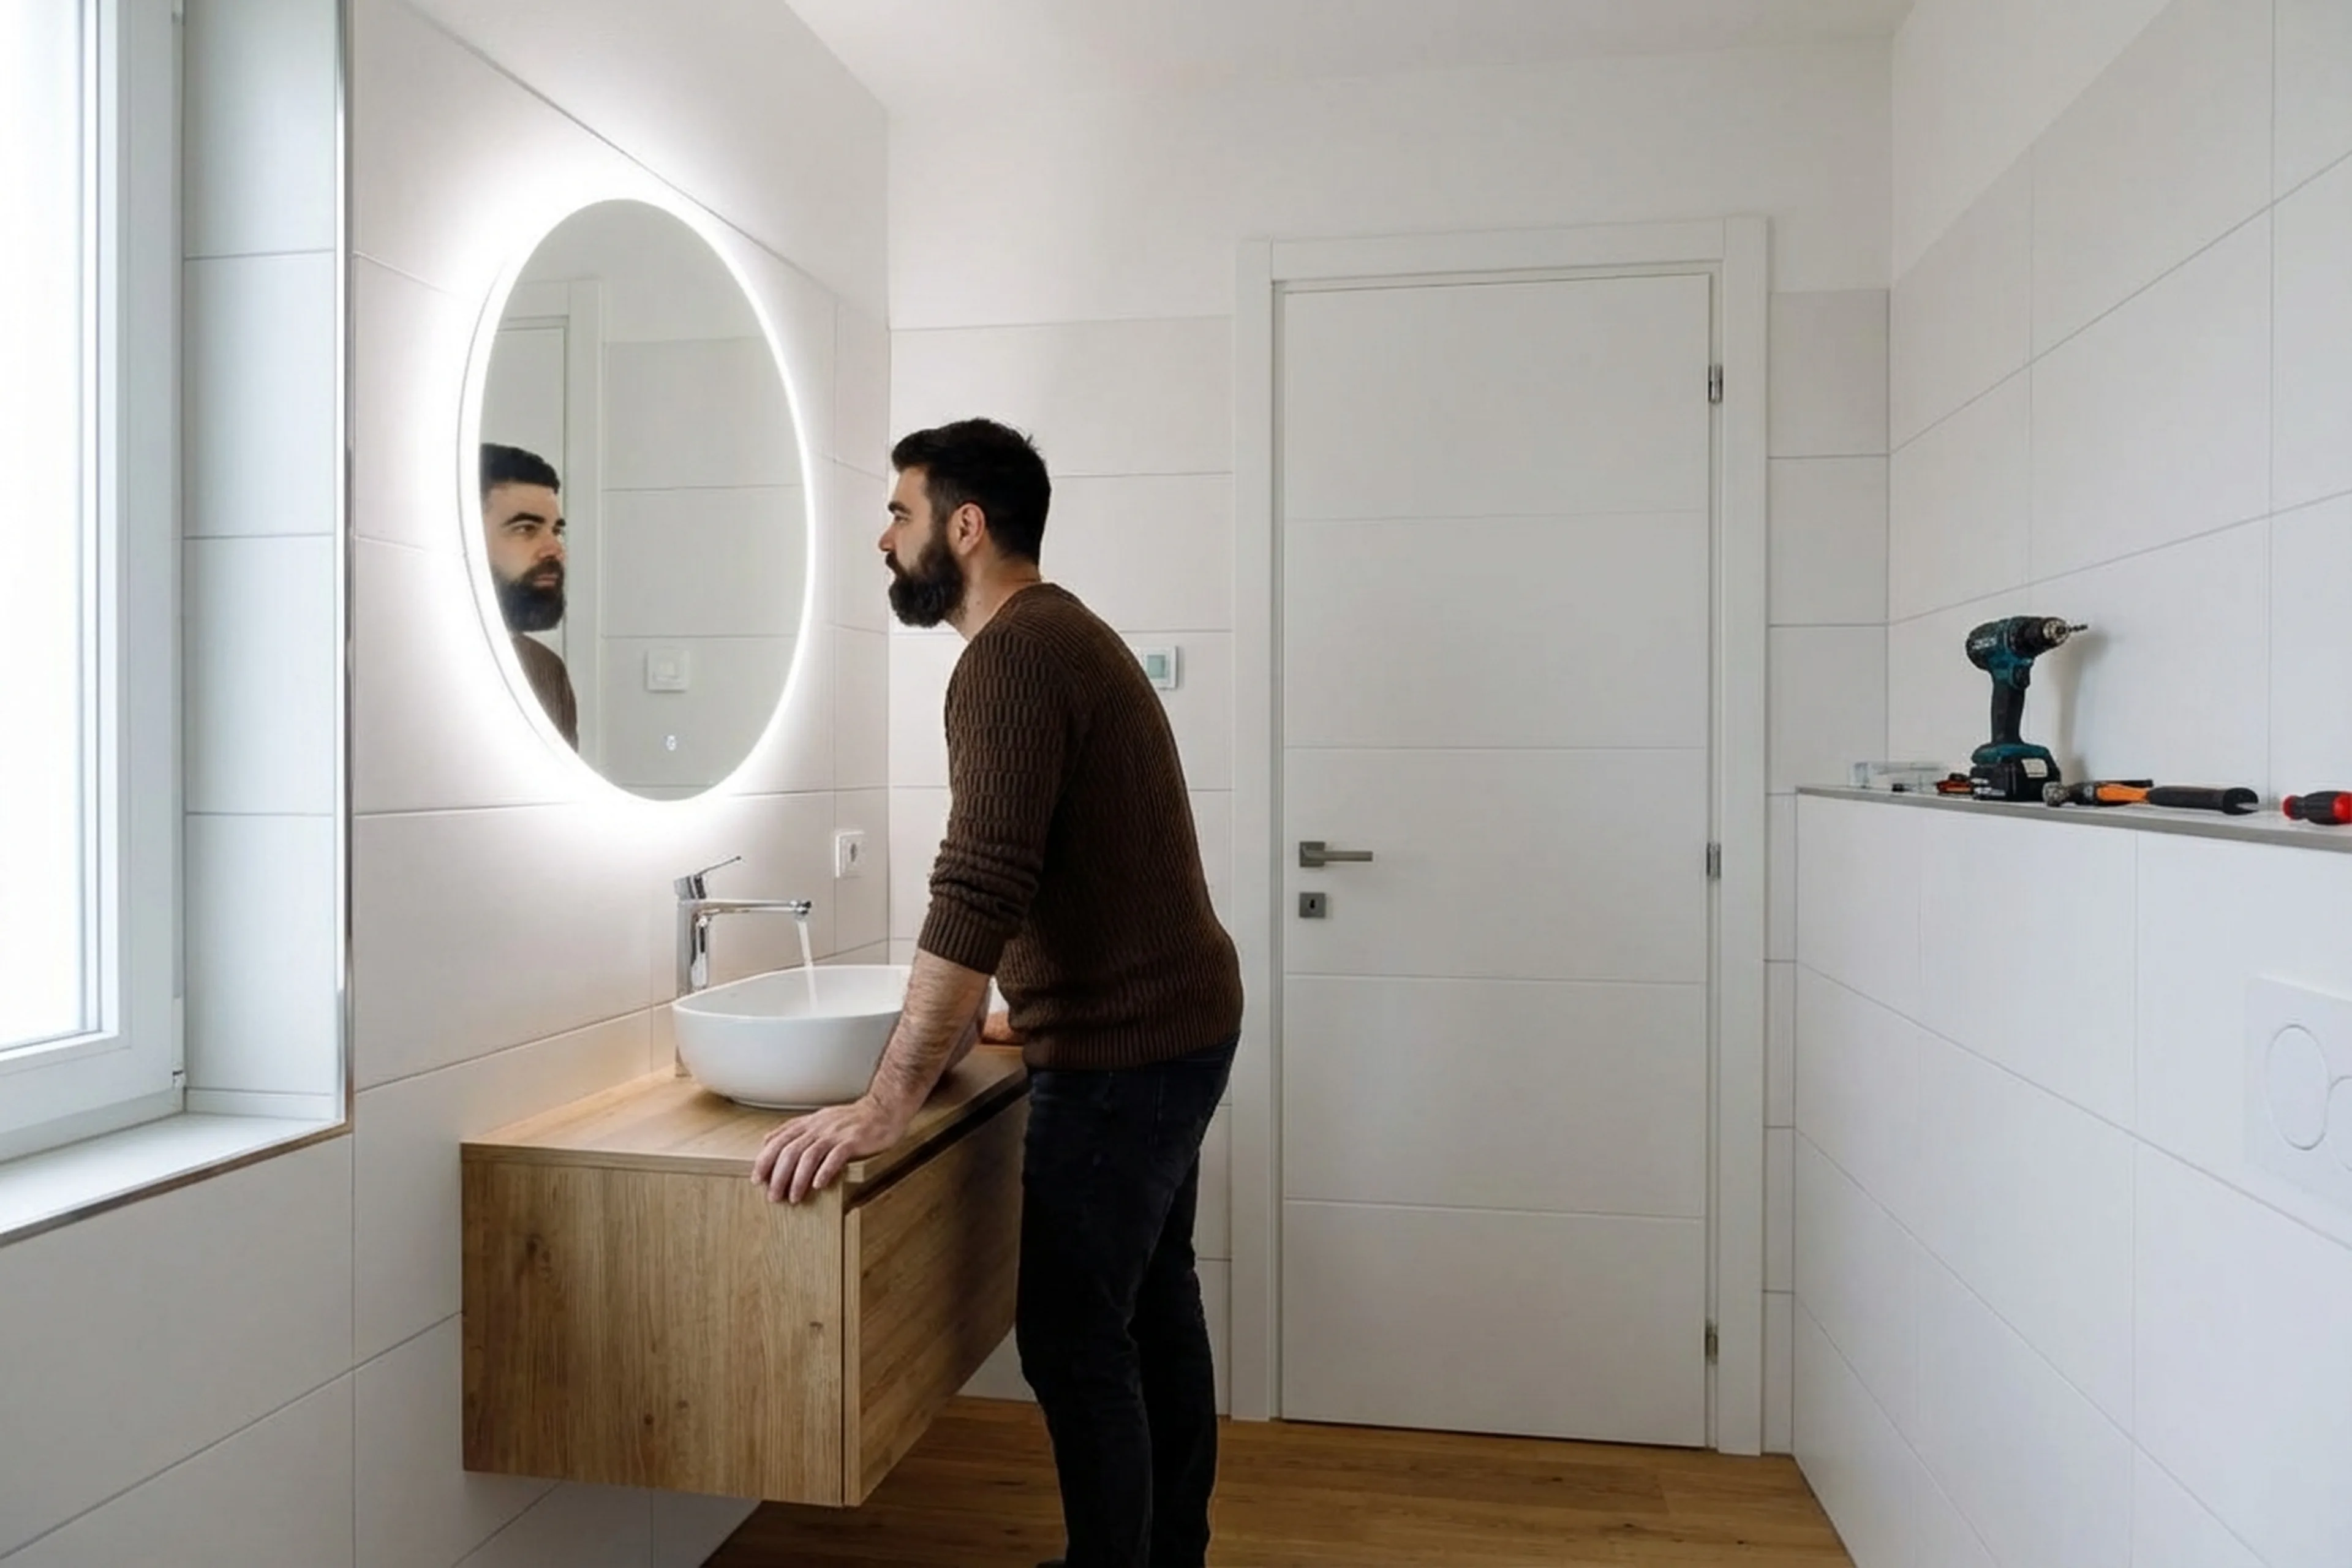
Tradespeople got a call to Wilanow. A young couple had bought a wall-hung double vanity, 120 cm wide. The wall was plasterboard on a metal frame with no timber backing. The previous tradesman had turned the job down. Tradespeople found the frame profiles with a detector and installed specialist plasterboard anchors at every fixing point. The unit sits solid: they load-tested it. Tradespeople put the cabinet together, fitted both basins, connected two traps and the mixer tap. The joints to the wall were sealed with white silicone. The whole job took around three hours. A week later the clients confirmed everything was dry and nothing had shifted.
Frequently asked questions
Wall-hung or freestanding: which is easier to install?
Freestanding is easier: place it, level the feet, connect the plumbing. A wall-hung unit needs anchors, and if the wall is plasterboard you need backing or specialist fixings. The time difference is about one hour.
Can the unit stand on underfloor heating?
A freestanding unit can, but the feet must not press on the heating cable. A wall-hung unit does not touch the floor at all, so there is no problem.
Do I need a new trap when replacing the vanity?
If the existing trap is in good shape and the height matches, you can leave it. More often, though, a compact bottle trap or flat trap is needed so it does not get in the way of the drawers.
Does the installer bring silicone and fixings?
Yes, standard fixings and silicone sealant are included. If you need a particular silicone colour or non-standard anchors, they sort that out beforehand.
How long does the installation take?
A freestanding single-basin unit takes one to one and a half hours. Wall-hung or double units take two to three hours. If the supply pipes need to be rerouted, it takes longer.
What if the pipes do not line up with the unit?
Tradespeople move the connection points or use flexible fittings. It is extra work, but it can still be done in a single visit.
Book vanity unit installation
A vanity unit fitted properly means a dry floor, plumbing that works, and furniture that will not come off the wall a month later. Tradespeople cover all of Warsaw and show up with tools and fixings ready to go.
Order in the app
Describe the job, add photos and the address. Tradespeople send their own prices and dates, and you pick one of the offers.
Open the app