How much does wall levelling after tile removal cost in Warsaw?
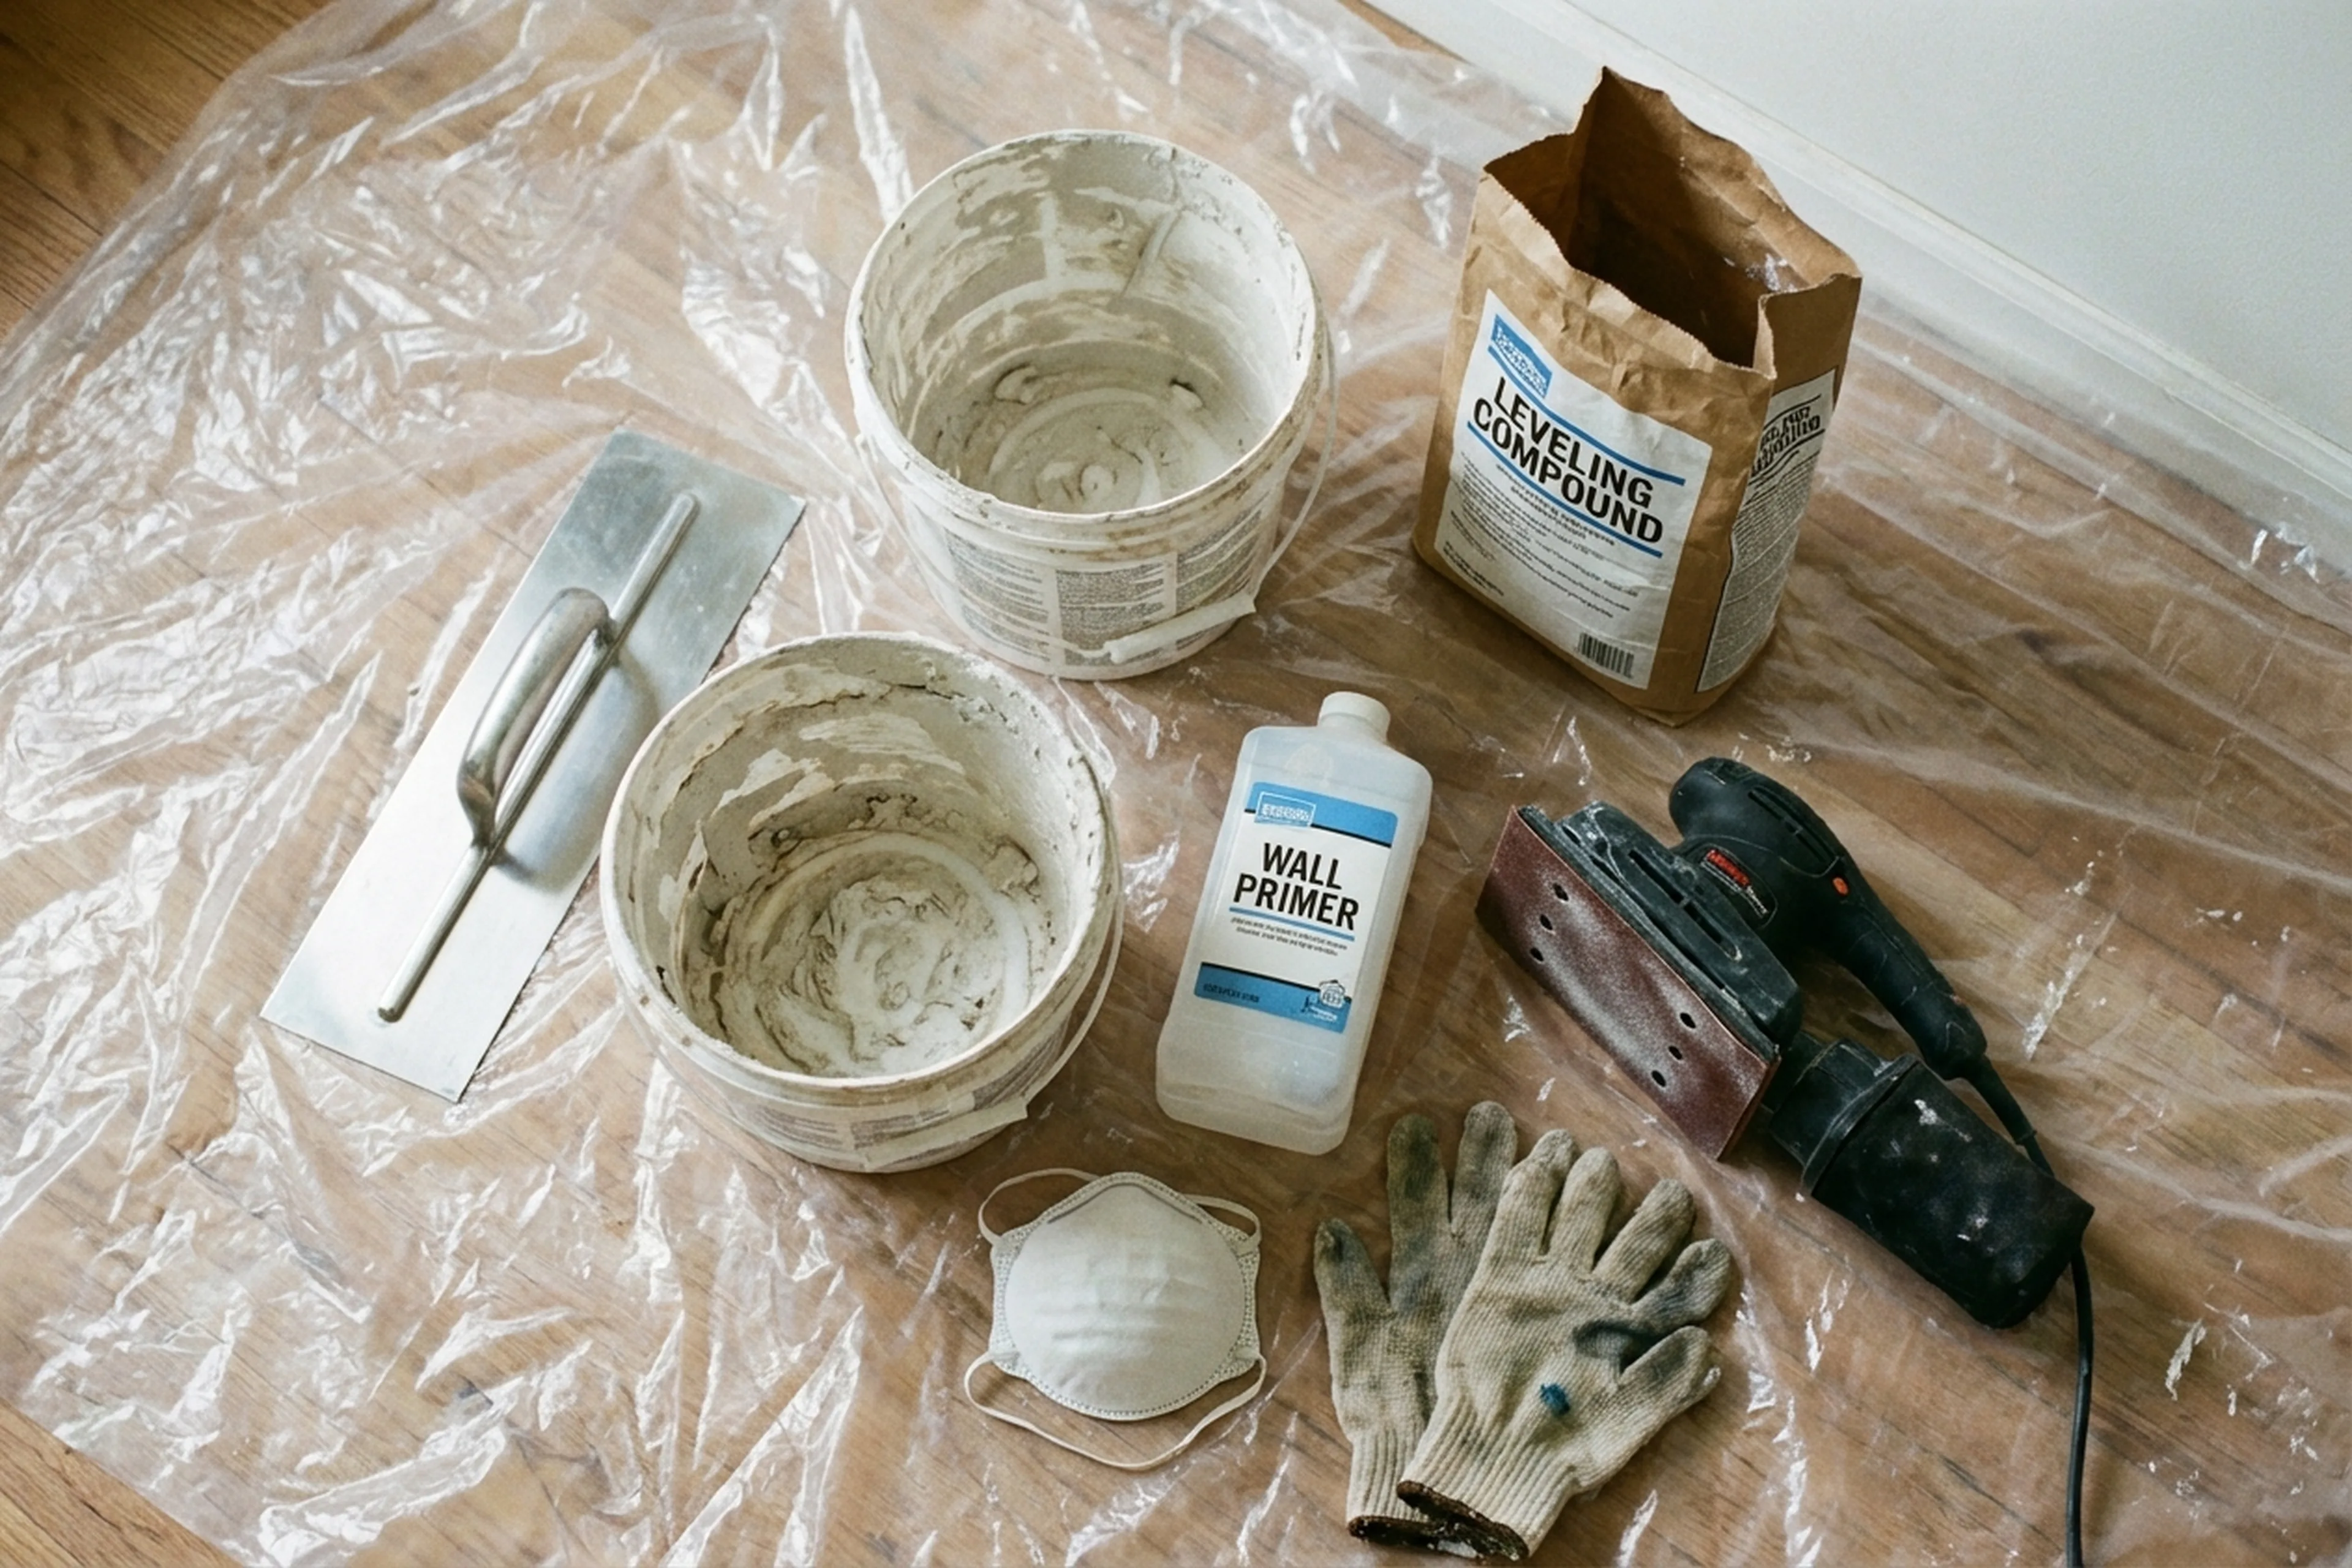
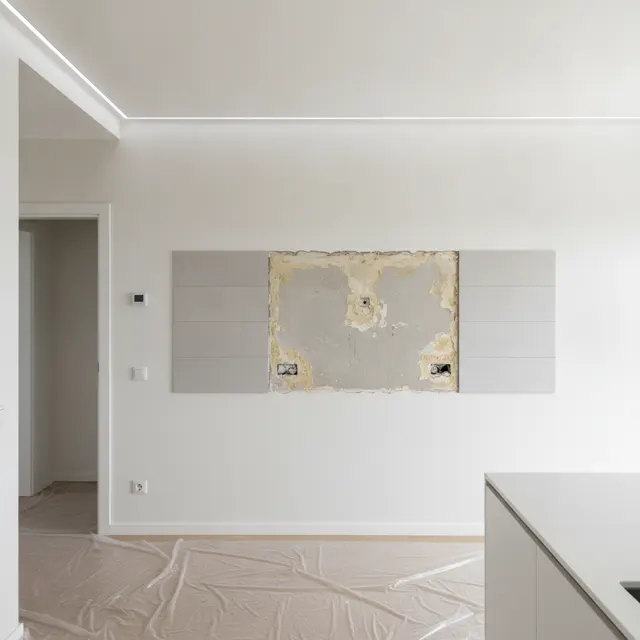
Current rates are shown in the table below. The price depends on the wall size, how deep the damage goes, and what the surface is being readied for (tiles, paint, wallpaper). If the adhesive came away cleanly, a light skim coat can be enough. If the plaster is ruined right down to the masonry, first you need a cement repair mortar, then levelling on top. Tools are included. Materials (compounds, primer) are billed separately.
| Service | Price |
|---|---|
| Covering furniture, doors, windows and floors | 20–25 zł/m² |
| Wall cleaning before painting | 15–25 zł/m² |
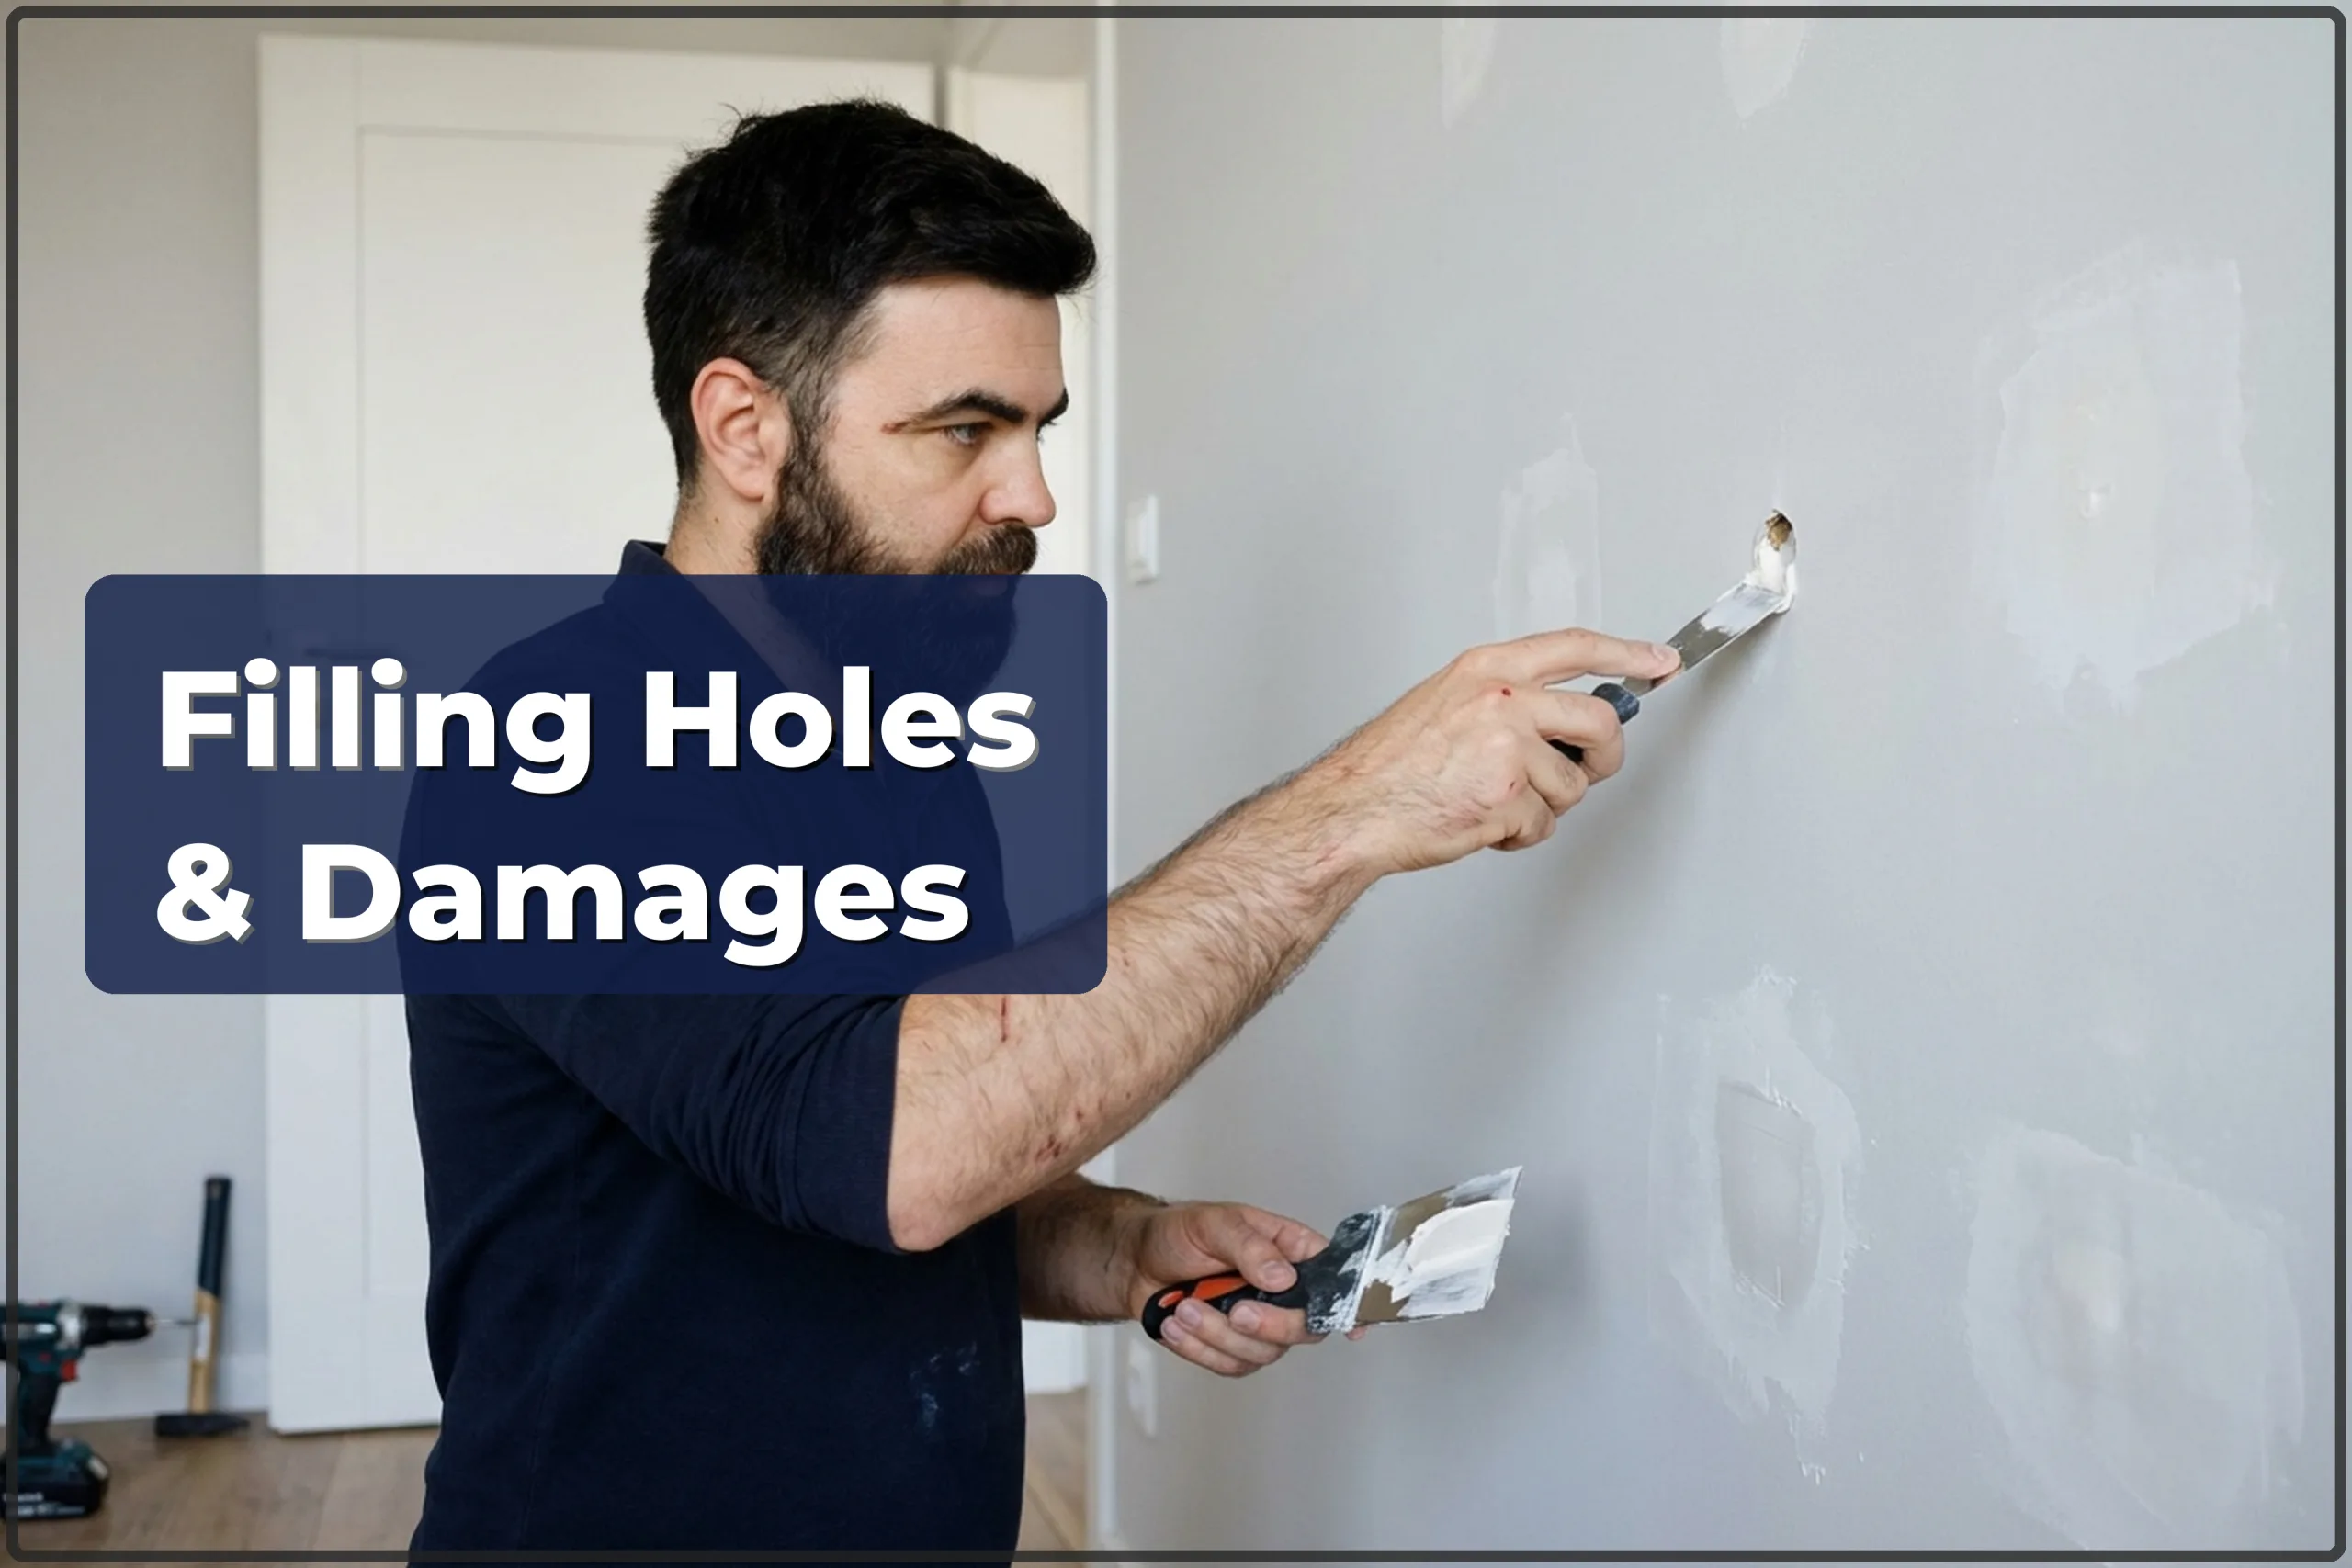
| Filling holes and damage | 20–35 zł/m² |
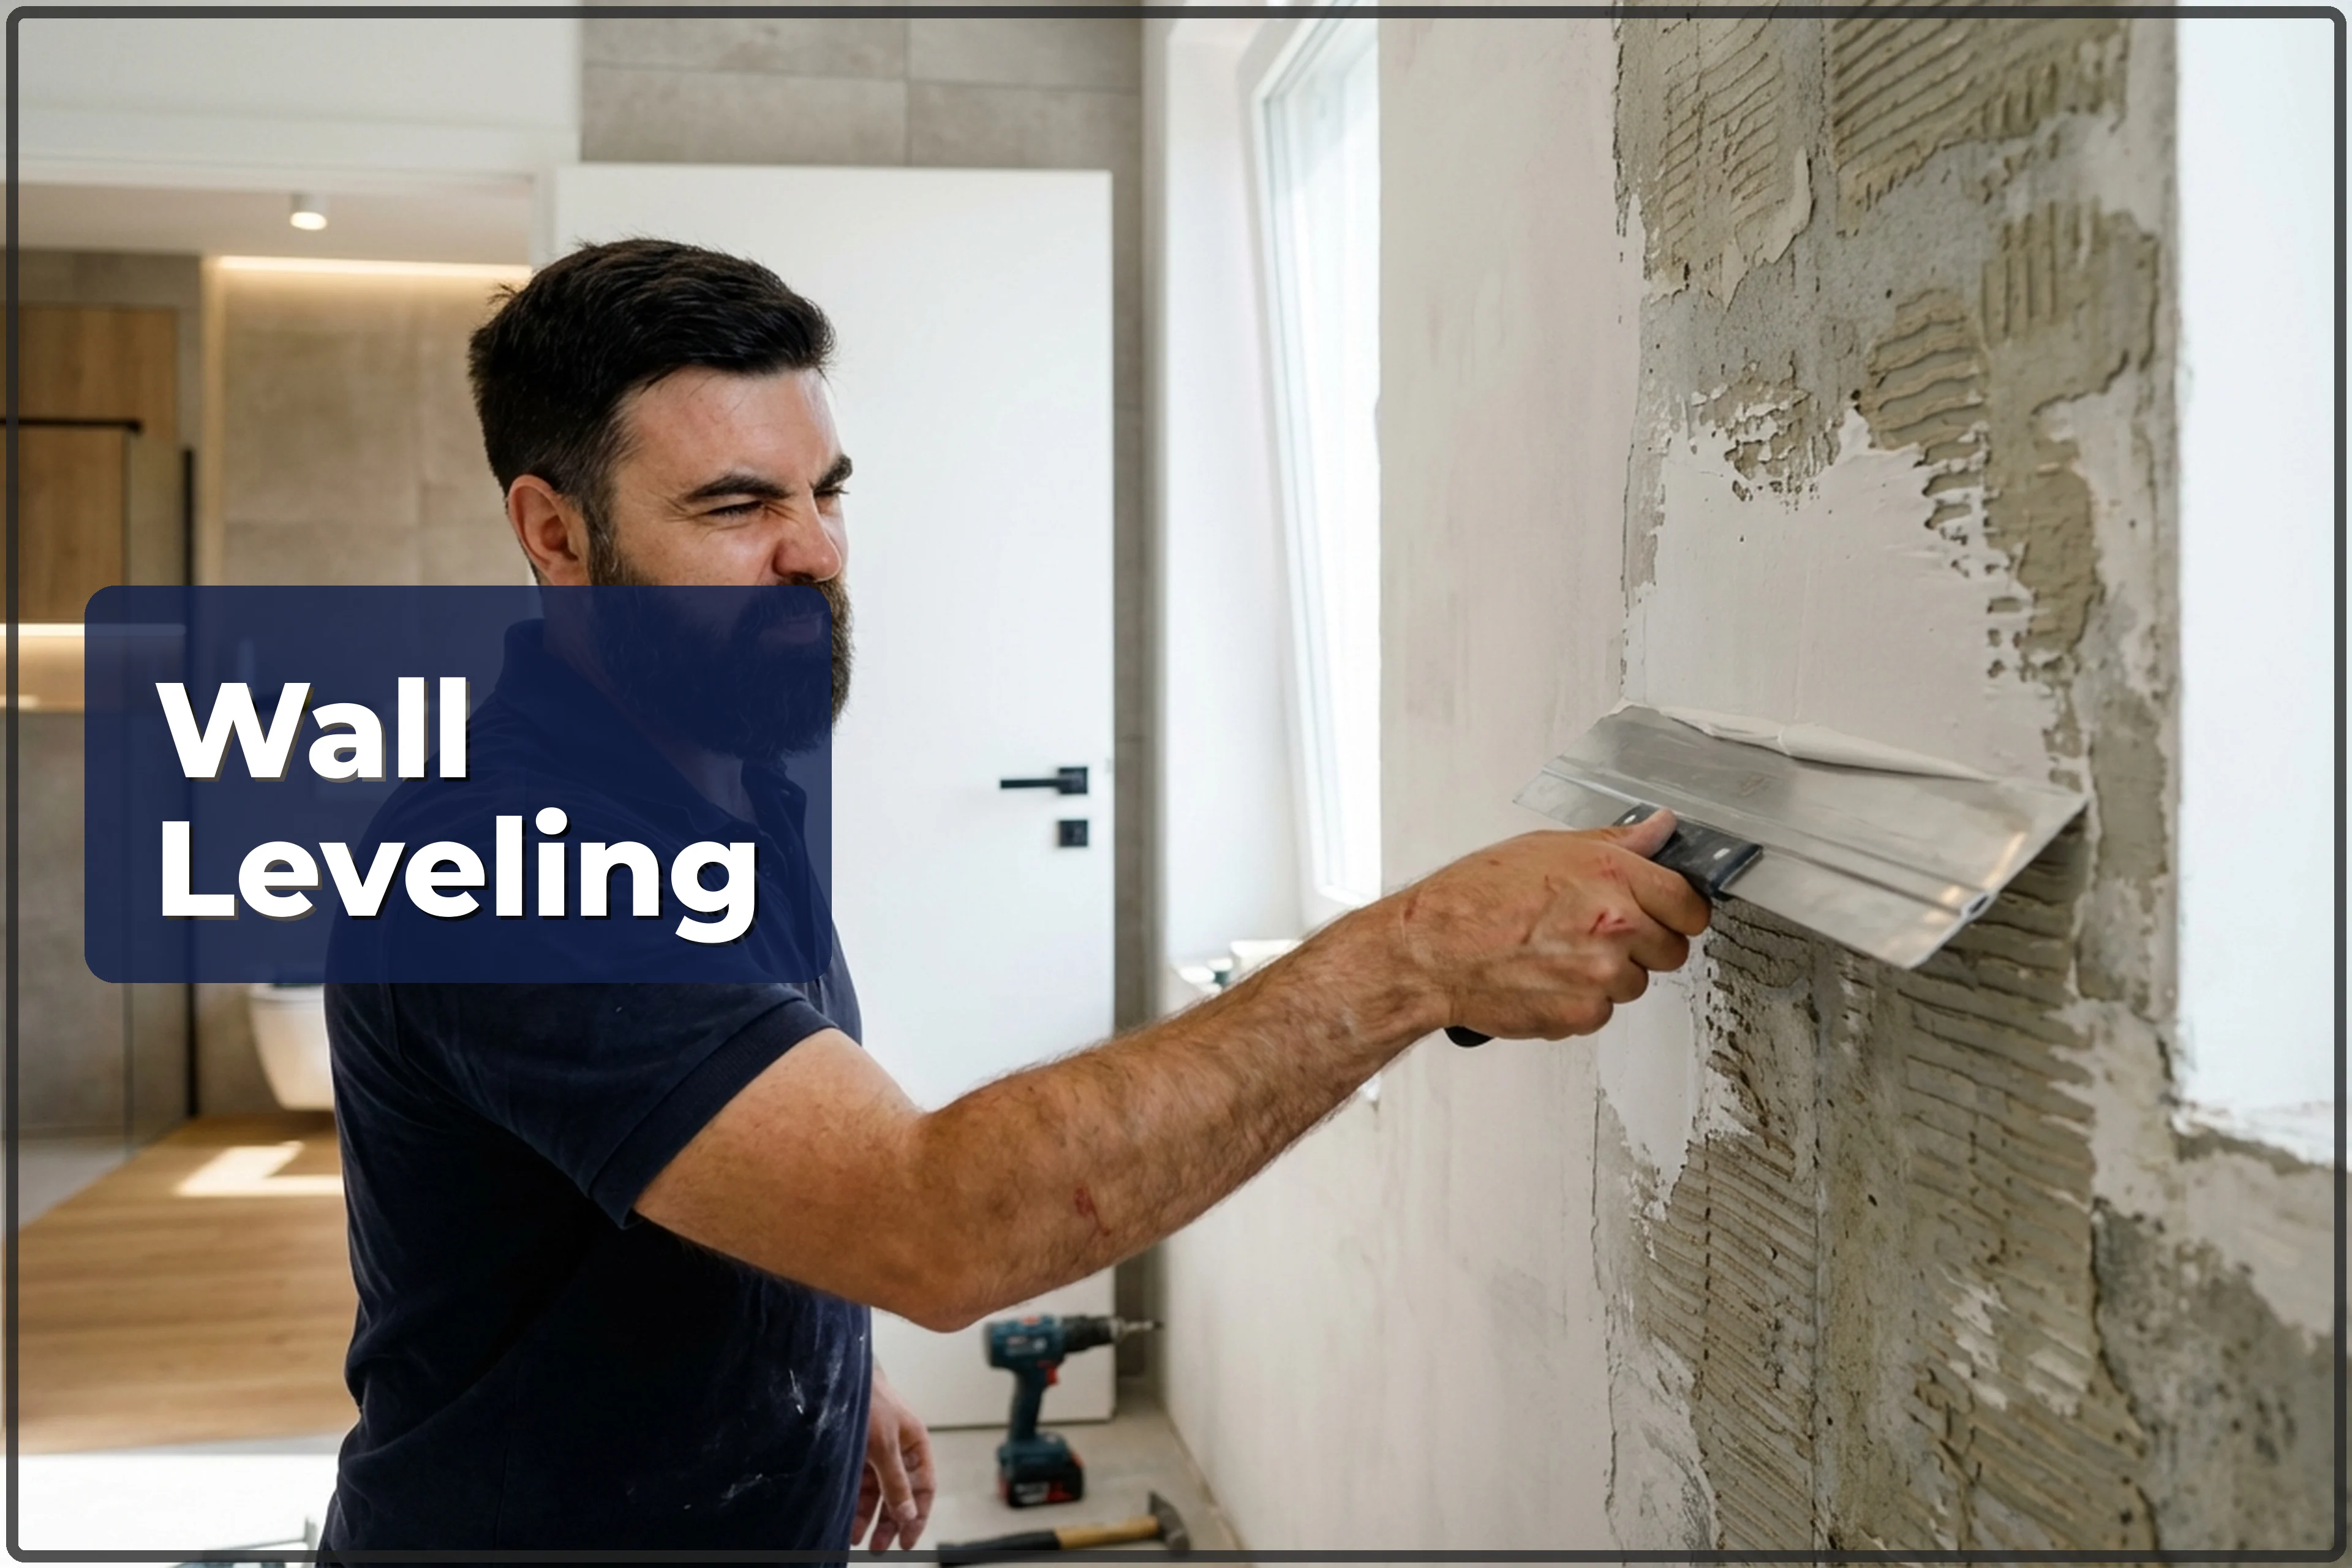
| Wall levelling after tile removal | 60–90 zł/m² |
| Ceiling levelling | 45–80 zł/m² |
| Priming before painting | 8–14 zł/m² |
| Gypsum skim coating | 55–90 zł/m² |
| Walls and ceilings, one colour (2 coats) | 30–50 zł/m² |
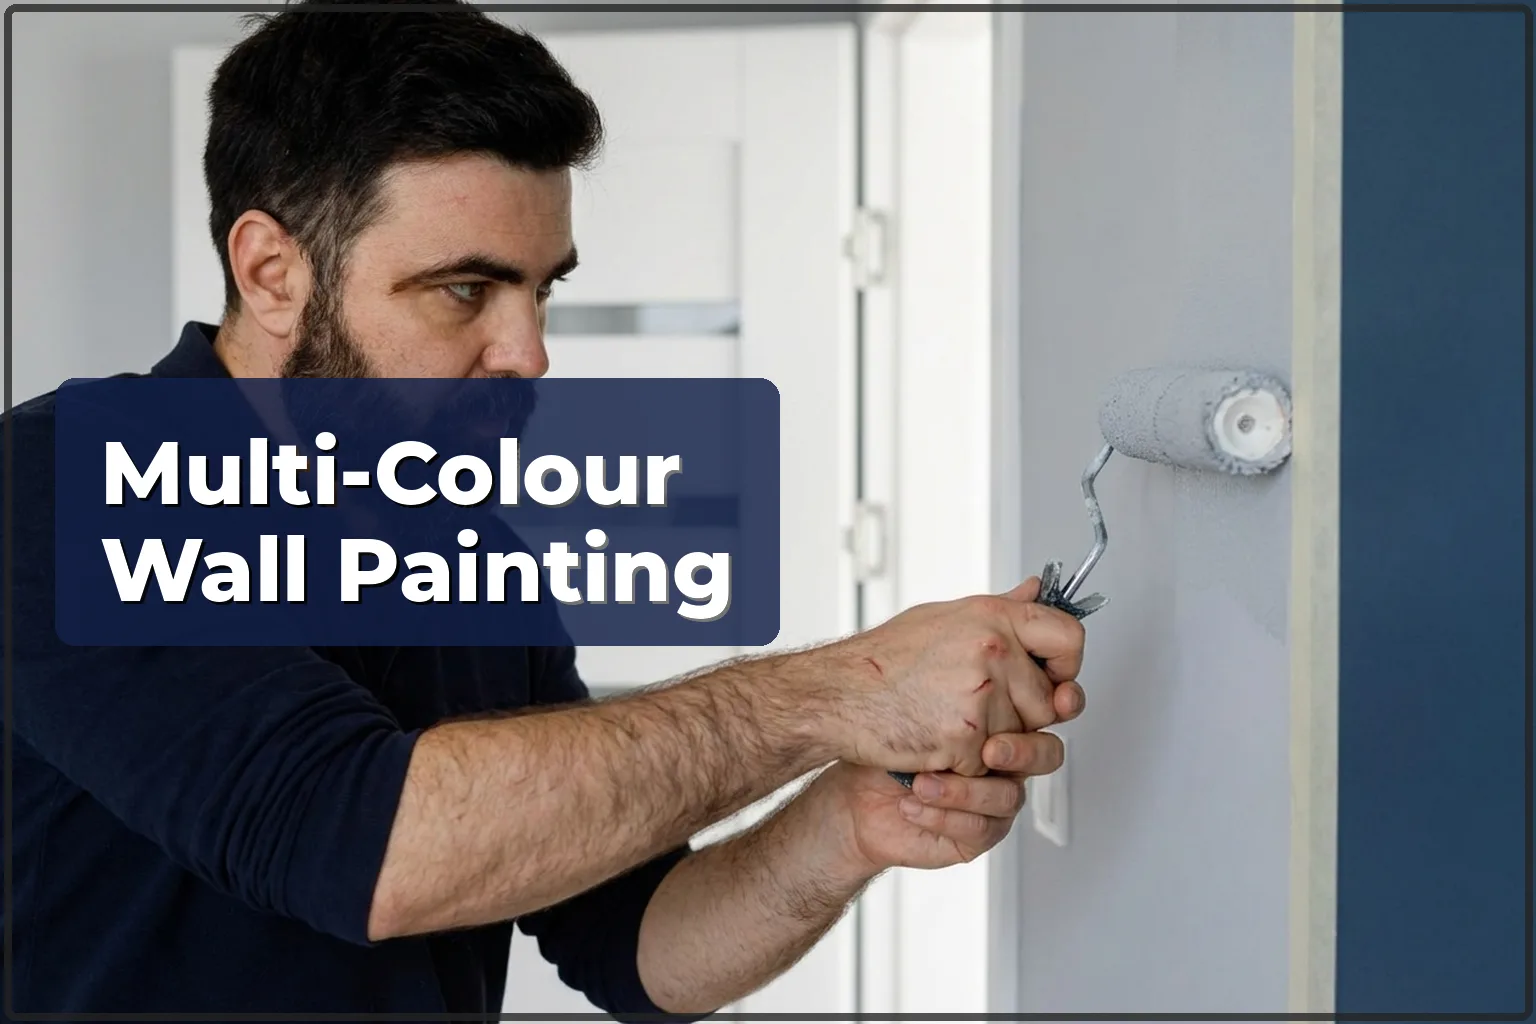
| Walls in different colours | 40–60 zł/m² |
Indicative prices. Ranges for a typical scope. Fixings included, materials separate. Minimum order 300 zł.
What it costs and how to book: tile laying in Warsaw.
How wall levelling after tile removal is done
- Wall inspection: the technician checks how much adhesive is still on the wall, whether the plaster is holding, and if any areas are exposed down to brick or concrete.
- Mechanical cleaning: a rotary hammer with a chisel bit or a wide scraper is used to get rid of the old tile adhesive. In 1970s panel blocks around Wola, cement-based adhesive can be hard as stone — then a rotary hammer is the only thing that works.
- Dust removal and priming: once the wall is cleaned, vacuum first, then a deep-penetrating primer. Without that, no compound will stick properly.
- Patching large voids: holes and damage deeper than 10 mm are filled with cement repair mortar and left to set.
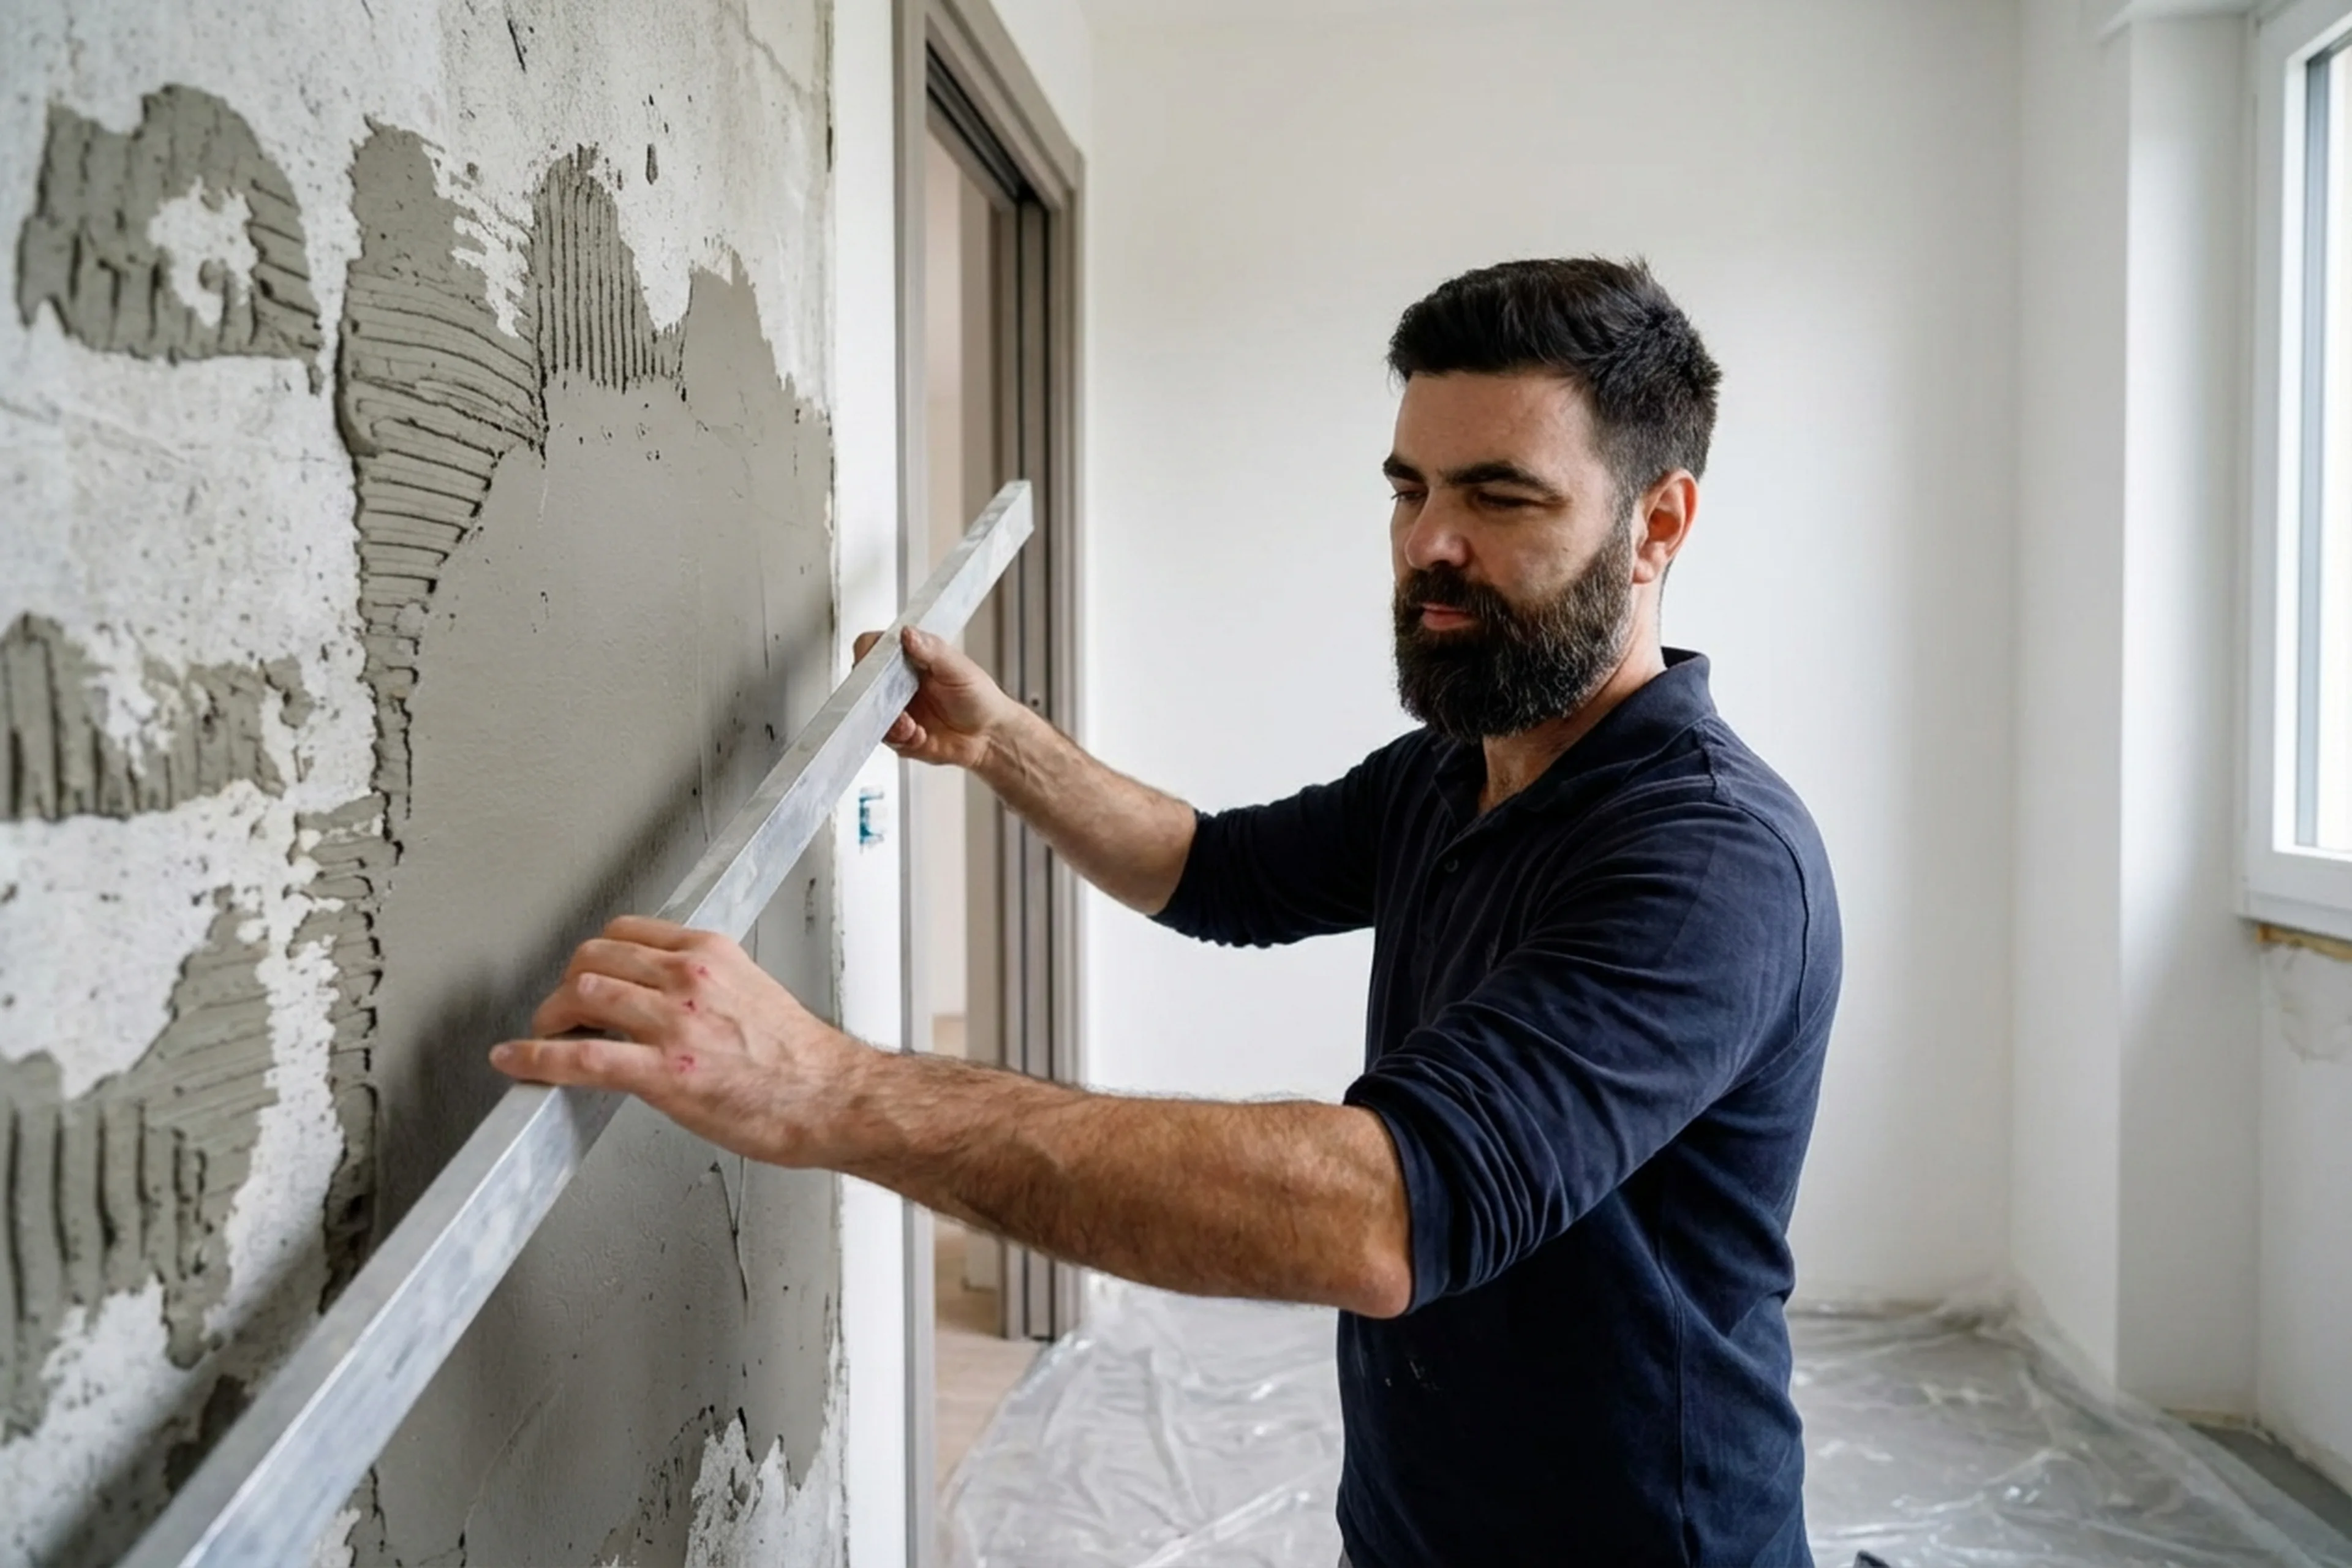
- Levelling: filler is applied (gypsum in dry rooms, cement or polymer in bathrooms). Either with a long straight edge or a wide trowel: depending on the surface.
- Sanding: after drying — with a power sander or by hand. Checked in angled light.
- Final priming: getting the surface ready for paint, wallpaper, or new tiles.
Common mistakes when levelling after tile removal
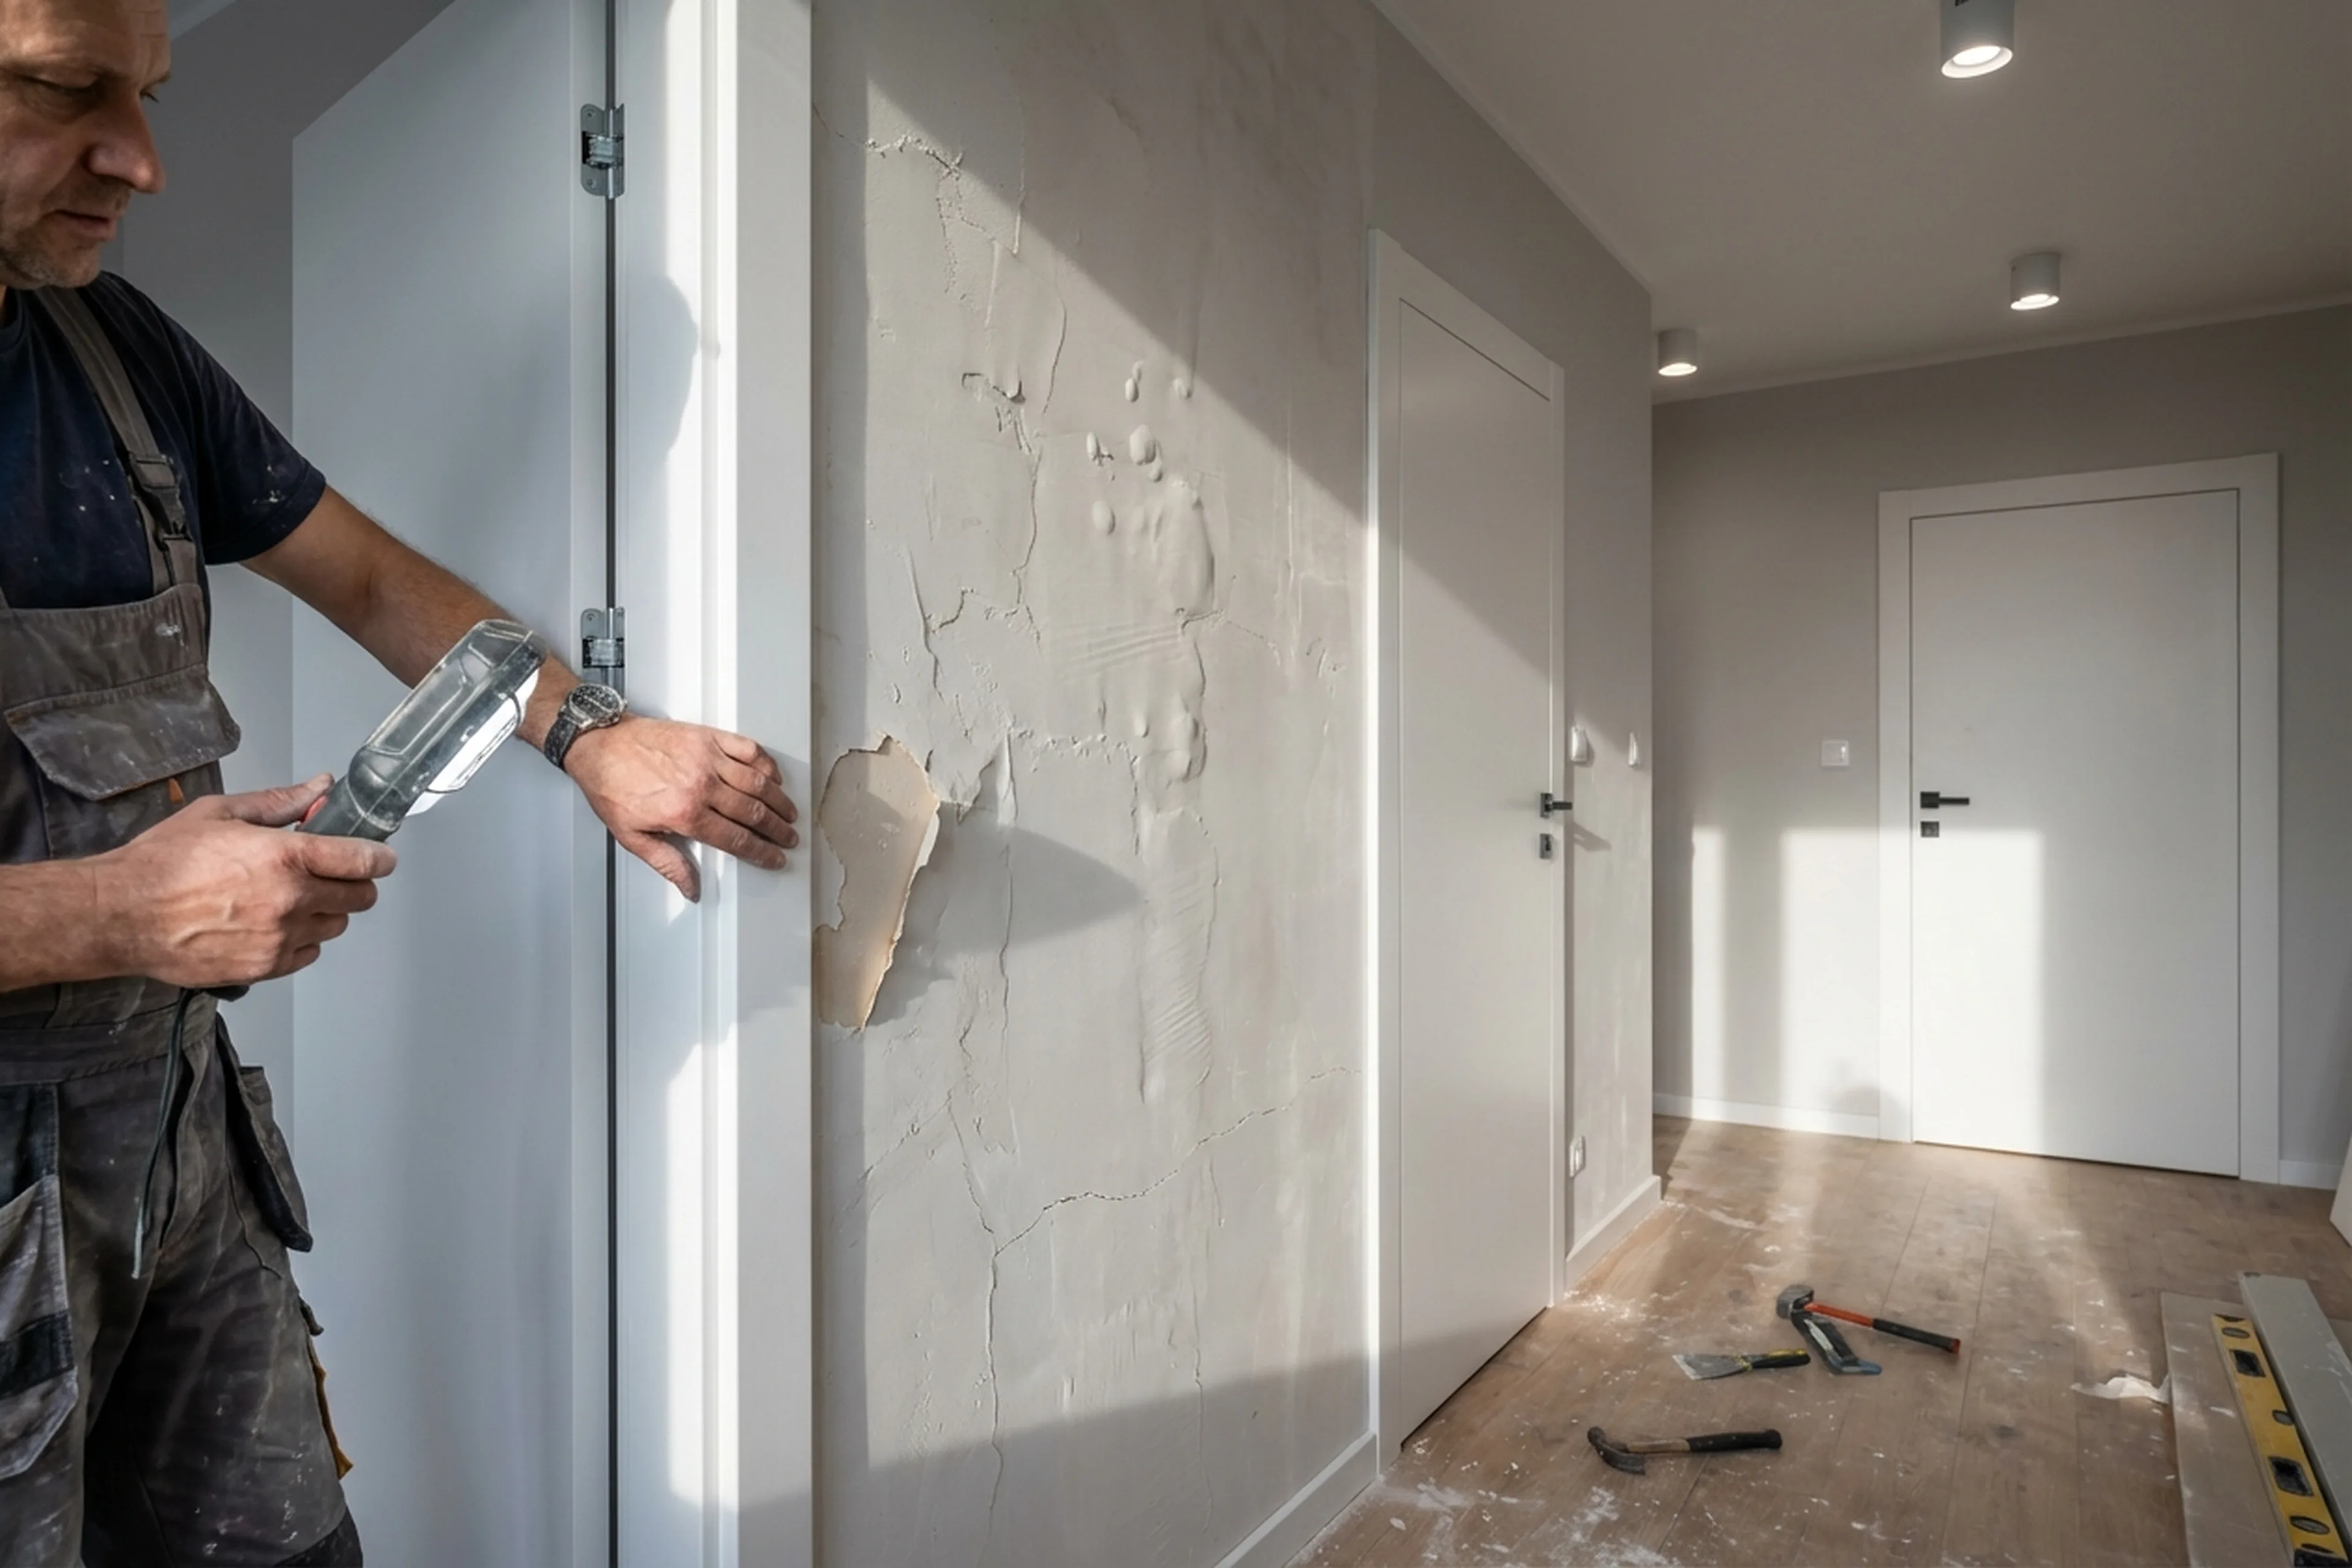
- Laying tiles straight onto old adhesive residue, fast, but the bond is weak; tiles start coming off after a few months.
- Leaving loose plaster in place: if you skim over it, the whole layer will sooner or later pull away from the wall.
- Using gypsum filler in a bathroom — gypsum takes in moisture, swells, and falls apart. In wet areas, only cement or polymer filler should be used.
- Skipping primer before filler: the compound ends up sitting on dust and does not grip the wall.
- Putting on too thick a layer in one go: it cracks while drying. Two thinner coats with drying time between them always work better.
- Skipping sanding — under paint, every ridge and trowel line shows up.
- Not checking the plane with a straight edge: the wall may look alright by eye, but tile lines will show every hollow and high spot.
What to prepare before the technician arrives
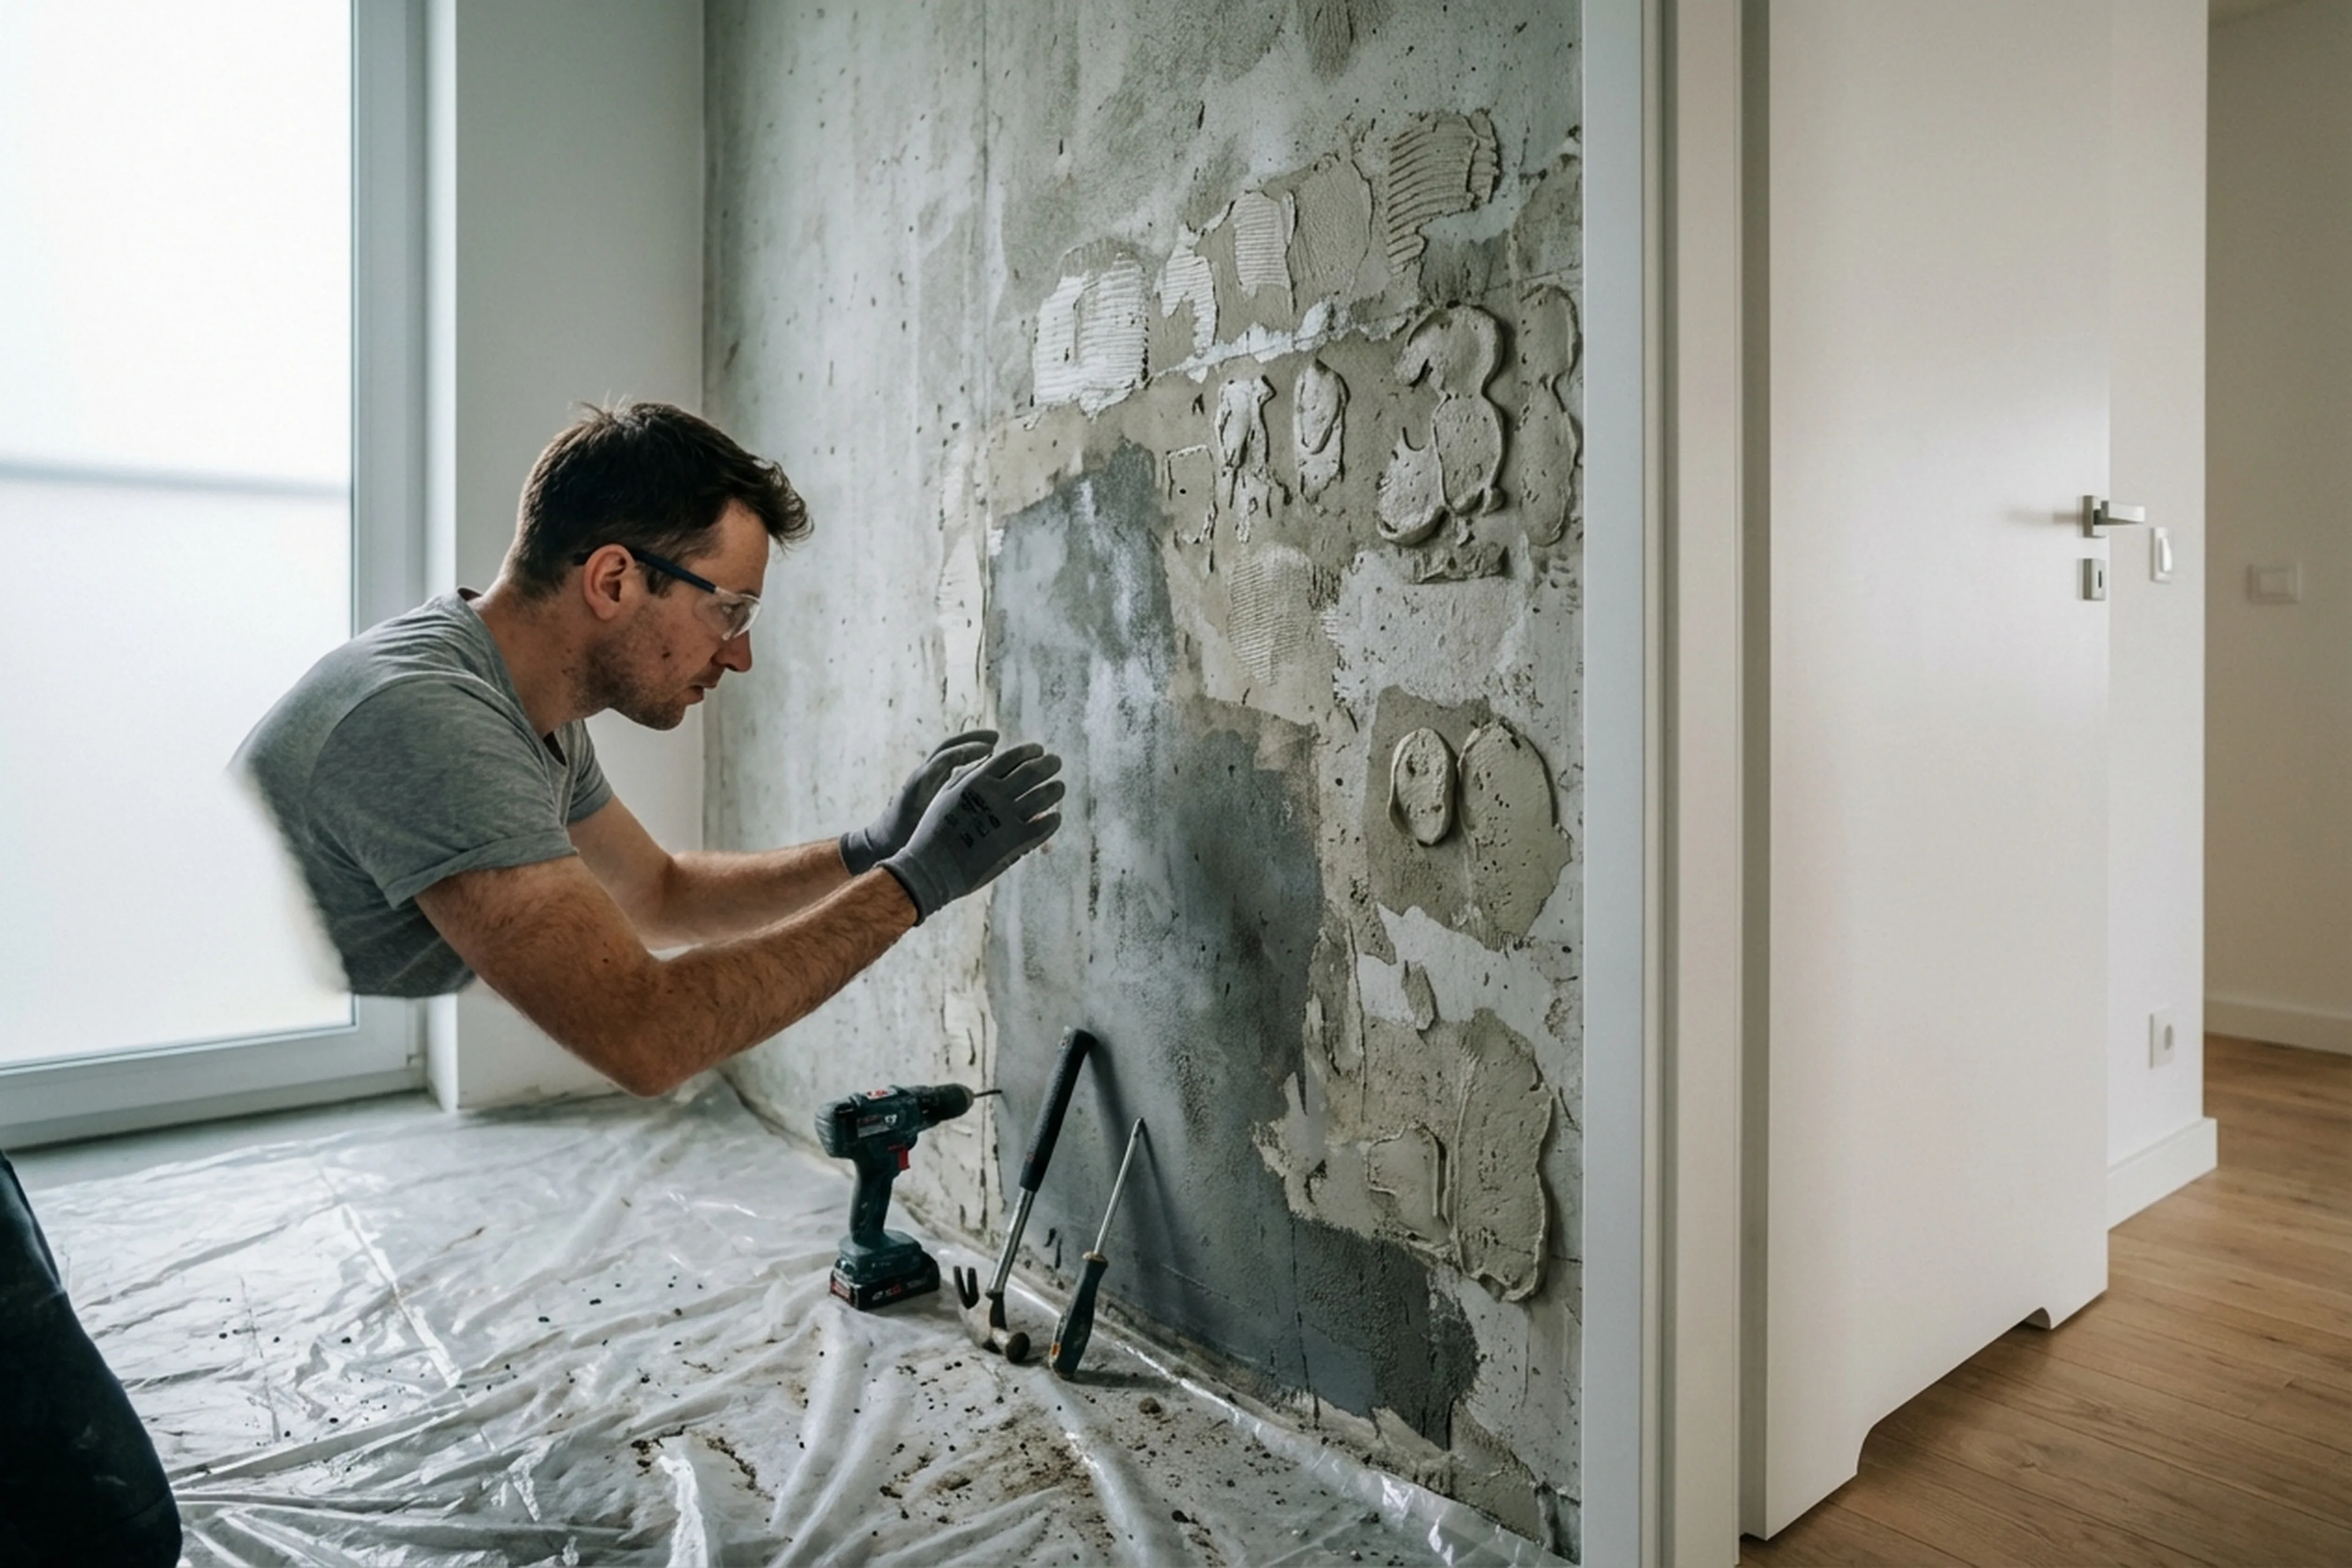
- The tiles should already be removed (or arrange demolition as a separate service).
- Take out anything from the room that does not like dust, adhesive removal makes plenty of it.
- Protect the basin, toilet, and any fittings with plastic sheeting or cardboard.
- Make sure there is power — you need a rotary hammer and a sander.
- If the bathroom is tight, clear some space in the hallway for carrying debris out.
- Decide what the wall is being prepared for: paint needs a smooth, almost glass-like finish; for tiles, a flat plane is enough.
- Buy materials beforehand or leave that to the technician (charged separately).
- Provide ventilation: open a window in the next room and leave the bathroom door open: the dust needs a way out.
- Share access details: intercom code, parking, floor number.
A real case from Warsaw: wall levelling after tile removal
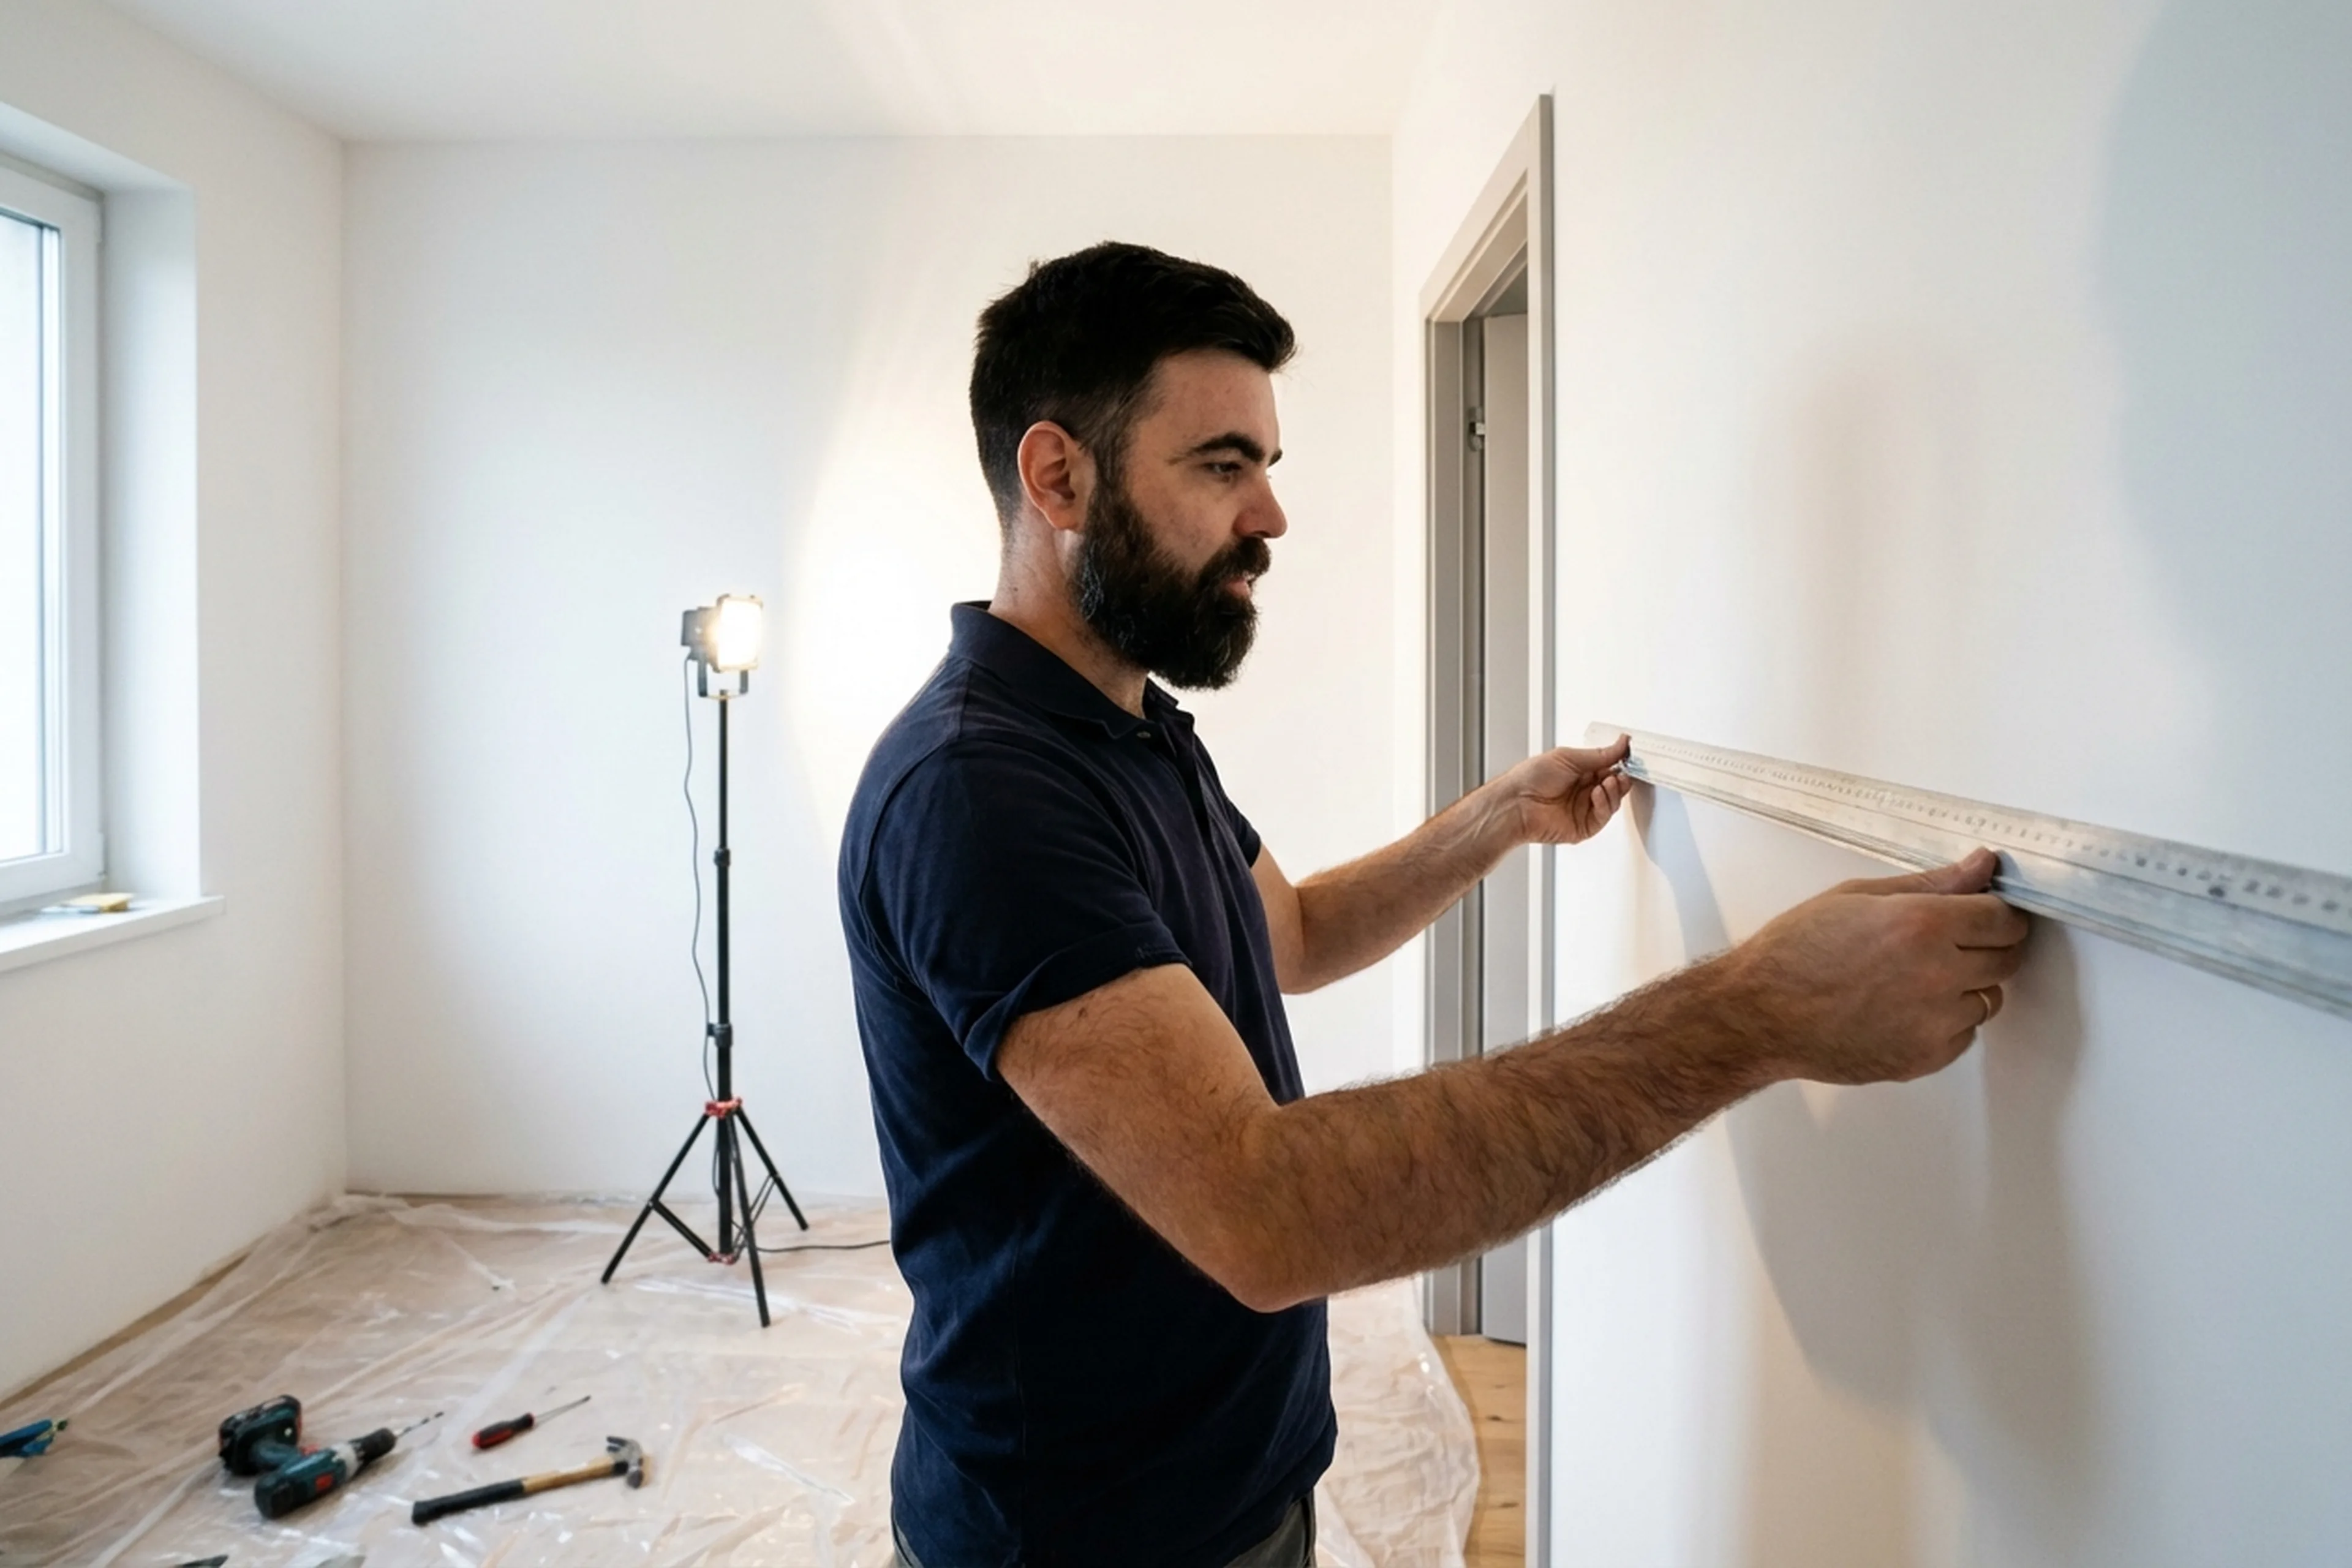
A flat in Ochota, in a 1960s brick building. The owners were renovating a 3.5 m² bathroom: once the tiles were removed, the original lime plaster came away with them in big sections. Around forty percent of the wall was down to bare brick, and the plaster left in place was cracked and sounded hollow in several spots. The tradesperson removed all the weak plaster, cleaned the brickwork with a brush, and applied a bonding primer. The deep gaps were filled with cement repair mortar with two days allowed for curing. After that, two coats of polymer filler with sanding between coats. The walls were prepared for large-format tiles (60×120 cm), which need a very even base. The whole job took five working days. After tiling, every joint ran straight and every corner looked sharp. The owners said the old bathroom had always had uneven tile lines — only now did they understand why: nobody had ever levelled the walls properly.
Frequently asked questions
Do I have to remove all the old adhesive?
If it is well bonded and the surface is even, you can leave it, prime it, and skim over it. But if the adhesive is loose or uneven, it has to be removed.
Which filler should be used in a bathroom?
Only cement-based or polymer: they cope with moisture. Gypsum filler must not be used in wet areas.
How long does the levelling coat take to dry?
Cement mortar: 24 hours. Polymer filler — 4–6 hours between coats. Before painting: at least 24 hours.
Can I tile straight onto the levelled wall?
Yes, once it is completely dry and primed. The surface has to be flat (checked with a straight edge, tolerance 2 mm over 2 metres).
Is levelling for paint more expensive than for tiles?
Yes: paint needs a perfect finish with extra skim coats and careful sanding. For tiles, a flat plane without final sanding is enough.
What if the wall was already crooked before the tiles?
That does happen. In that case they first straighten it with render on guide rails, then apply a finishing skim. It is a separate scope of work, but they do that as well.
Who does the work
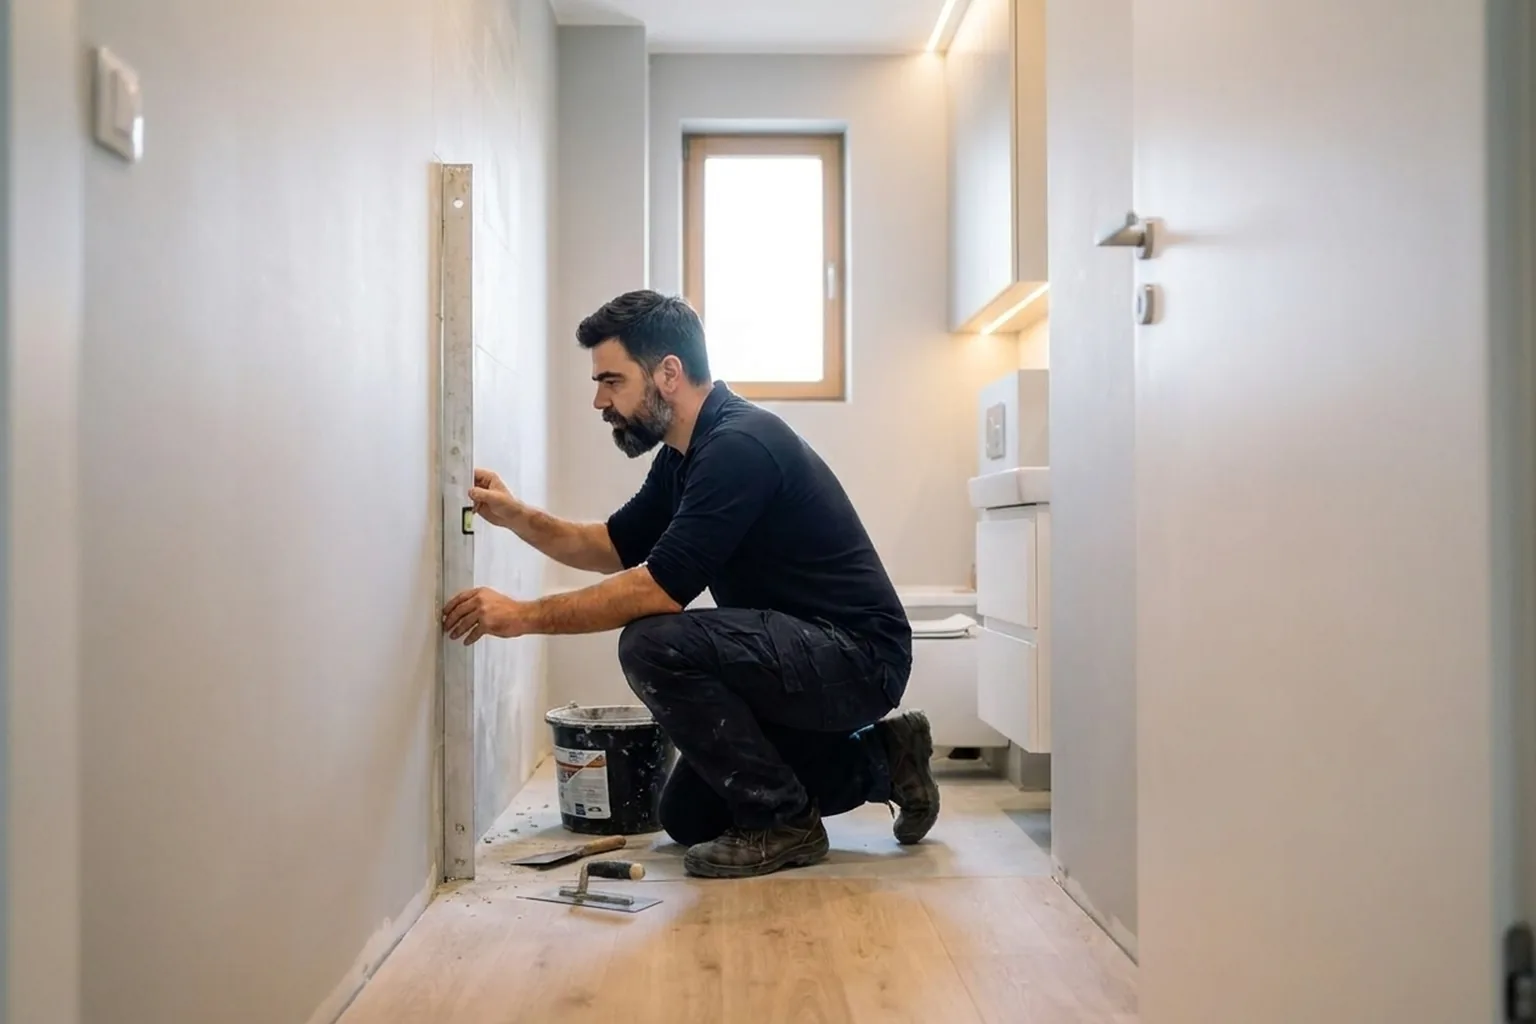
Wall levelling after tile removal is done by experienced plasterer-painters. Tradespeople work across all of Warsaw and nearby areas. Not sure if the wall needs levelling? Send them a photo and they will tell you.
Order in the app
Describe the job, add photos and the address. Tradespeople send their own prices and dates, and you pick one of the offers.
Open the app