
Safety note: any work on water supply and drainage comes with a flood risk. Before opening the wall, shut off the water and make sure the isolation valve actually holds. If the valves are worn out and do not shut fully, do not begin demolition. Tradespeople deal with plumbing every day and know how to prevent nasty surprises.
How much does frame replacement cost
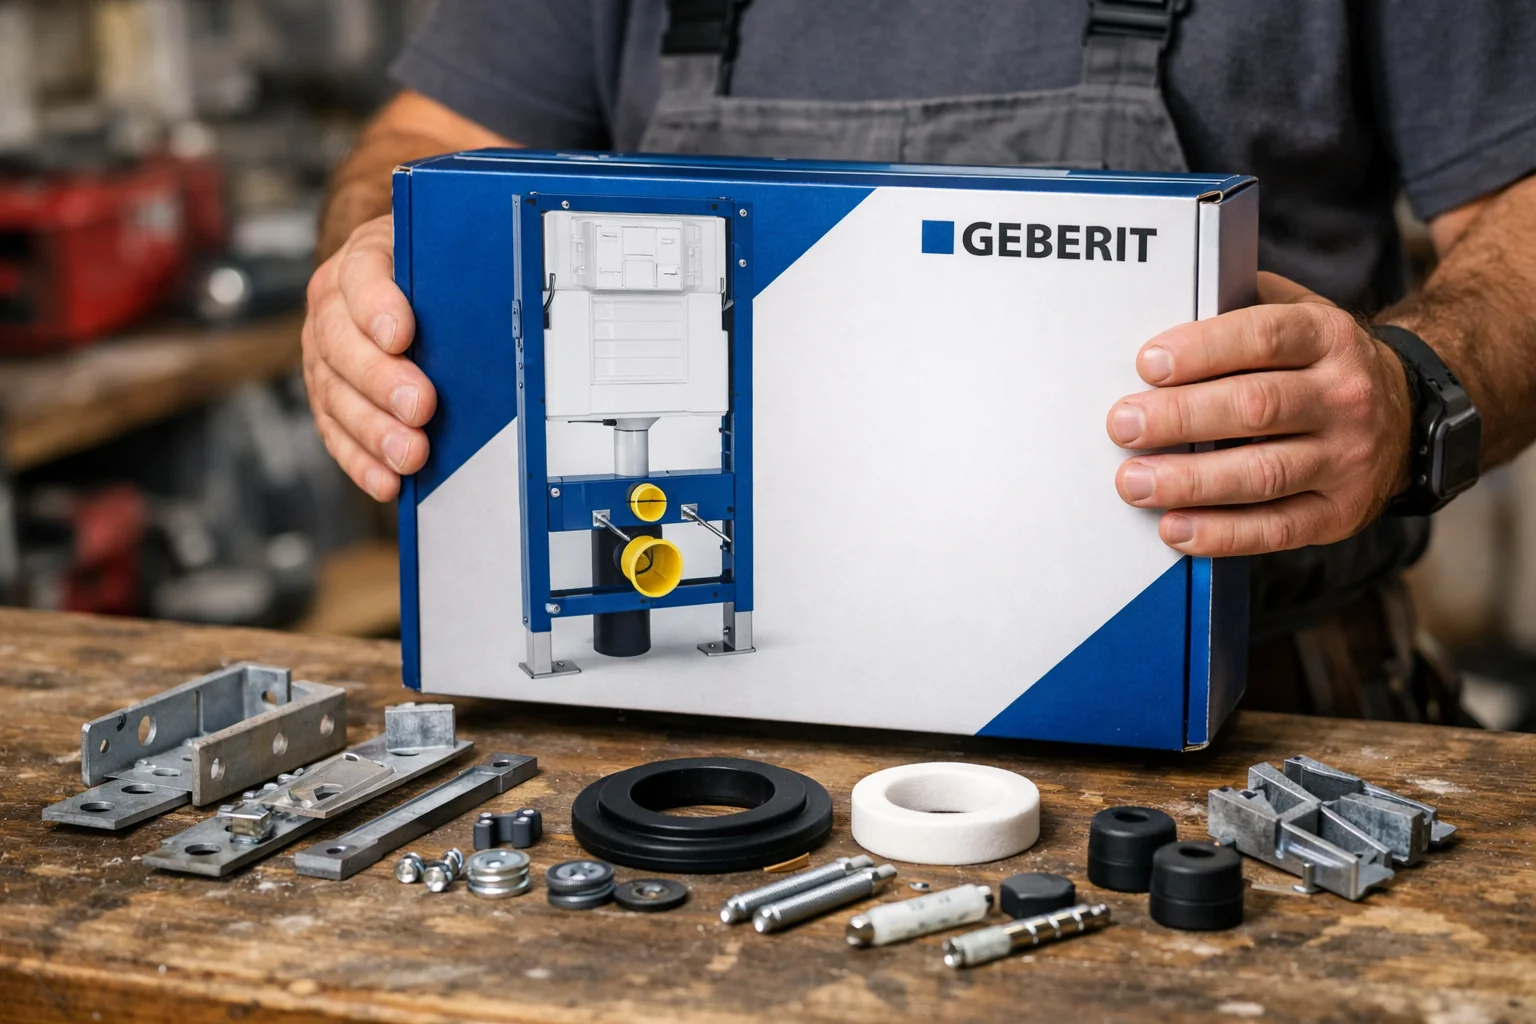
The cost depends on how much needs demolishing, what state the pipework is in, and which new frame you choose. If the existing finish is tiled, the tiles need to be removed and new ones installed afterwards. If it is plasterboard, the work is easier, but the surface still has to be finished again. Replacing a frame is always pricier than fitting one from scratch: demolition, rubble clearing, and pipe alterations all add to the job. Current rates for all bathroom services are listed in the table below. Fixings are included in the price; materials (frame, cistern, bowl, flush plate) and construction waste disposal are charged separately.
| Service | Price |
|---|---|
| Washbasin installation | 200–500 zł |
| Washbasin replacement | 250–600 zł |
| Vanity unit installation | 300–600 zł |
| Basin tap installation | 150–250 zł |
| Basin tap replacement | 250–400 zł |
| Floor toilet installation | 300–500 zł |
| Floor toilet replacement | 350–600 zł |
| Wall-hung toilet installation (frame) | 450–700 zł |
| WC frame replacement | 600–1500 zł |
| Bathtub installation | 400–900 zł |
| Shower tray replacement | 600–1000 zł |
| Linear drain installation | 400–900 zł |
| Re-sealing shower and bathtub | 250–600 zł |
| Towel radiator installation | 300–600 zł |
| Towel radiator replacement | 350–700 zł |
| Drain cleaning | 200–800 zł |
| Trap (siphon) replacement | 120–400 zł |
Indicative prices. Ranges for a typical scope. Fixings included, materials separate. Minimum order 300 zł.
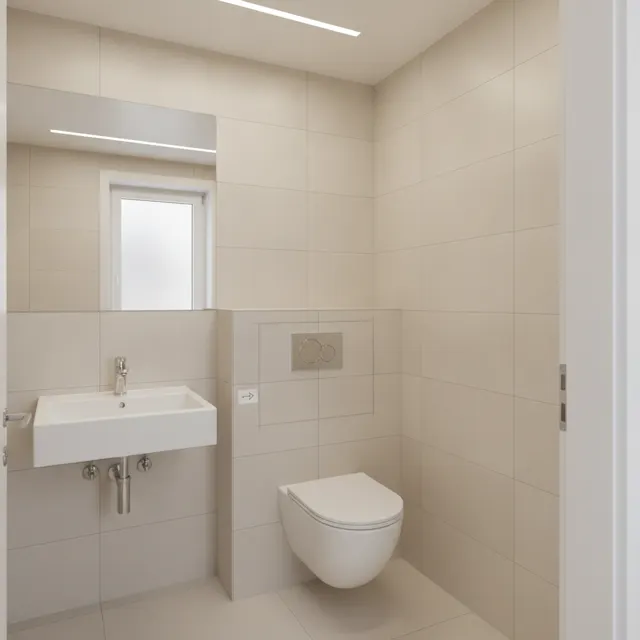
Price ranges and offers from tradespeople: toilet installation in Warsaw.
When does the frame need replacing
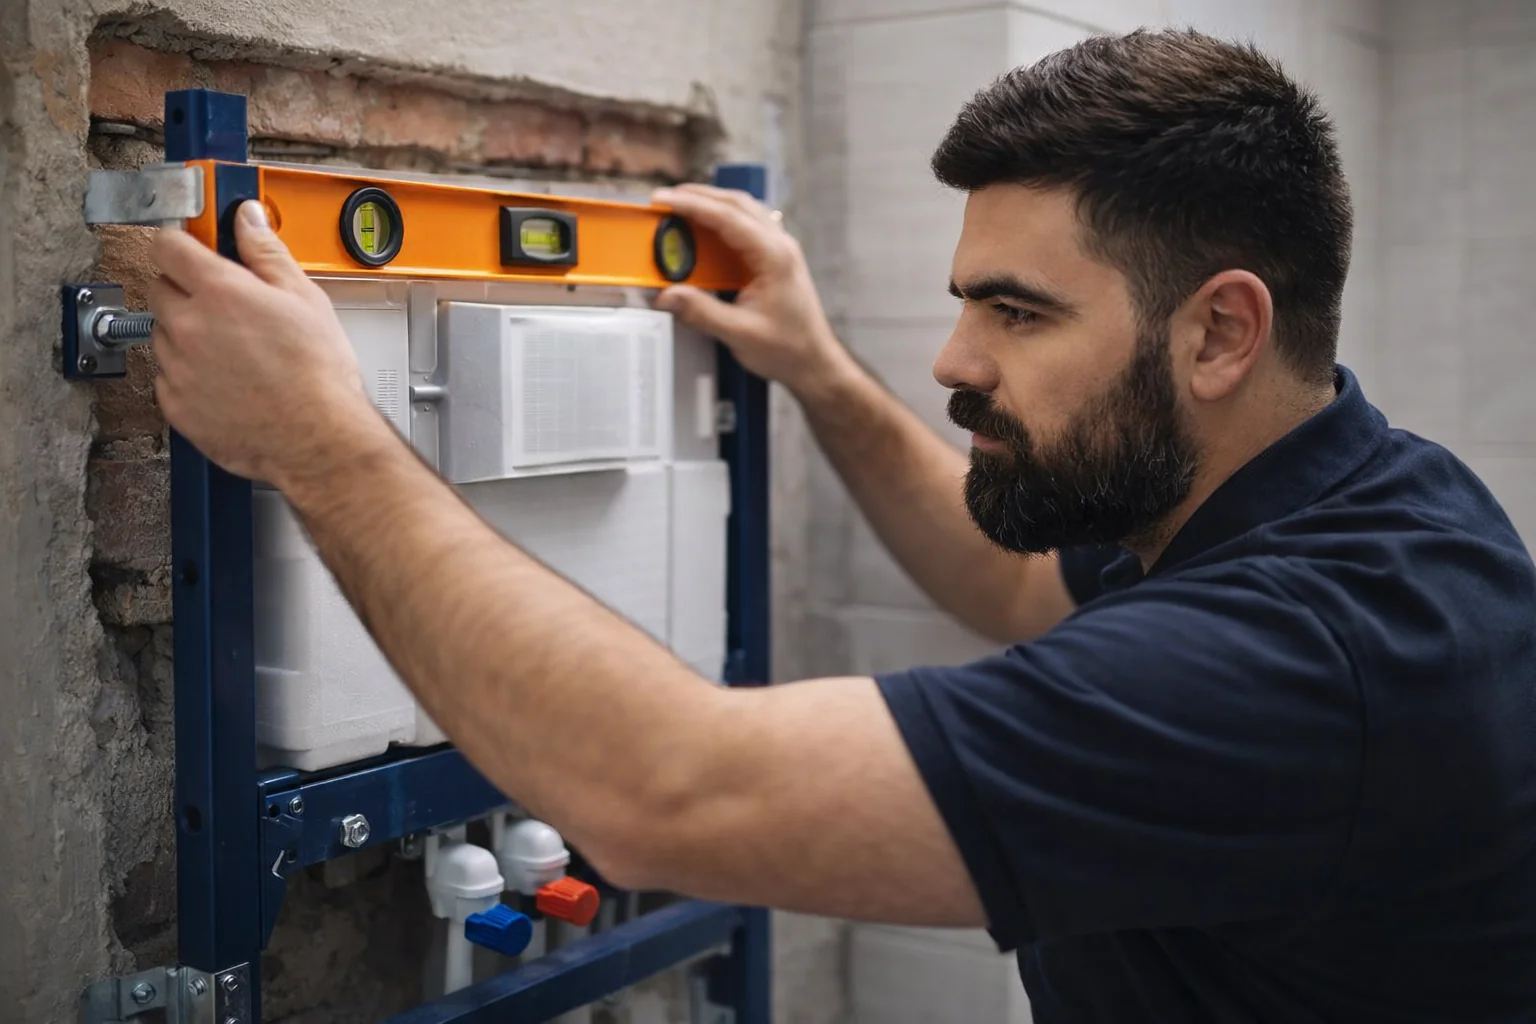
Not every issue means the whole frame has to go. In some cases, replacing the valve set through the service opening is enough. But there are cases where opening the wall is the only real solution:
- The cistern shell is cracked and leaking: water gets into the wall void and ends up on the ceiling of the flat below.
- The flush mechanism has broken down and spare parts for that model are no longer made.
- The frame is rusted or bent — the bowl shifts and the fixings are no longer secure.
- A full bathroom renovation: you are replacing everything, including pipe layout and wall finishes.
- You want to change to a different brand with better valve components and easier access to spare parts.
Step-by-step replacement process
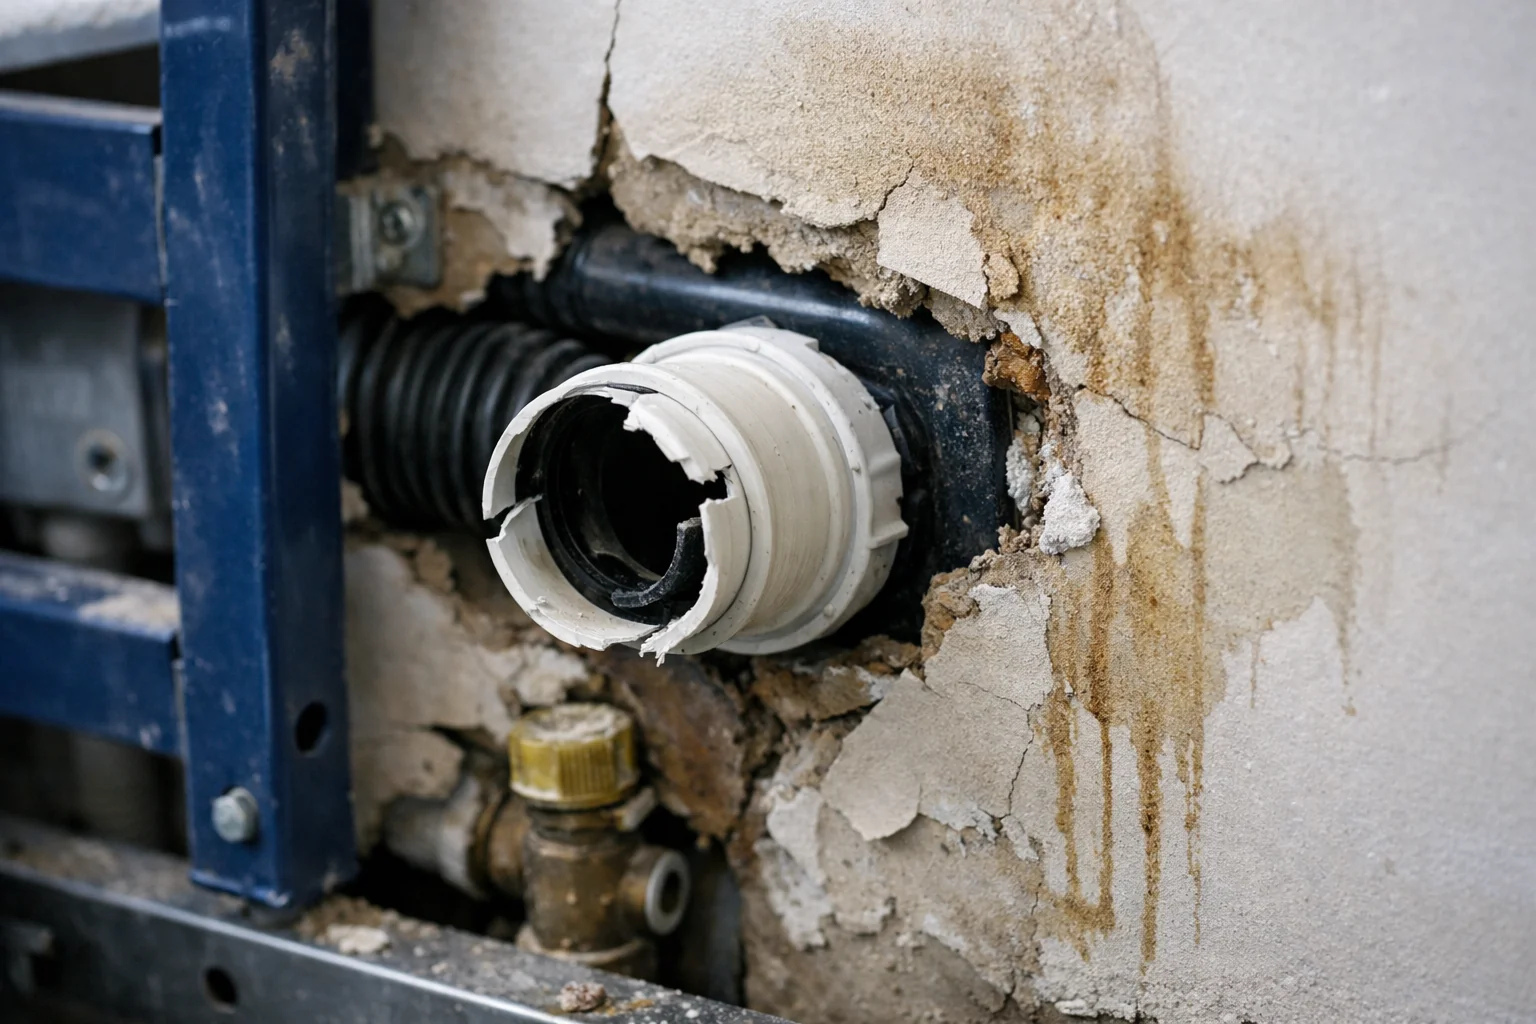
- Turn off the water and empty the cistern. Check that the isolation valve holds: if it does not, shut the riser valve.
- Take off the flush plate and remove the toilet bowl from the mounting rods. Disconnect the flush and waste connections.
- Remove the cladding: carefully take off plasterboard or tiles around the frame. If the tiles are intact and will be reused, they work carefully, but it is not always possible to save every tile.
- Take out the old frame: undo the anchors from the wall and floor, then remove the whole assembly. Clear away the debris.
- Inspect the pipework: check the condition of the water supply pipe and the waste outlet. If the pipes are old (metal, cast iron), they advise replacing that section with plastic.
- Fit the new frame: set it level vertically and horizontally, then anchor it to the wall and floor. Connect cold water to the cistern, and join the outlet to the drain with a connector sleeve at the correct fall.
- Leak test: fill the cistern, carry out several test flushes, and inspect every connection. This is done BEFORE the frame is boxed in.
- Box in the frame with moisture-resistant plasterboard, keeping the flush-plate opening clear.
- Hang the bowl on the mounting rods, connect everything, and fit the flush plate. Final check — flush cycle, refill, no movement.
Common mistakes during replacement
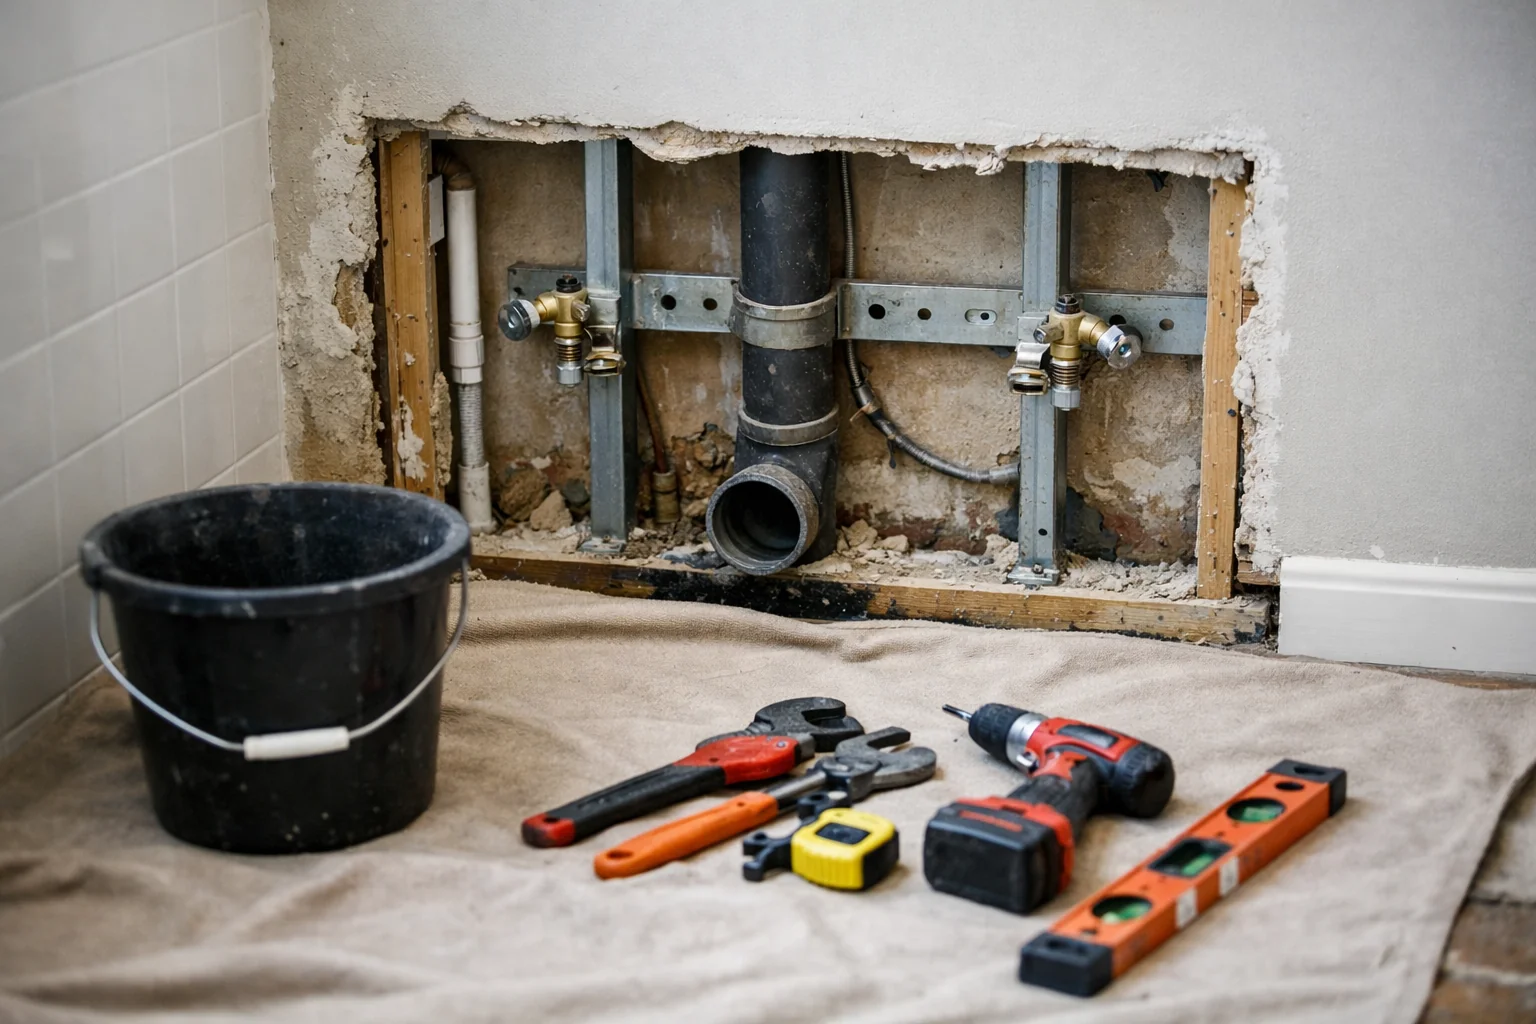
- Starting demolition without making sure the water is fully shut off: result: flooding.
- Breaking tiles around the frame when they could have been removed carefully and reused.
- Installing the new frame without changing the old waste seals, a month later, a smell appears.
- Picking a frame in a different size without checking whether it fits the existing opening: the cladding then has to be redone.
- Failing to check whether the water supply connections match the new frame — the pipe then needs extending or moving.
- Reusing old mounting rods from the previous frame, the diameter or thread pitch may not match.
- Skipping the leak test before closing the wall, the leak only shows up after tiling.
What to prepare before the visit
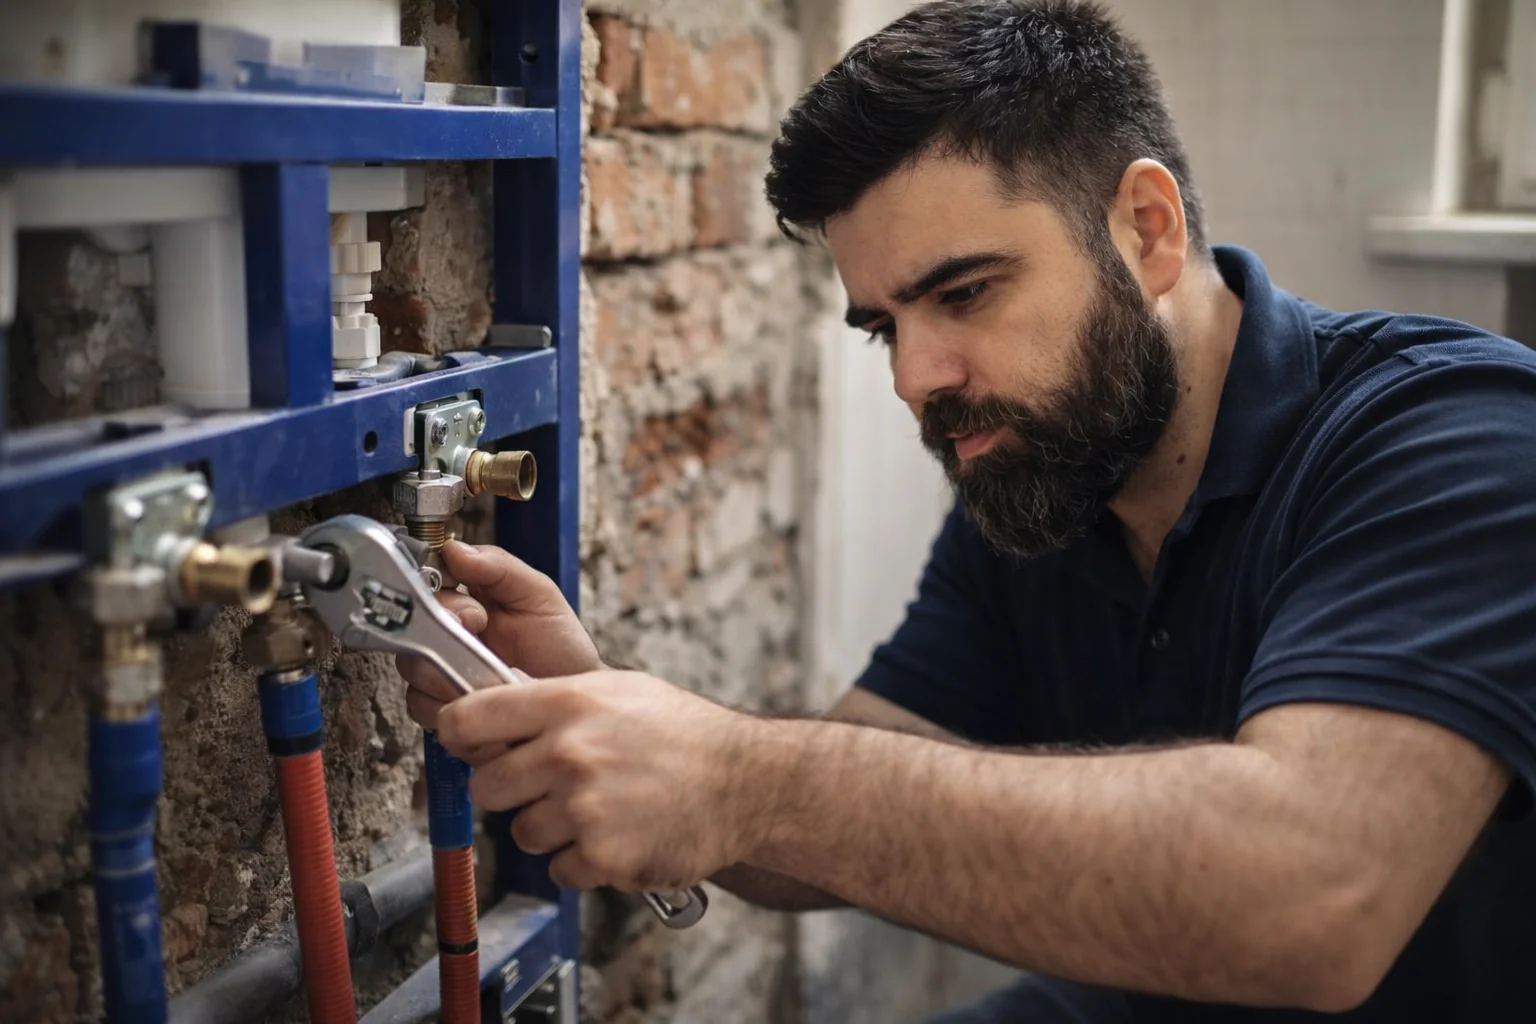
- Buy the new frame (with integrated cistern), bowl and flush plate, check that all components work together.
- Write down the brand and dimensions of the old frame, this helps choose the replacement without surprises.
- Make sure the isolation valves are accessible — they need to be shut off first.
- Clear the bathroom of furniture and personal items: demolition creates dust and debris.
- Prepare a place for waste: demolition produces pieces of plasterboard, tiles and old metal parts.
- If you are planning new tiles, have them ready — or say so in the order that the cladding will be temporary.
- Let your neighbours know about the work: there will be demolition noise and possibly a short water shutdown on the riser.
A real case from Warsaw: toilet frame replacement
Tradespeople were called to a flat in an older building on Mokotow. The concealed frame had been there for around fifteen years, the cistern had begun leaking inside the wall, and a damp mark showed up on the neighbour’s ceiling below. Repairing the valve set made no sense: the manufacturer had disappeared years earlier and parts could not be found. Tradespeople shut off the water, removed the bowl, and carefully opened the plasterboard cladding, a few tiles were saved. The old frame turned out to be made of thin steel and was already rusty around the fixing points. Tradespeople removed it, checked the waste outlet — cast iron, but still in decent condition, and installed a transition collar. A new Grohe frame was fixed in place, the water connected through a rigid supply line, and the drain joined with a new connector sleeve. Tradespeople tested everything twice: completely dry. The frame was boxed in, the bowl rehung, and the flush plate installed. The whole replacement took about six hours. The owners later tiled over the repaired area: almost no sign of the work remained.
Frequently asked questions
How long does a frame replacement take?
Between 5 and 8 hours, depending on how difficult the cladding is to remove, what condition the pipes are in, and whether they need replacing. If the pipes are in good shape and the new frame fits the opening, the work moves faster. If the supply lines need altering, it takes longer.
Can I install a different brand of frame?
Yes. Wall and floor fixing points are standard across most manufacturers. However, you still need to check rod spacing, frame depth, and connector compatibility. In some cases, the cladding opening needs a small adjustment.
Will I need new tiles after the replacement?
That depends on how the cladding was taken off. Plasterboard usually cannot be reused. Tiles can be lifted carefully, but there is no certainty — some may crack. It is best to keep spare tiles ready or expect a partial replacement.
Replace or repair: which is better value?
If the issue is only with the valve set (fill valve, flush plate, float) and parts are available, repair is cheaper and faster. If the cistern is cracked, the frame is bent, or parts cannot be found, replacement is the only way forward. Repairing an unreliable unit hidden inside a wall is a gamble.
Do I need a new bowl when replacing the frame?
Not always, if the existing bowl is in good condition and matches the new frame’s mounting rods and connectors. But in real jobs, many clients replace the bowl at the same time, it is more dependable as a complete set.
Book the replacement
A leaking concealed frame is not something that will sort itself out. The longer it is left, the worse the damage gets: damp walls, mould, complaints from neighbours. Tradespeople will remove the old frame, fit a new one, test every connection, and rebuild the wall properly. Tradespeople work across Warsaw and come with all tools and fixings.
Order in the app
Describe the job, add photos and the address. Tradespeople send their own prices and dates, and you pick one of the offers.
Open the app