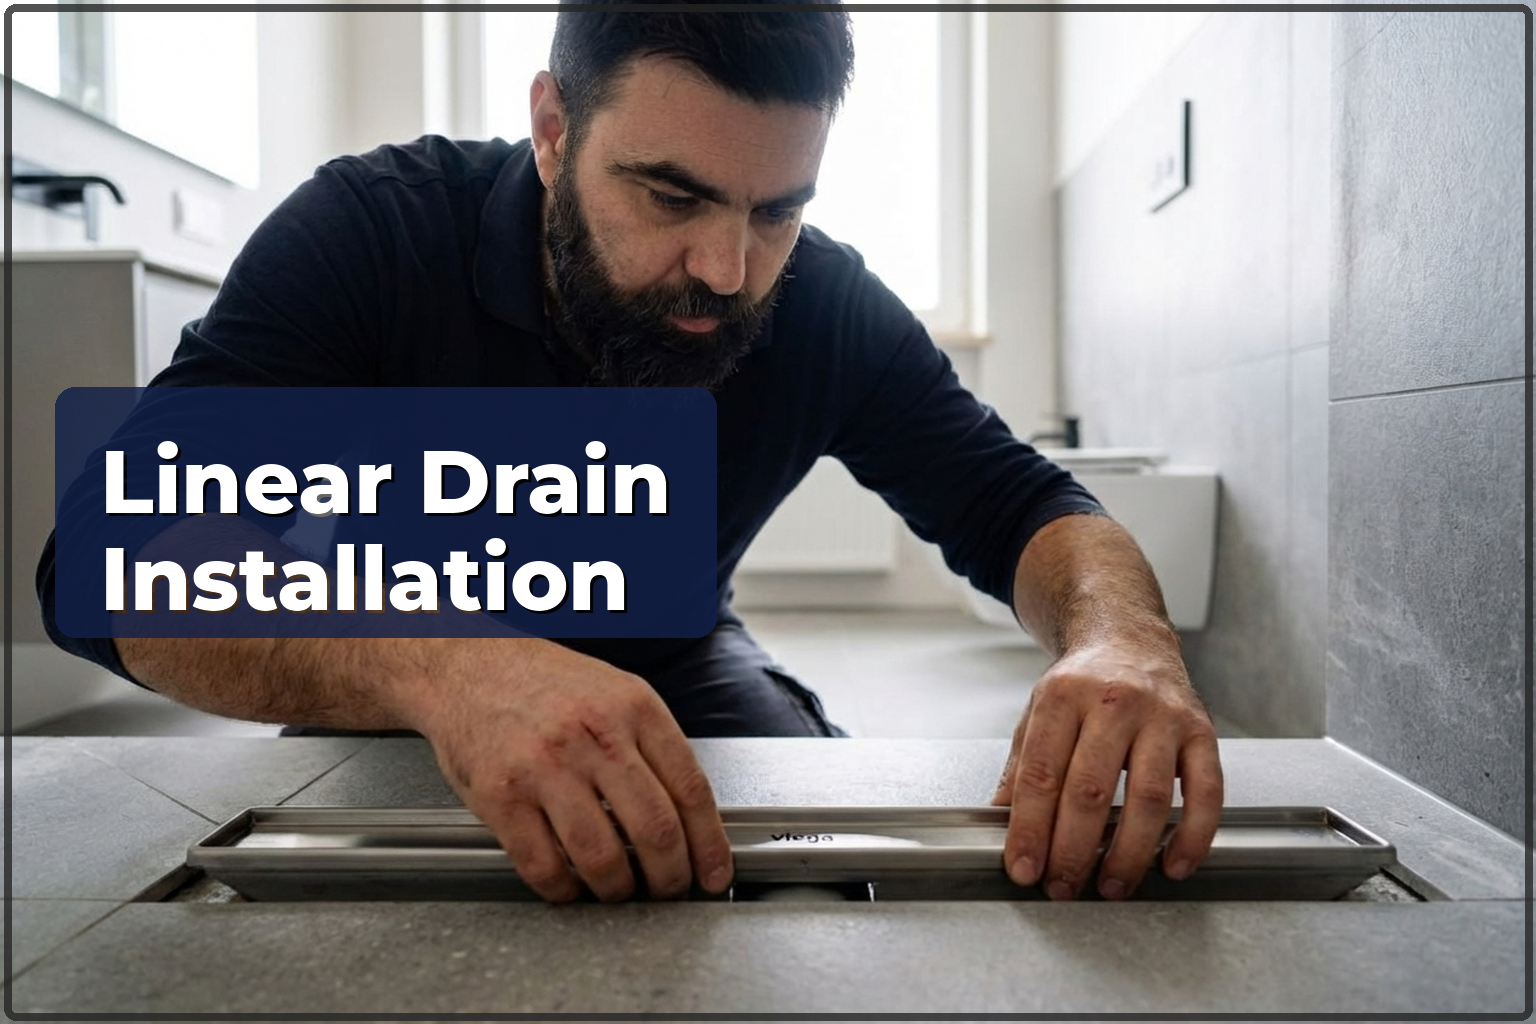
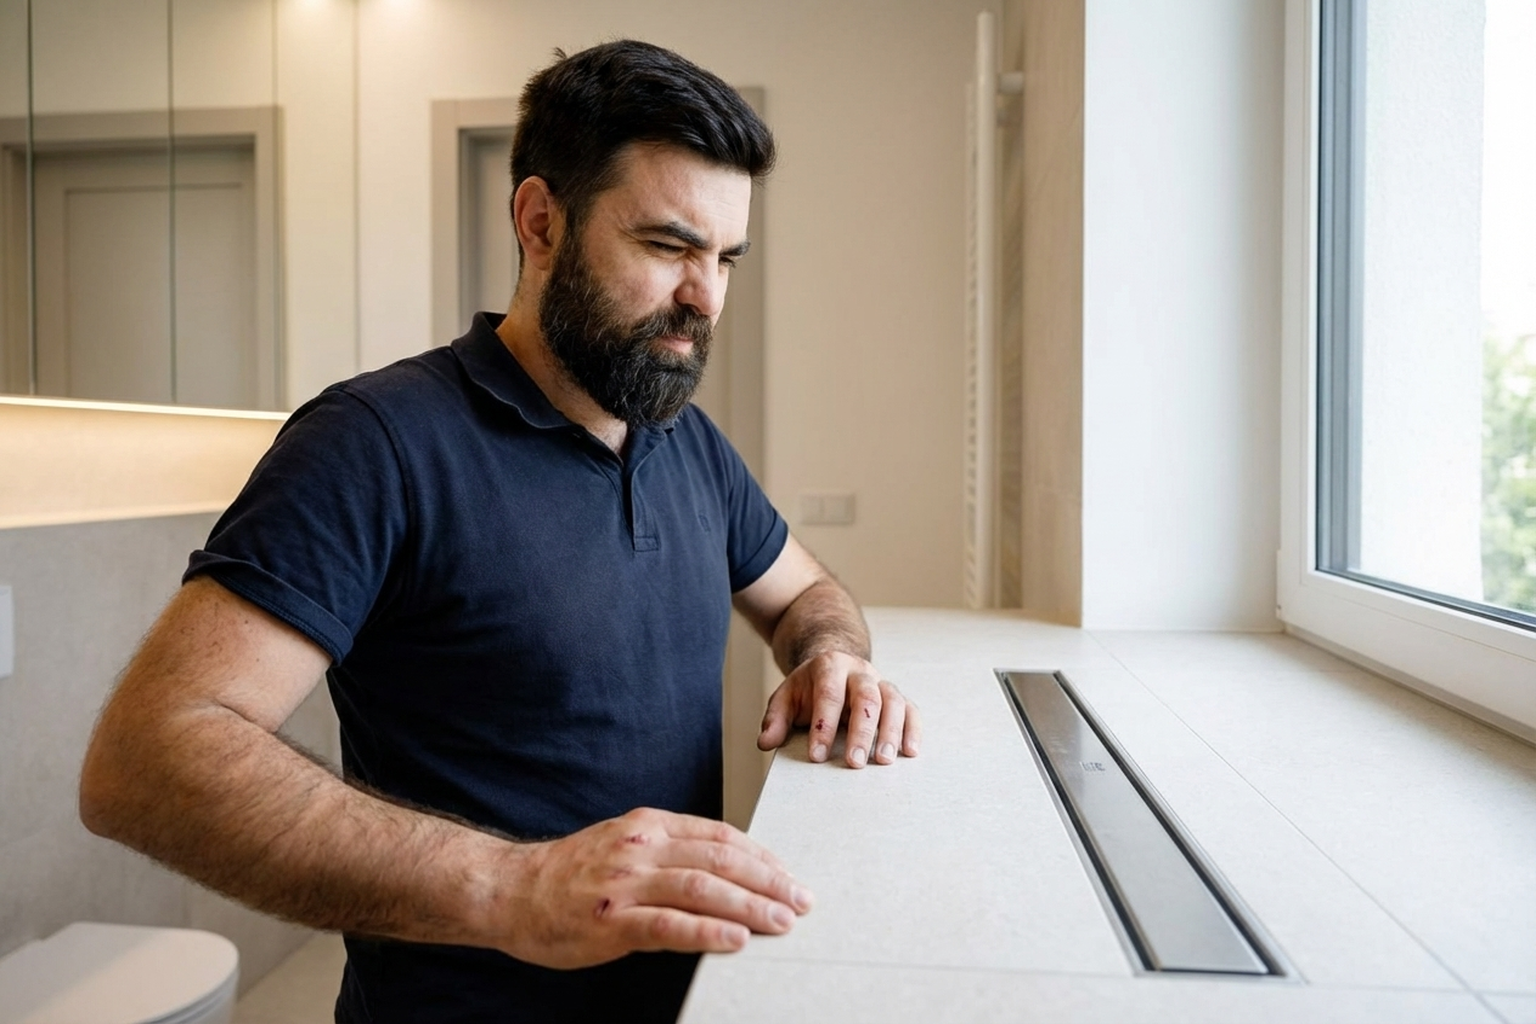
A linear drain gives you a shower with no tray and no step: the water runs straight into the floor through a long slot drain. It looks neat, suits people with limited mobility and is simple to keep clean. But installing one is nothing like fitting a standard shower tray. You need the screed laid to the right fall, dependable waterproofing and an accurate connection to the waste pipe. In new builds on Wilanow, flats on Mokotow, houses in Zoliborz — each property comes with its own floor setup and screed depth. If you are thinking about a tray-free shower, book a professional site survey first. We fit linear drains on a regular basis and know exactly where people most often get it wrong.
How much does installation cost
The cost depends on the drain length, the construction type (tile-insert, grated or slot), the current screed thickness, whether it has to be rebuilt and how much waterproofing is needed. If the screed is shallow, you may have to raise the whole floor level or cut a channel for the waste pipe. Fitting a drain in an already finished bathroom is more difficult than doing it during a full renovation. Up-to-date prices for all bathroom work are listed in the table below. Fixings and sealant are included; the drain unit and waterproofing materials are provided by the client.
| Service | min | max |
|---|---|---|
| Washbasin installation | 200 zł | 300 zł |
| Washbasin replacement | 150 zł | 250 zł |
| Vanity unit with basin installation | 250 zł | 450 zł |
| Basin mixer tap installation | 150 zł | 250 zł |
| Basin mixer tap replacement | 180 zł | 300 zł |
| Floor-standing toilet installation | 200 zł | 350 zł |
| Floor-standing toilet replacement | 250 zł | 400 zł |
| Wall-hung toilet installation (frame) | 350 zł | 600 zł |
| Toilet frame replacement | 600 zł | 1200 zł |
| Bathtub installation | 700 zł | 1000 zł |
| Bathtub replacement | 900 zł | 1400 zł |
| Shower cabin installation | 900 zł | 1200 zł |
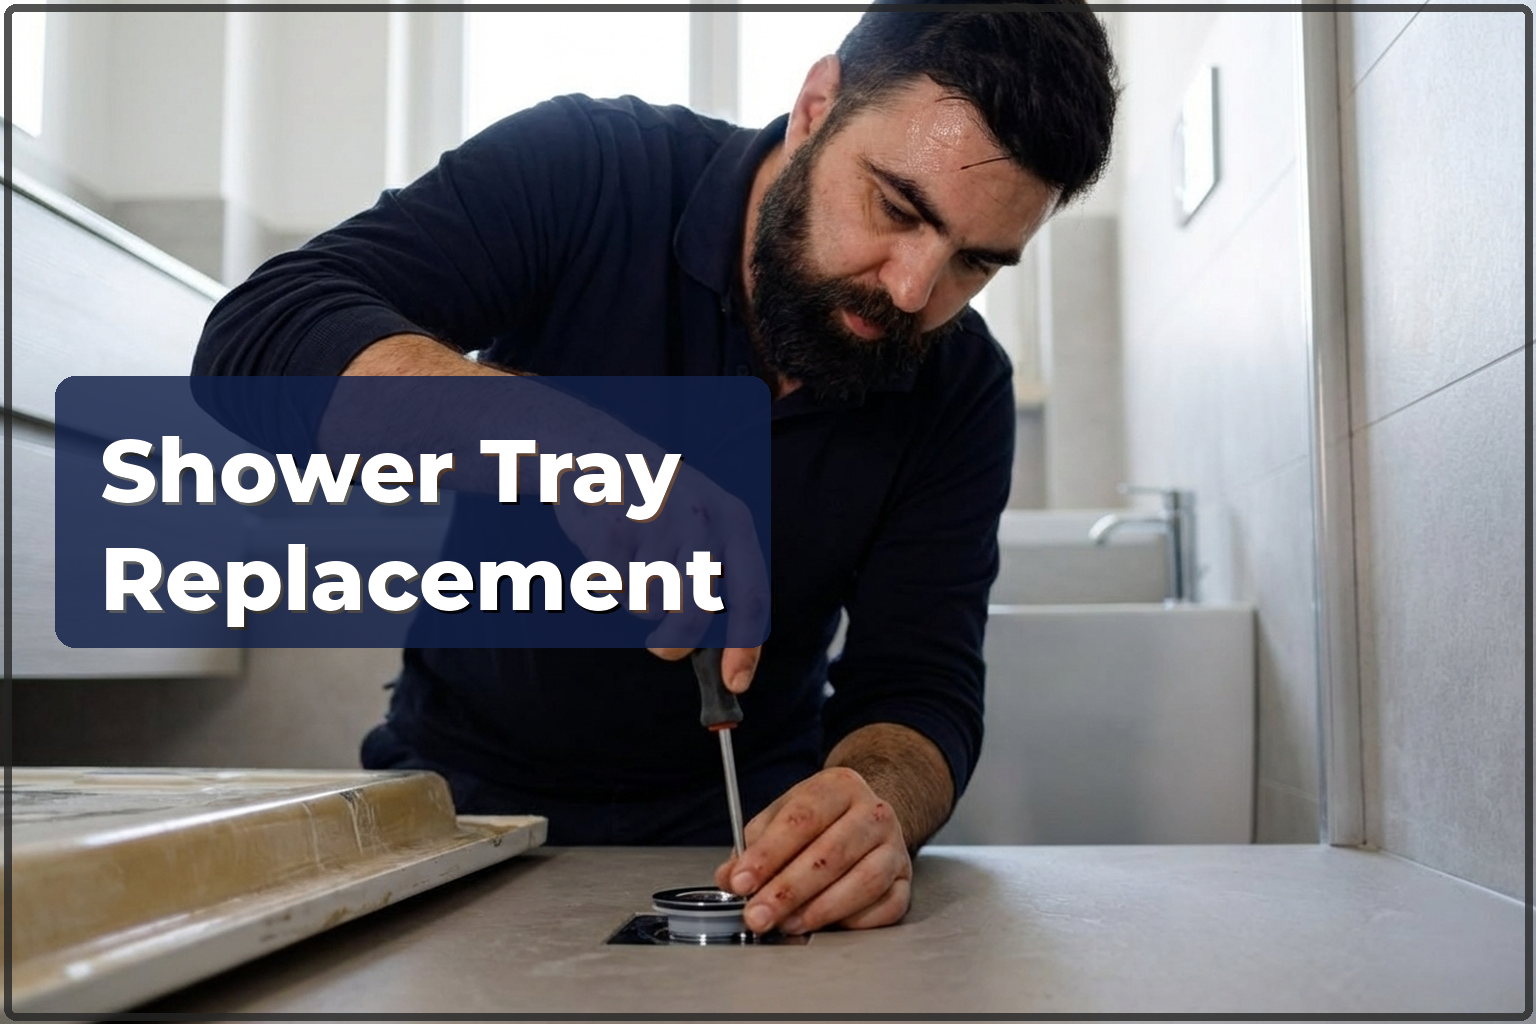
| Shower tray installation | 500 zł | 800 zł |
| Shower tray replacement | 600 zł | 1000 zł |
| Linear drain installation | 800 zł | 1500 zł |
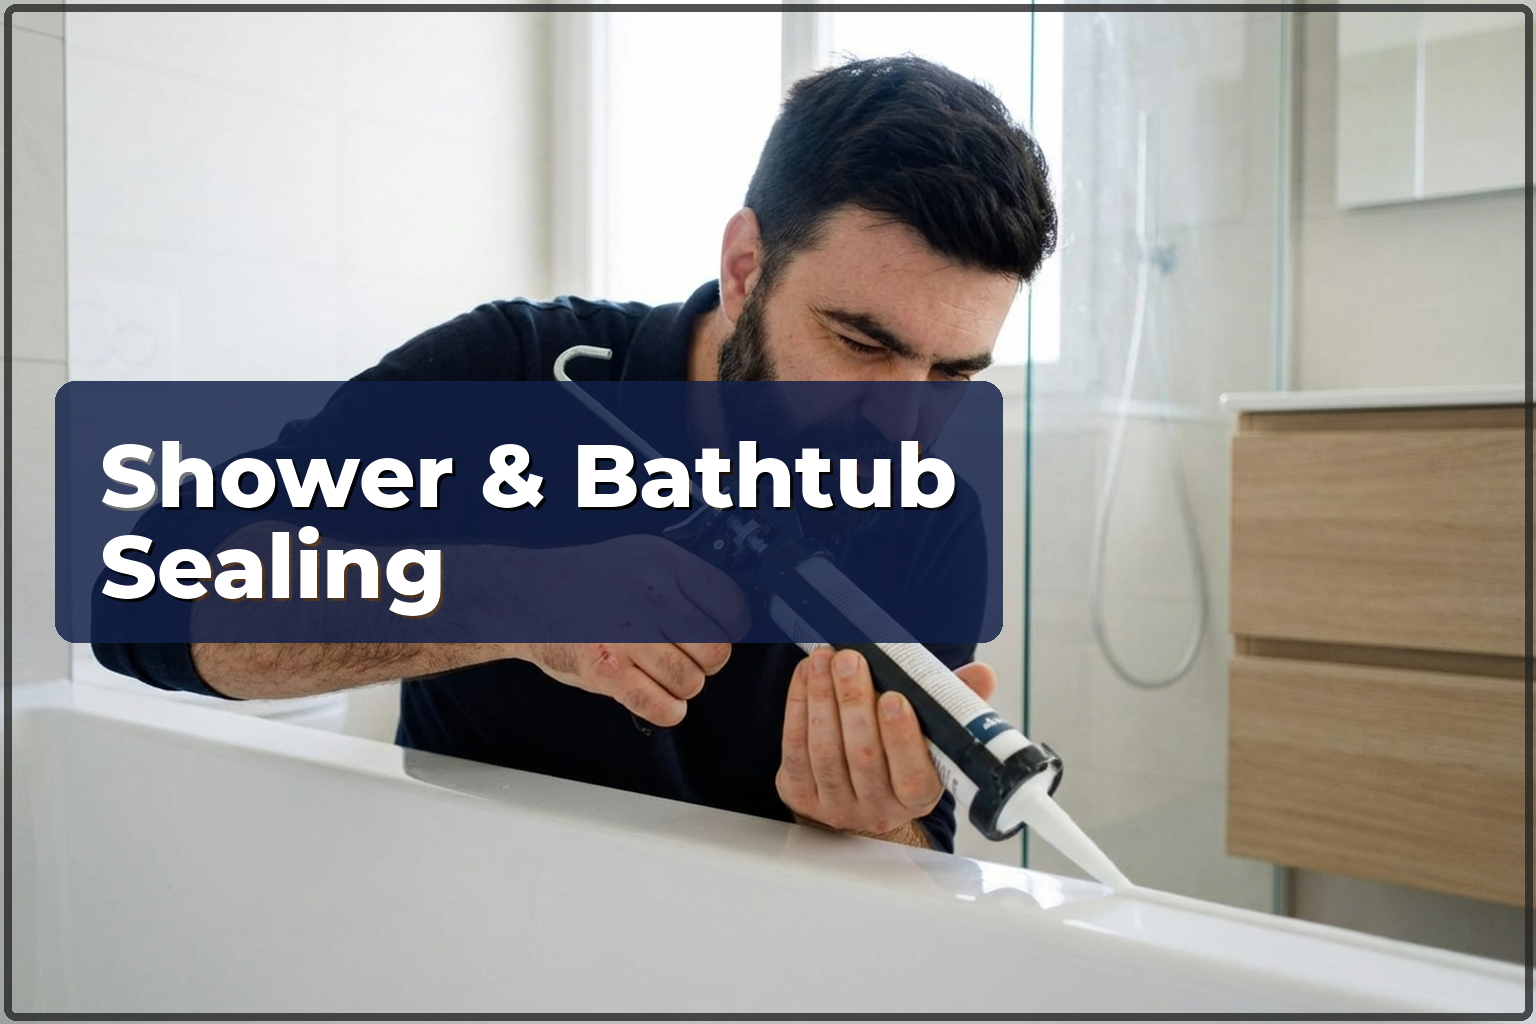
| Shower cabin / bathtub sealing | 35 zł/mb | 60 zł/mb |
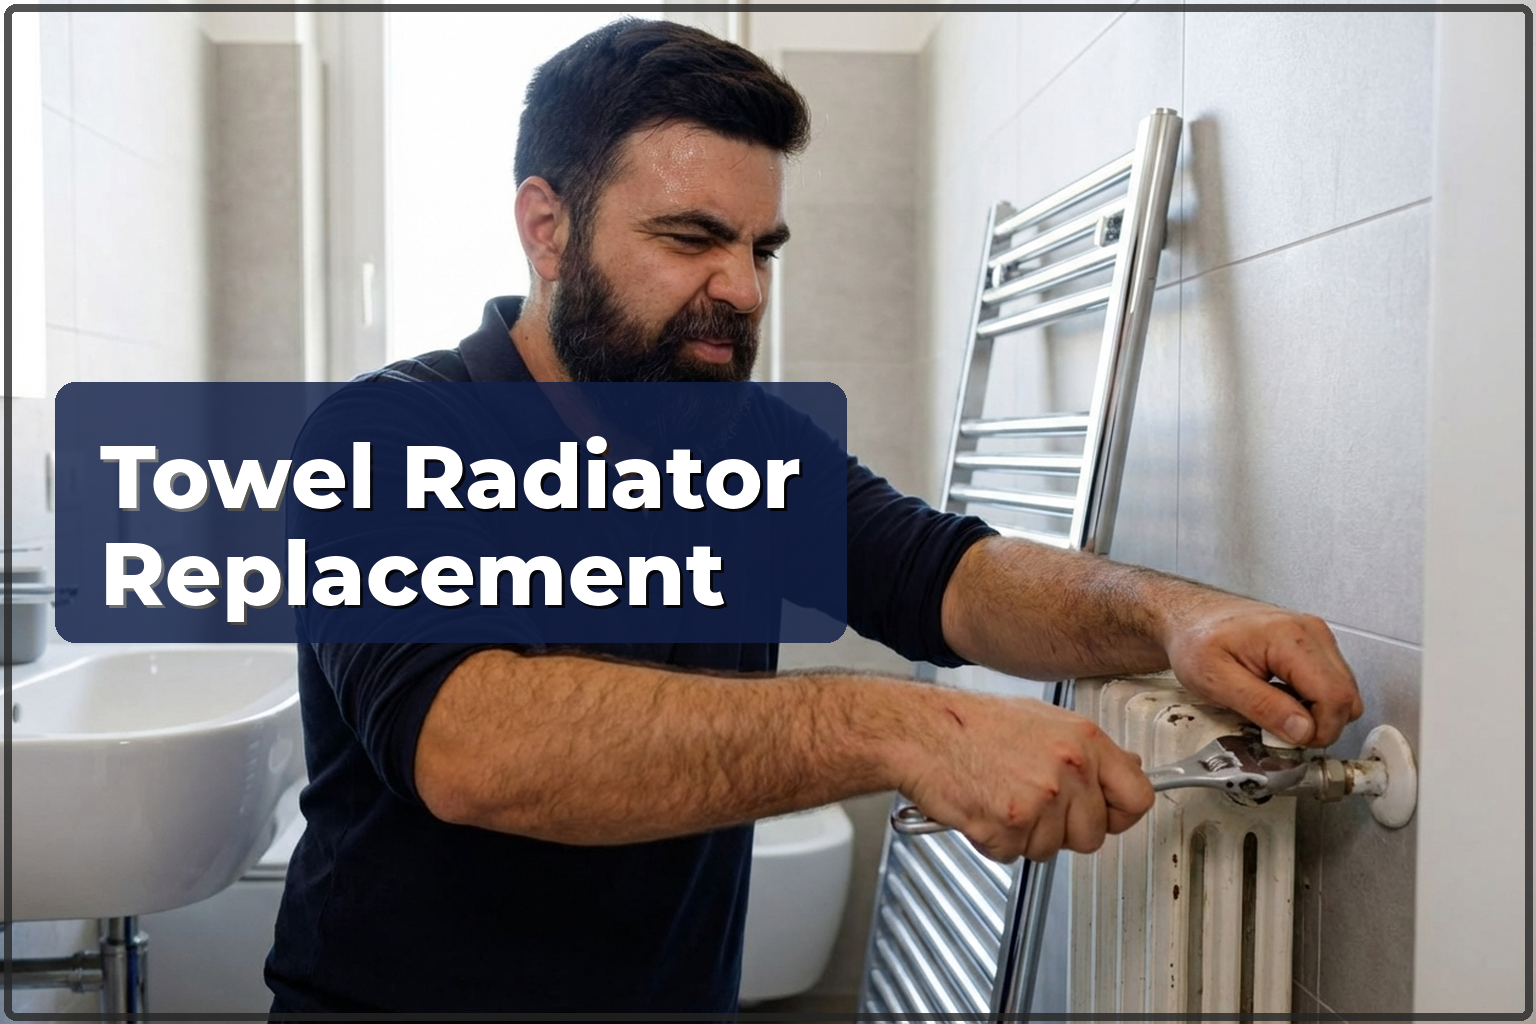
| Towel radiator installation | 250 zł | 450 zł |
| Towel radiator replacement | 350 zł | 700 zł |
| Drain cleaning | 150 zł | 300 zł |
| Trap replacement | 120 zł | 220 zł |
How the installation works
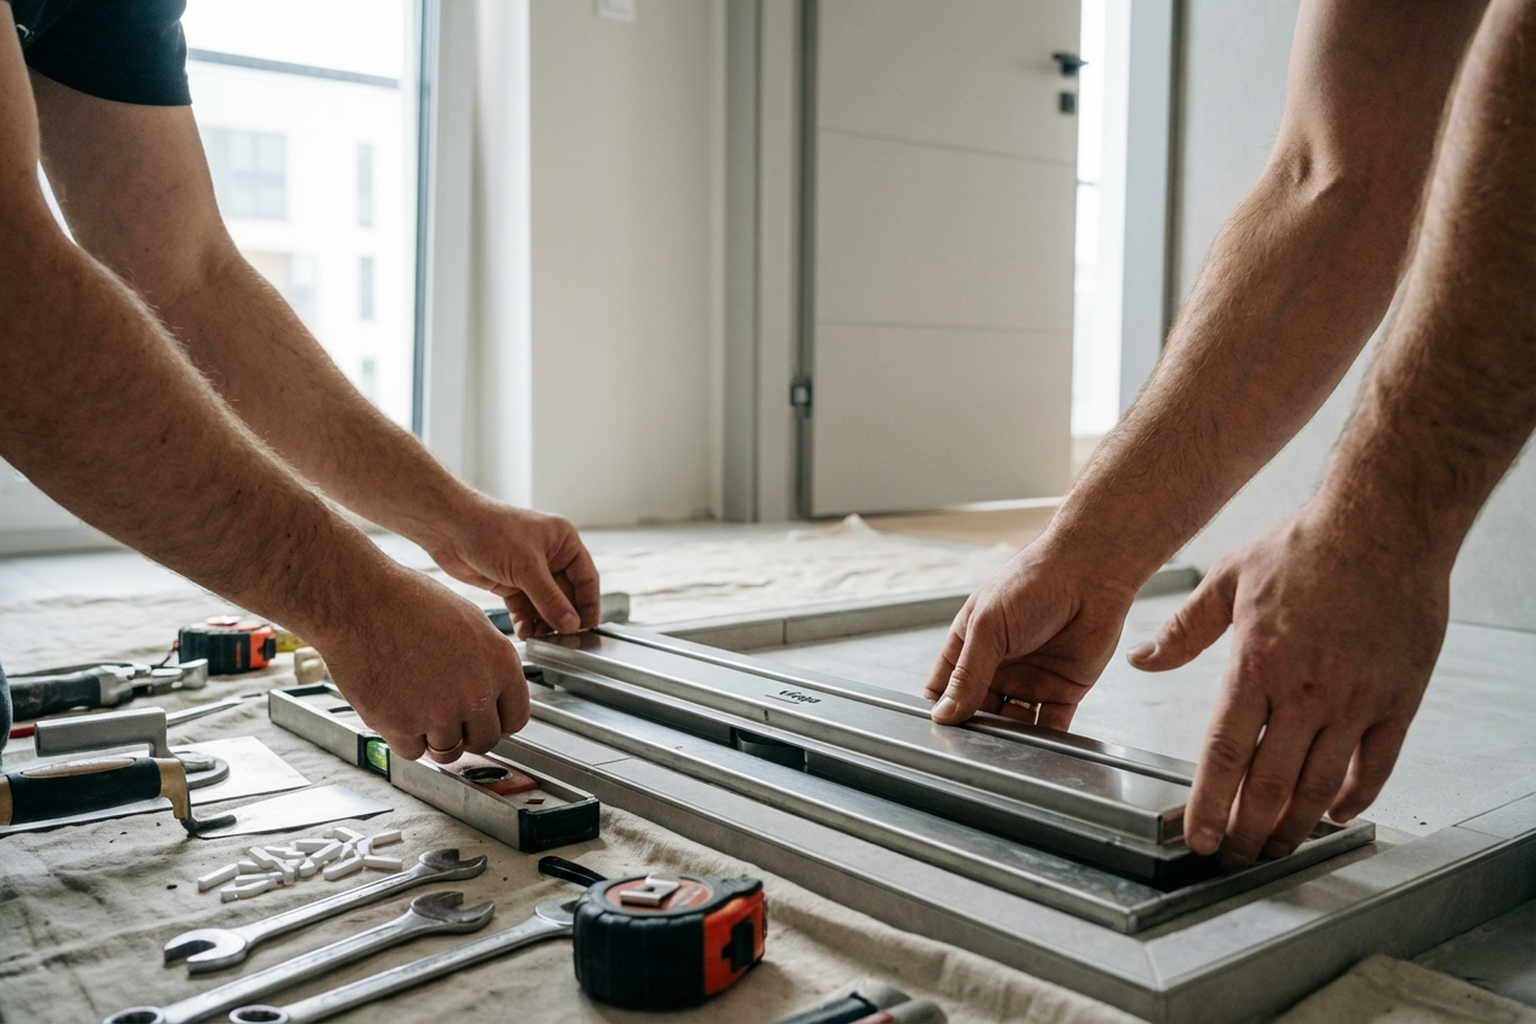
- Survey and planning: we mark the drain position, check the screed depth, find the waste outlet and work out the fall (at least 1–2 % towards the drain).
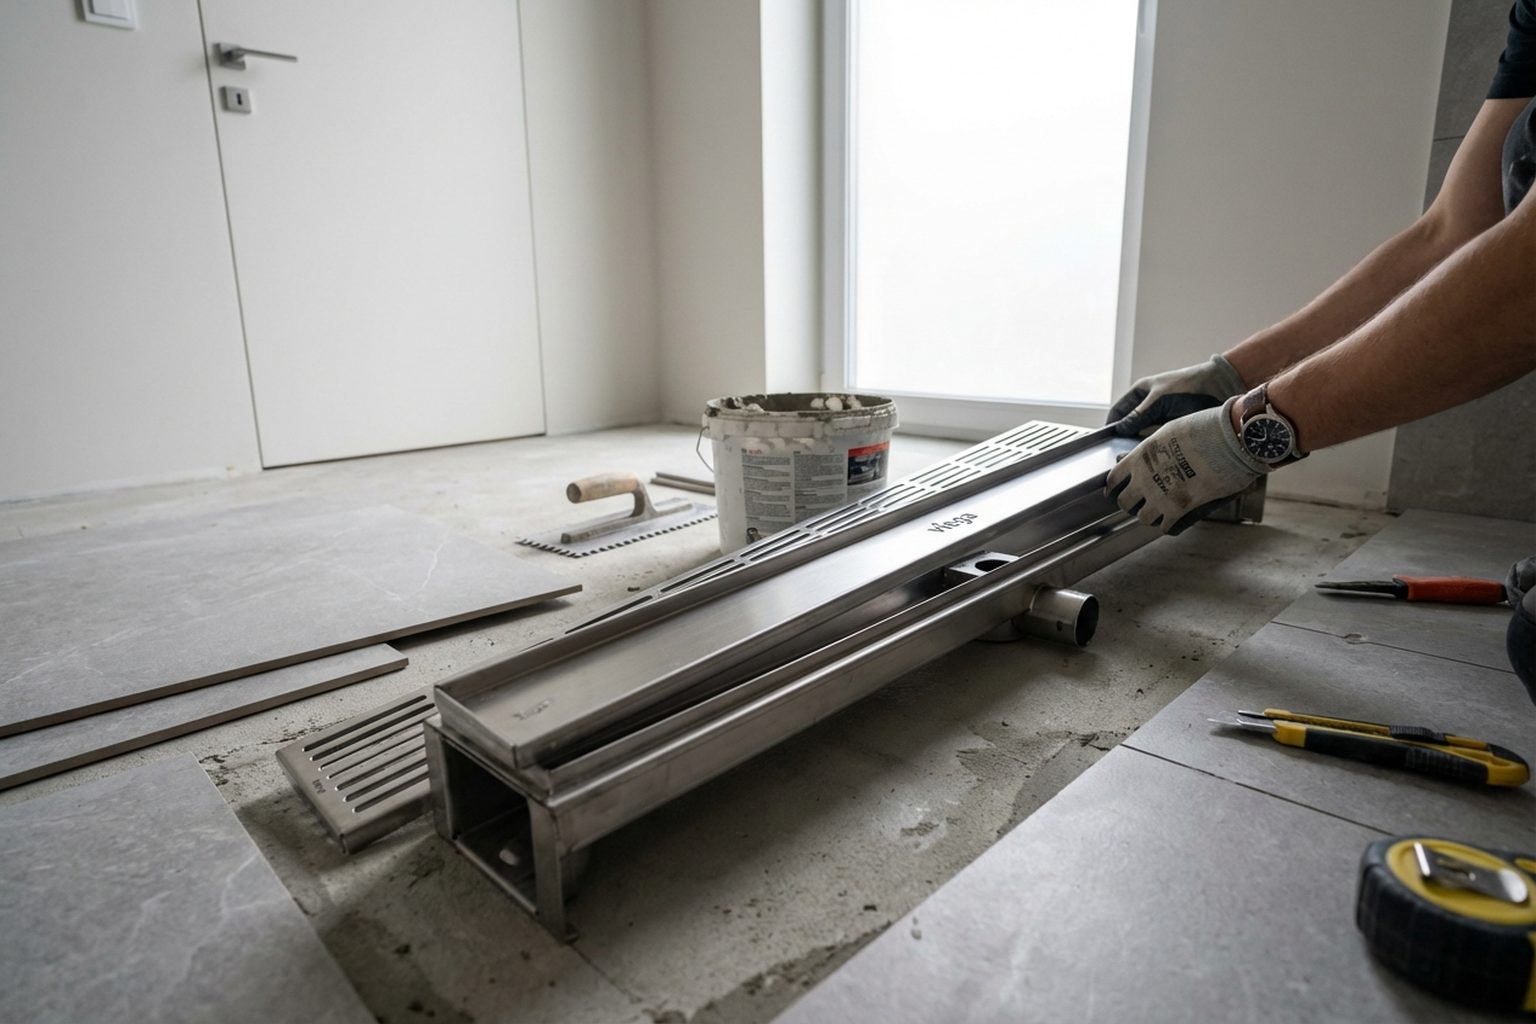
- Base preparation: if the screed is too shallow, we build it up. We cut a channel from the drain point to the waste stack for the pipe.
- Laying the waste pipe: we fit the pipe at the proper fall (at least 2 cm per metre) and connect it to the stack.
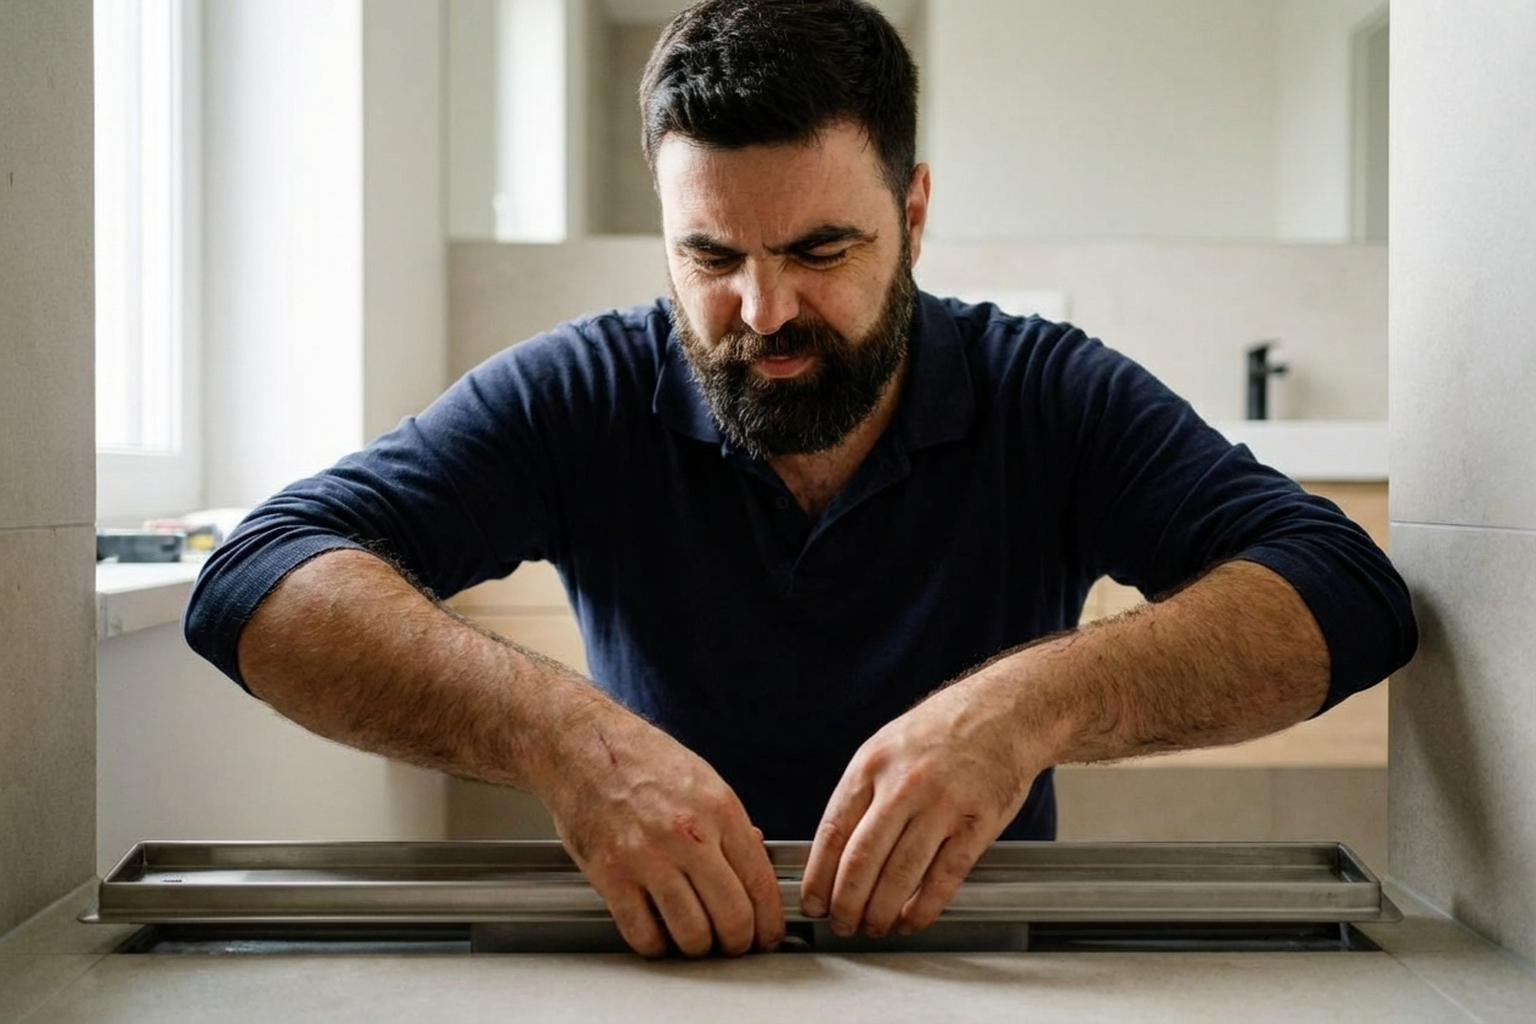
- Setting the drain body: we secure it in the screed at the correct level, leaving room for the future tile and adhesive thickness, and connect it to the waste pipe.
- Waterproofing: we coat the floor and walls with liquid membrane (at least 15–20 cm up), with extra care at the joint between the drain and the screed. Waterproofing tape goes into corners and junctions.
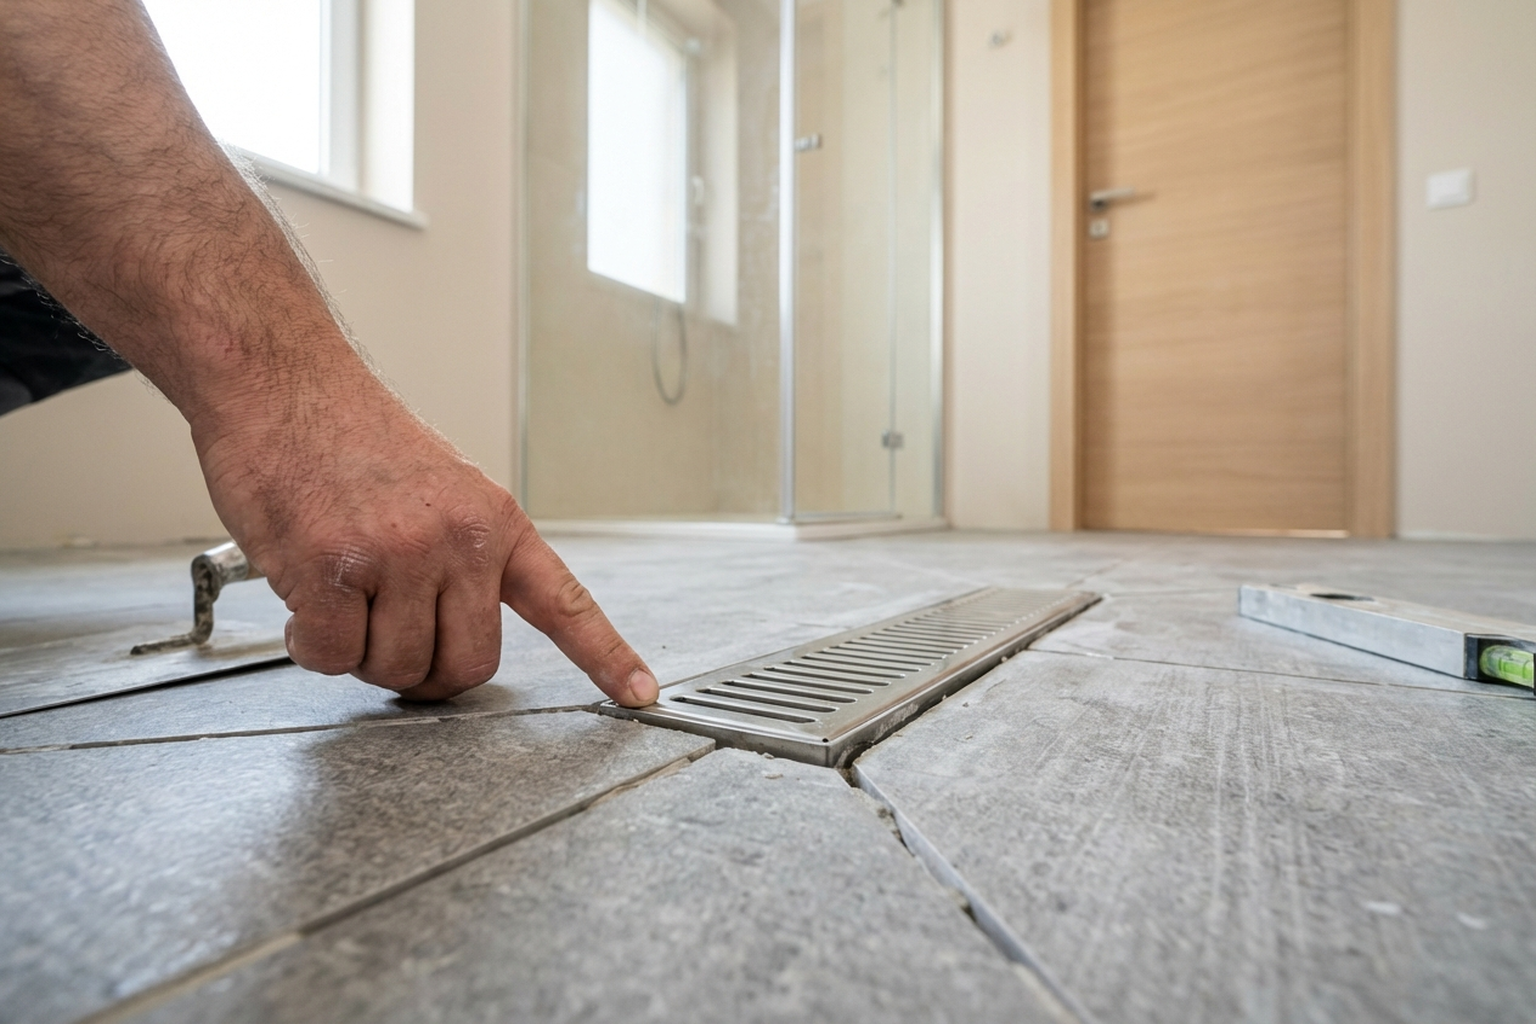
- Forming the gradient: we pour a screed sloping towards the drain from every side and check it with a spirit level.
- Testing: we fill the area with water, check how it drains and inspect every joint for leaks.
Common mistakes
- Too little screed fall — water sits on the floor instead of running into the drain. The only solution is to redo the screed.
- Bad waterproofing — water passes through the screed and reaches the flat below. The costliest mistake of all.
- Incorrect drain height — after tiling, the grate ends up above floor level or sunk too deep.
- Screed too shallow — there is not enough depth for the pipe and fall, so the whole bathroom floor has to be raised.
- Waste pipe without fall — water drains slowly, dirt builds up and the bathroom starts to smell.
- No waterproofing tape at junctions — this is where leaks most often start.
- Drain fitted without a trap with a water seal — sewer smells come straight into the room.
Important: a linear drain means floor waterproofing and drainage work. One fitting mistake can cause a leak to the flat below and a costly repair. If you have not done this kind of work before, we strongly advise calling a professional.
What to prepare before the visit
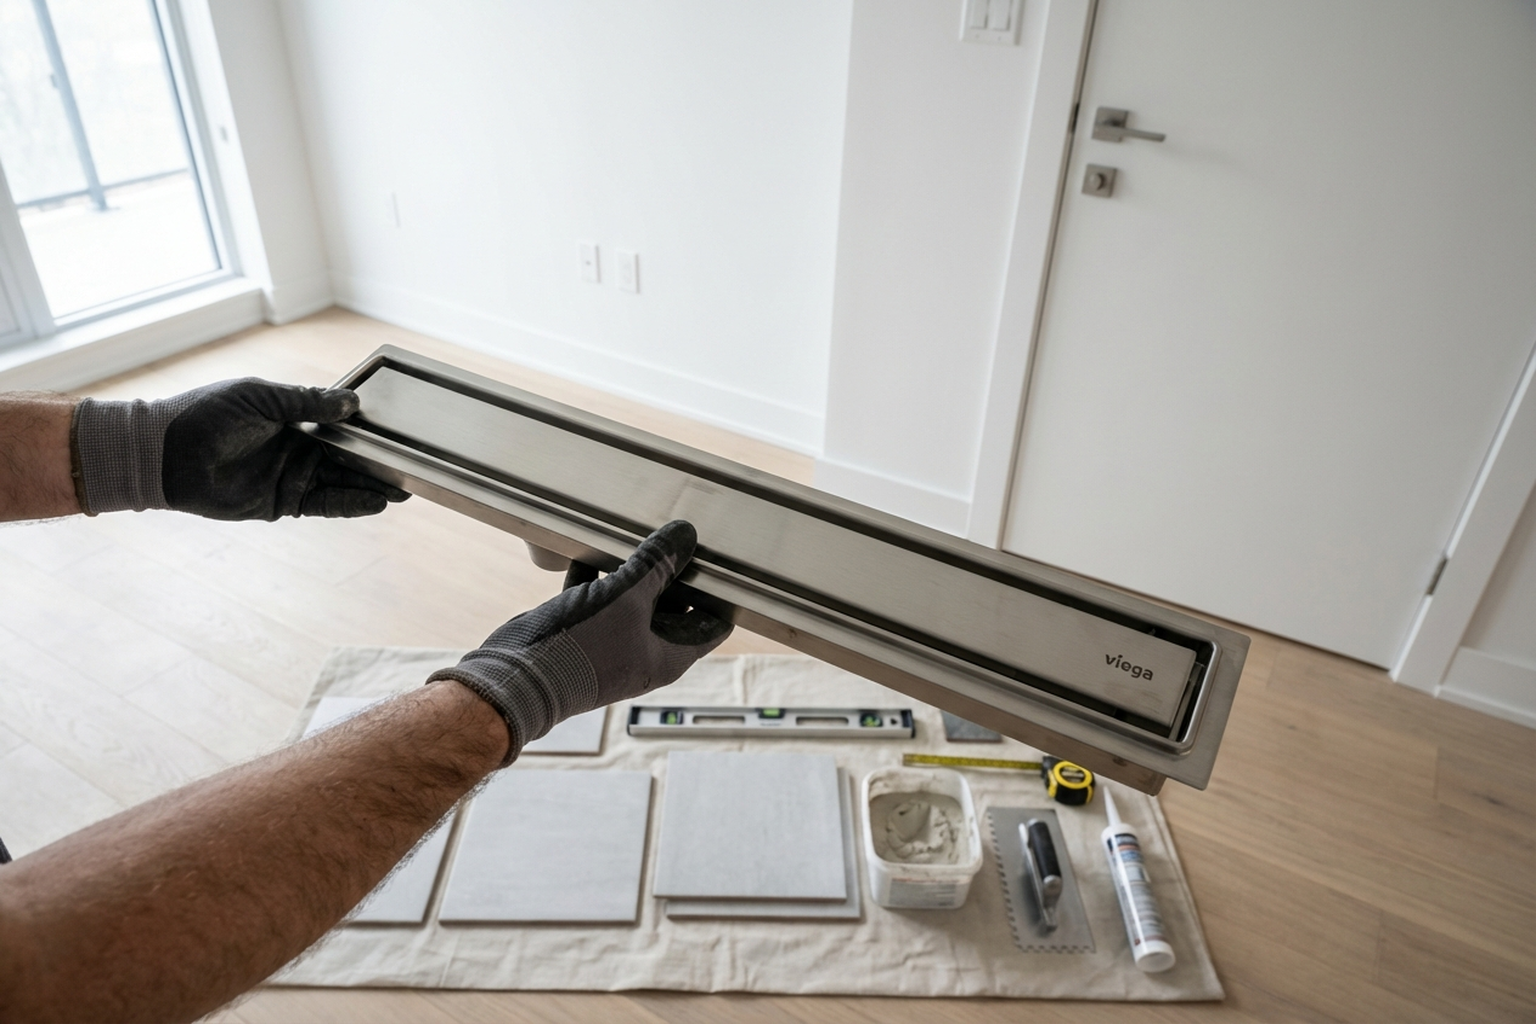
- Buy a linear drain in the right length (50, 60, 70, 80 or 100 cm) — confirm the model with the technician in advance.
- Check the screed thickness in your bathroom — this decides whether the floor has to be raised.
- Find the waste stack and outlet — take a photo so it can be discussed.
- Buy waterproofing materials (liquid membrane and tape) — the technician will advise on the brand and quantity.
- Empty the bathroom completely — the job creates dust and mess, and the whole floor needs to be accessible.
- If the bathroom is already tiled, tell us beforehand — the floor tiles in the shower area will have to be removed.
- Make sure there is access to the waste stack and shut-off valves.
- Check whether your downstairs neighbour has a sensitive ceiling — this matters when it comes to waterproofing.
- Bear in mind: once the drain is fitted, the screed needs 1–3 days to cure before tiles can go down.
A real case from Warsaw
We were called to a new-build flat on Wilanow. The owners wanted a tray-free shower area with a 70 cm linear drain along the wall. The floor screed was 8 cm thick and the waste outlet sat 1.5 m from the planned drain position. We cut a channel for the pipe and laid it with a 2.5 cm-per-metre fall. The drain body was fixed at the right level, with 10 mm allowed for tile and 5 mm for adhesive. Liquid waterproofing was applied in two coats over the entire shower floor and 20 cm up the walls. Waterproofing tape was installed at every junction. We poured a sloped screed and checked the fall from four sides using a spirit level. Two days later we carried out a flood test — the water drained evenly, not one puddle, every joint completely dry. After that, the tiler laid the tiles flush with the drain grate. The result: a flat, step-free shower with faultless drainage (compatible with Grohe, Hansgrohe, Geberit and similar).
Frequently asked questions
Can a linear drain be installed in an older flat?
Yes, but the floor level often has to be raised to create enough depth for the pipe and fall. In older buildings the screed may be thin — the technician will check this during the survey.
What length should the drain be?
That depends on the width of the shower area. A good rule is this: the drain should be at least 60 % of the zone width, otherwise the water may not drain quickly enough under a strong flow.
Is waterproofing necessary if the tiles and grout are waterproof?
Absolutely. Tiles and grout are not waterproofing. Water gets through micro-cracks and joints. Without a membrane under the tiles, a leak to the flat below is only a matter of time.
Can the drain go in the centre of the floor?
Yes, but then the screed has to fall from all four sides, which is harder to do well and costs more. A wall-mounted drain is easier and safer.
How long does installation take?
Fitting the drain with the connection and waterproofing takes 1–2 days. Then add 1–3 days for the screed to cure before tiling. From survey to a completed shower — around a week.
Grated drain or tile-insert — which is better?
A tile-insert has a cleaner look — only a narrow slot stays visible. A grated drain is easier to maintain and clean. Both work the same way; the choice is up to you.
Book the installation
We fit linear drains all over Warsaw — in new builds and older properties, during renovations and in finished bathrooms. We come out for a survey, calculate the fall and height, and install the drain with full waterproofing. Get in touch — we will go over your project and set a date.