How much does ceiling moulding installation cost in Warsaw?
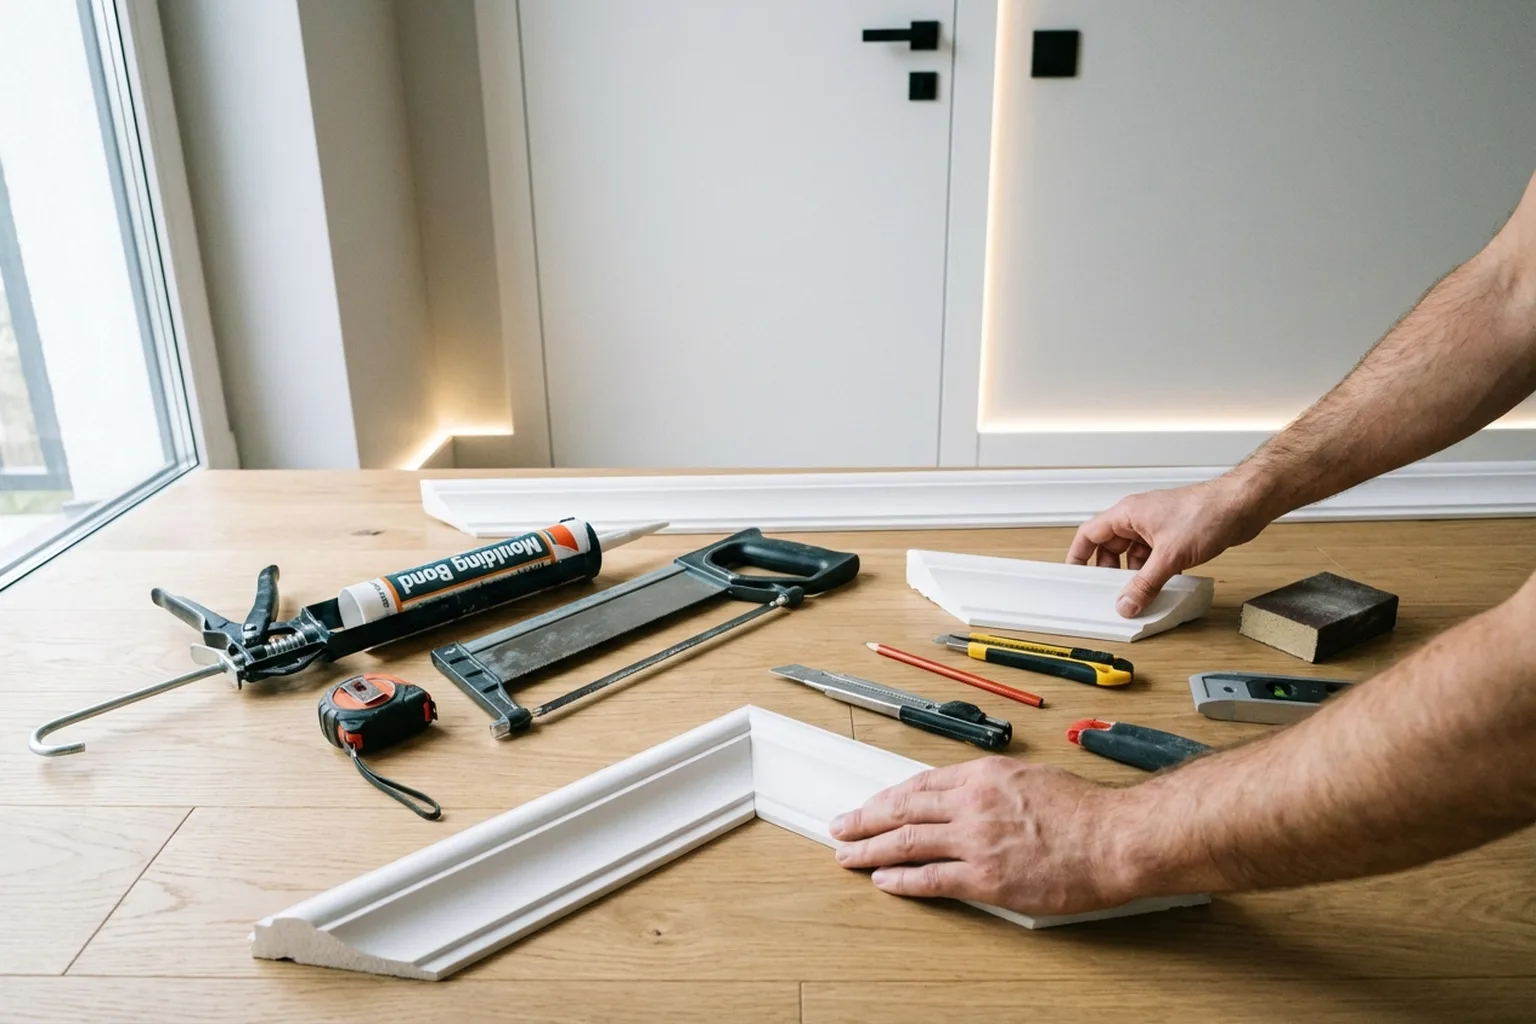
Up-to-date prices are in the table below. The final amount depends on the total running length, the type of moulding (polystyrene, polyurethane, duropolymer), and the number of corners. Internal corners are standard. External, unusual, and curved corners take more work and cost extra. The client purchases the moulding; the technician can advise on the right size and material. Adhesive is usually included in the labour price.
| Service | Price |
|---|---|
| Covering furniture, doors, windows and floors | 20–25 zł/m² |
| Wall cleaning before painting | 15–25 zł/m² |
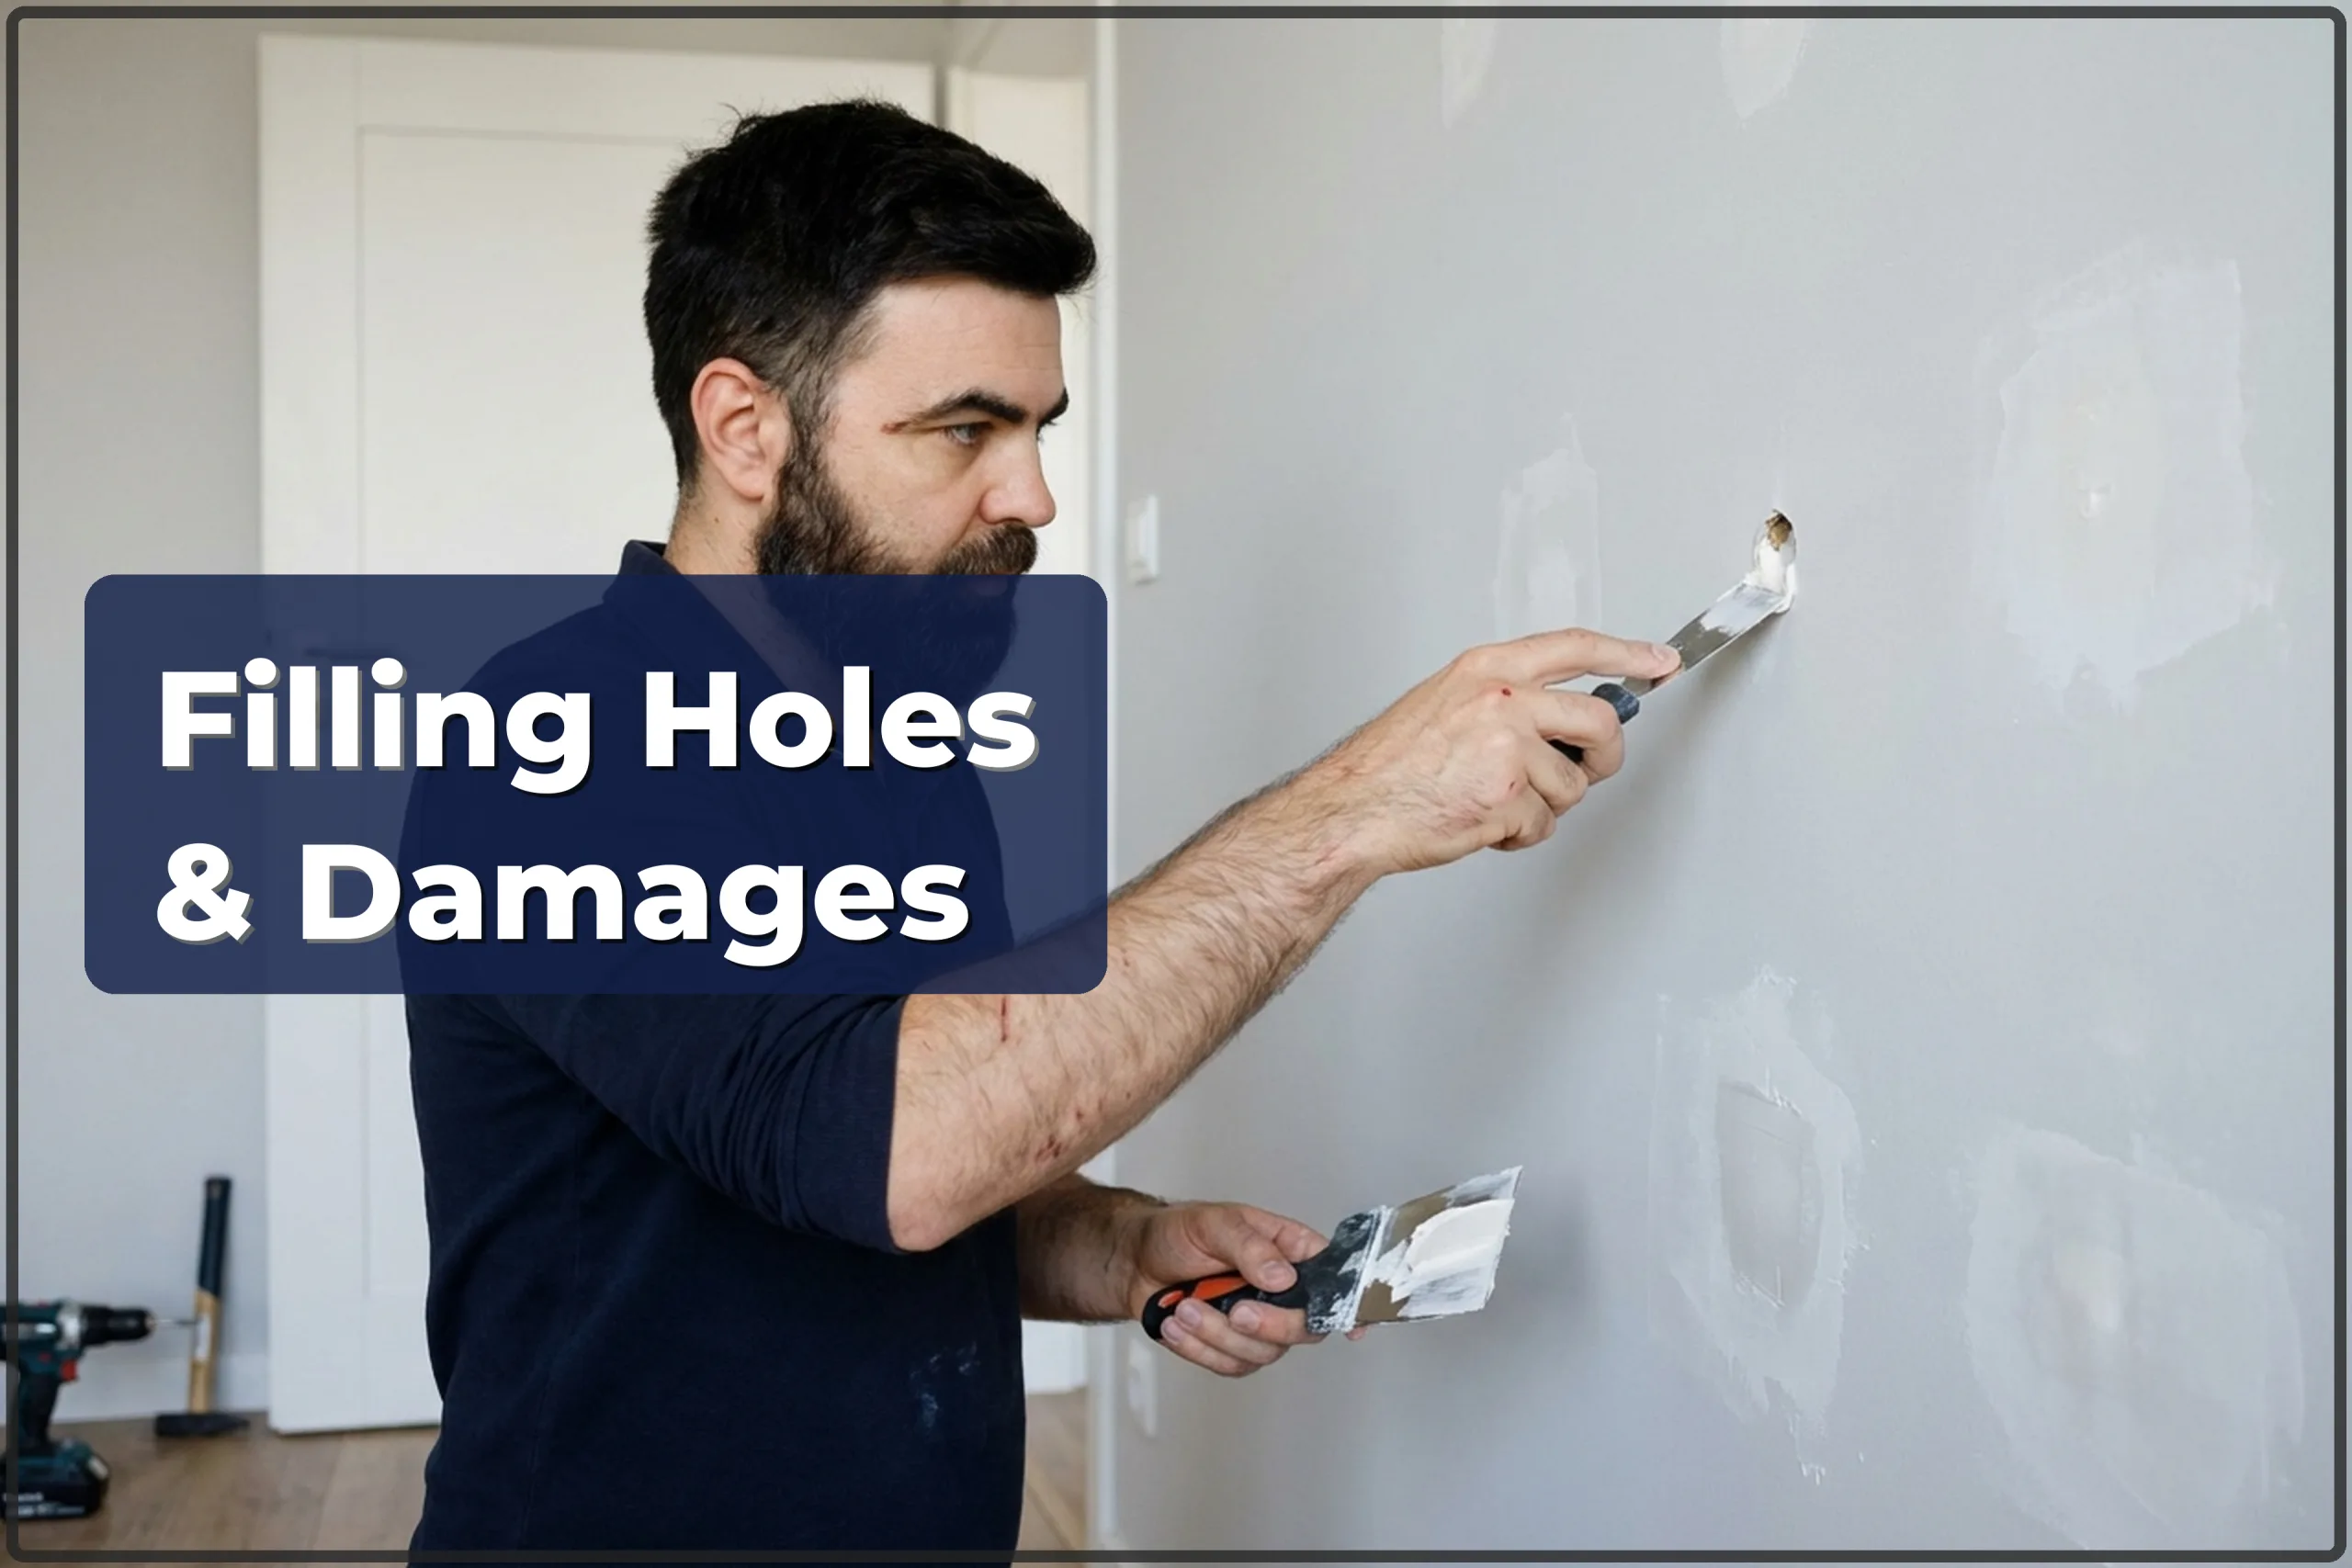
| Filling holes and damage | 20–35 zł/m² |
| Wall levelling after tile removal | 60–90 zł/m² |
| Ceiling levelling | 45–80 zł/m² |
| Priming before painting | 8–14 zł/m² |
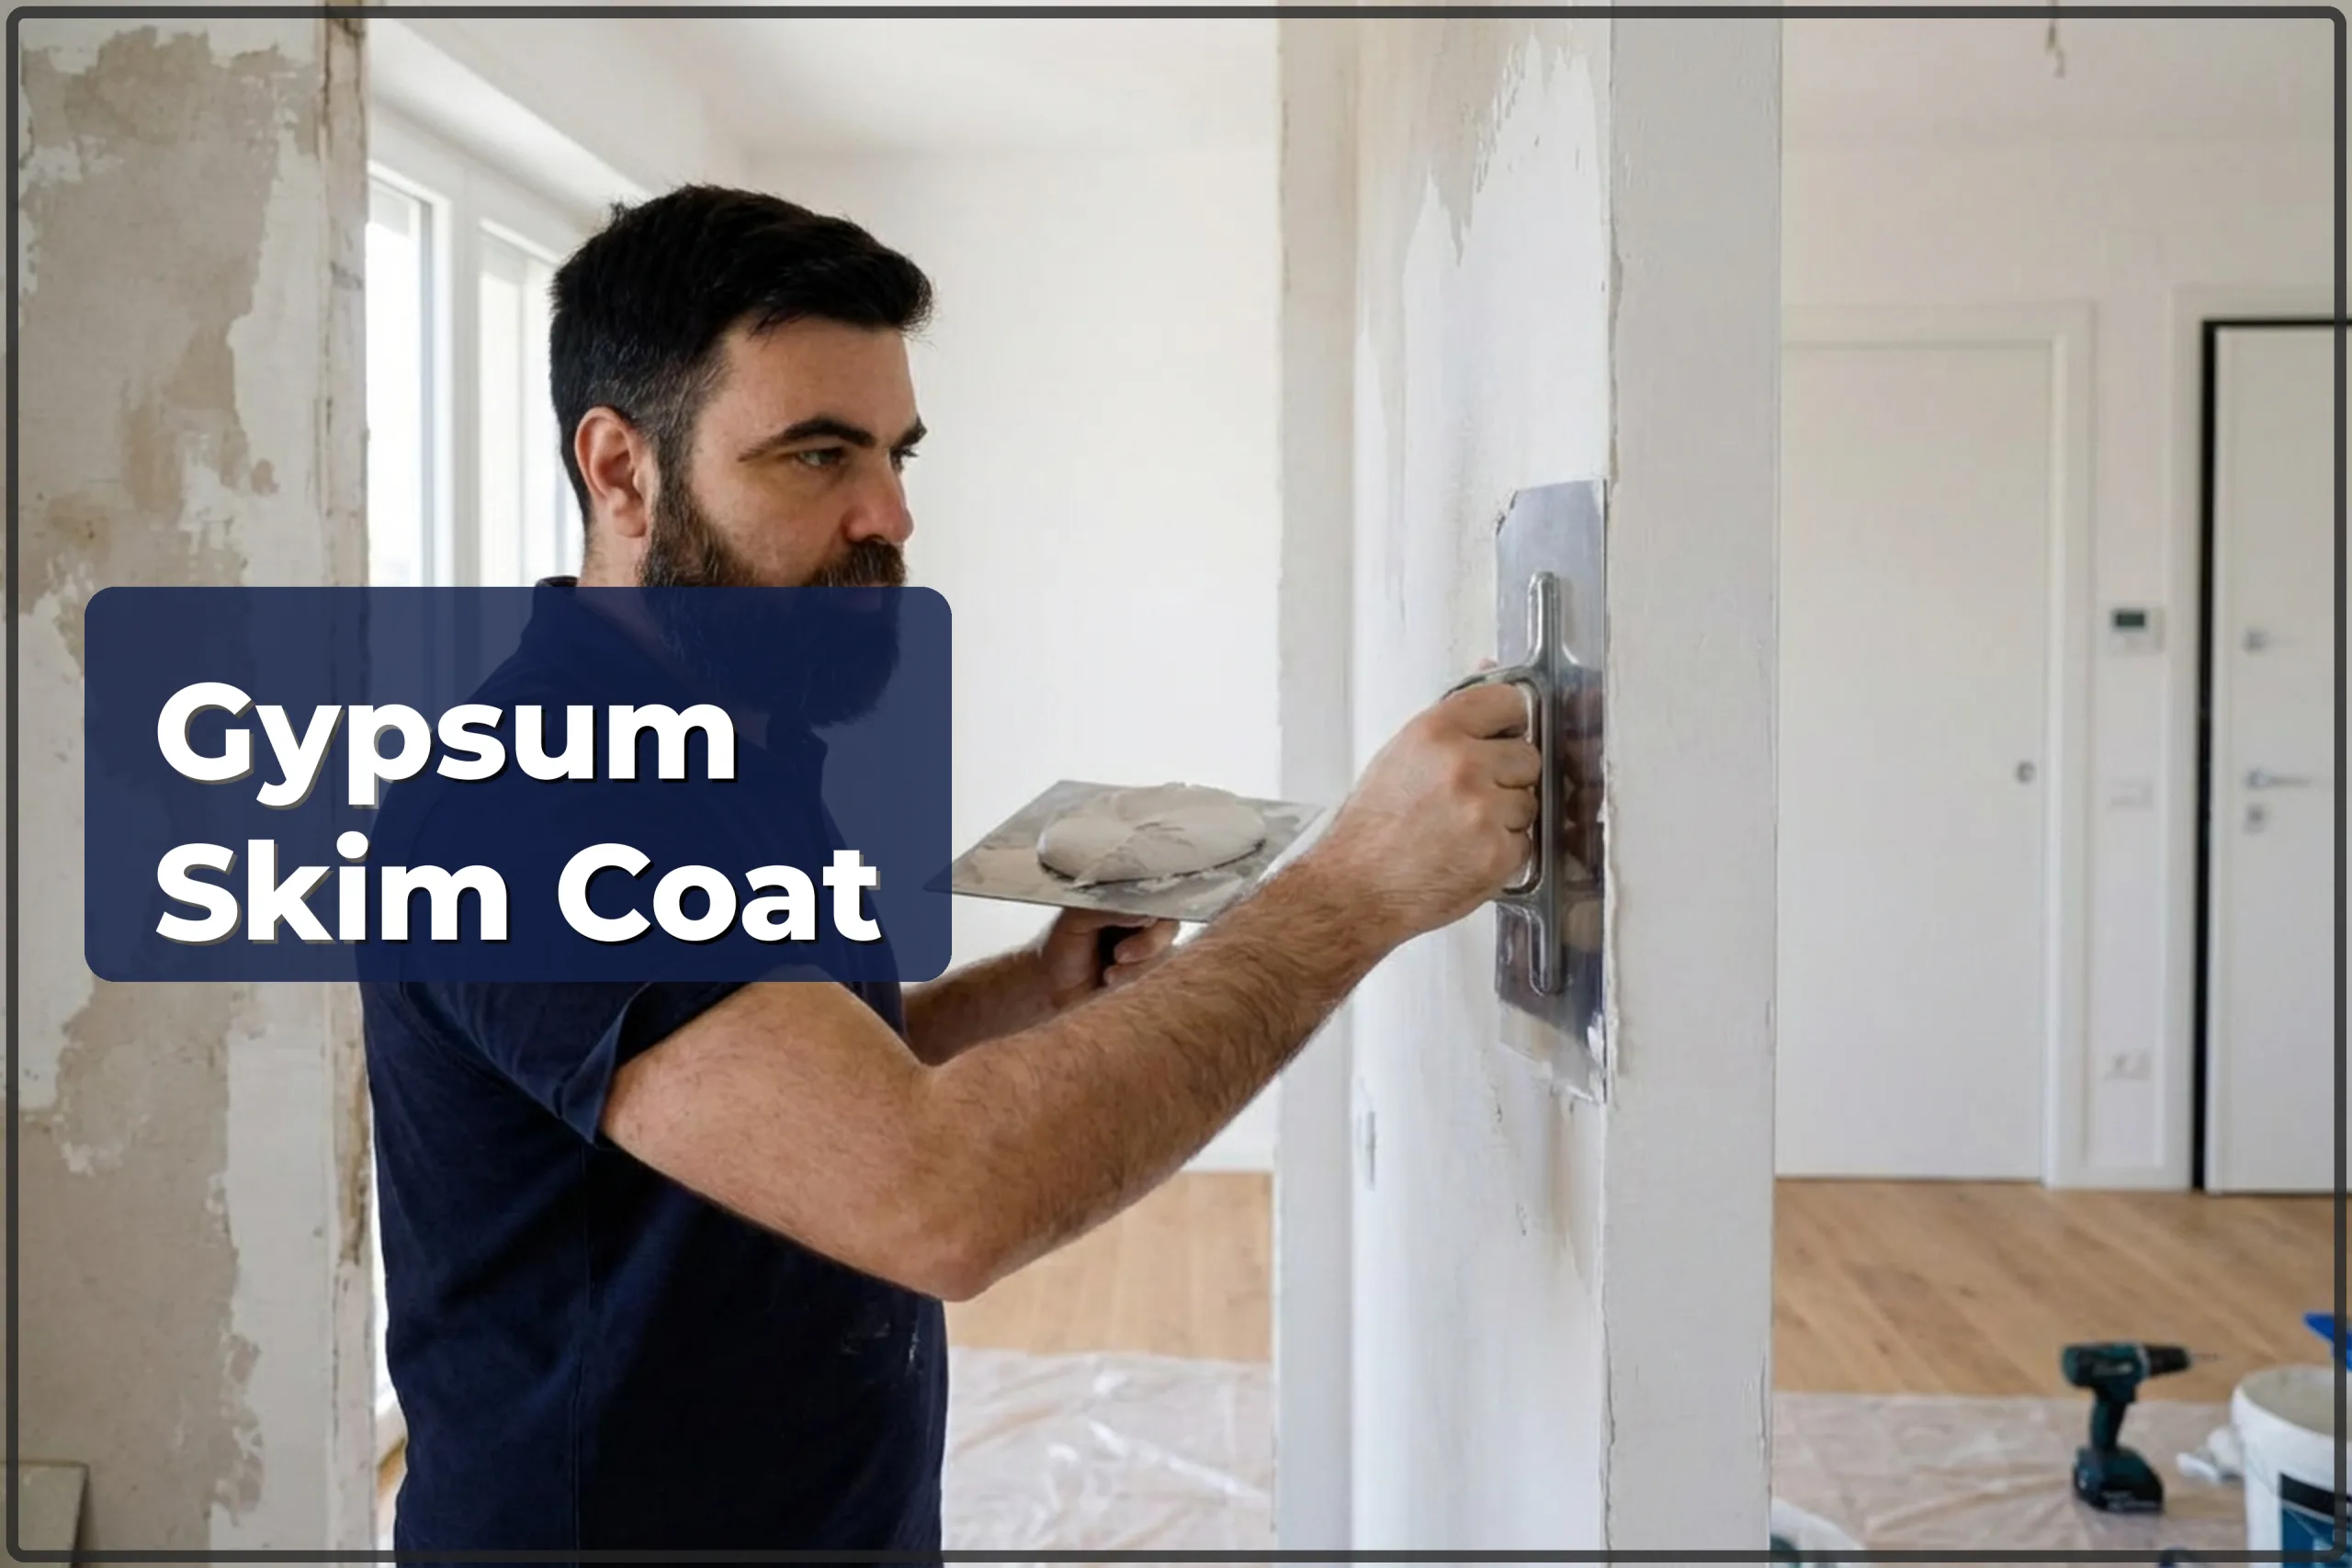
| Gypsum skim coating | 55–90 zł/m² |
| Walls and ceilings, one colour (2 coats) | 30–50 zł/m² |
| Walls in different colours | 40–60 zł/m² |
| Oil paint painting | 70–150 zł/m² |
| Pipe painting (water, heating, gas) | 20–35 zł/mb |
| Radiator painting | 150–400 zł/szt |
| Window painting | 150–300 zł/szt |
| Old paint removal from wood | 30–70 zł/m² |
| Wood impregnation | 30–45 zł/m² |
| Old wallpaper removal | 20–35 zł/m² |
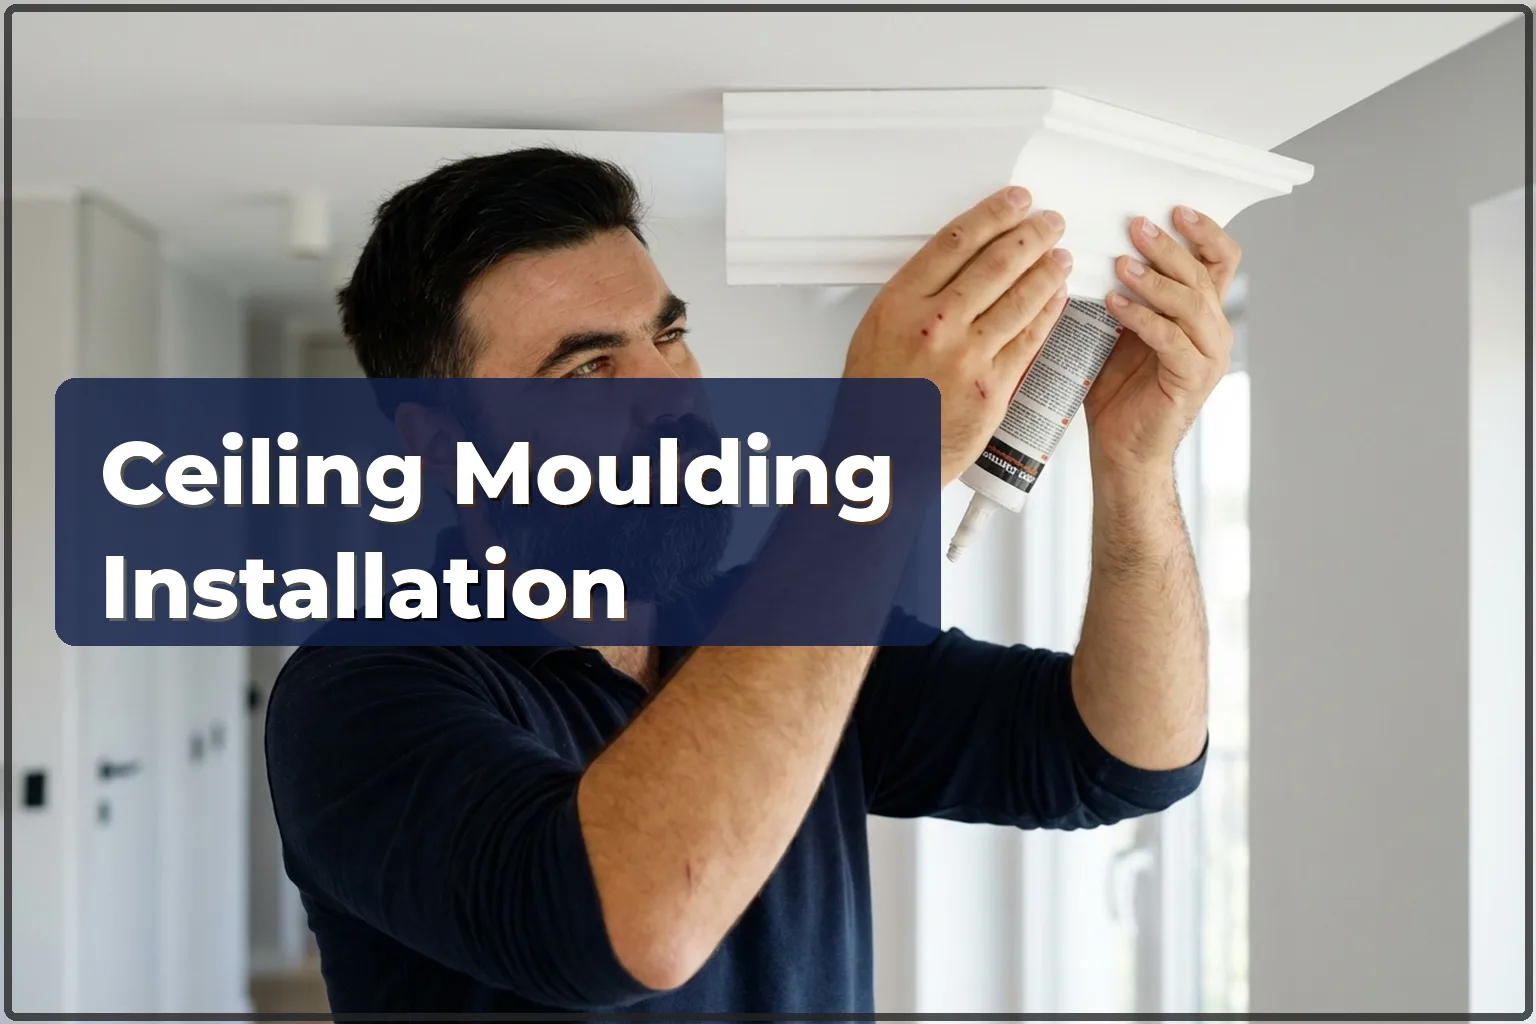
| Ceiling cornice installation | 40–75 zł/mb |
Indicative prices. Ranges for a typical scope. Fixings included, materials separate. Minimum order 300 zł.
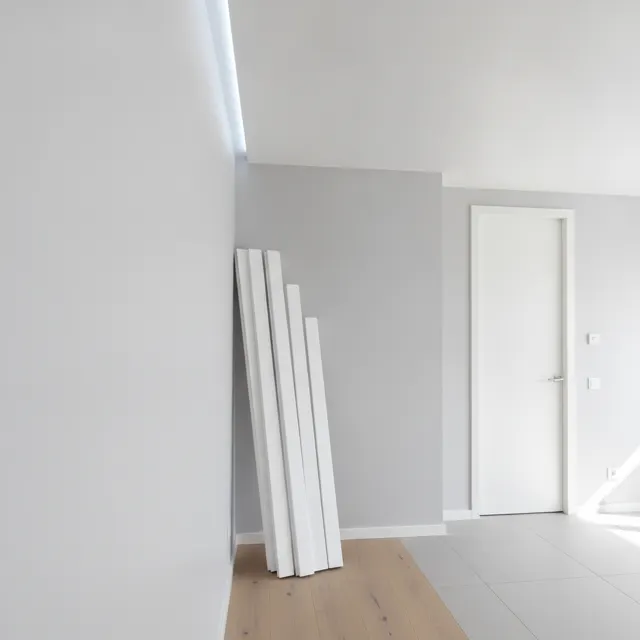
Price ranges and offers from tradespeople: apartment fit-out in Warsaw.
How ceiling moulding installation is done
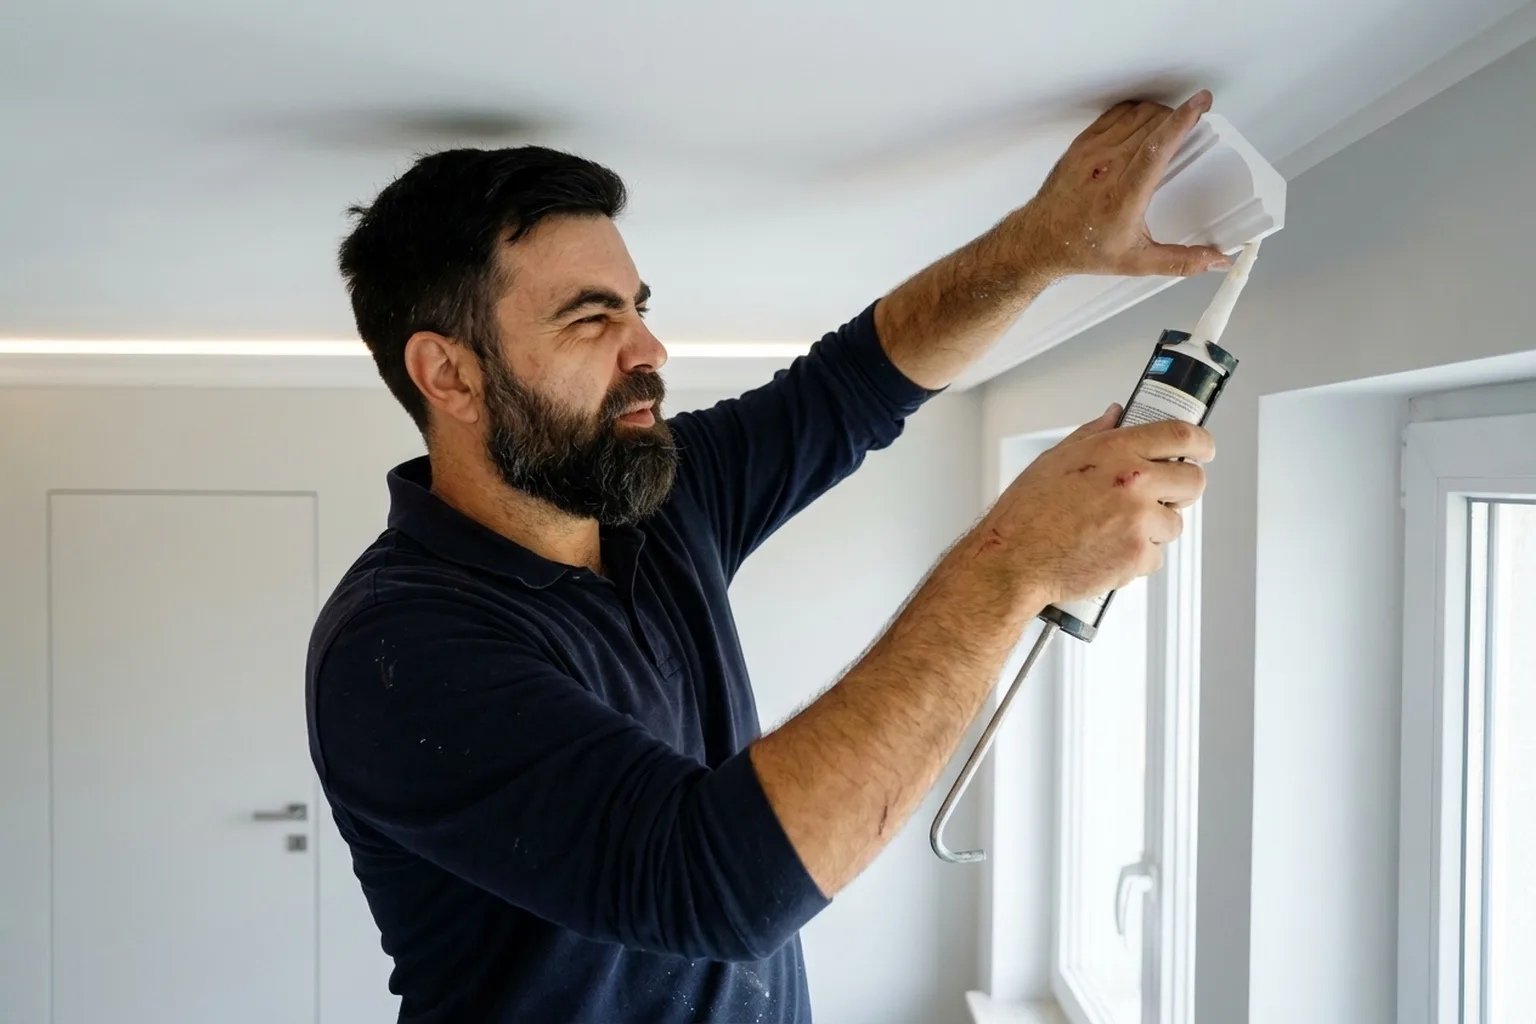
- The technician checks the perimeter and counts the corners, internal, external, and non-standard.
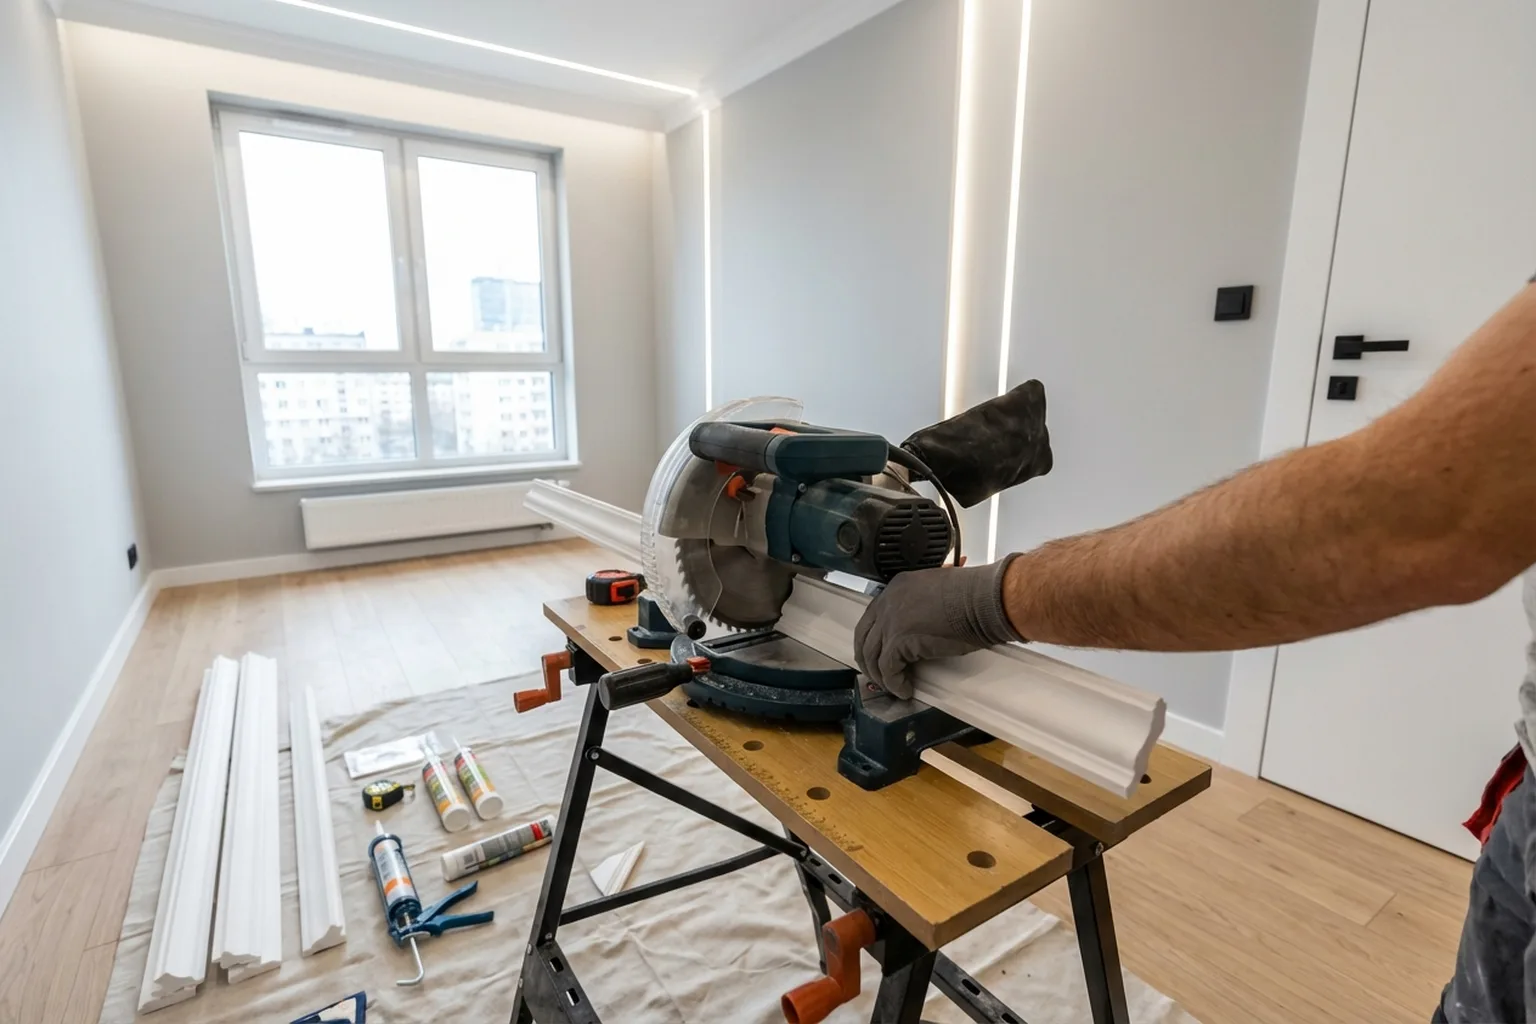
- The moulding is cut to angle — with a mitre box or mitre saw. If the corners are not exactly 90°, the fit is adjusted by hand.
- Adhesive is spread onto both sides of the moulding (the wall side and the ceiling side).
- The moulding is pressed into position, and excess adhesive is cleaned away.
- The joints between lengths are filled: once dry, they are not visible.
- The corners are finished: any small gaps are filled with filler or acrylic sealant.
- If required, the moulding is painted to match the ceiling or the wall colour.
Common mistakes when installing moulding (and how to avoid them)
- Installing it before painting the walls — then trying to paint neatly along the moulding and still getting paint onto it.
- Cutting the angle by eye, a 2 mm gap is obvious to everyone except the person who made the cut.
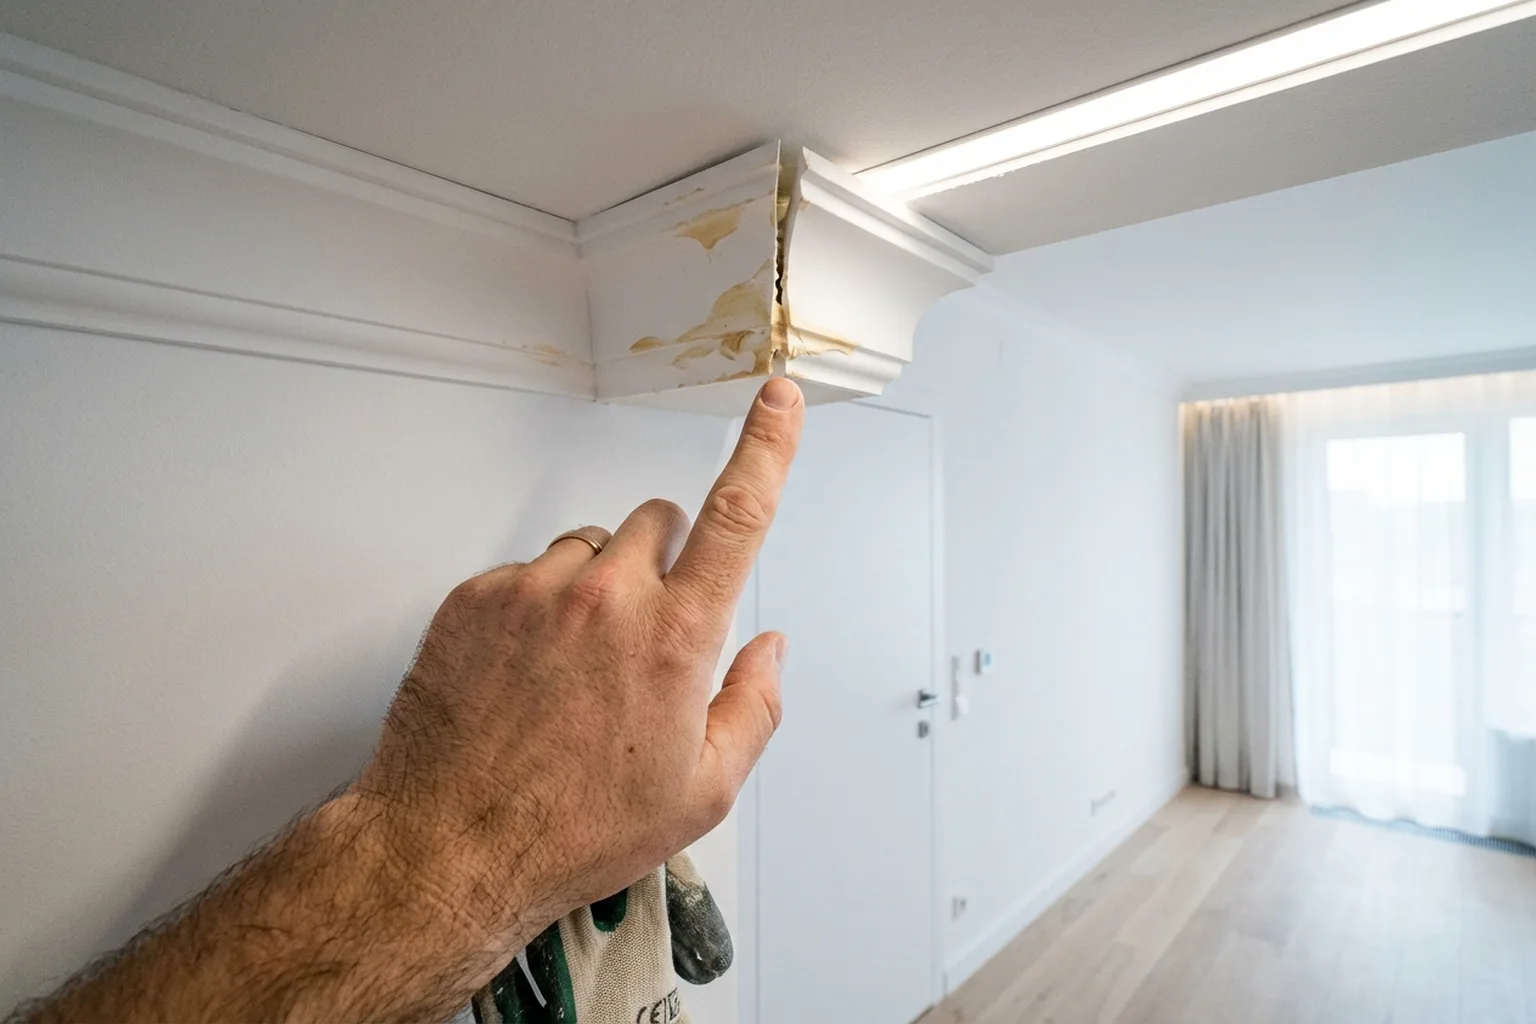
- Leaving the joints unfilled: the seams between lengths stand out, especially in side light.
- Using grab adhesive instead of proper moulding glue, the moulding goes yellow at the contact points.
- Picking thin polystyrene moulding just to cut costs — it shows up uneven surfaces instead of covering them.
- Fixing moulding onto a crooked wall without prep work, a gap stays between the moulding and the wall.
What to prepare before the technician arrives
- The walls and ceiling should already be painted or wallpapered: moulding is fitted at the end.
- Buy the moulding with a 10–15% extra allowance for cuts and mistakes. The technician will advise on the type and size.
- Move furniture away from the walls or into the middle of the room.
- Have a stepladder ready, or ask the technician to bring one.
- If the ceilings are higher than 3 metres, mention it beforehand; scaffolding may be required.
- Decide if the moulding will be painted or left white.
- State the number of rooms and the approximate perimeter.
- Give access details: intercom, parking, and floor number.
A real case from Warsaw: ceiling moulding installation
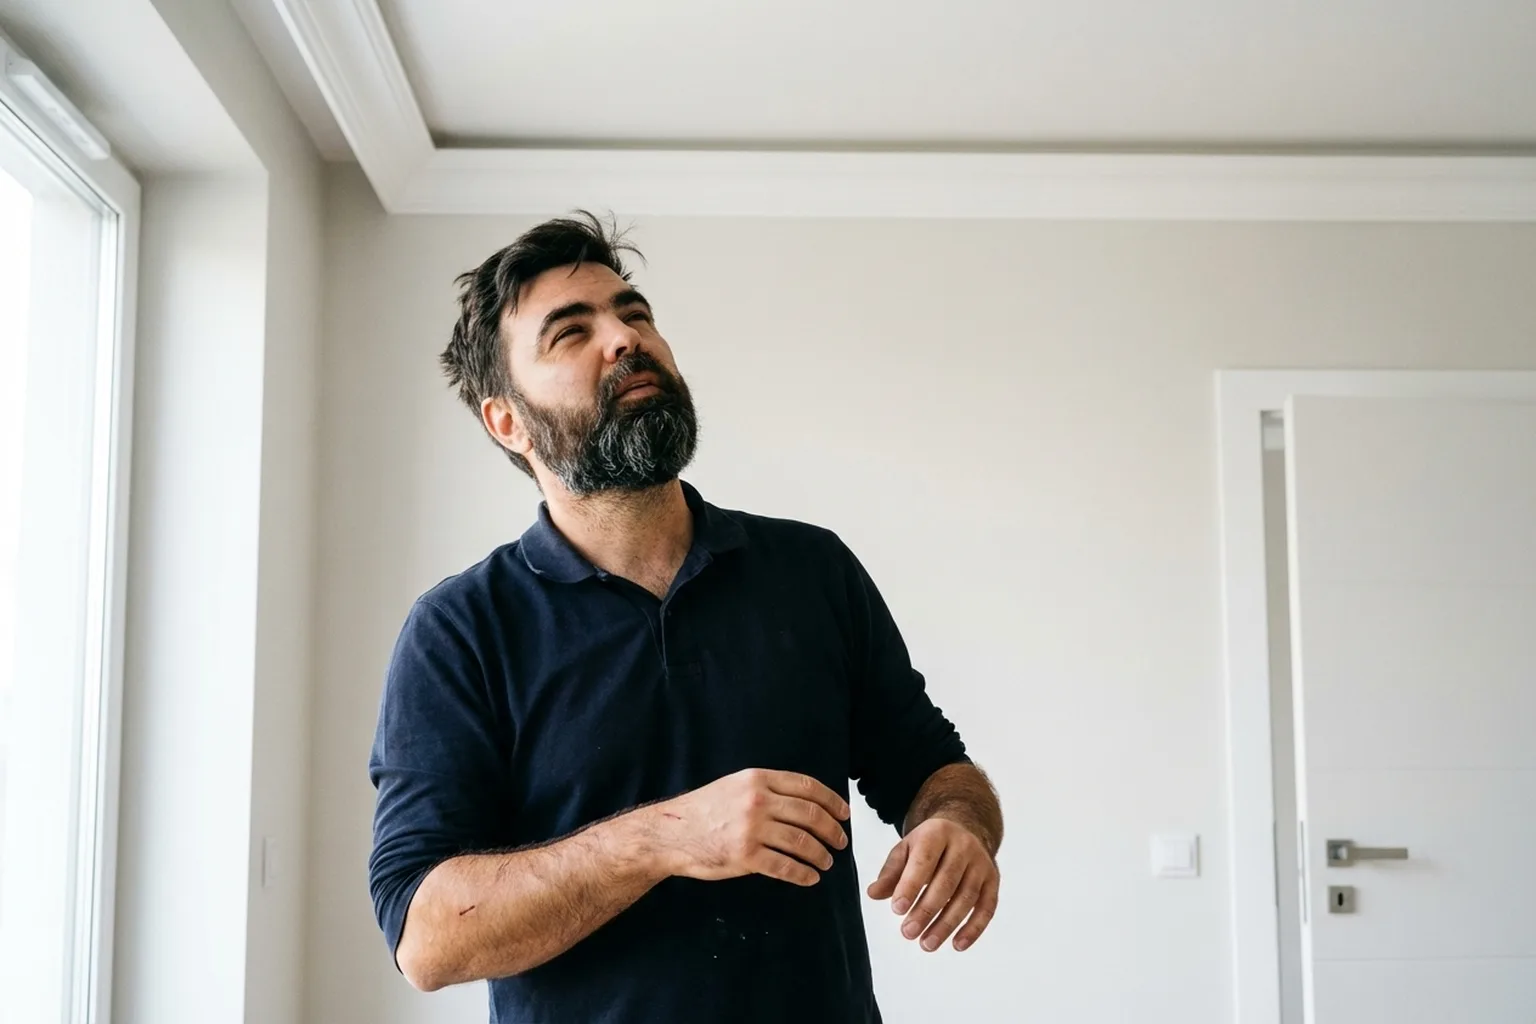
A flat in a pre-war tenement in Śródmieście, a living room of 28 m² with 3.1-metre ceilings. The owners picked a wide classical polyurethane profile, 15 cm, to suit the period feel of the building. The issue: the room had eight corners, including two around a doorway column, and not one was exactly 90 degrees. The technician checked each angle with a digital protractor and cut every joint on a mitre saw with fine adjustment. Where the moulding joined the column, he shaped the profile by hand with a file. All joints were filled and sanded smooth, then the whole run was painted in two coats of matt white together with the ceiling. The job took a day and a half. The owners said the moulding changed the room completely, it went from a renovated flat to a space that looked like a properly restored pre-war interior.
Frequently asked questions
Which moulding is best: polystyrene, polyurethane, or duropolymer?
Polystyrene is the cheapest, but it is fragile and looks fairly plain. Polyurethane is durable with a detailed pattern — the best all-round option. Duropolymer is the hardest-wearing and resistant to moisture, a good choice for bathrooms.
Can moulding be fitted over wallpaper?
Yes, but fitting it straight onto the wall before wallpapering, or onto a painted wall, gives a better bond.
Does ceiling moulding need painting?
Not necessarily, but it is a good idea: paint hides the joints and gives an even finish.
What if the wall is crooked?
The technician will press the moulding in as tightly as possible and fill any remaining gaps with acrylic sealant, then sand it smooth.
How long does installation take?
One standard-sized room: 2–3 hours. A full flat — from half a day to two days.
Who buys the moulding?
In most cases, the client does. The technician will advise on the size, type, and where to find the best deal.
Who does the work
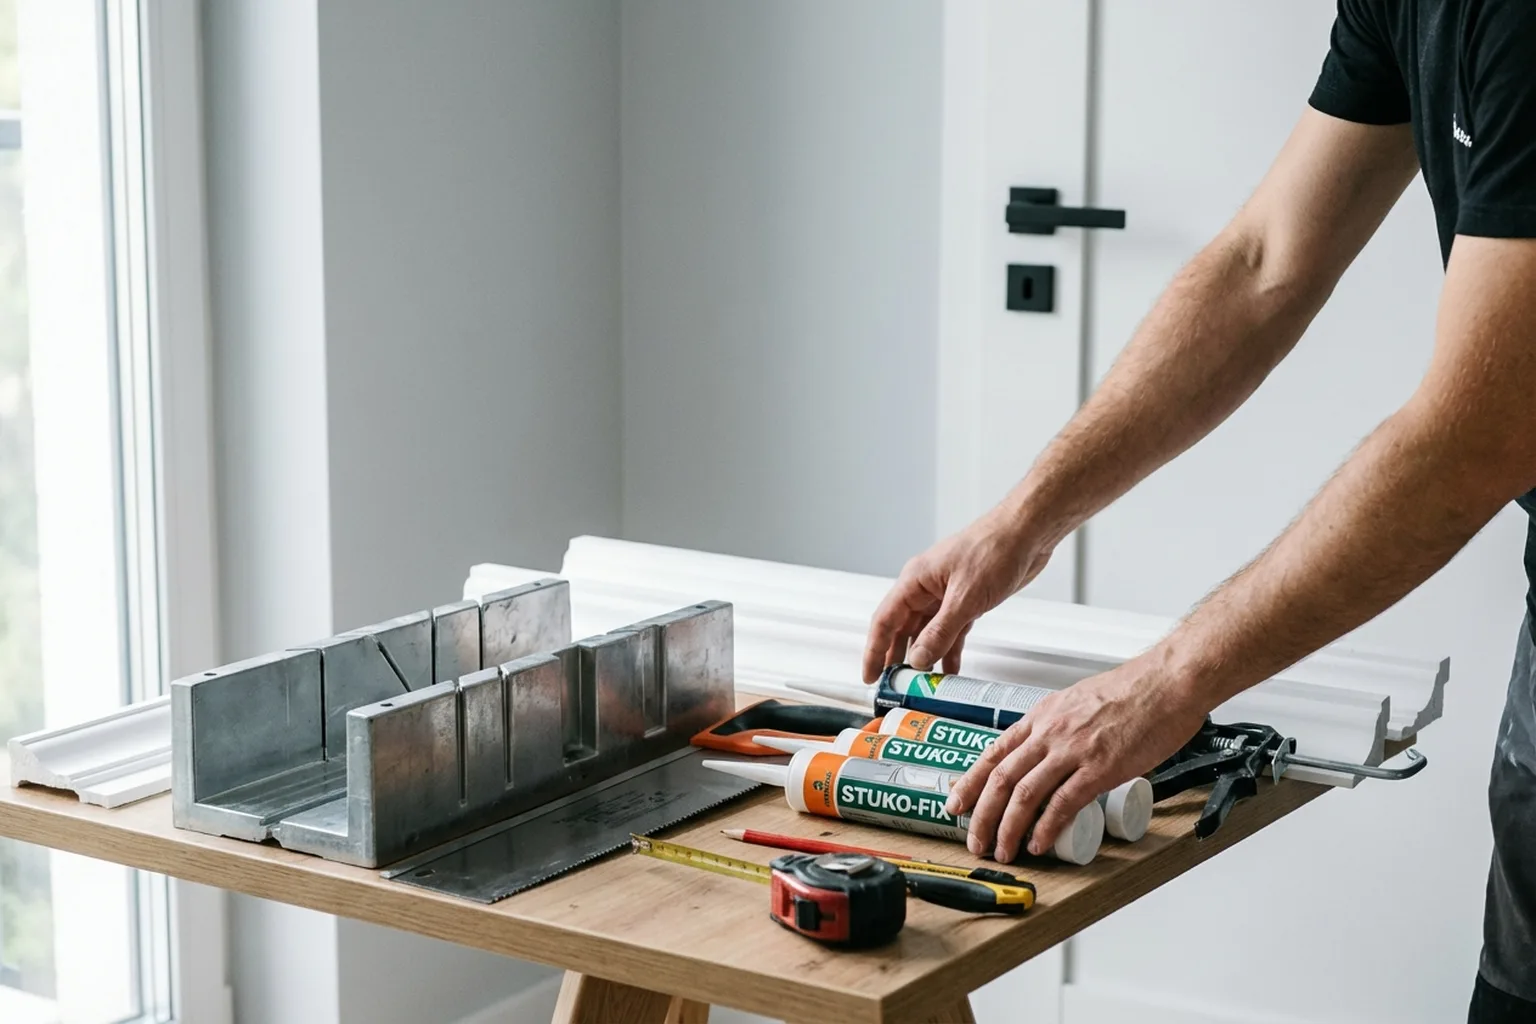
Ceiling moulding is fitted by decorators and finishing specialists. Tradespeople know all the small details of cutting corners, joining lengths, and the final finish.
Order in the app
Describe the job, add photos and the address. Tradespeople send their own prices and dates, and you pick one of the offers.
Open the app