

How much does a kitchen island cost to install?
The price depends mainly on whether the island is built from ready-made units or made to measure, how heavy the worktop is and whether services need bringing in. Current rates are in the table, and the exact figure for your job comes from the handymen in their offers.

| Service | Price |
|---|---|
| Install kitchen island | 500–1200 zł/szt |
| Custom kitchen island | Individual quote |
Indicative prices. Ranges for a typical scope. Fixings included, materials separate. Minimum order 300 zł.
Small fixings are usually part of the labour: screws, plugs, carcass connectors. Materials are paid for separately (carcasses, fronts, worktop, handles), and so are the hood, the sink and all the appliances. Rubbish removal and carrying materials in are extra too. Cutting the floor, plumbing and electrics are normally separate items, so list them in your request.
Rather hand the job over? More here: plumbing services in Warsaw.
Kitchen island dimensions and the space around it
Start with the walkways. About 90 cm between the island and the units is the lower limit, enough for one person to pass easily. If two of you cook together, or a dishwasher faces an oven, allow 100 to 120 cm. Tape the outline on the floor and live with it for a few days.
Island height normally matches the worktop, around 85 to 90 cm. A standard base unit is about 60 cm deep, which sets the minimum for an island with units on one side. Add room for bar stools on the other side and you get about 90 cm; units on both sides need about 120 cm. For each person at the worktop allow roughly 60 cm of width and a 25 to 30 cm overhang for knees.
It is easier to draw the working area, sockets and appliances together with the island, and the guide to kitchen layout and design will help.
An island in a small kitchen: when it fits
The sum: wall units 60 cm, walkway 90 cm, island 60 cm, second walkway 90 cm. That makes 300 cm of room width, and it is a tight version with no stools. Anything narrower and a classic island blocks every drawer.
Three options suit a small kitchen. A peninsula joins a wall or a run of units, giving a similar worktop with less walkway. A narrow island, shallower than a standard unit, is enough for chopping and storage. Or there is the mobile island, which you simply roll aside when it is not needed.
Which kitchen island to choose: units, wheels or a table
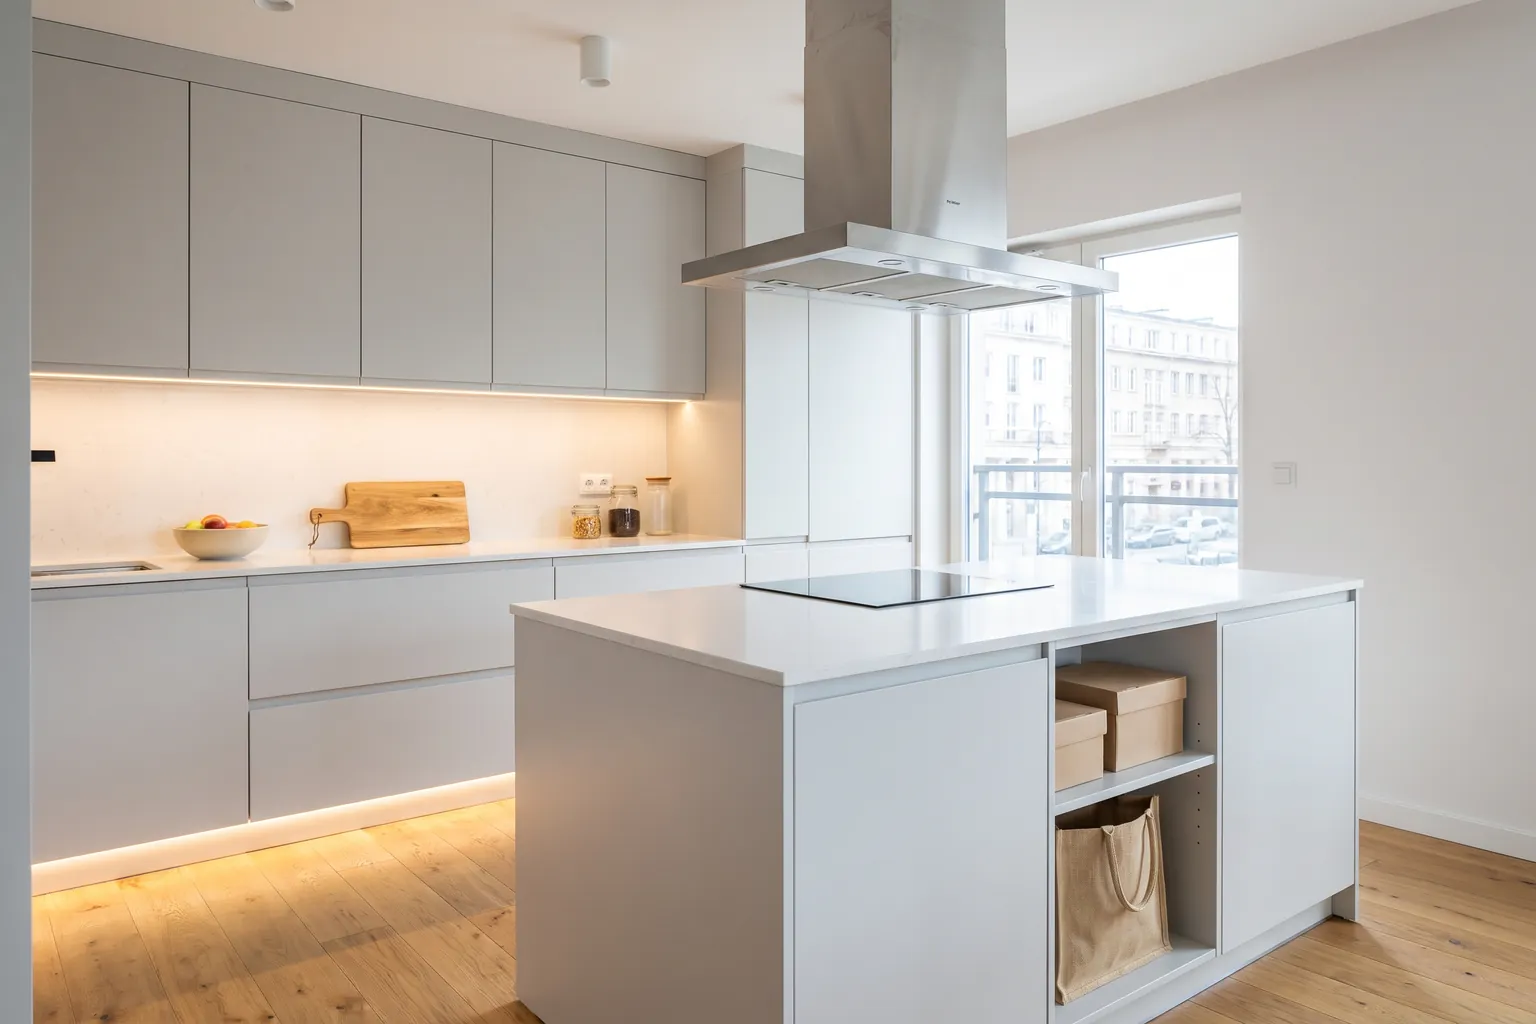
An island built from kitchen units
You can build one from ready-made carcasses, often the sensible budget route. Bolt two units back to back or cover the rear with a panel, because a carcass back is usually thin and will not survive being kicked by a bar stool. Add a shared plinth, side panels and proper floor fixing, and the rest is ordinary kitchen unit fitting. A single unit with no anchors will rock as soon as you start kneading dough.
An island on wheels
A kitchen island on wheels gives you extra worktop and storage without touching the floor. Pick castors with brakes and check their load rating. It cannot take a sink or a hob.
Freestanding and made-to-measure islands
A freestanding island on legs looks lighter but holds less. Made to measure makes sense in an awkward room or to match the rest of the kitchen. Materials and measuring are covered in the article on custom kitchen units.
Islands with drawers or a table
Drawers beat shelves, but an open one takes up a good part of the walkway. An island with a table combines the worktop with a lower table at around 75 cm. It needs noticeably more room and a rigid support.
Water, drainage and power in a kitchen island
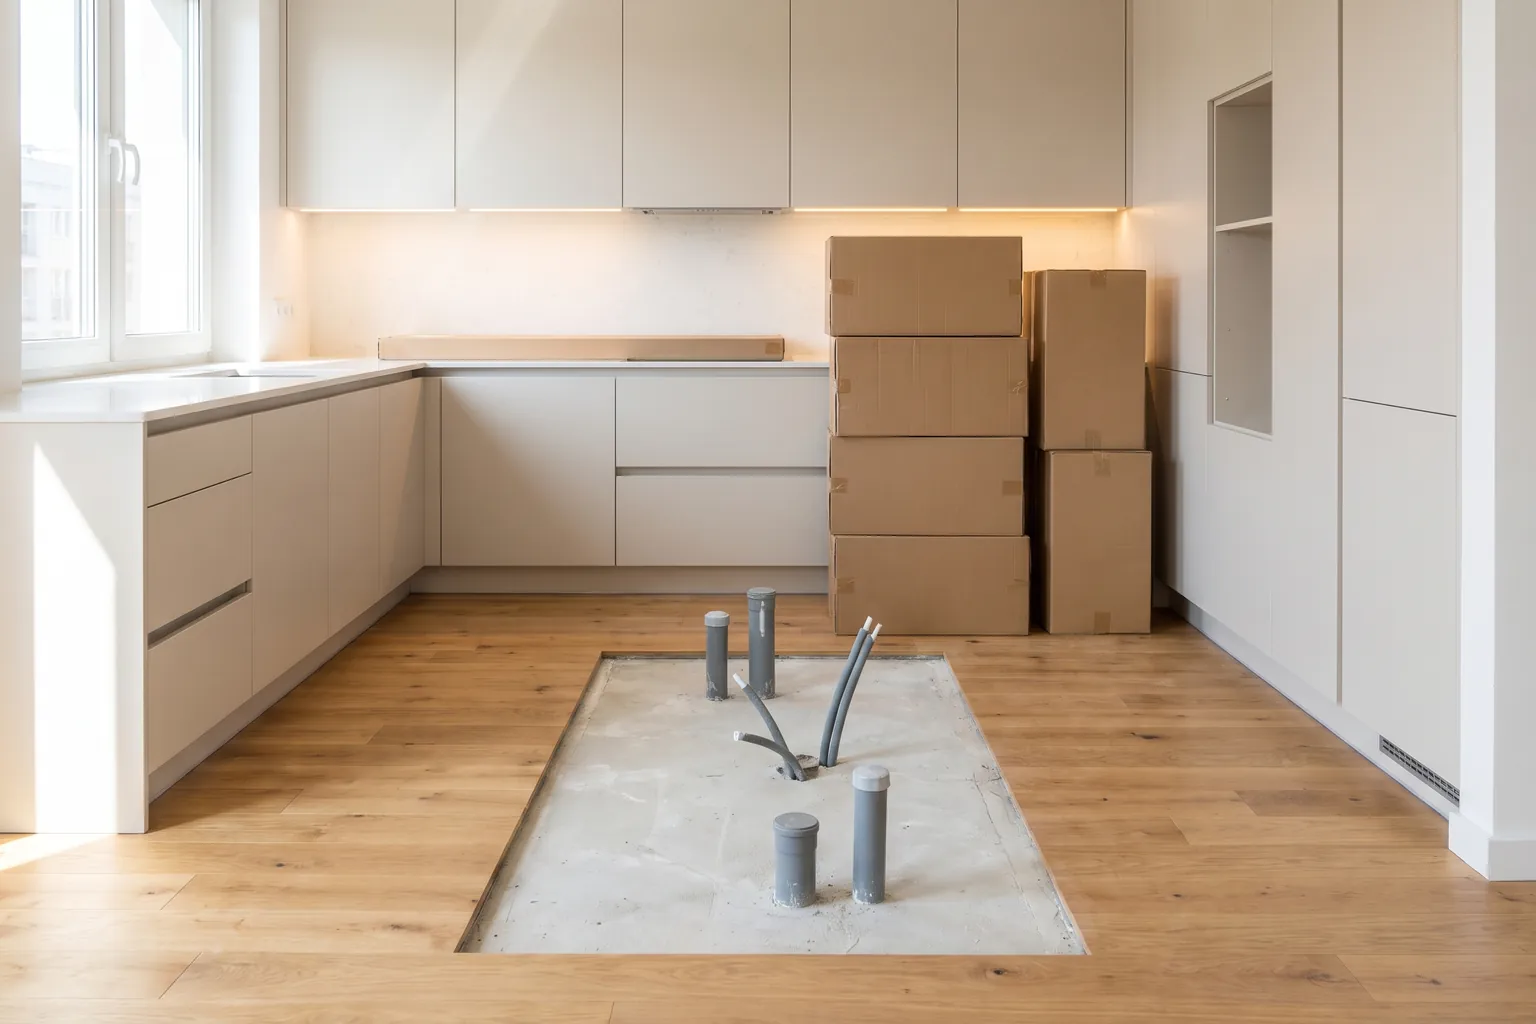
Bringing water in is easy, since thin pipes route without fuss. The drain is the difficulty. It needs a steady fall, set by the fitter according to the instructions, and the longer the run, the more height it takes. Screed is often too thin for that. If the floor is finished you have three options: cut into it, raise the island on a platform or fit a small drain pump. A pump works, but it is noisy and needs servicing access.
A long drain with no stack nearby often needs an air admittance valve in the cabinet, otherwise the trap starts to gurgle. In a block of flats, never touch the floor slab on your own initiative: check any route through it with the building manager. Hard water, or planning a filter under the sink? Leave room for it in the unit, and read up on home water treatment systems while you are at it.
Power in an island usually means separate circuits: one for the induction hob, another for the dishwasher and sockets. Cables run in protective conduit, and the equipment comes last: see the separate page on kitchen appliance connection. Put a socket in the side of the island or choose a pop-up model, because an island without one quickly becomes irritating. If you are still planning, post a kitchen island request and ask the handymen about service routes before the floor is poured.
A hood over the kitchen island
An island hood hangs from the ceiling, so it needs a solid fixing point in the slab. The height above the hob is given in the manufacturer’s instructions, so check them before drilling. The duct runs through the ceiling, and each elbow or long stretch weakens the extraction.
Where a duct is not possible, there are two other routes. A recirculating hood with a carbon filter returns cleaned air to the kitchen, moisture included. A hood that rises from the worktop or sits in the hob keeps the view clear, but takes space from the unit below.
Safety with services in a kitchen island
Leave circuits, protective devices and the induction hob connection to a qualified electrician. Pipes in the floor get pressure tested before they are covered. Do not run gas to an island yourself: that is work for a qualified fitter, and whether it is allowed at all is a question for the building manager. Before drilling the floor, find out where any underfloor heating runs.
How a kitchen island gets installed
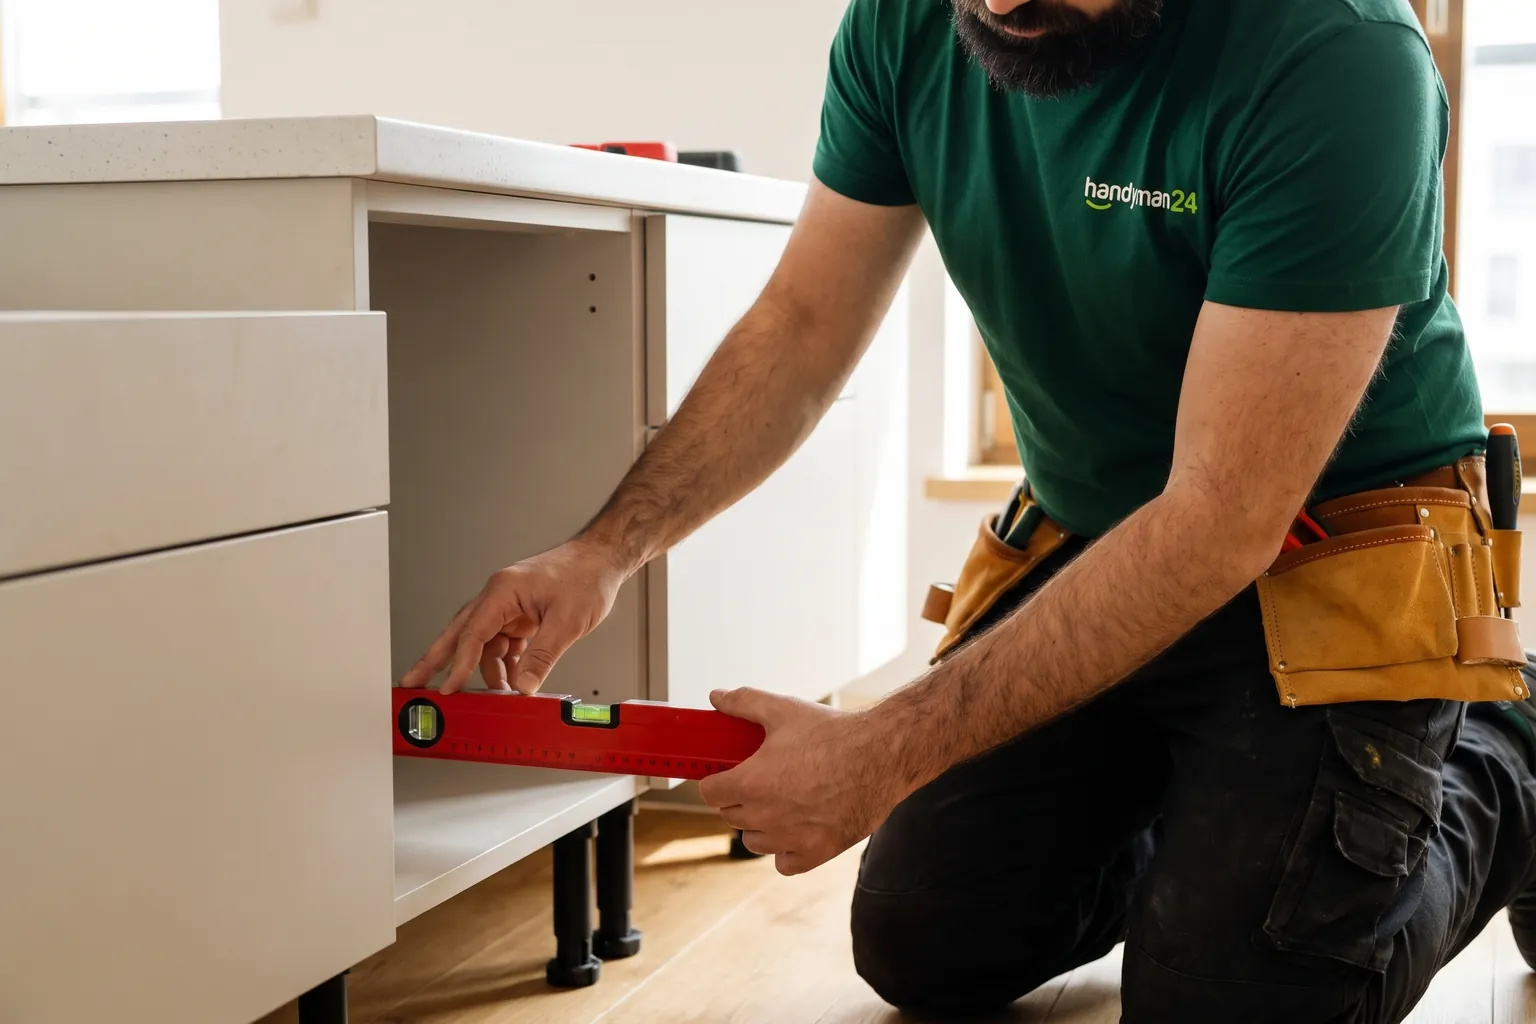
- Measuring the kitchen and fixing the outline, walkways and contents of the island.
- Planning routes for water, drainage and power while the floor is still open.
- Plumbing and electrical work, followed by a leak test.
- Assembling carcasses, levelling them and anchoring them to the floor.
- Templating the worktop from the standing carcasses, then fitting it with support for the overhang.
- Fitting fronts, panels and plinth, connecting the sink and appliances, then a final leak and hood test.
Mistakes people make planning a kitchen island
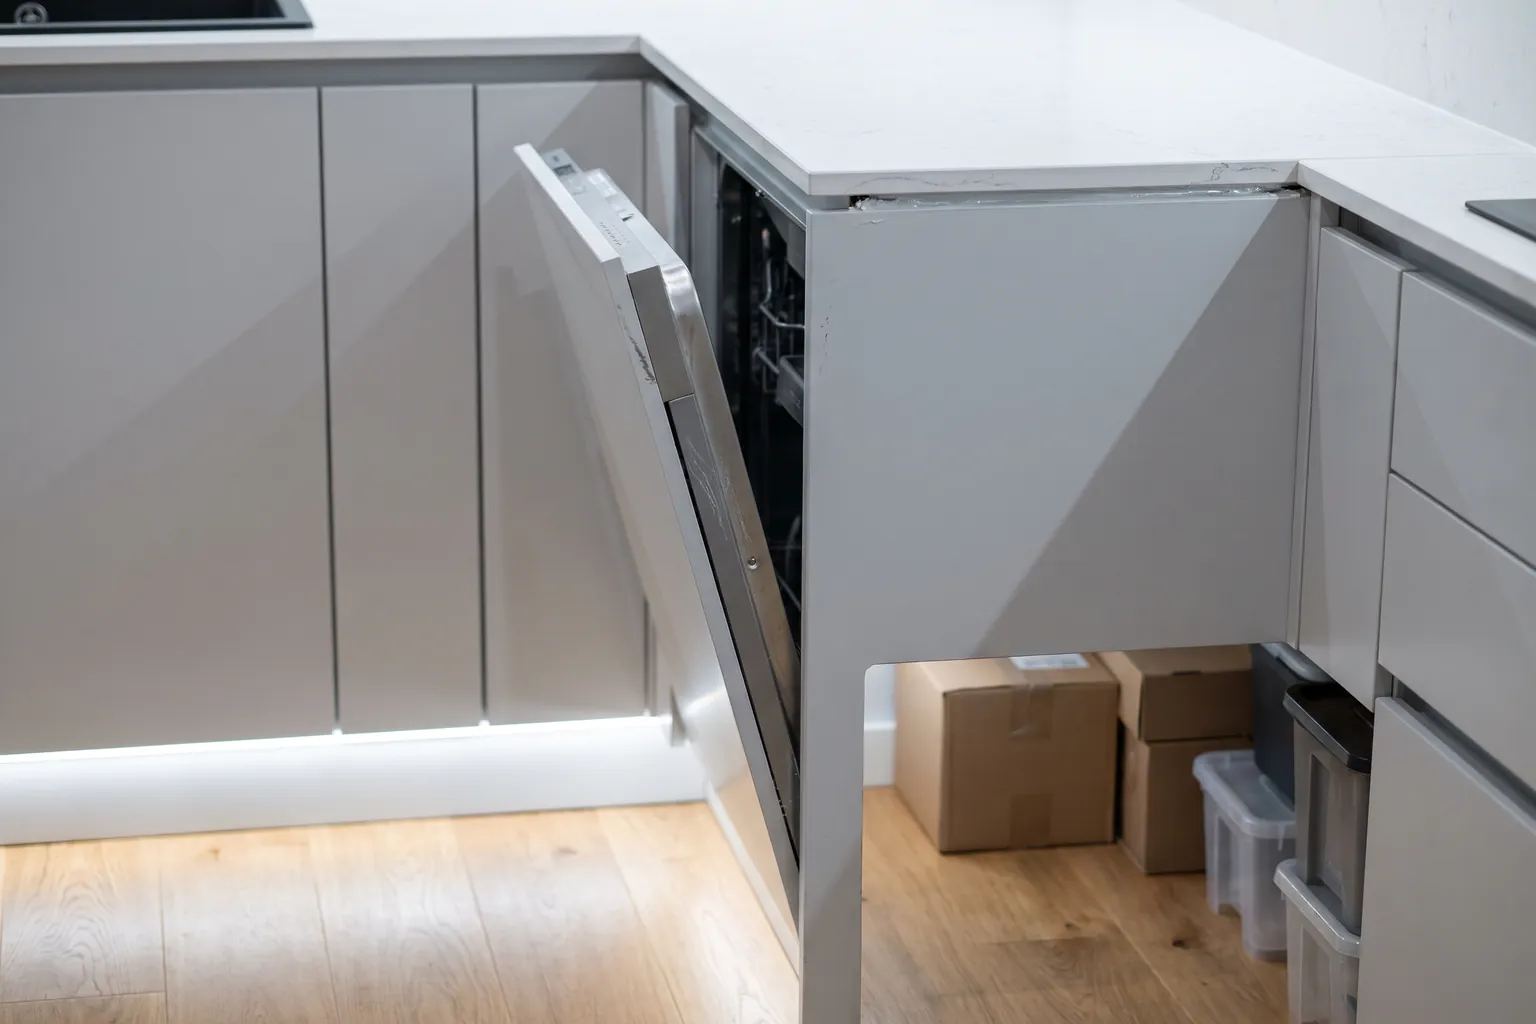
- Measuring the walkway from the carcass instead of from the handles and the open dishwasher door.
- Deciding on an island over a finished floor without checking screed depth for the drain.
- No socket by the worktop, so the mixer lead trails across the kitchen.
- A large worktop overhang with no bracket or leg. Heavy stone can crack under load, and the worktop maker states the permitted overhang.
- Drilling anchor holes without a plan of the underfloor heating.
What to prepare before ordering island installation
- A kitchen plan with dimensions and the island position marked.
- Photos of the floor, walls and points where water, drainage and power come out today.
- A list of what goes in the island: sink, hob, dishwasher, sockets, stools.
- Whether the floor is finished and whether there is underfloor heating.
- The building manager’s consent if the work touches the slab or risers.
Questions and answers
What size should a kitchen island be?
Around 85 to 90 cm high and from about 60 cm deep with units on one side. With stools allow about 90 cm, and with units on both sides about 120 cm. Plan walkways from 90 cm.
Will an island fit in a small kitchen?
With a room about 3 m wide you get a version with no stools and narrow walkways. In a smaller kitchen, a peninsula or a mobile island works better.
Can I build an island from kitchen units?
Yes, with carcasses bolted together, a rear panel, a plinth and floor anchoring.
Can an island on wheels have a sink or hob?
No. Permanent water, drain or hob connections need a unit fixed to the floor.
How high should a hood be over an island?
The hood manufacturer’s instructions give the height, and it depends on the type of hob. Check them before anyone drills the ceiling.
How to order kitchen island installation
Describe the job in the handyman24 app and attach the plan and photos. Handymen near you send offers with their own price, and you choose based on reviews and scope. Each handyman is independent and issues their own invoice.

A handyman answers for their own work and puts it right if they got it wrong, but not for hidden defects in the floor, other people’s mistakes or the appliances you bought.
Do you fit kitchens or run services in flats? Set up a handyman profile and answer requests from your neighbourhood. Everyone here works for themselves, and you choose your own legal form and bookkeeping.
Order in the app
Describe the job, add photos and the address. Tradespeople send their own prices and dates, and you pick one of the offers.
Open the app