
How much silicone replacement costs and what affects the price
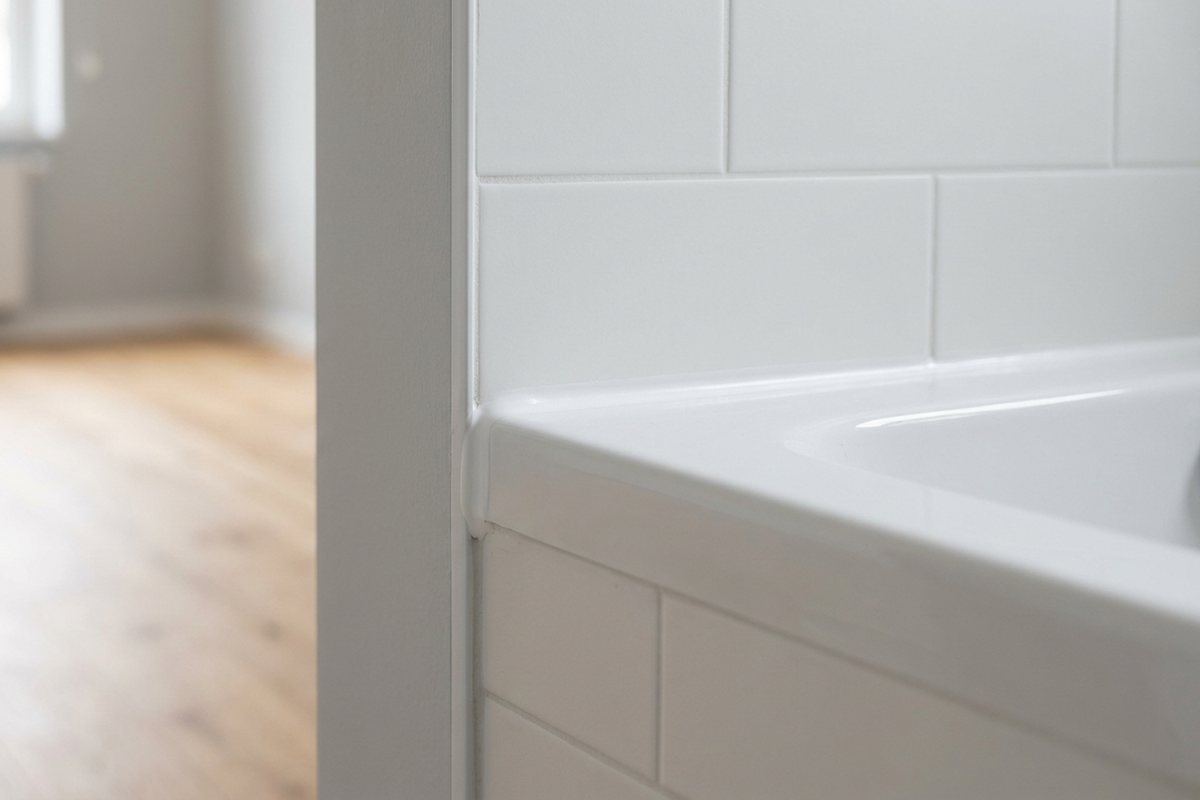
The price depends on the joint length (just the bath or the whole enclosure), access, and whether thick, heavily mouldy silicone has to be removed. Replacing one joint at the bath is cheaper than sealing the whole enclosure and sink. Current rates are in the table below: they quote upfront and you pay after the job. Material (sanitary silicone) is charged separately or you provide your own.
| Service | Price |
|---|---|
| Washbasin installation | 200–500 zł |
| Washbasin replacement | 250–600 zł |
| Vanity unit installation | 300–600 zł |
| Basin tap installation | 150–250 zł |
| Basin tap replacement | 250–400 zł |
| Floor toilet installation | 300–500 zł |
| Floor toilet replacement | 350–600 zł |
| Wall-hung toilet installation (frame) | 450–700 zł |
| WC frame replacement | 600–1500 zł |
| Bathtub installation | 400–900 zł |
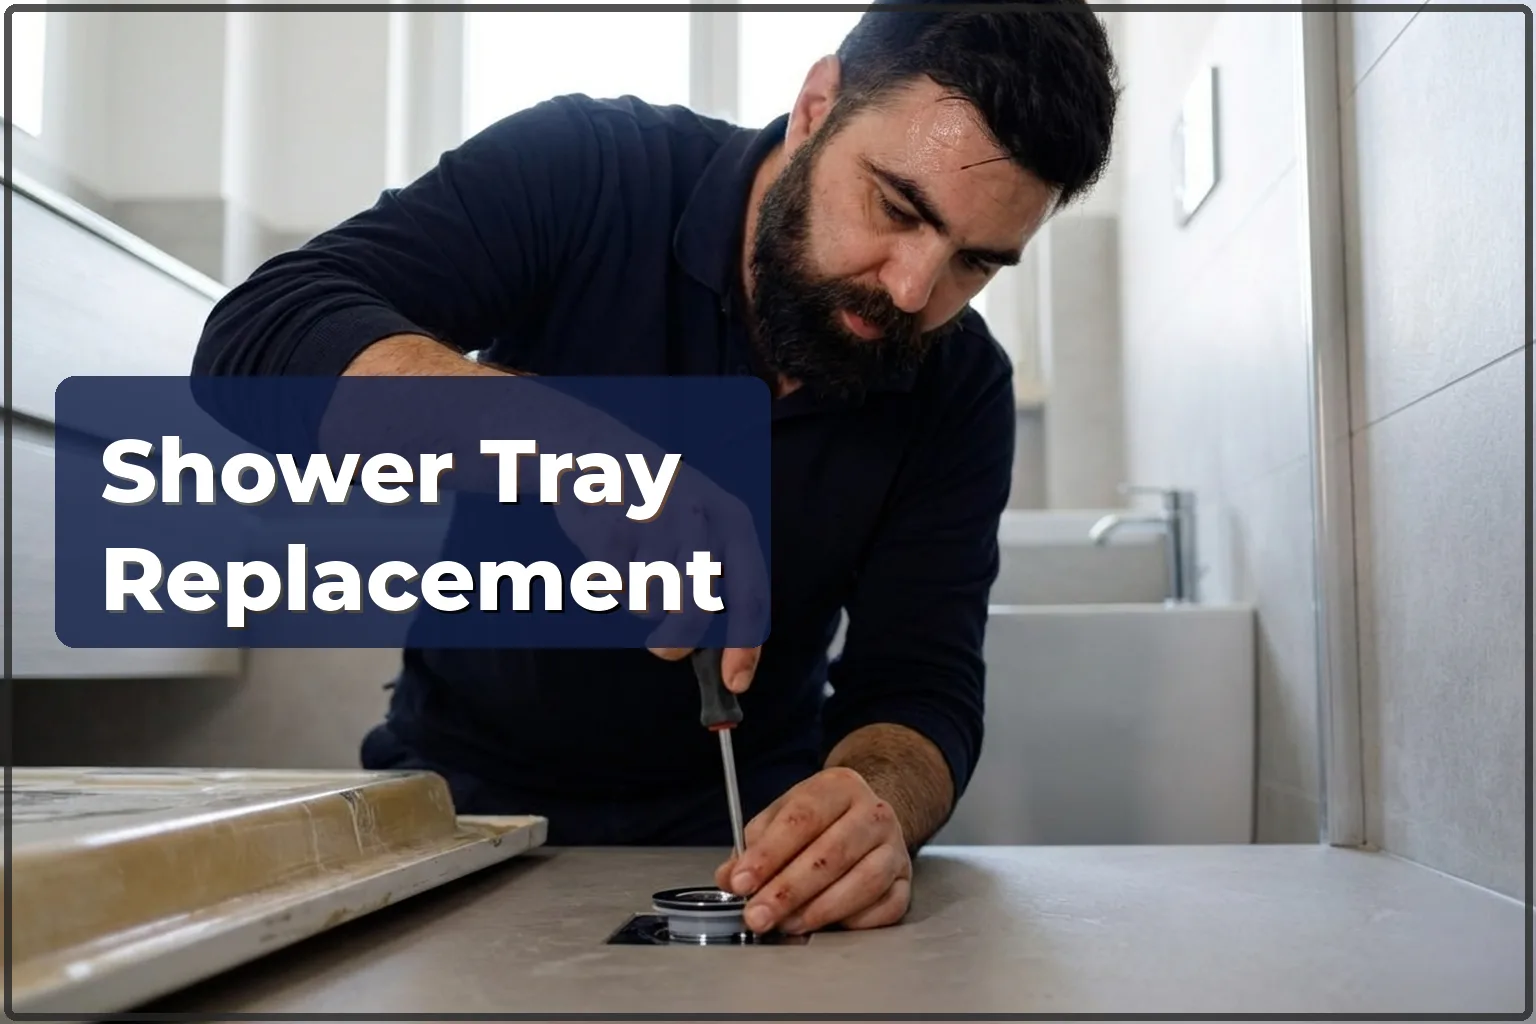
| Shower tray replacement | 600–1000 zł |
| Linear drain installation | 400–900 zł |
| Re-sealing shower and bathtub | 250–600 zł |
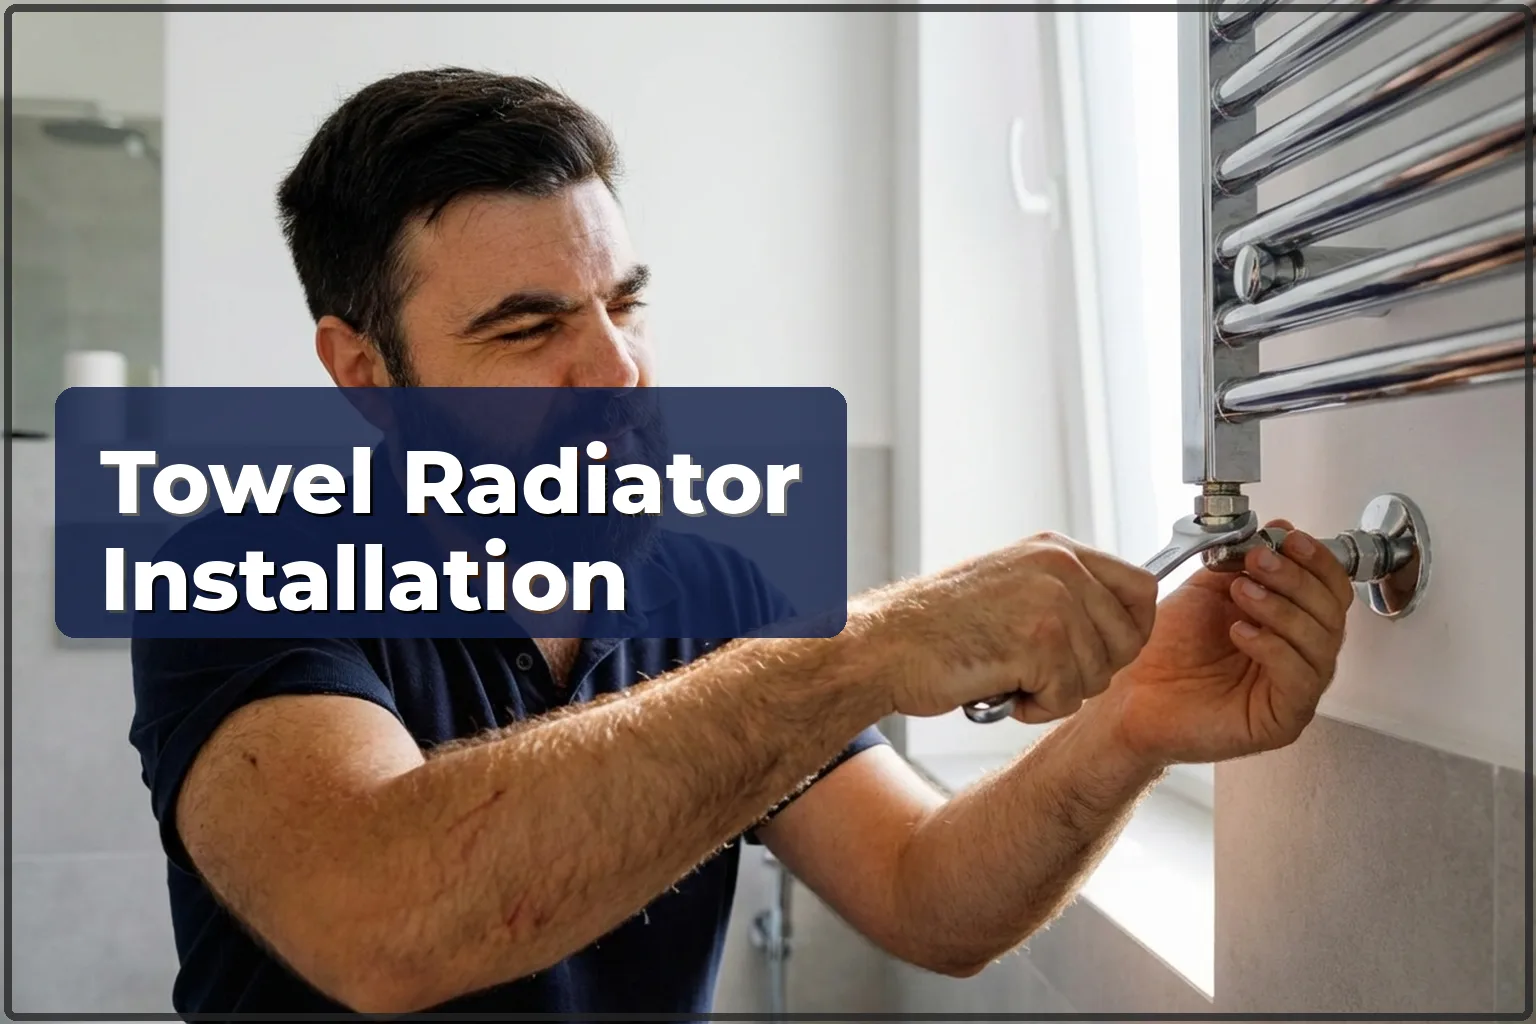
| Towel radiator installation | 300–600 zł |
| Towel radiator replacement | 350–700 zł |
| Drain cleaning | 200–800 zł |
| Trap (siphon) replacement | 120–400 zł |
| Bathtub replacement | 500–1000 zł |
| Shower cabin installation | 350–1200 zł |
| Shower tray installation | 500–800 zł |
Indicative prices. Ranges for a typical scope. Fixings included, materials separate. Minimum order 300 zł.
What it costs and how to book: plumber in Warsaw.
How the silicone replacement visit works
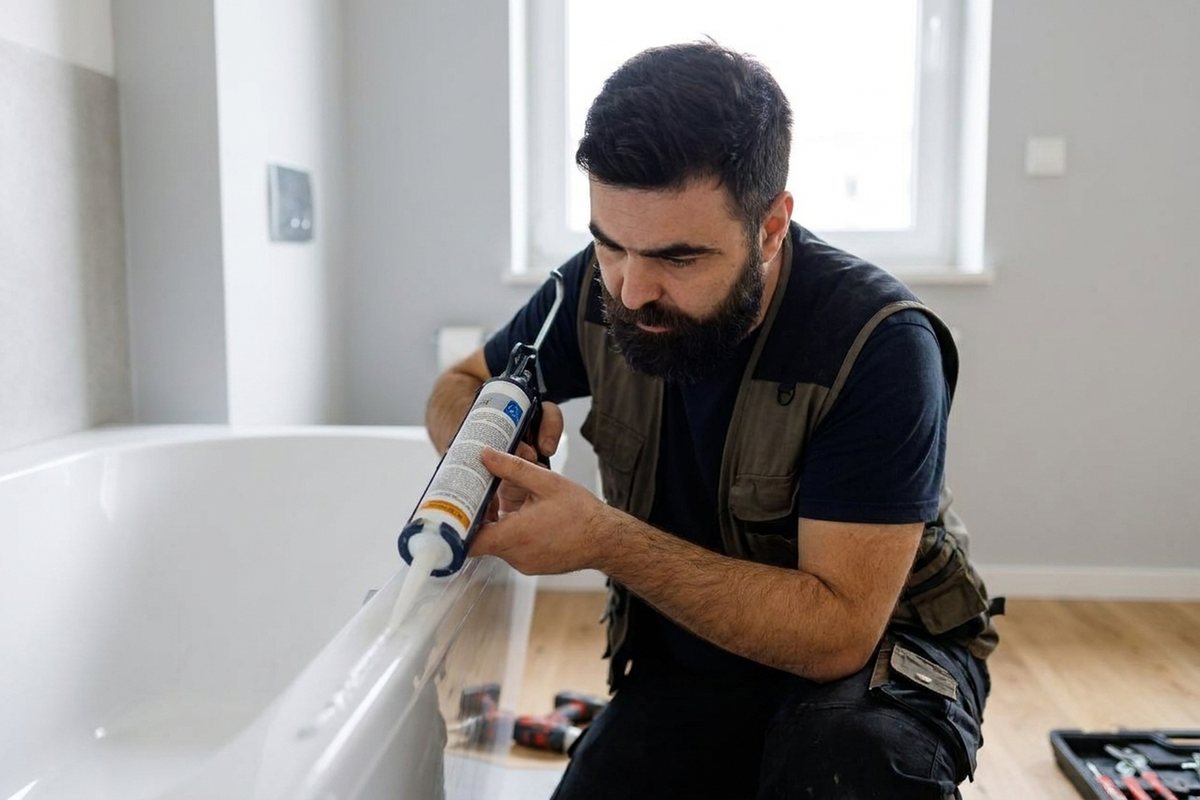
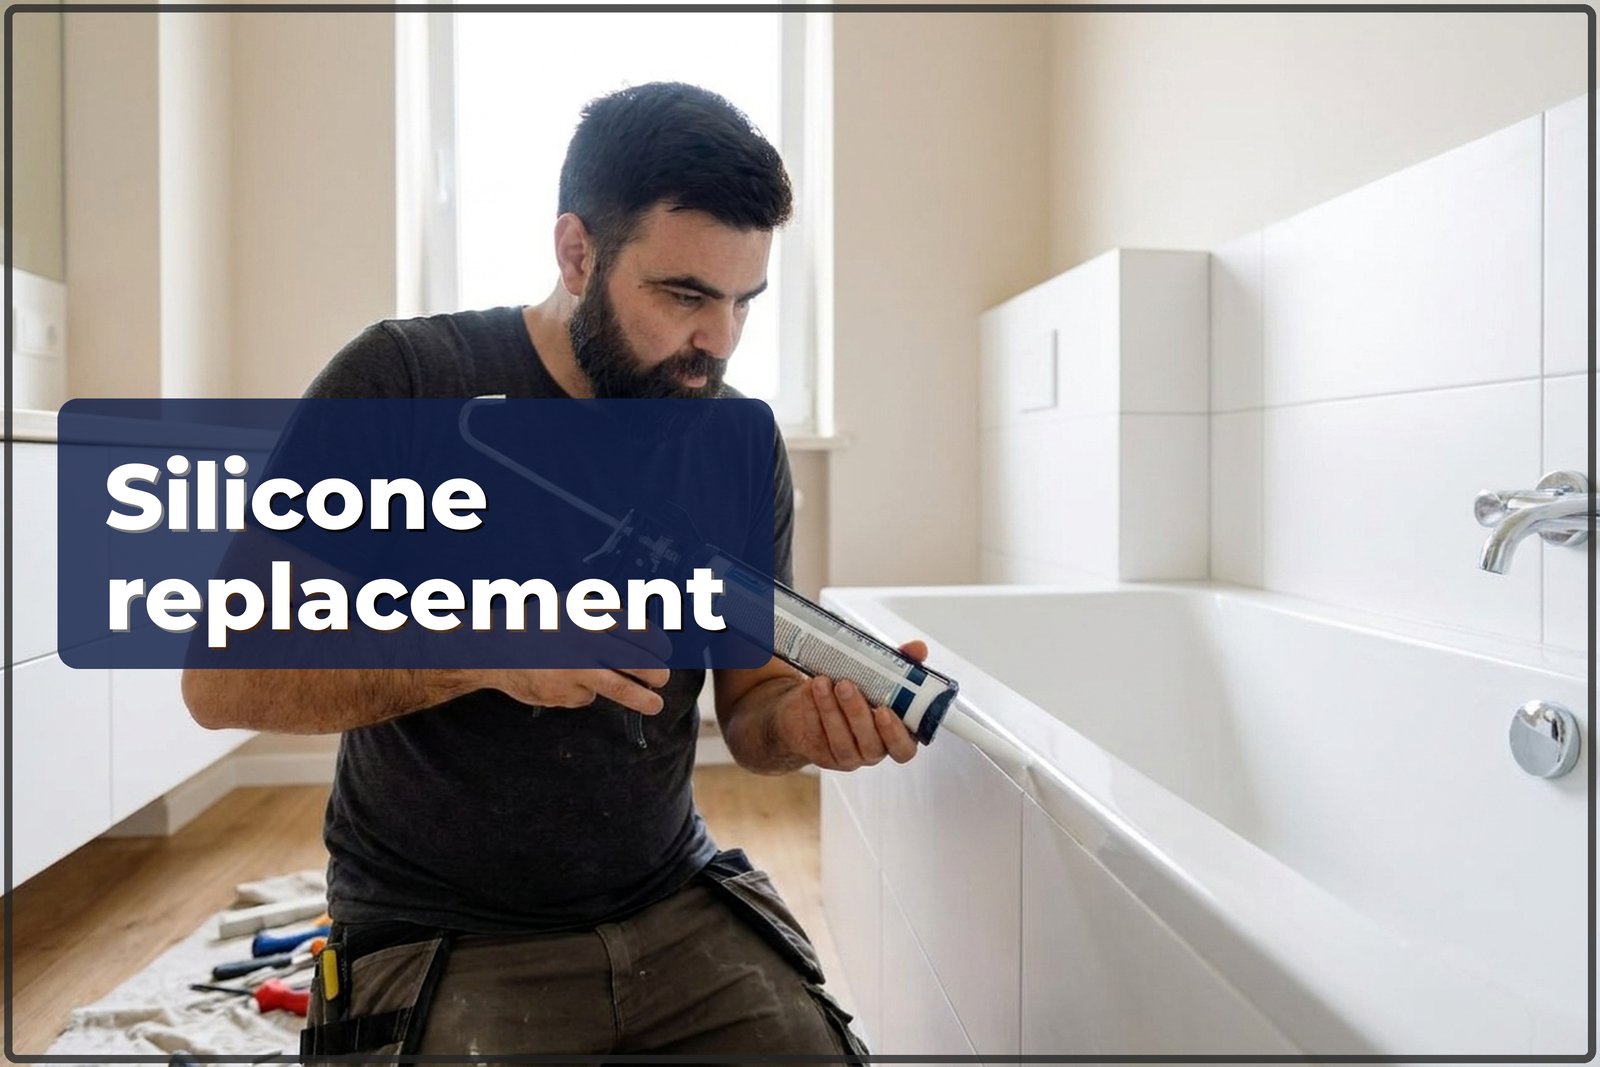
- Removing the old silicone completely with a knife and scraper, without scratching the tiles.
- Thoroughly cleaning and degreasing the joint, removing mould residue.
- Drying the area: silicone will not hold on a damp surface.
- Masking the edges with tape for an even, straight joint.
- Applying the new sanitary silicone and smoothing the joint.
- Removing the tape and checking the corners for a tight seal.
Common mistakes (and how to avoid them)
- Applying new silicone over the old one — it does not hold and peels again.
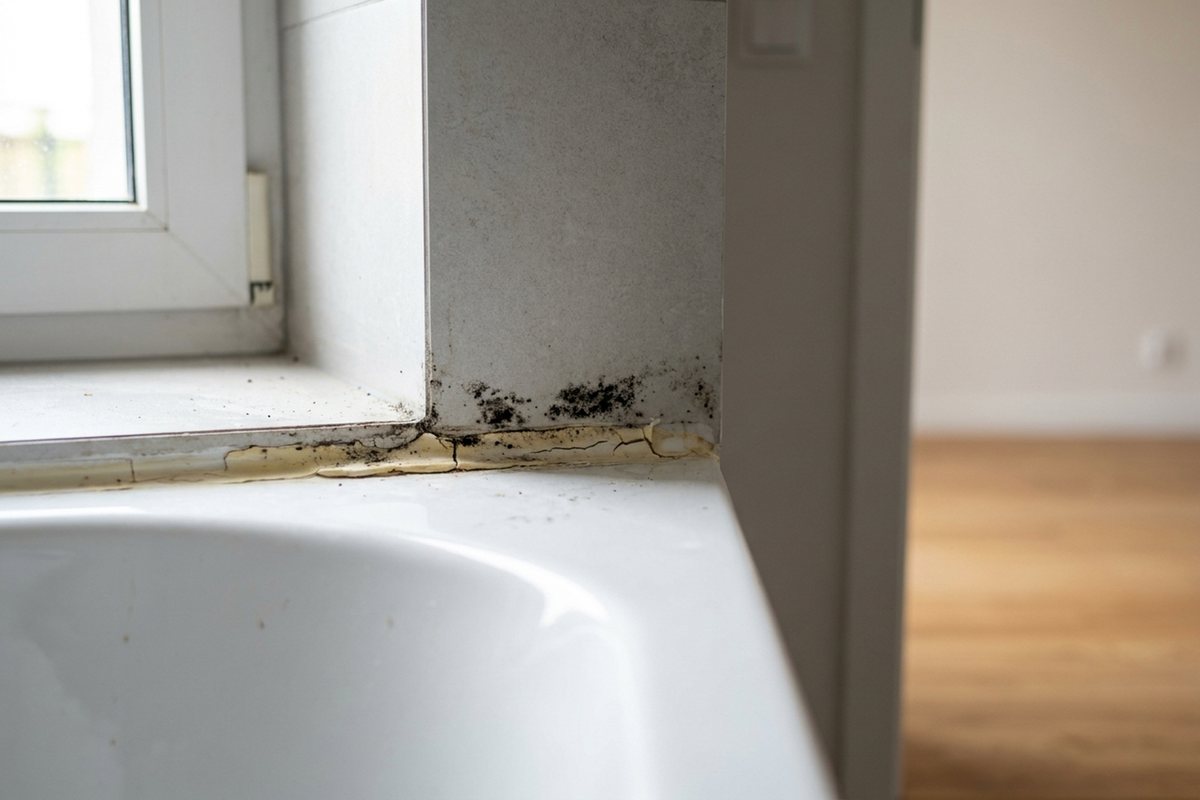
- Skipping mould treatment: mould returns under the fresh joint within weeks.
- Using ordinary silicone instead of sanitary silicone with an anti-mould additive.
- Bathing or showering before the silicone has fully cured (usually 24 hours).
- Applying onto a damp grout line: the joint does not bond and leaks.
- A too-thick, uneven joint where dirt collects.
Prefer to do it yourself? Our step-by-step guide to replacing bathroom silicone covers the whole job.
What to prepare before the technician arrives
- Clear the bath, tray and shelves of toiletries and towels.
- Provide access to all edges to be sealed.
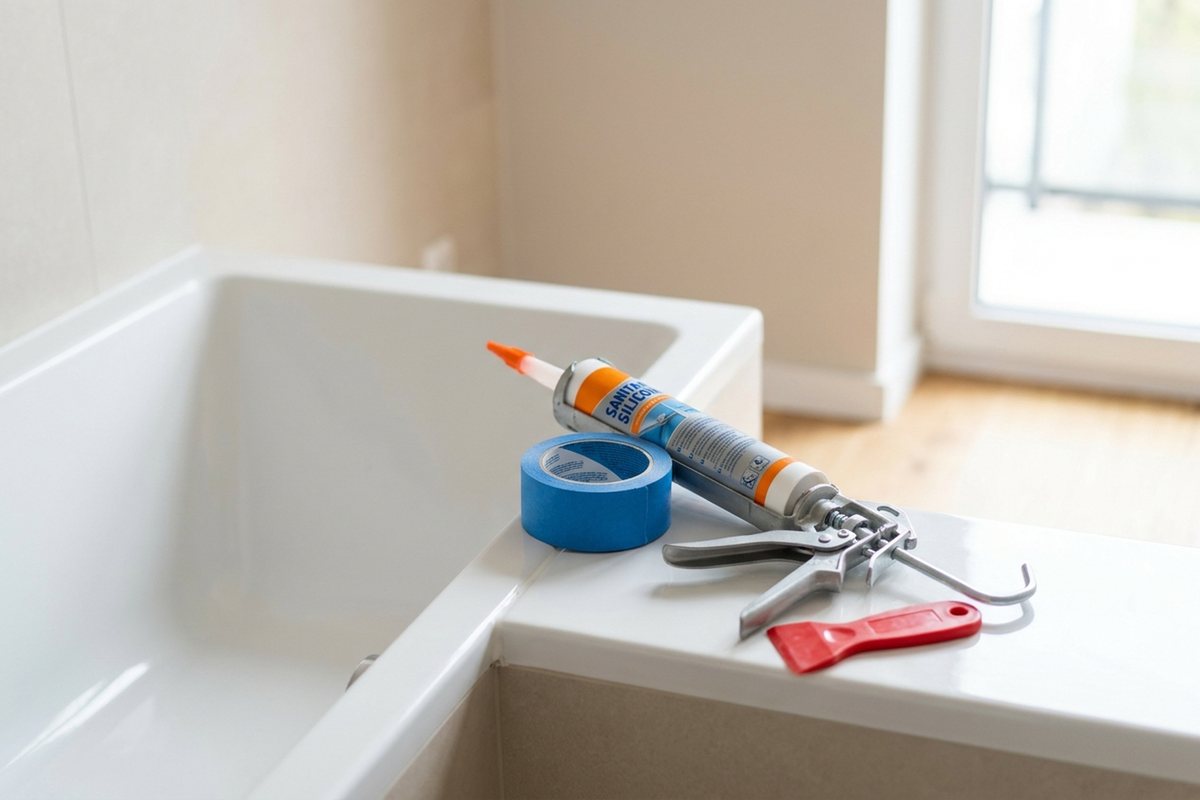
- If buying the material yourself, choose sanitary bathroom silicone.
- Ventilate the bathroom, a dry surface holds silicone best.
- Do not bathe or shower right before the visit — the edge must be dry.
- Point out where mould or leaks appear.
- Allow 30–60 minutes depending on the joint length.
- Plan a few hours without using the bath after replacement (curing time).
A case from Warsaw: Wola, black mould at the bath
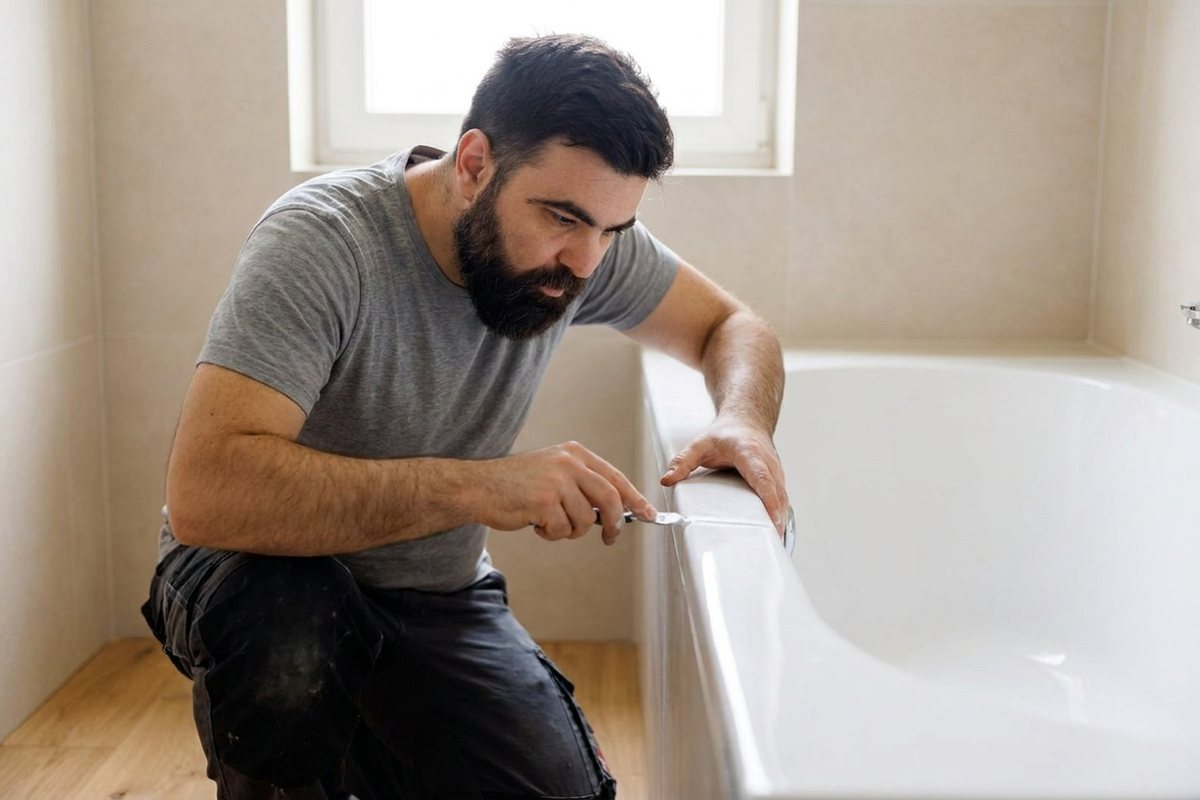
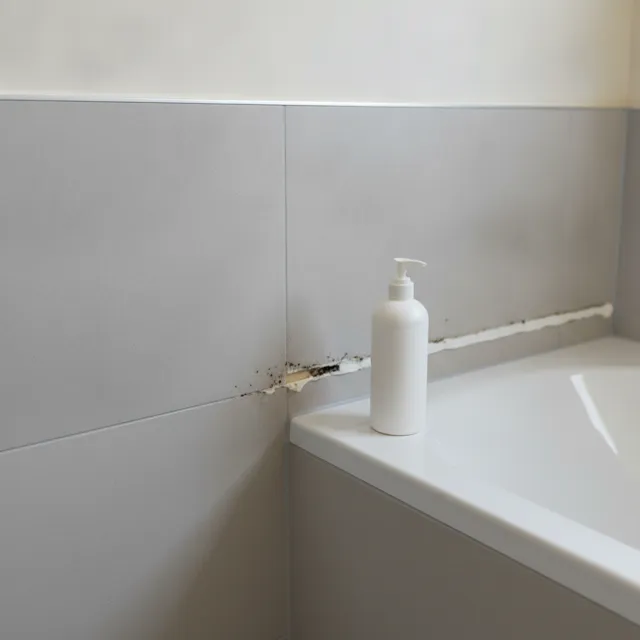
A client in Wola reported black spots in the corner between the bath and the tiles. She had tried cleaning the joint several times, but the mould kept coming back.
Tradespeople removed the old silicone completely, treated against mould and dried the joint, then applied new sanitary silicone along tape. The joint came out even and white.
After 24 hours of curing the edge was fully sealed, with no trace of mould. The visit took about 40 minutes. The takeaway: with black mould, cleaning does not help, the silicone must be fully replaced with mould treatment.
Completed job
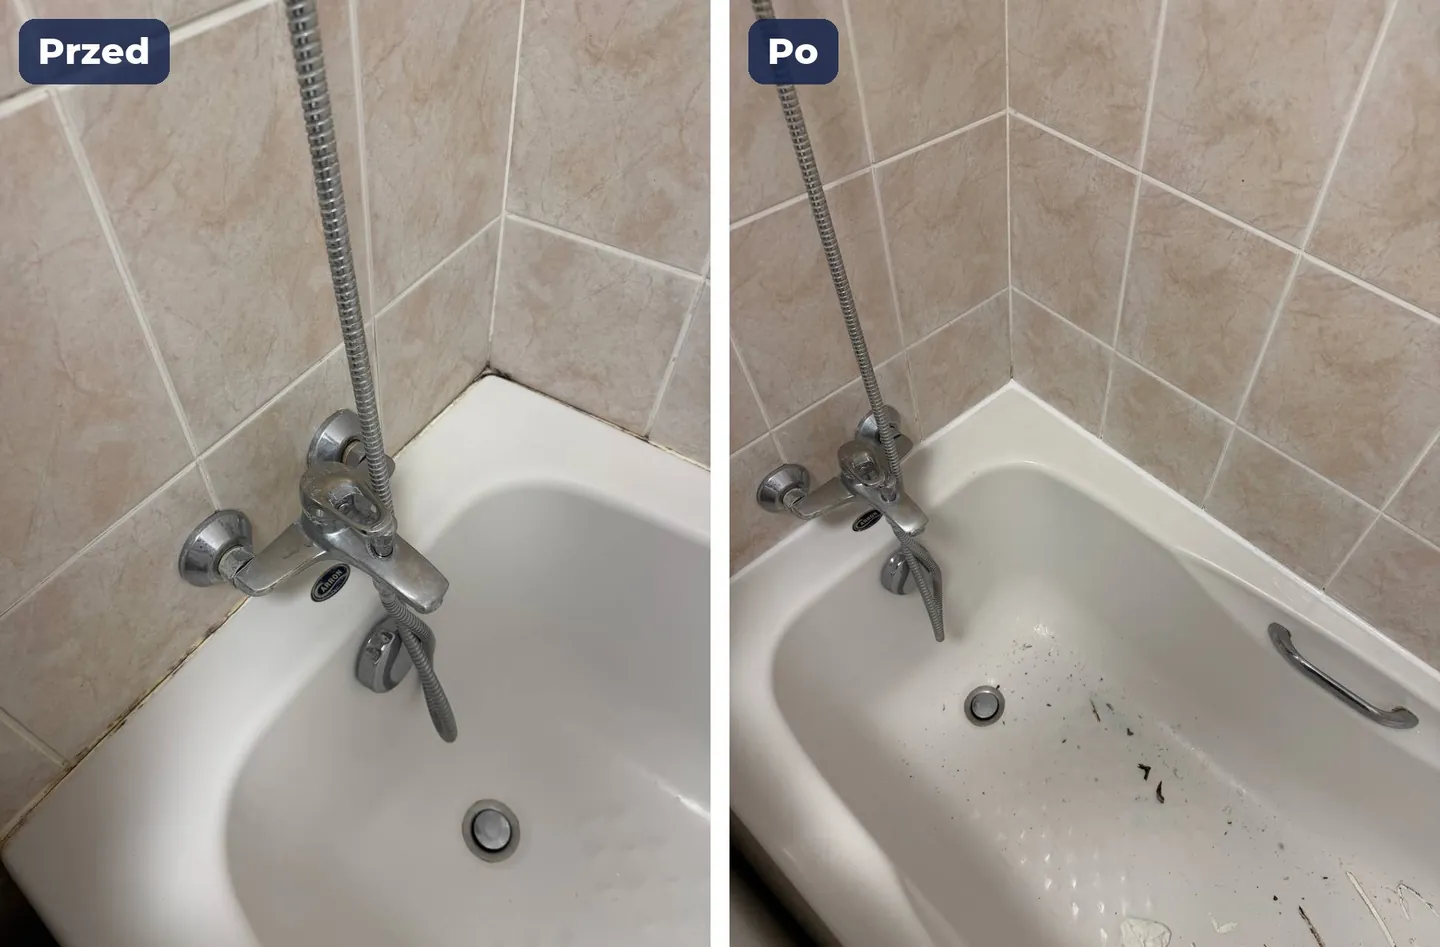
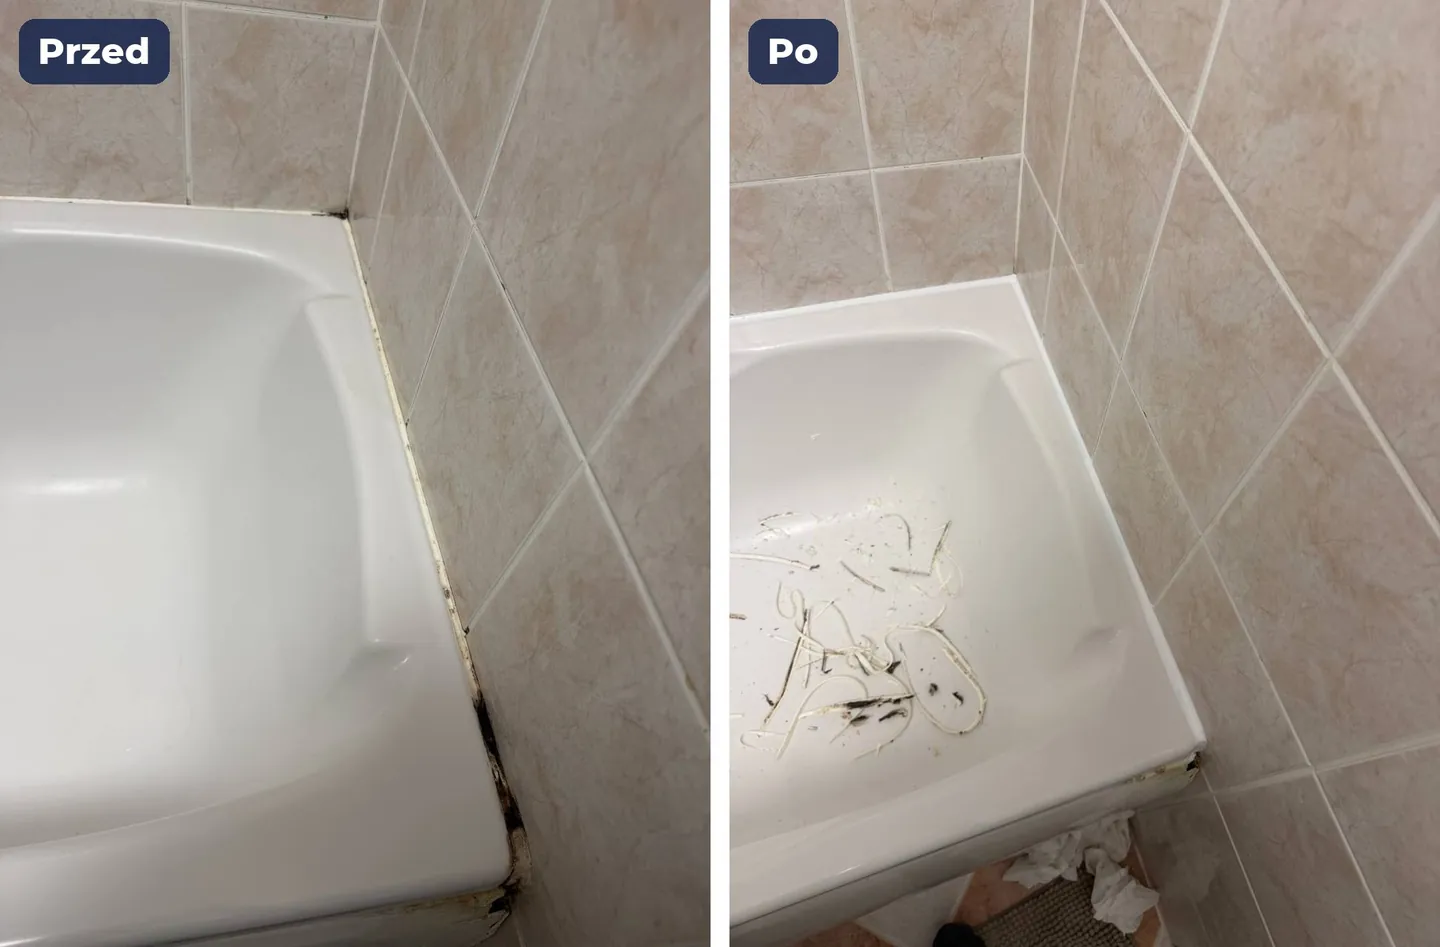
Bath sealant replaced: before and after
- old mouldy sealant removed
- joint cleaned and degreased
- new sanitary silicone along the bath and in the corner
Frequently asked questions
Is cleaning the old silicone enough?
If there is black mould under the joint, cleaning will not help — the old silicone must be removed and new applied with mould treatment.
How long does new silicone take to dry?
Usually about 24 hours to fully cure. During that time it is best not to use the bath or shower.
What silicone do tradespeople use?
Sanitary silicone with an anti-mould additive, made for bathrooms. Tradespeople also match the colour to the grout.
Will the tradesperson replace silicone at the enclosure and sink?
Yes, they seal the bath, tray, enclosure, sink and worktop: anywhere the joint meets water.
Will the tradesperson remove mould under the joint?
Yes, mould treatment is a standard step: without it mould would return under the new silicone.
Should I buy the silicone myself?
You can, but they can bring suitable sanitary silicone — just note it when you book.
Will the tradesperson scratch the tiles during removal?
No, they use tools that remove silicone without damaging the tiles.
How long does replacement take?
One joint takes 30–60 minutes. A whole enclosure with several edges takes longer.
Do tradespeople cover Praga, Ursynów, Białołęka?
Yes, they serve all of Warsaw and the surrounding area.
Does the tradesperson issue an invoice?
Yes, they issue a VAT invoice on request.
Who does the work and how a job runs
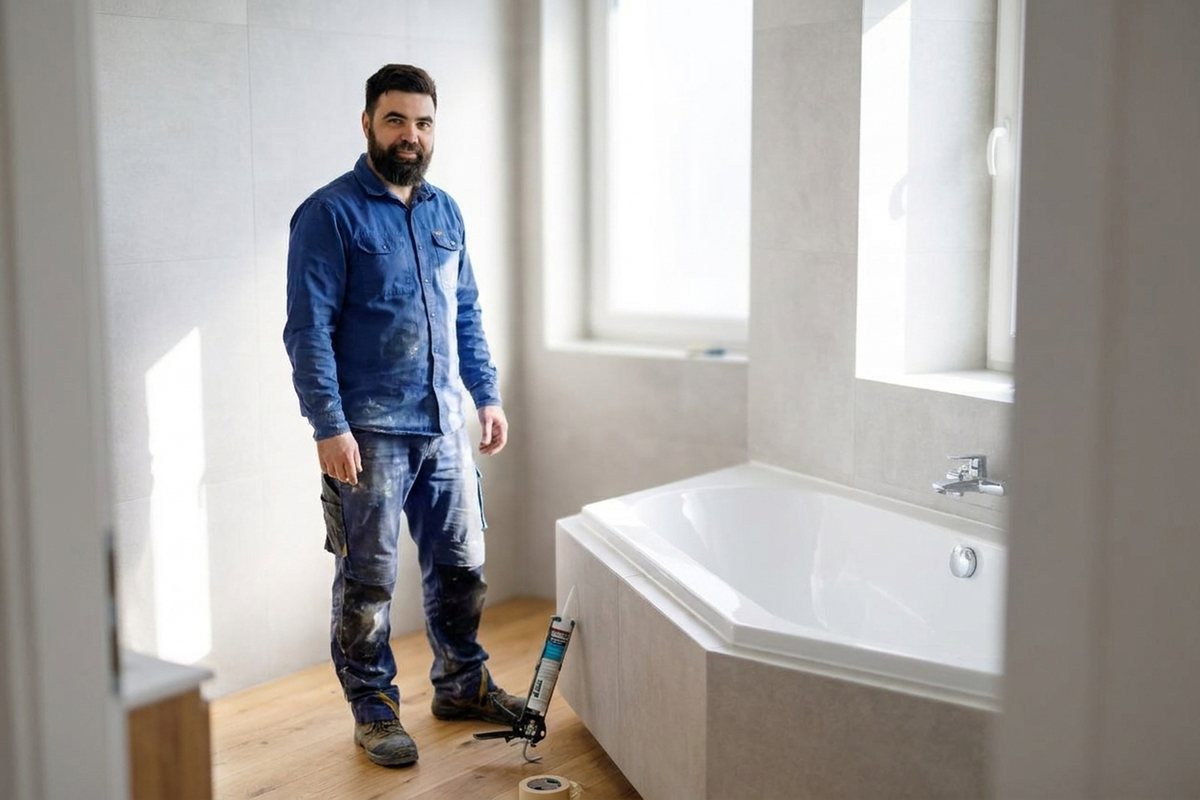
Silicone replacement is carried out by HandyMan24 technicians experienced in bathroom work. Tradespeople remove the old silicone without damaging the tiles, treat against mould and apply an even sanitary joint. Tradespeople arrive at the agreed time, quote upfront, work cleanly and tidy up. Payment after the job, no deposits.
Has the bath silicone yellowed or grown mould? Leave a request online: they will replace it with fresh sanitary silicone in a single visit.
Order in the app
Describe the job, add photos and the address. Tradespeople send their own prices and dates, and you pick one of the offers.
Open the app