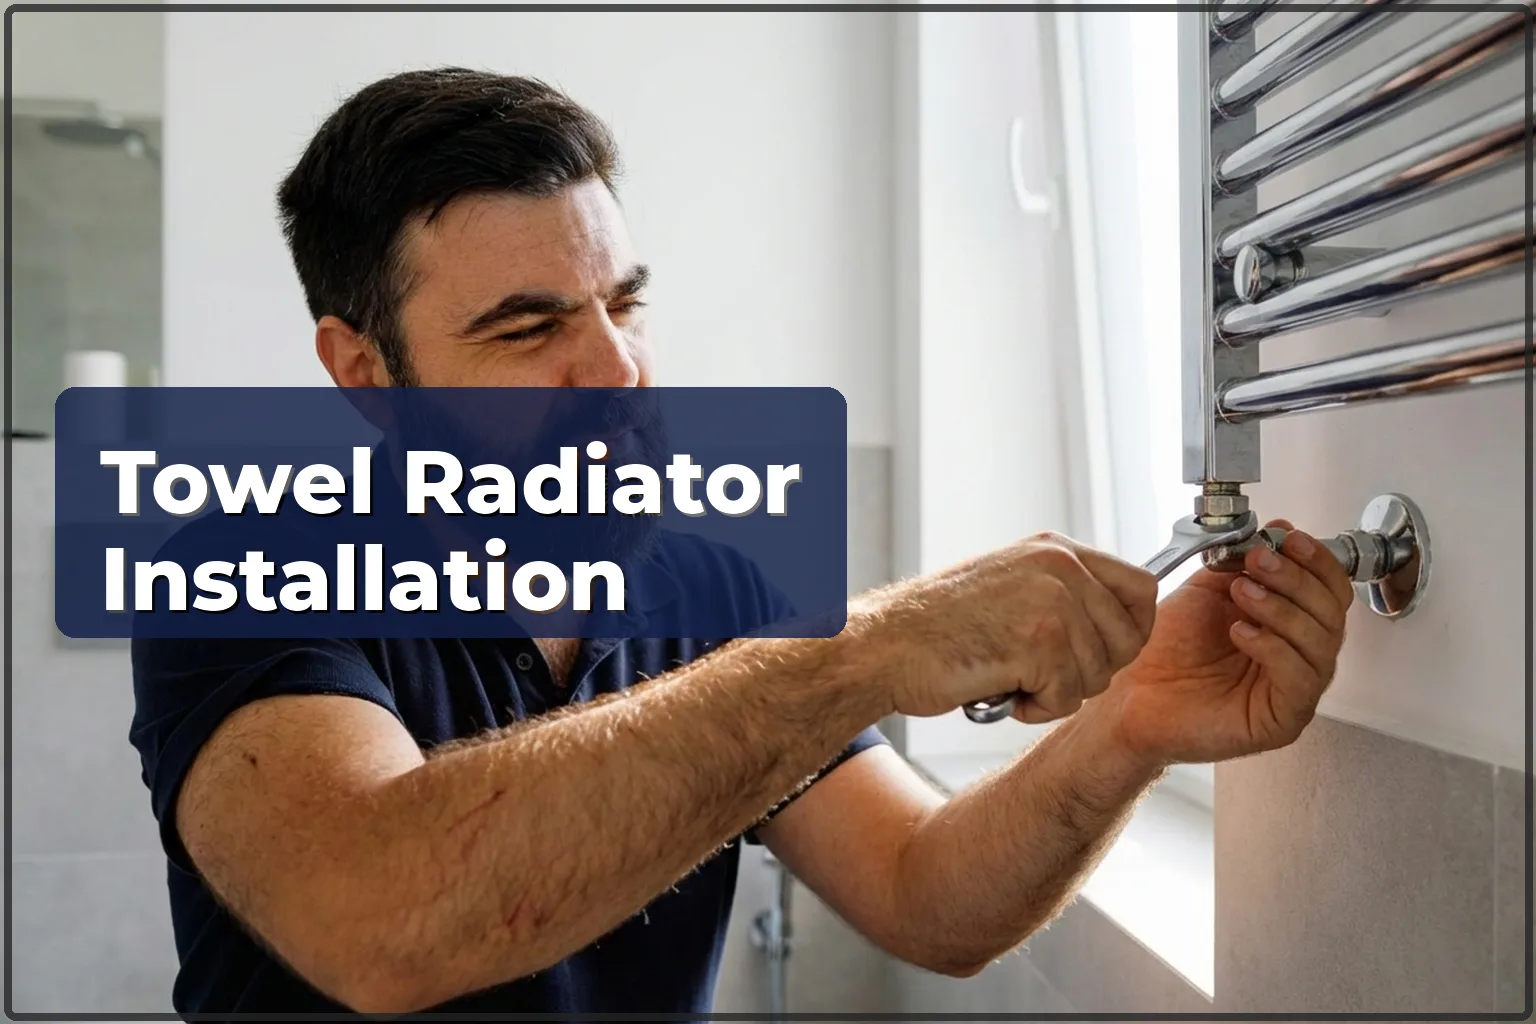
A towel radiator does more than dry towels — it works as a real heat source in the bathroom. Heated pipes keep the room comfortable, lower moisture and help stop mould from appearing. But fixing it to the wall is only part of the work. It has to be tied into the central heating or hot-water system the right way, circulation has to work properly, tiles cannot be cracked, and the proper clearances have to be kept. In flats on Ochota, houses in Zoliborz, new builds on Wilanow — each building comes with its own pipe arrangement. If you want to avoid a leak or a radiator that never warms up, call a professional.
How much does installation cost
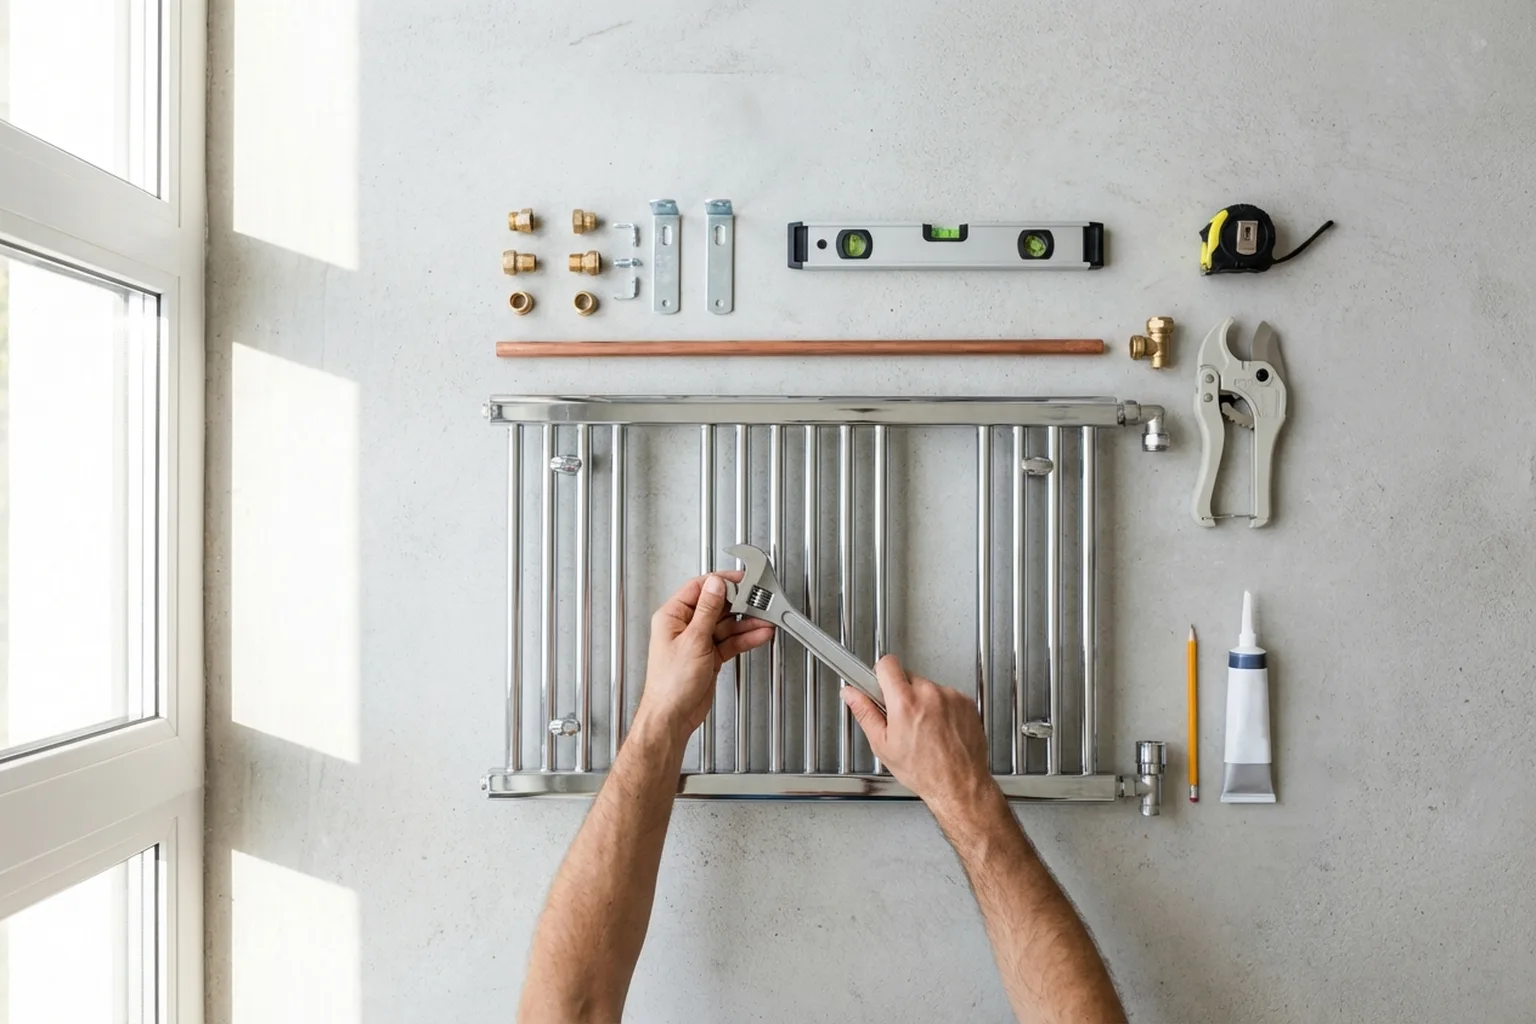
The cost depends on the radiator type (hydronic, electric, dual-fuel), the way it is connected (central heating, hot water), whether pipes need to be run or moved, and how tricky the wall fixing is. Electric is easier — just a socket and brackets. Hydronic takes more work — connecting into the system, installing isolation valves and testing for leaks. Up-to-date prices for all bathroom jobs are in the table below. Brackets are included in the price; the radiator and fittings are provided by the client.
How the installation works
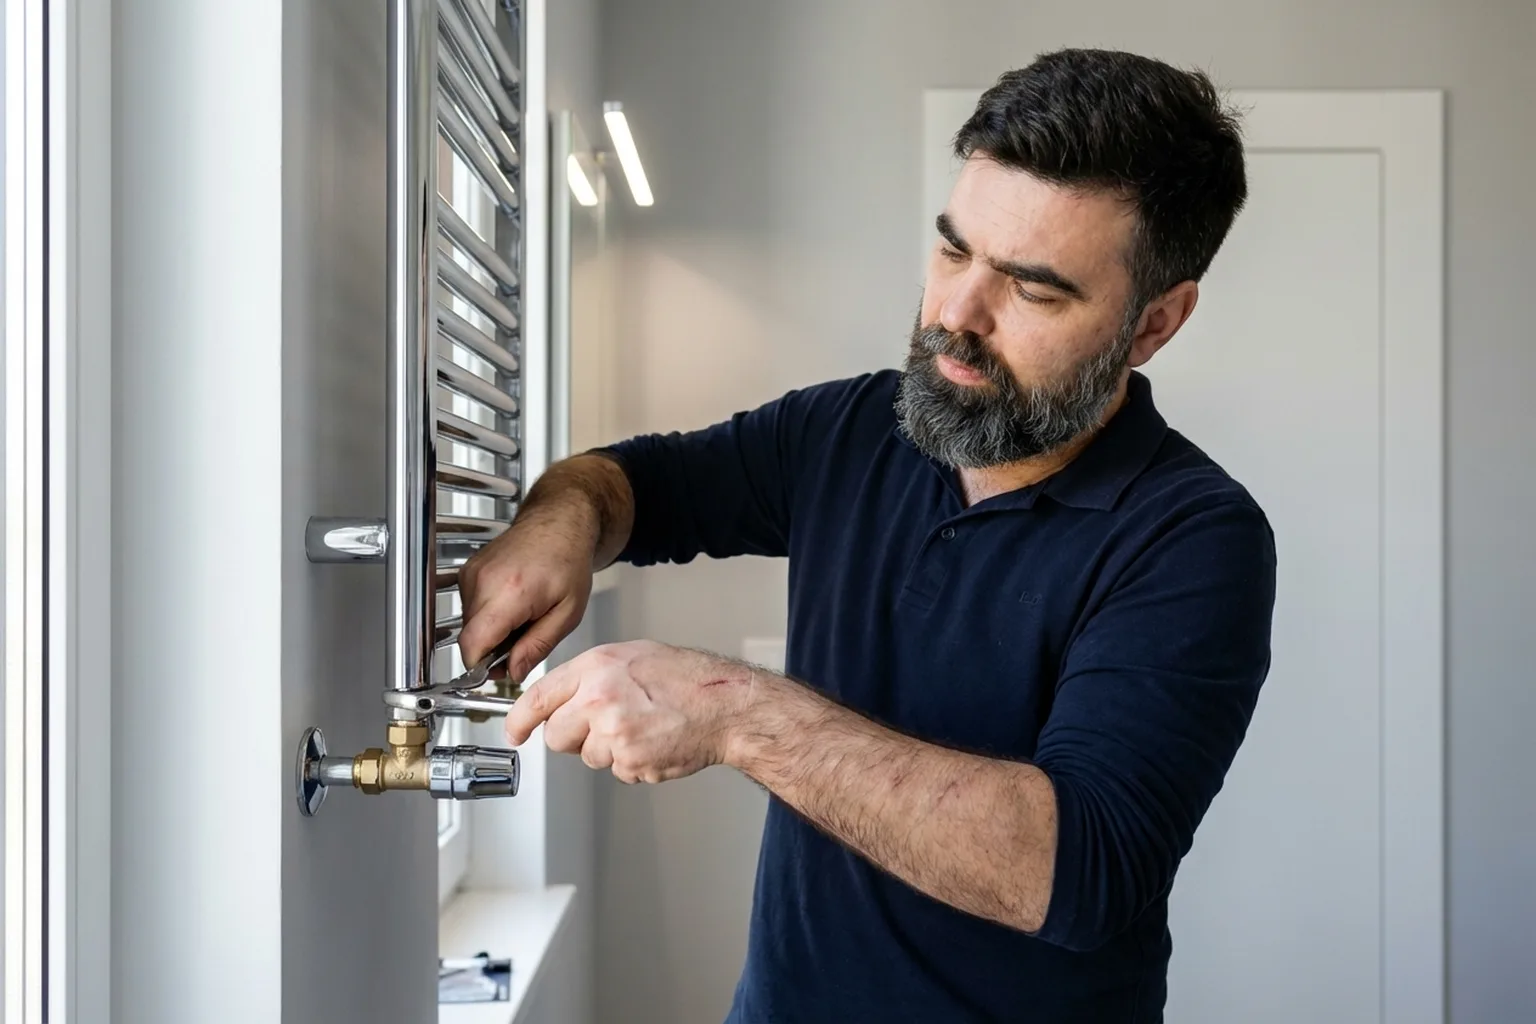
- Inspection: we choose the mounting spot, check where the pipes run (heating or hot water) and look at the wall type (concrete, plasterboard, brick).
- Marking up: we mark out the bracket points to suit the radiator size and check both level and plumb.
- Drilling and fitting brackets: we use the right wall plugs for the wall type. If the wall is tiled we drill with a tile-safe bit so the tiles do not crack.
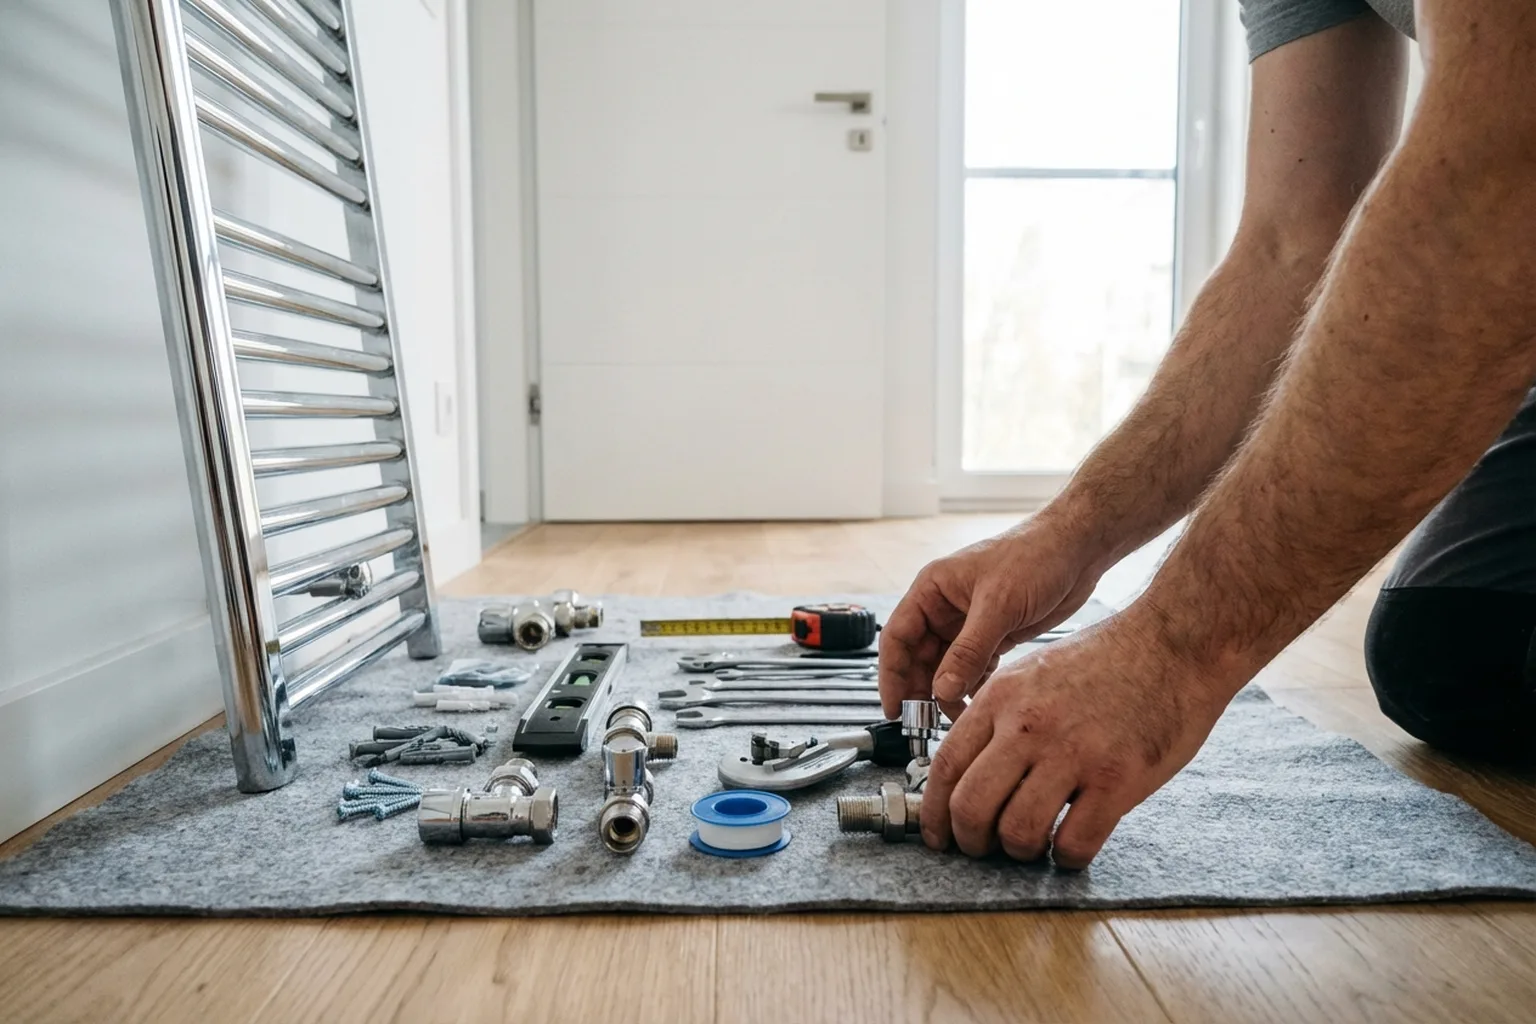
- Connecting to the system: for a hydronic unit we shut off the water, connect in, install isolation valves and a bleed valve. For electric we connect to a socket or run a concealed cable.
- Hanging the radiator: we place it on the brackets, connect the pipe tails and tighten each joint.
- Testing: we turn the water back on, bleed out the air and inspect every connection for leaks. For electric we switch it on and confirm it heats up.
- Clean-up: we clear away drilling dust and wipe down the unit.
Common mistakes
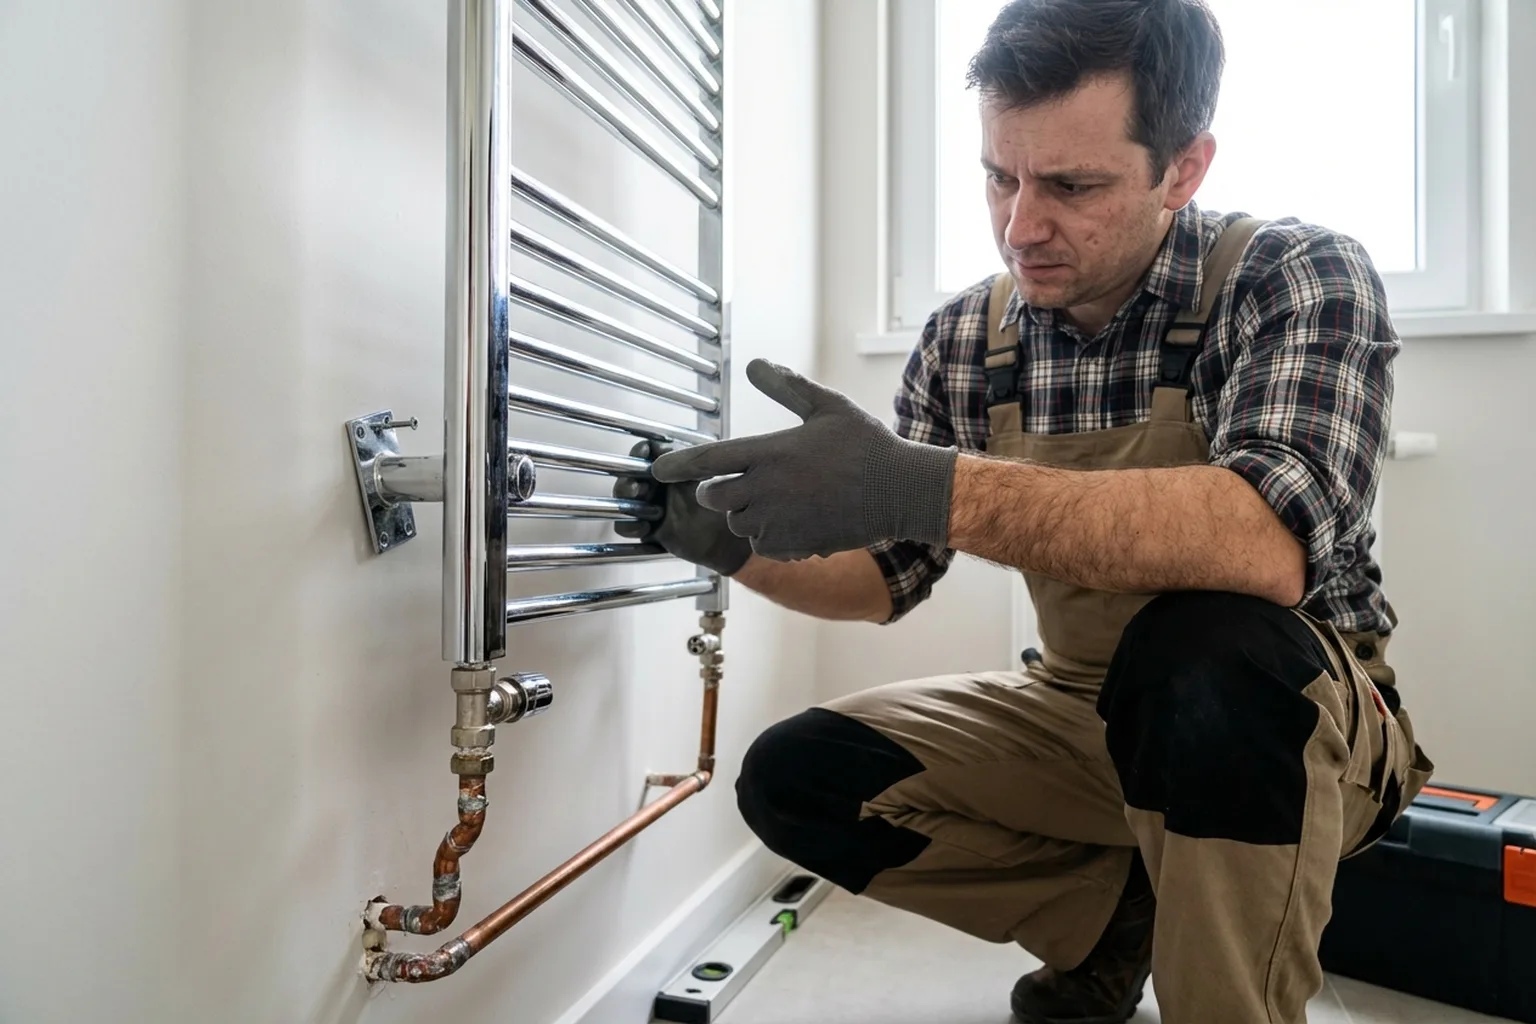
- Not checking the system type — connecting to central heating that works only in winter, so the radiator stays cold all summer.
- Skipping the bleed valve — an air lock blocks circulation and the unit remains cold.
- No isolation valves — if there is a leak, the whole riser has to be shut off.
- Drilling tiles with an ordinary masonry bit — the tile cracks and has to be replaced.
- Fixing it to plasterboard without backing — a radiator full of water is heavy and the fixings tear out.
- Incorrect pipe gradient — water collects and the radiator heats only in part.
- Low-quality fittings — threaded joints begin to drip after a few months.
Important: connecting a hydronic towel radiator means working on the heating or hot-water system. One fitting mistake can lead to a leak, damage in the flat below and a costly repair. If you do not have plumbing experience, call a professional.
What to prepare before the visit
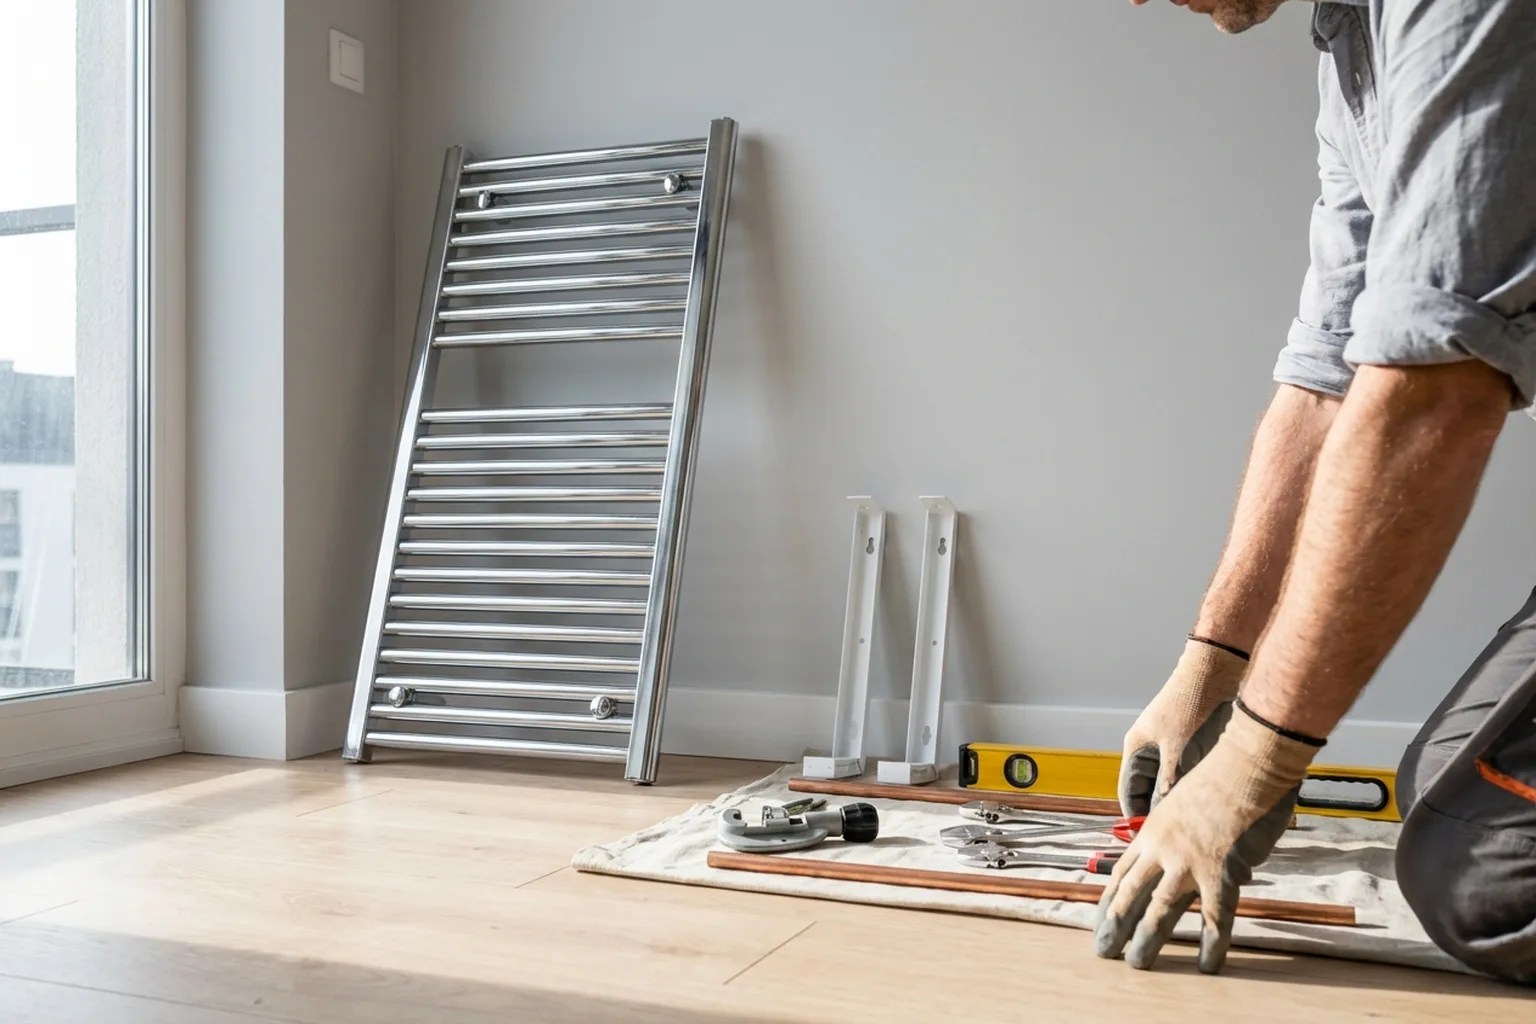
- Buy the radiator — check the centre-to-centre distance (between pipe tails); it has to match the wall pipe outlets.
- Choose the connection type: central heating, hot water or electric. Check with building management if connecting into the riser is allowed.
- Buy isolation valves, a bleed valve and fittings — the technician can advise if you are not sure.
- Make sure the wall can carry the weight: a hydronic radiator filled with water weighs 15–30 kg.
- Clear the wall area — take down old hooks, shelves or mirrors that get in the way.
- Make sure there is access to shut-off valves and the riser — the water will have to be turned off.
- If the wall is tiled, tell us — the technician will bring a tile-safe drill bit.
- For electric — check that there is a nearby earthed socket or a way to run a concealed cable.
A real case from Warsaw
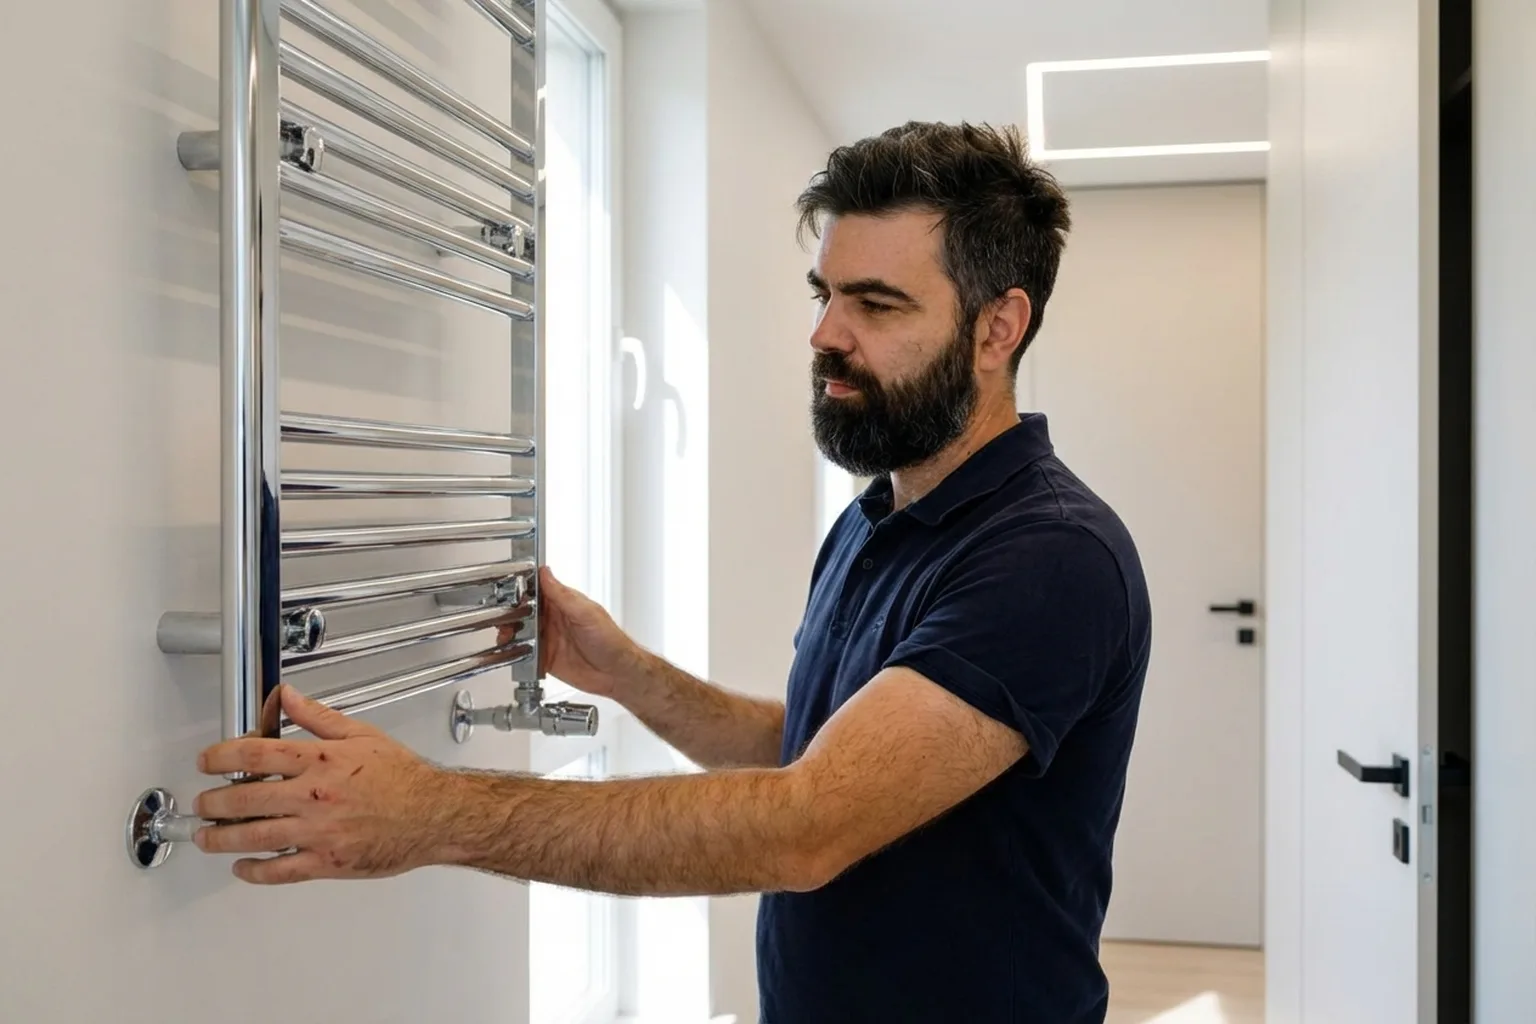
We got a call to a flat on Ochota. The owners had refurbished the bathroom, bought a stainless-steel ladder-style hydronic radiator and wanted it connected to the hot-water system. The pipe outlets were already there but old, with corroded threads. We cut back the old pipes, cut new threads, and installed isolation valves and union connections so it can be removed easily in future. Four holes were drilled through the tiles for the brackets — not one chip. The radiator was mounted, connected and bled through the bleed valve. We turned the water on — the unit warmed up within a minute and every joint stayed dry. The whole job took about 2.5 hours (compatible with Grohe, Hansgrohe, Geberit and similar).
Frequently asked questions
Hydronic or electric — which is better?
Hydronic costs less to run — it uses the building’s existing system. Electric works независимо of the heating season but uses electricity. For flats with hot water — hydronic is the best option. If there is no hot-water connection or the job would be complicated, electric is easier.
Can it be connected to central heating?
Yes, but it will heat only during the heating season. If you want it working all year, connect it to the hot-water system or choose electric.
Do I need permission from building management?
To connect into the riser — usually yes, approval is required. For electric — no permission is needed.
How far from the shower should it be?
At least 60 cm from the edge of the bathtub or shower tray — for safety and code compliance. Electric units also have to be at least 60 cm from any water source.
How long does installation take?
Electric — 1–1.5 hours. Hydronic connected to existing pipe outlets — 2–3 hours. If pipes need rerouting — up to 4–5 hours.
Can it go on plasterboard?
Only if there is solid backing behind the board (timber batten or steel plate). A heavy hydronic radiator must not be mounted on unsupported plasterboard — the fixings will pull out.
Book the installation
We fit towel radiators across Warsaw — hydronic, electric and dual-fuel. We connect them to hot water or heating and mount them on any wall type. Brackets are included in the price. Get in touch — we will come out, check everything and install it.